How to Create Custom Views of Submission Reports
Learn how to filter and customize submission reports in AfterSchool HQ, save your views, and easily export them to share via email.
Go to afterschoolhq.com
1. Introduction
Hi there! In this video, I'm going to show you how to create custom views of your submission reports in AfterSchool HQ.
This is a great way to organize the data you collect—whether it's health information, parent details, participant info, or signed waivers—so you can focus only on what you need.
I'll also show you how to send those reports directly to your email with just a few clicks. Let's get started!
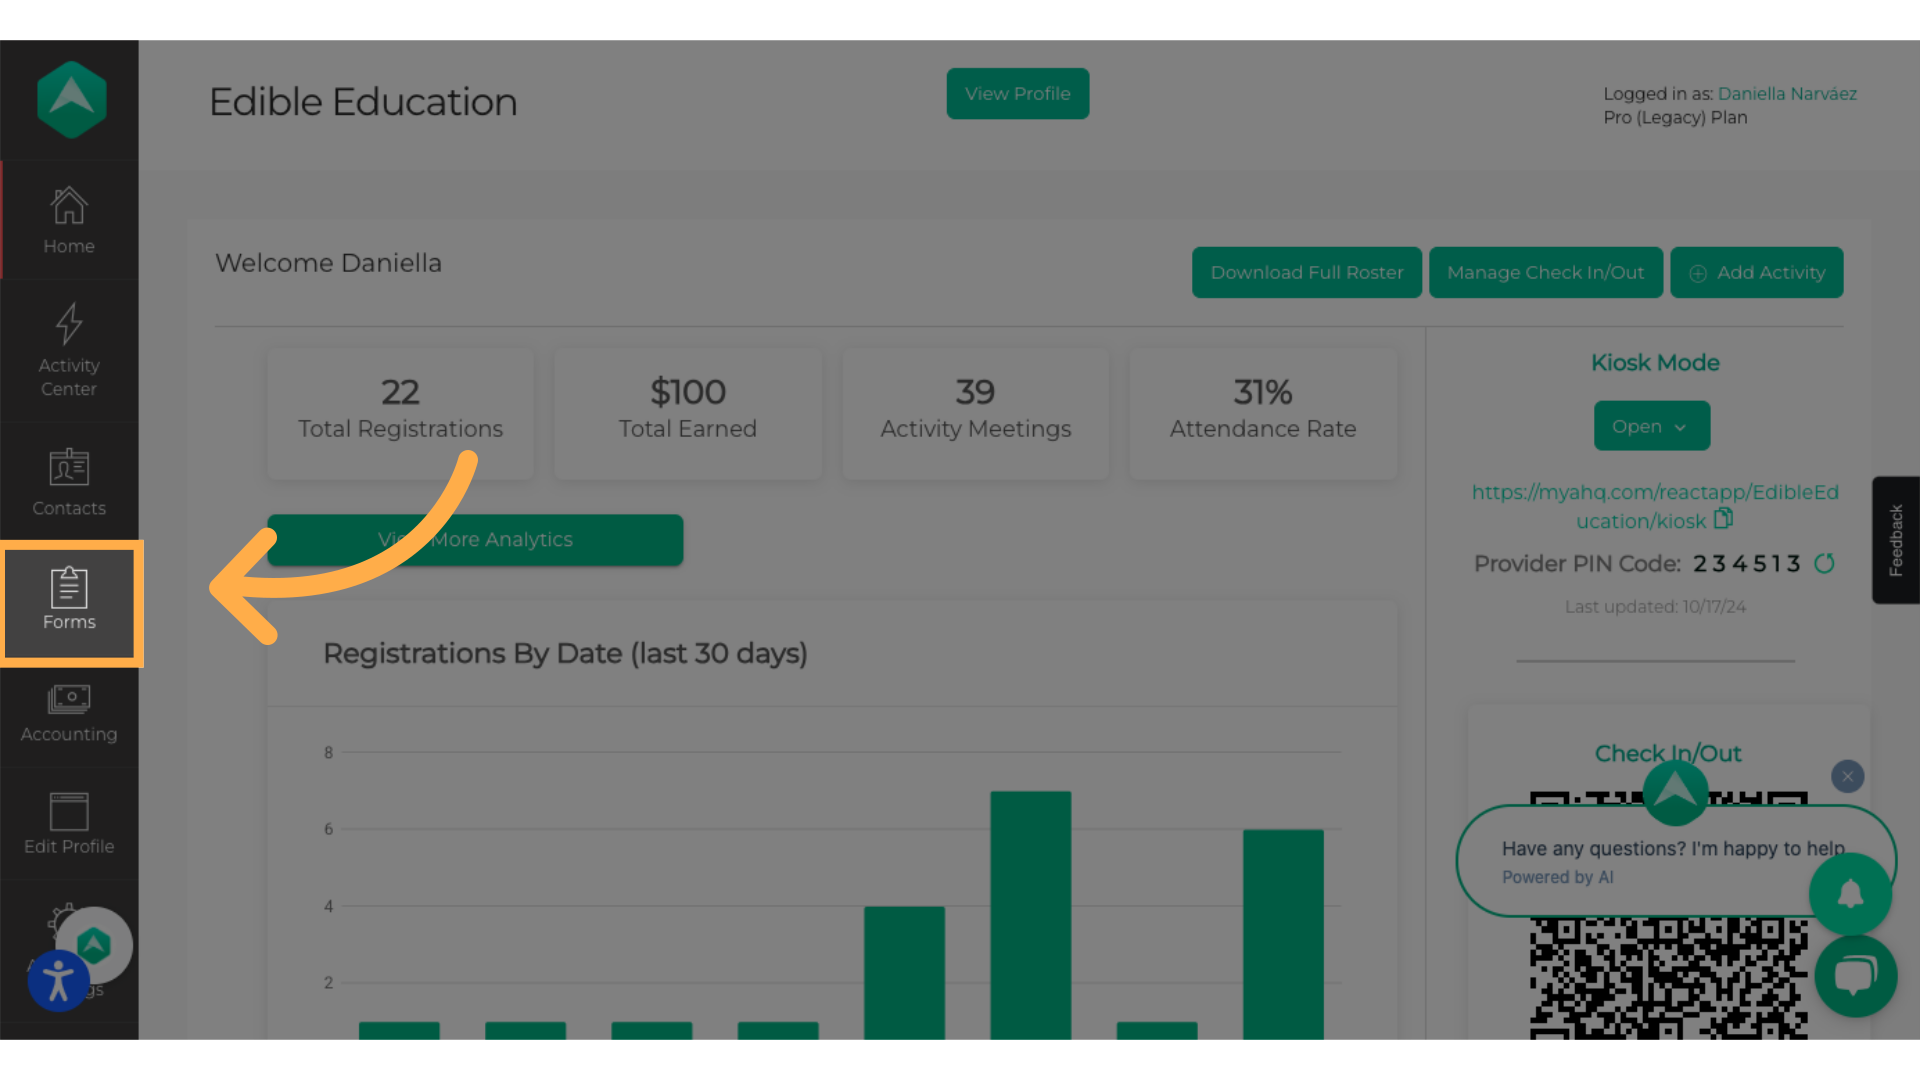
2. Access the Forms Section
On the left-hand menu, click on 'Forms'. This section contains all the registration forms connected to your activities.
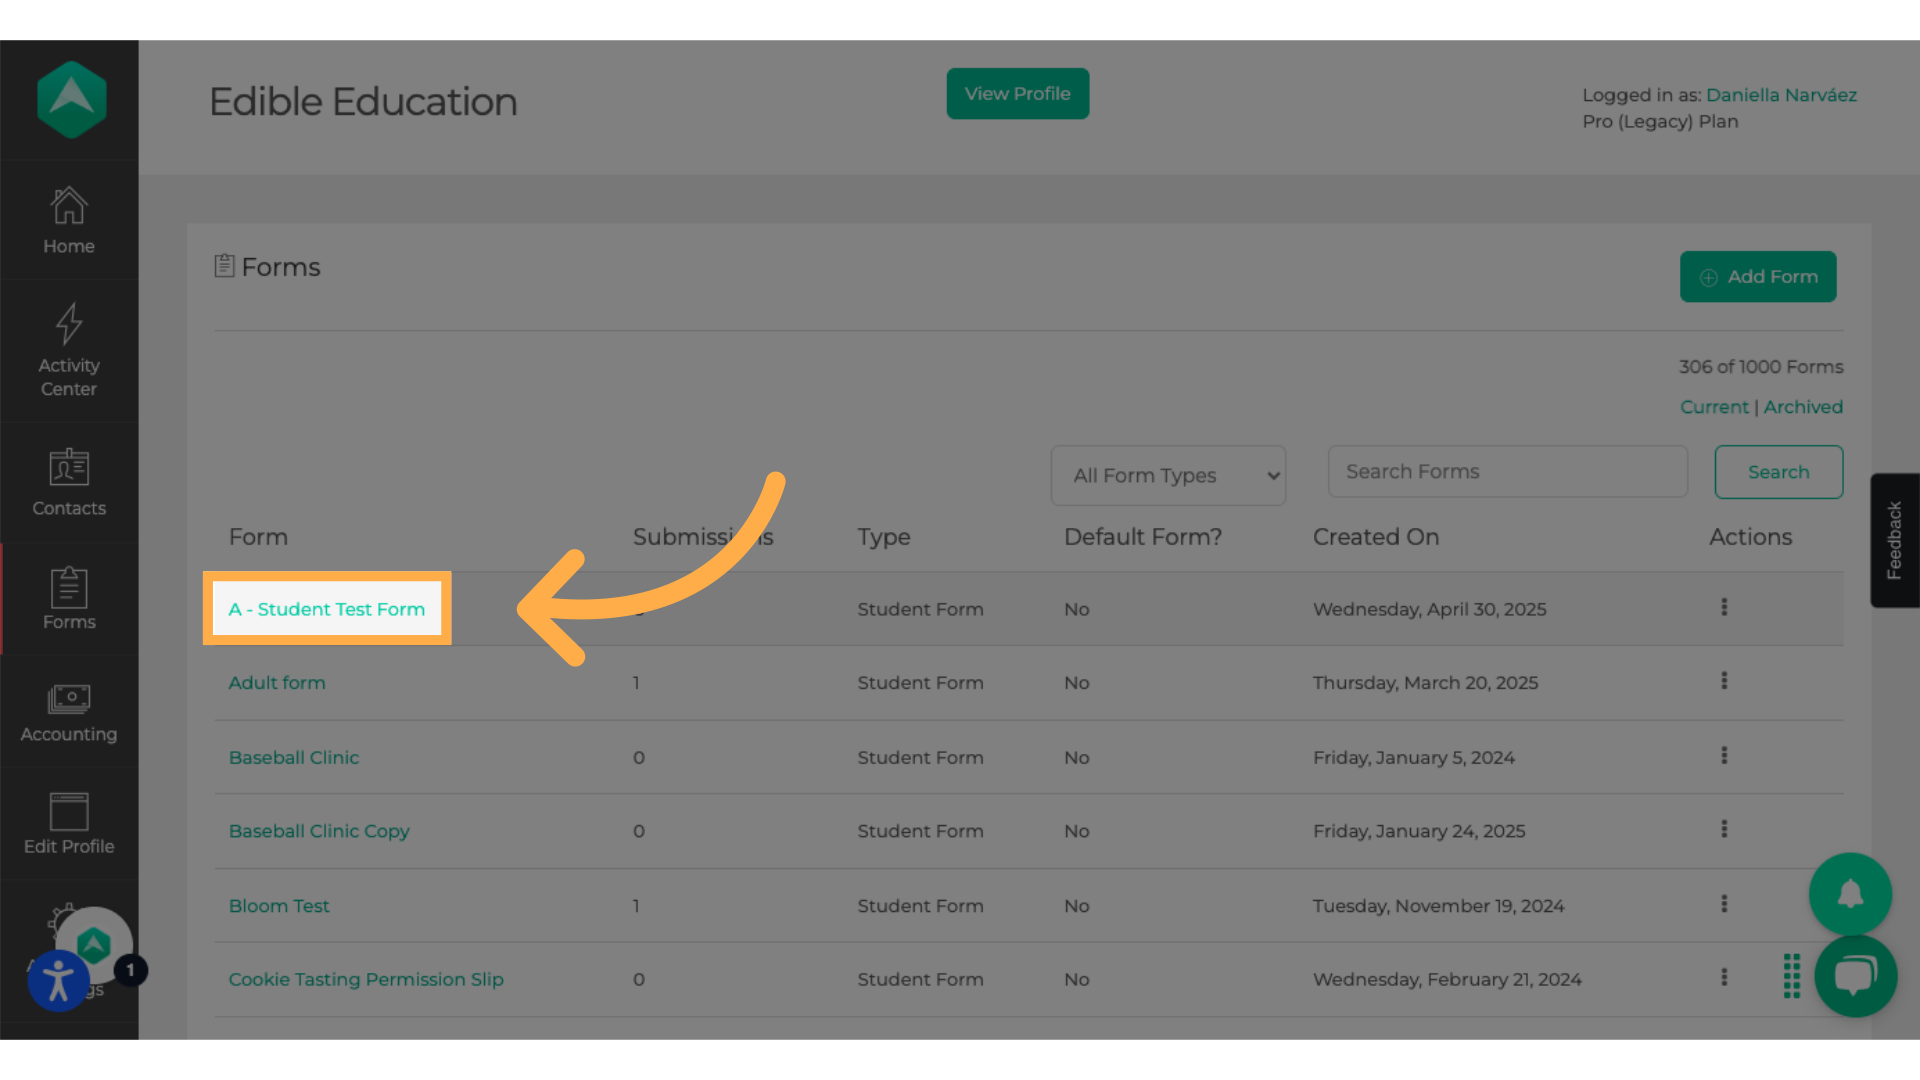
3. Select the Form You Want to Work With
Find the form that contains the responses you want to view, and click on it.
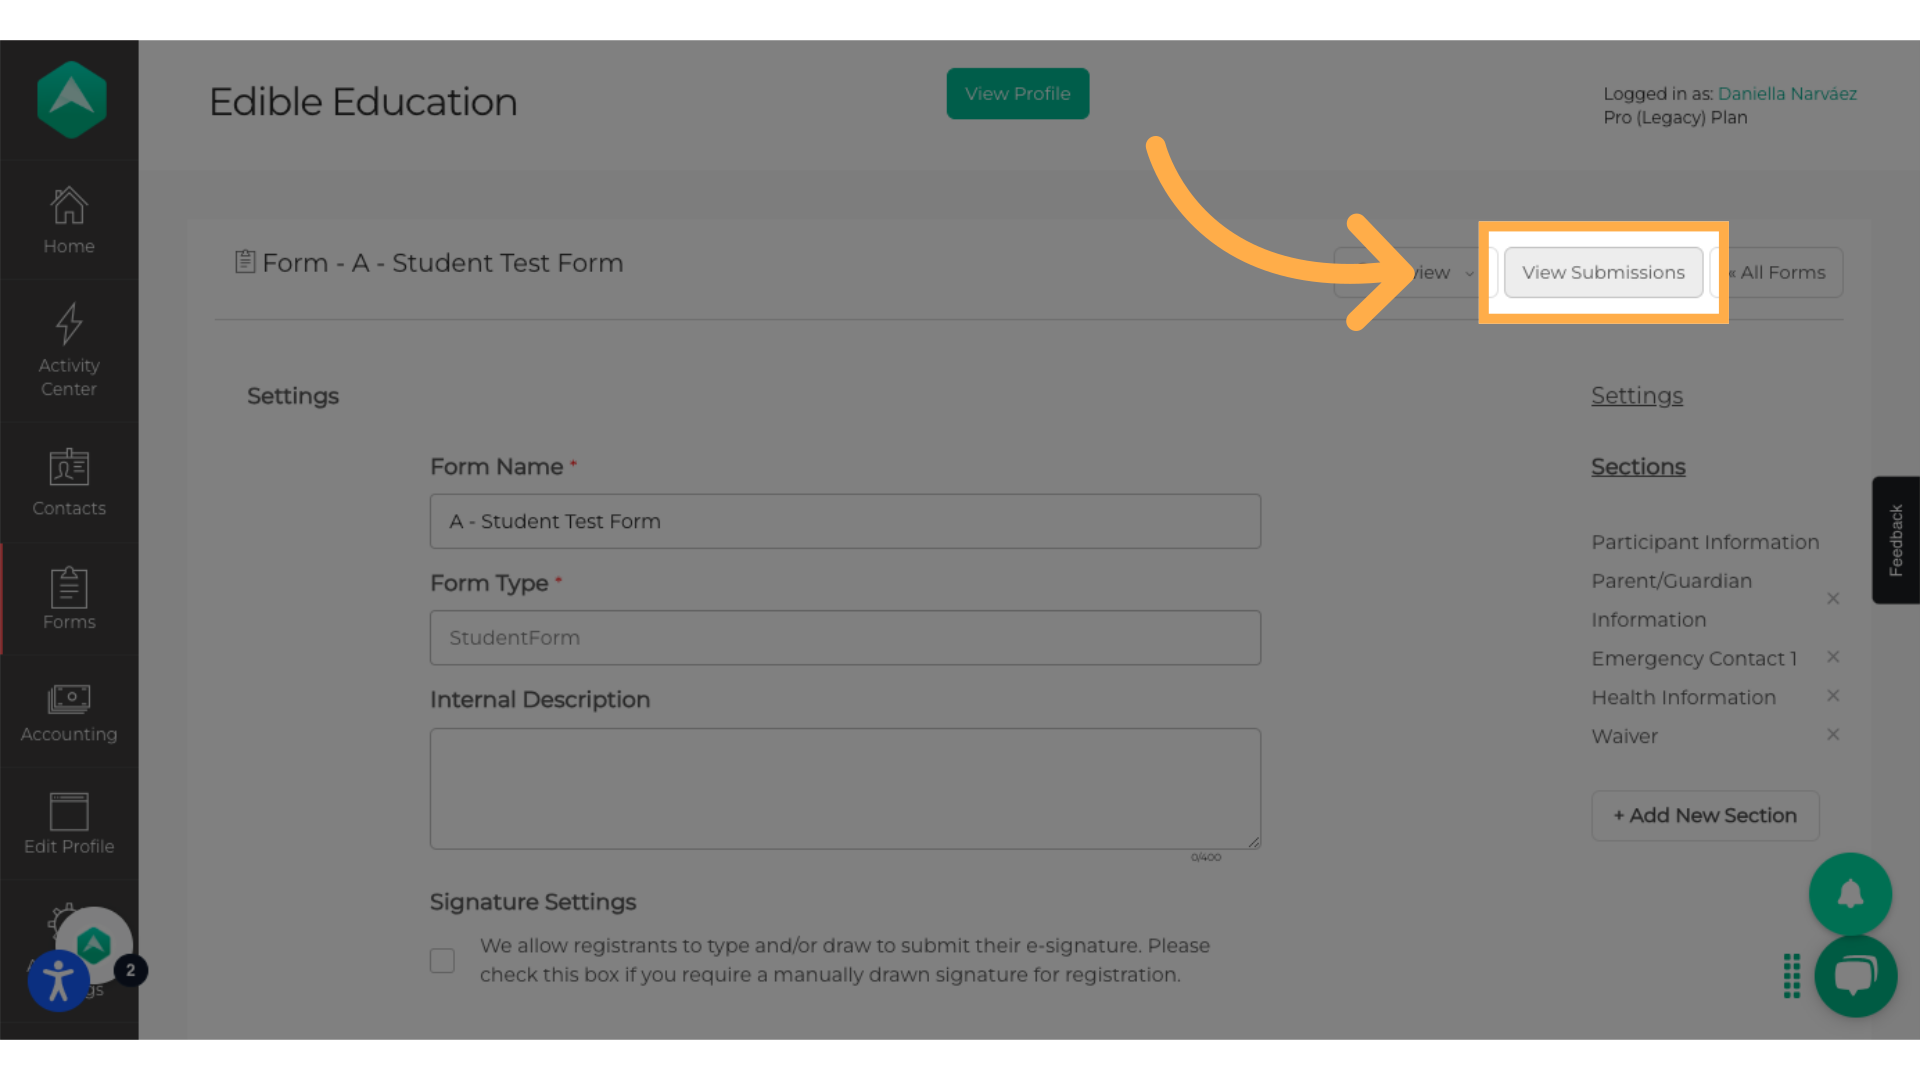
4. Click "View Submissions"
Inside the form, click on the 'View Submissions' tab. Here, you'll see all the data that has been submitted by families.
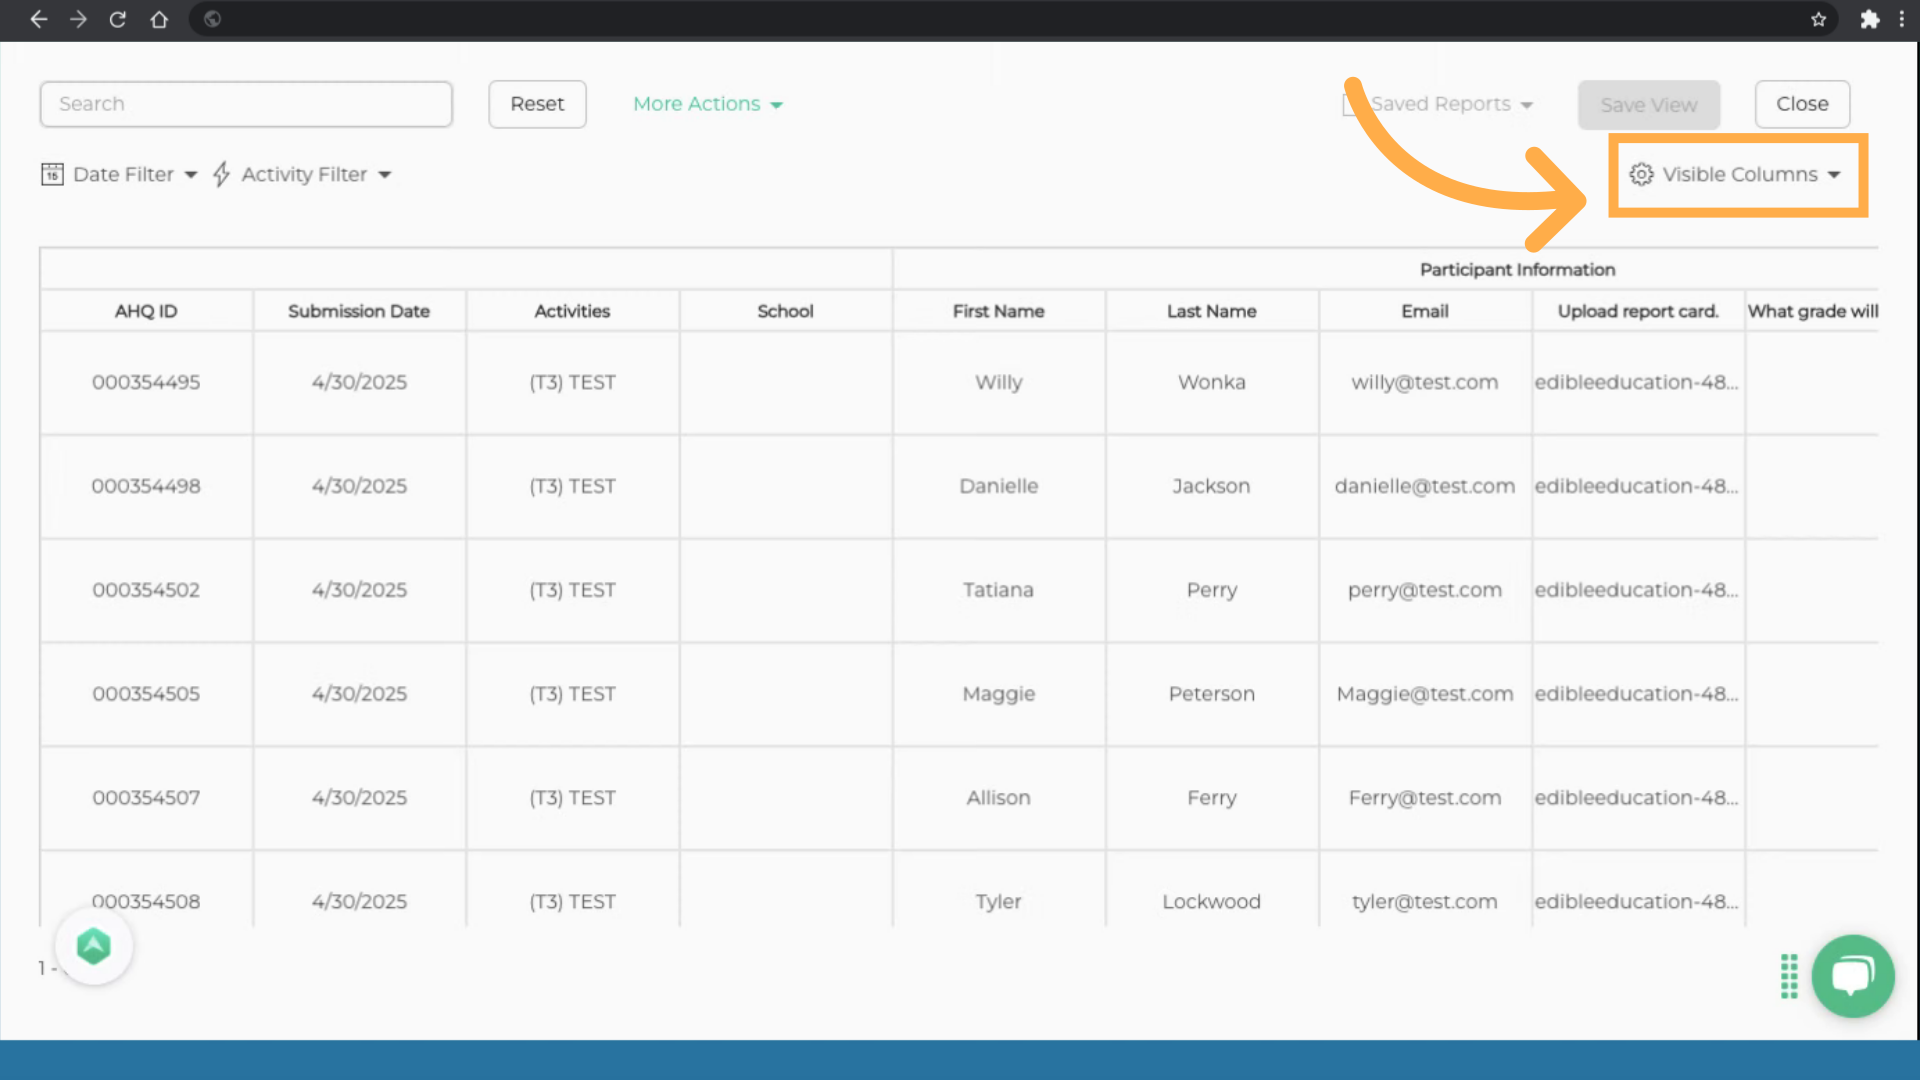
5. Create a Custom View
Click on the Visible Columns button. This allows you to choose exactly which fields or pieces of information you want to include in your view—for example, just the participant information or only the waiver responses.
6. Choose the Information to Include
Select the columns you want to include in your view by checking the appropriate boxes.
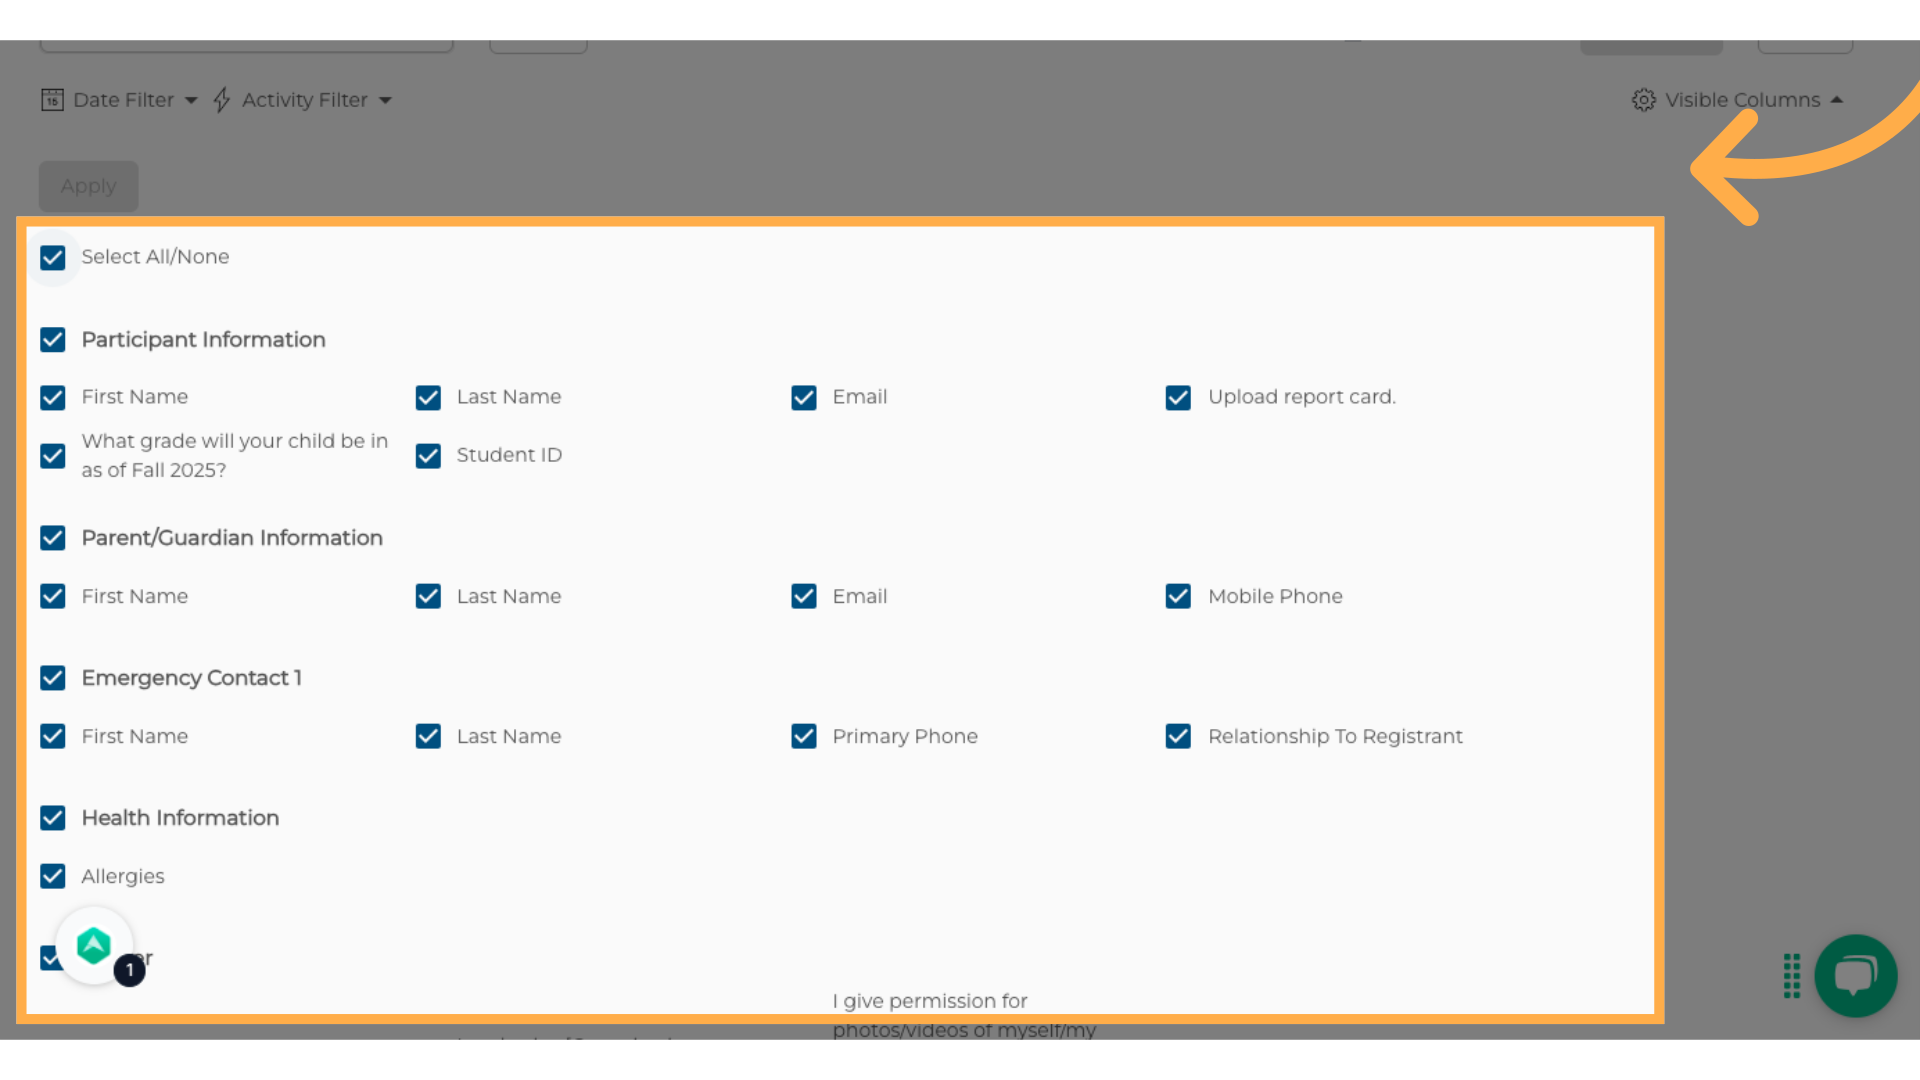
7. Click "Apply"
Once you've selected your columns, click the green Apply button to update your view.

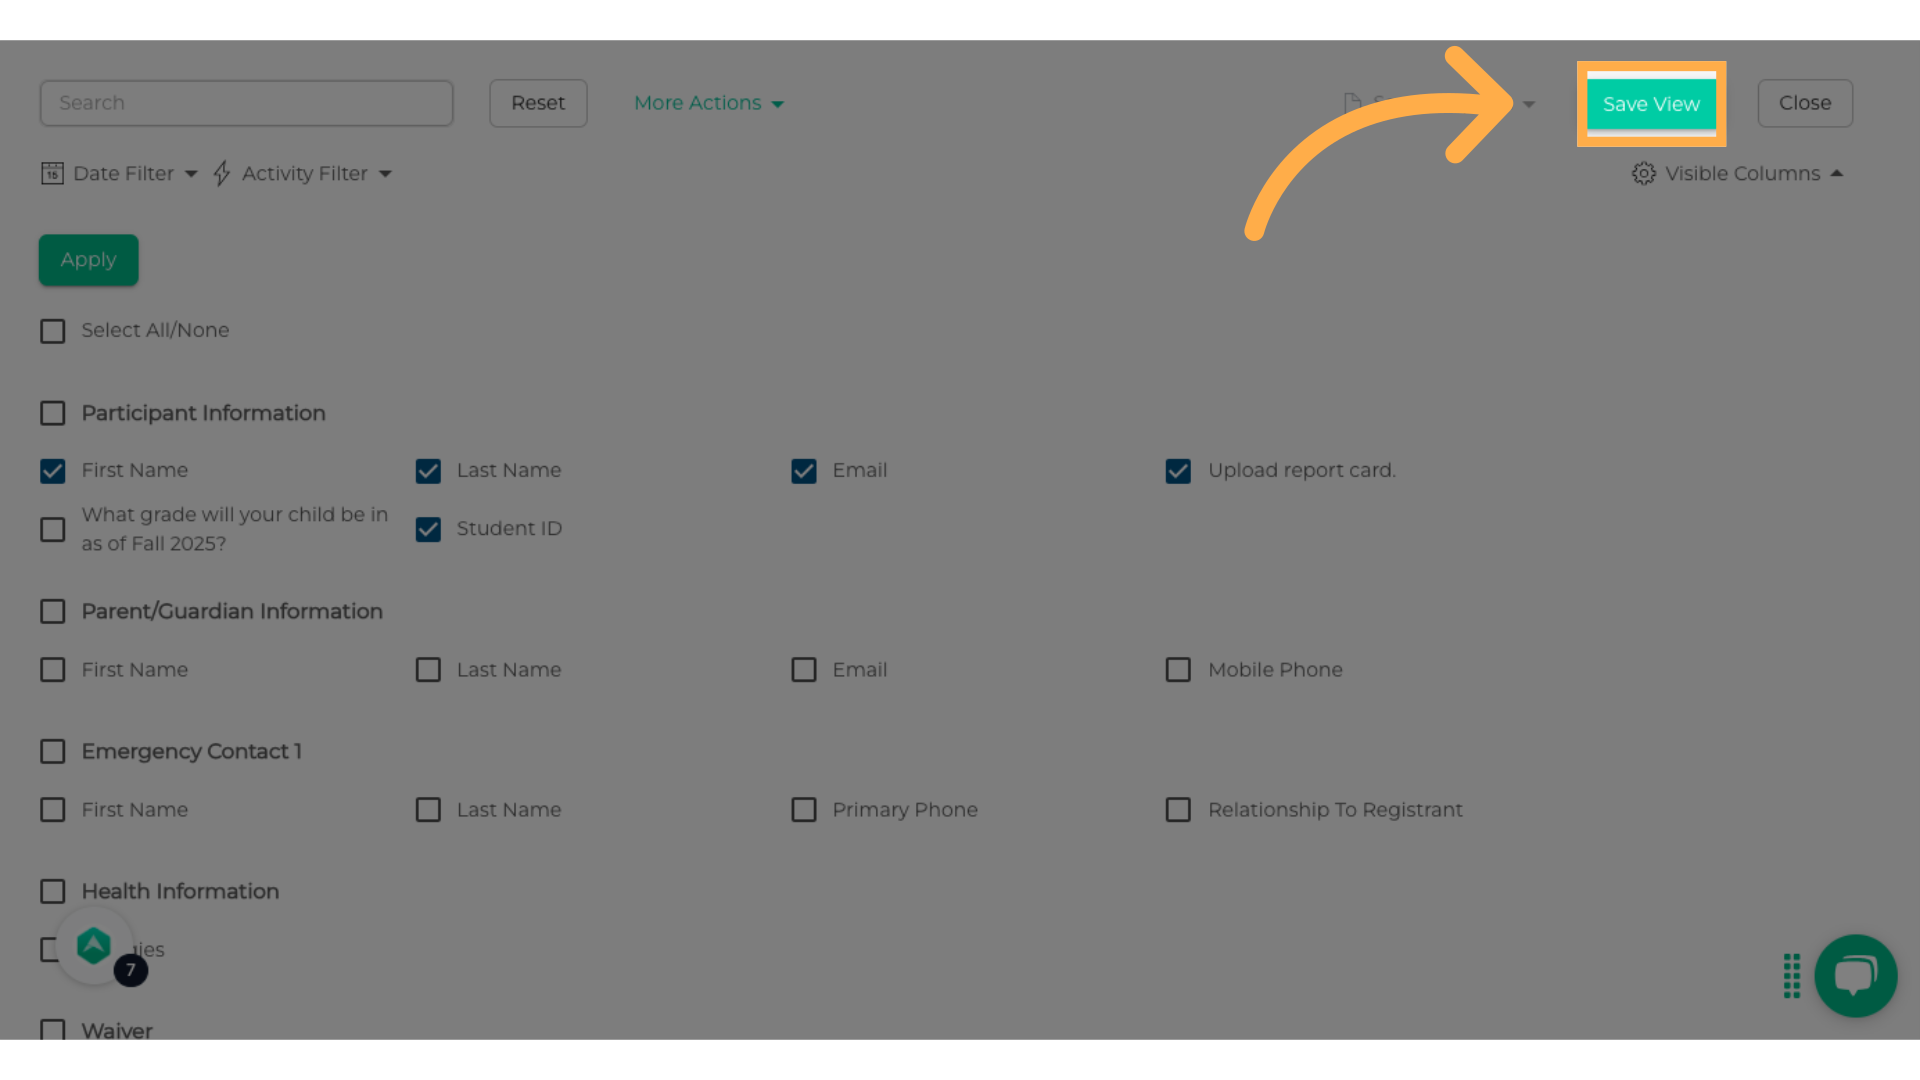
8. Save Your Custom View
Click the green Save View button.
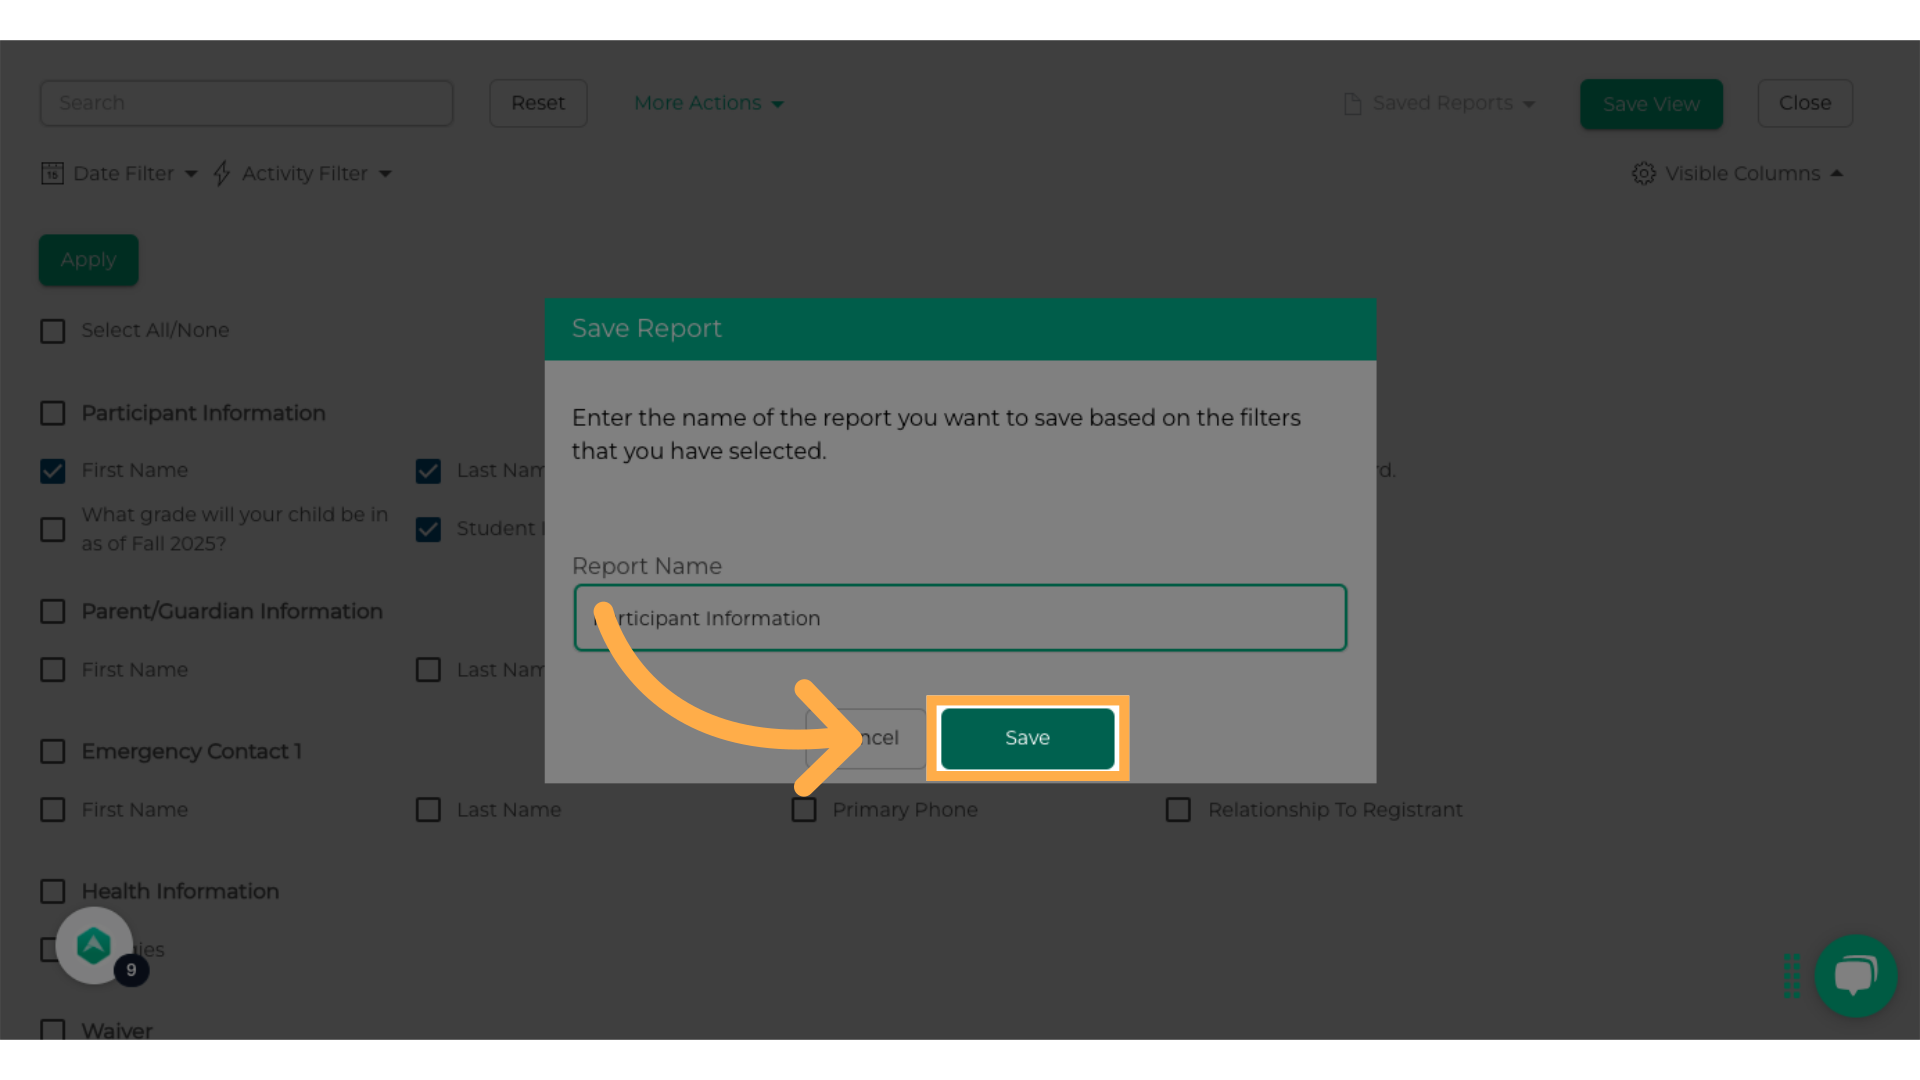
9. Name Your Report
Enter a name for your report based on the filters you've selected.

10. Click "Save"
Save the changes made.
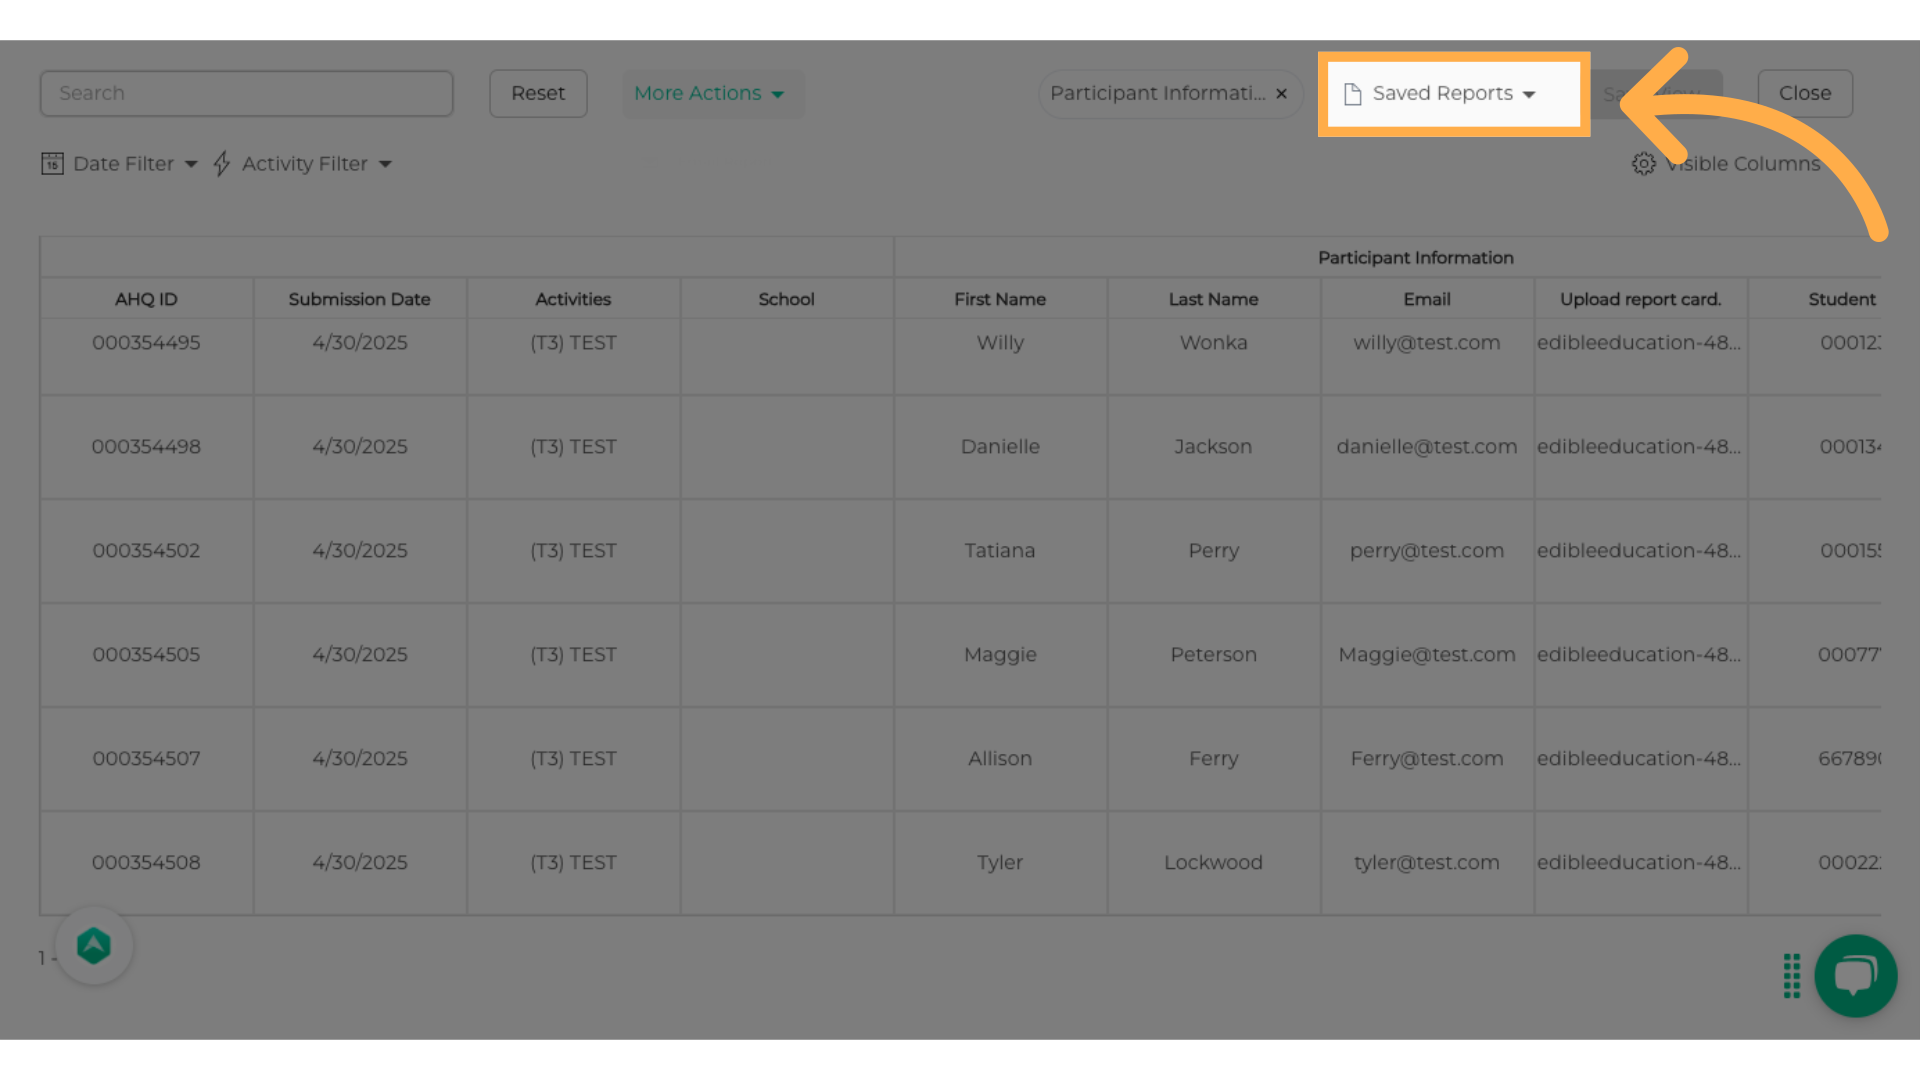
11. Open Saved Reports
Click on Saved Reports and select the custom view you just created.
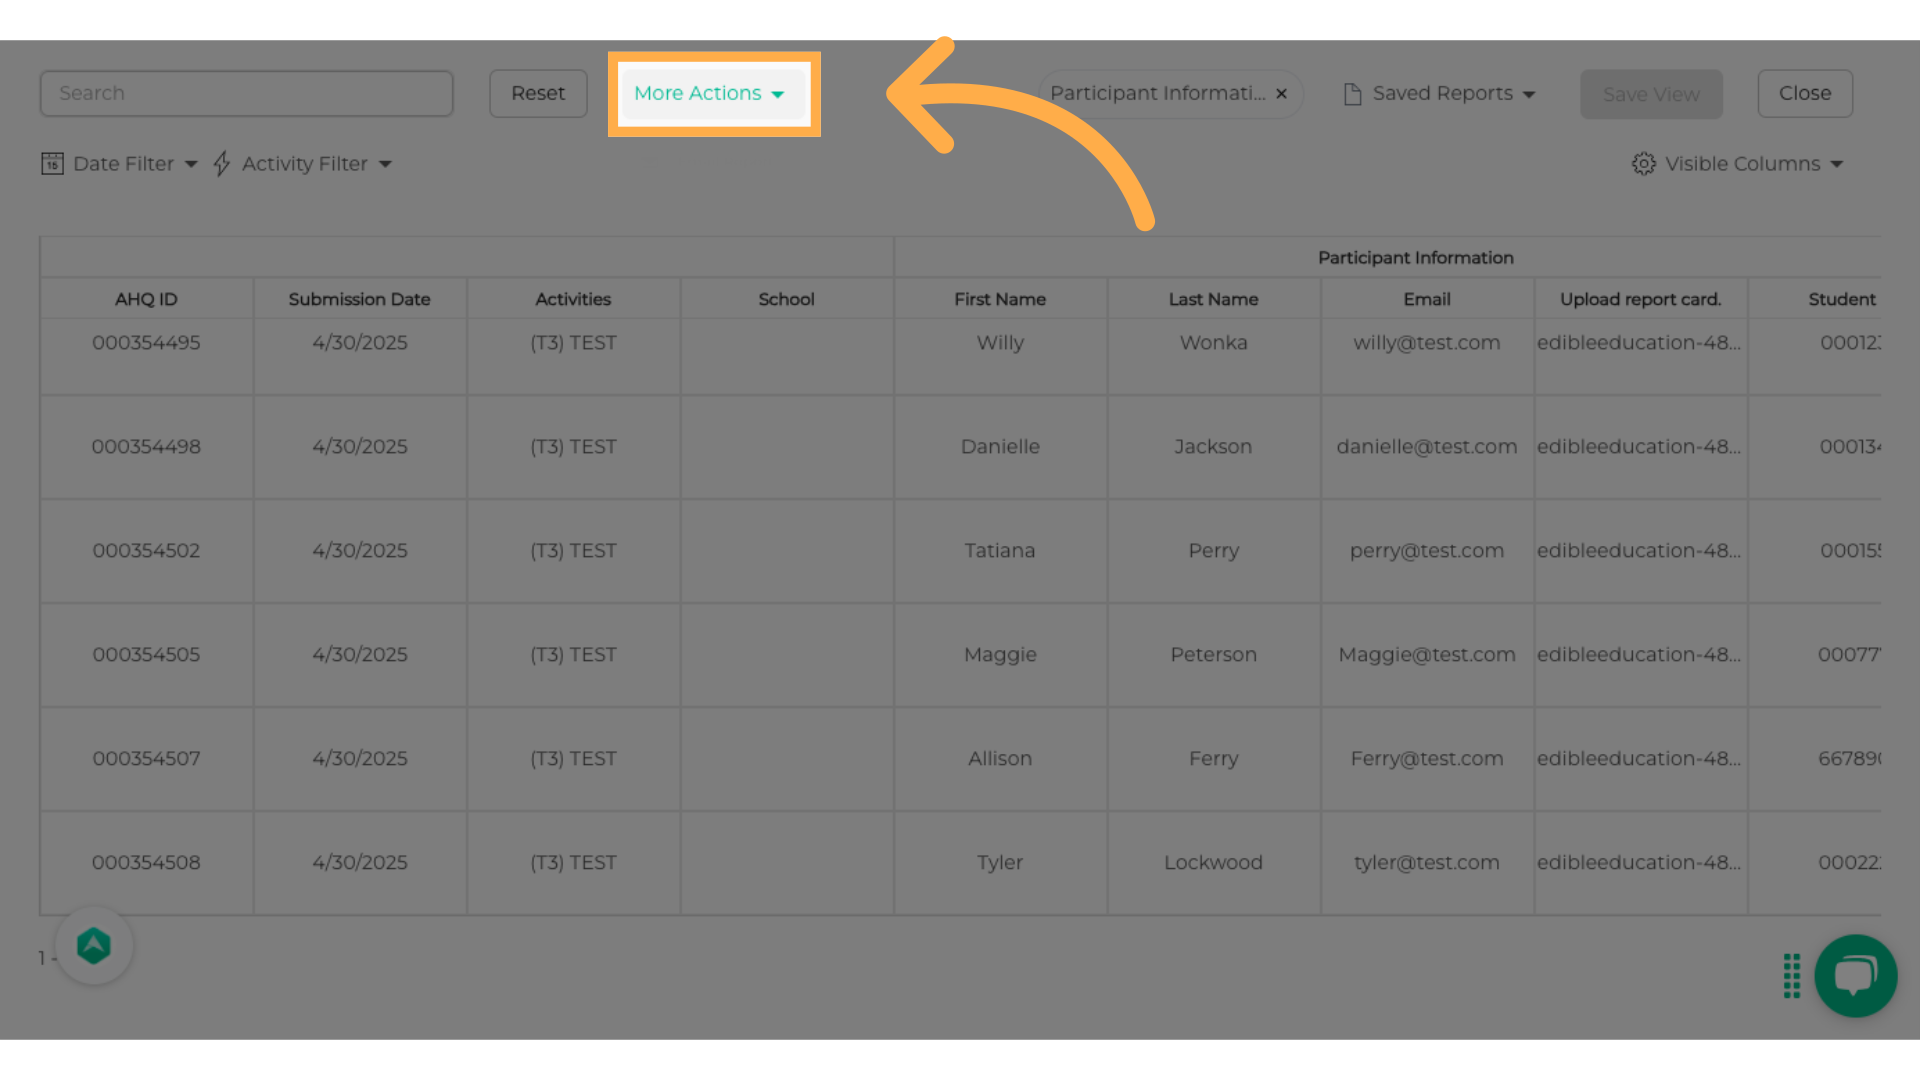
12. Open More Actions Menu
Click the More Actions button at the top-right of your report view.
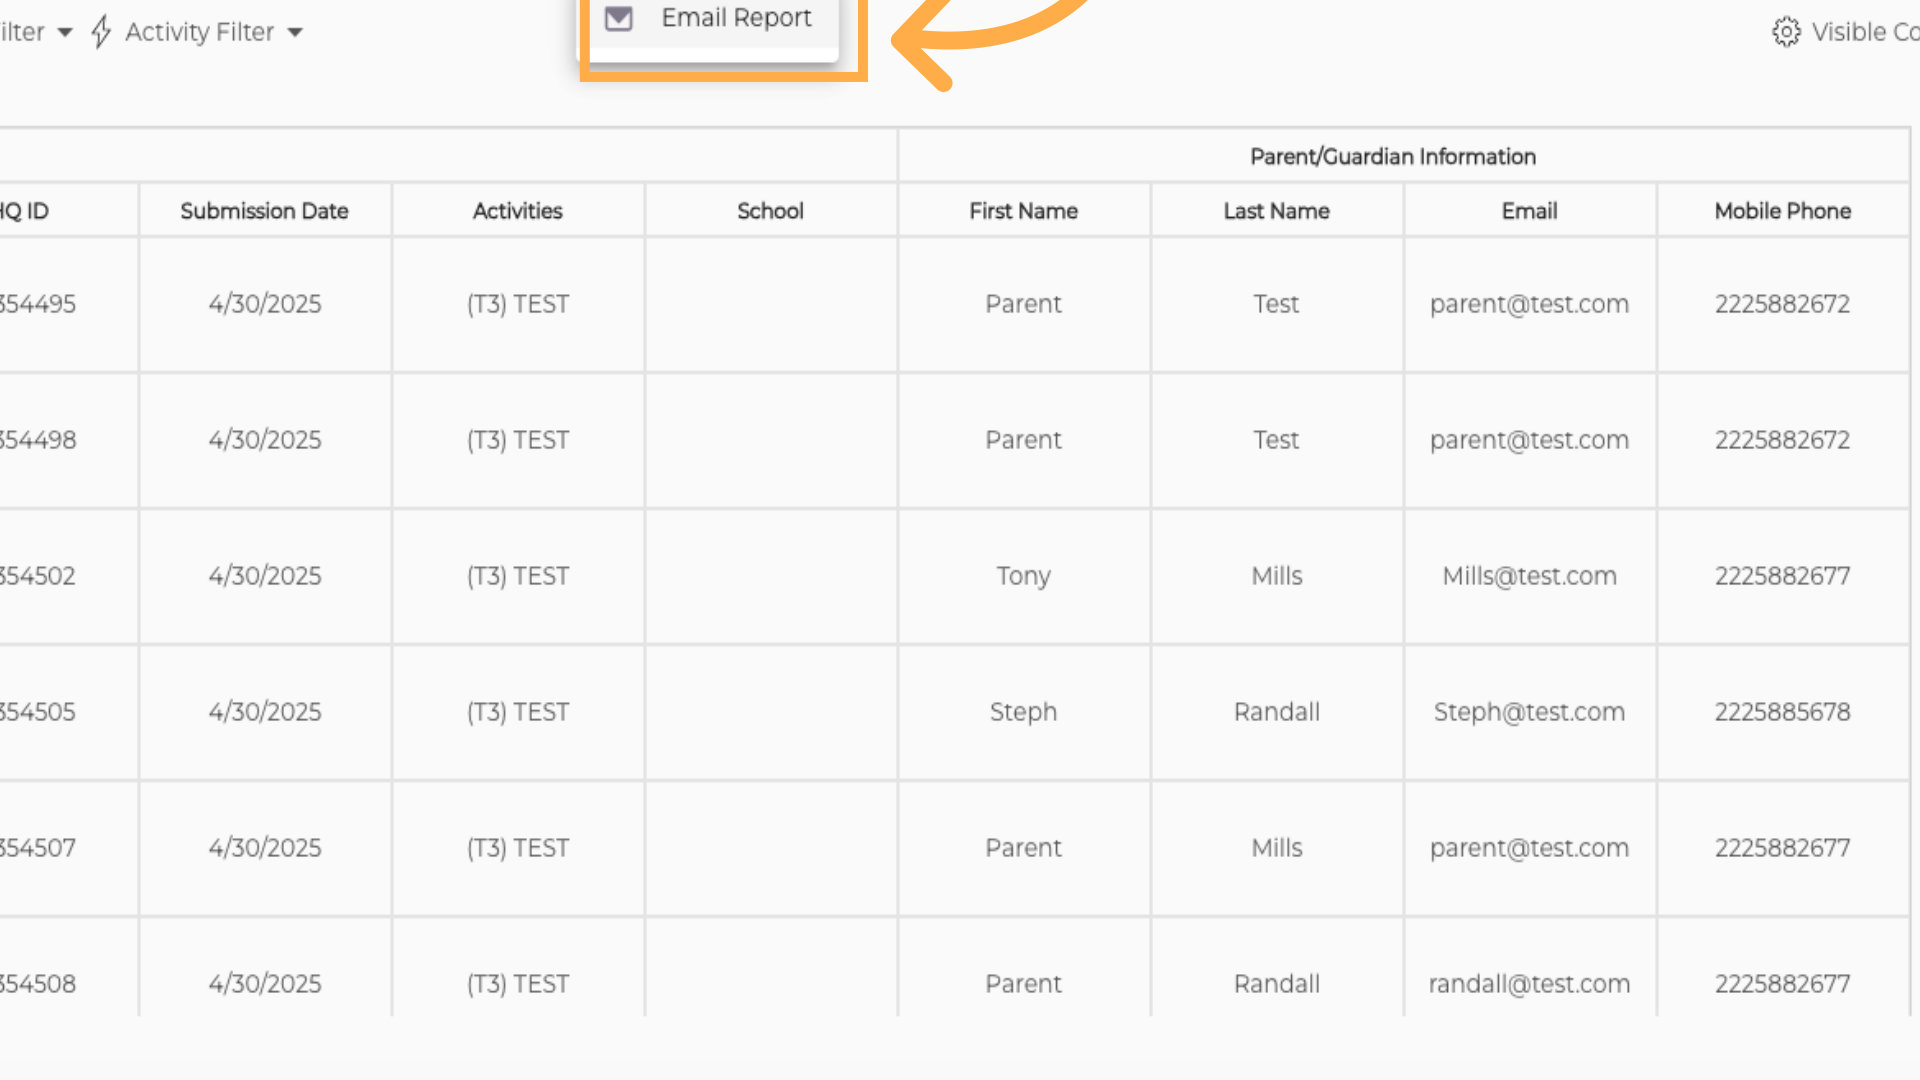
13. Email the Report
Select Email Report. The system will send the report to the email associated with your account.
And that's it! You've now learned how to create, customize, and email views of your submission reports in AfterSchool HQ.
Feel free to create as many views as you need—whether it's for participant details, health forms, parent contacts, or waivers. It's a great way to keep everything organized and easy to access.
If you have any questions, don't hesitate to reach out to our support team. Thanks for watching!