How to Create Surveys
This guide provides a step by step walkthrough of How to Create Survey's using Afterschool HQ.
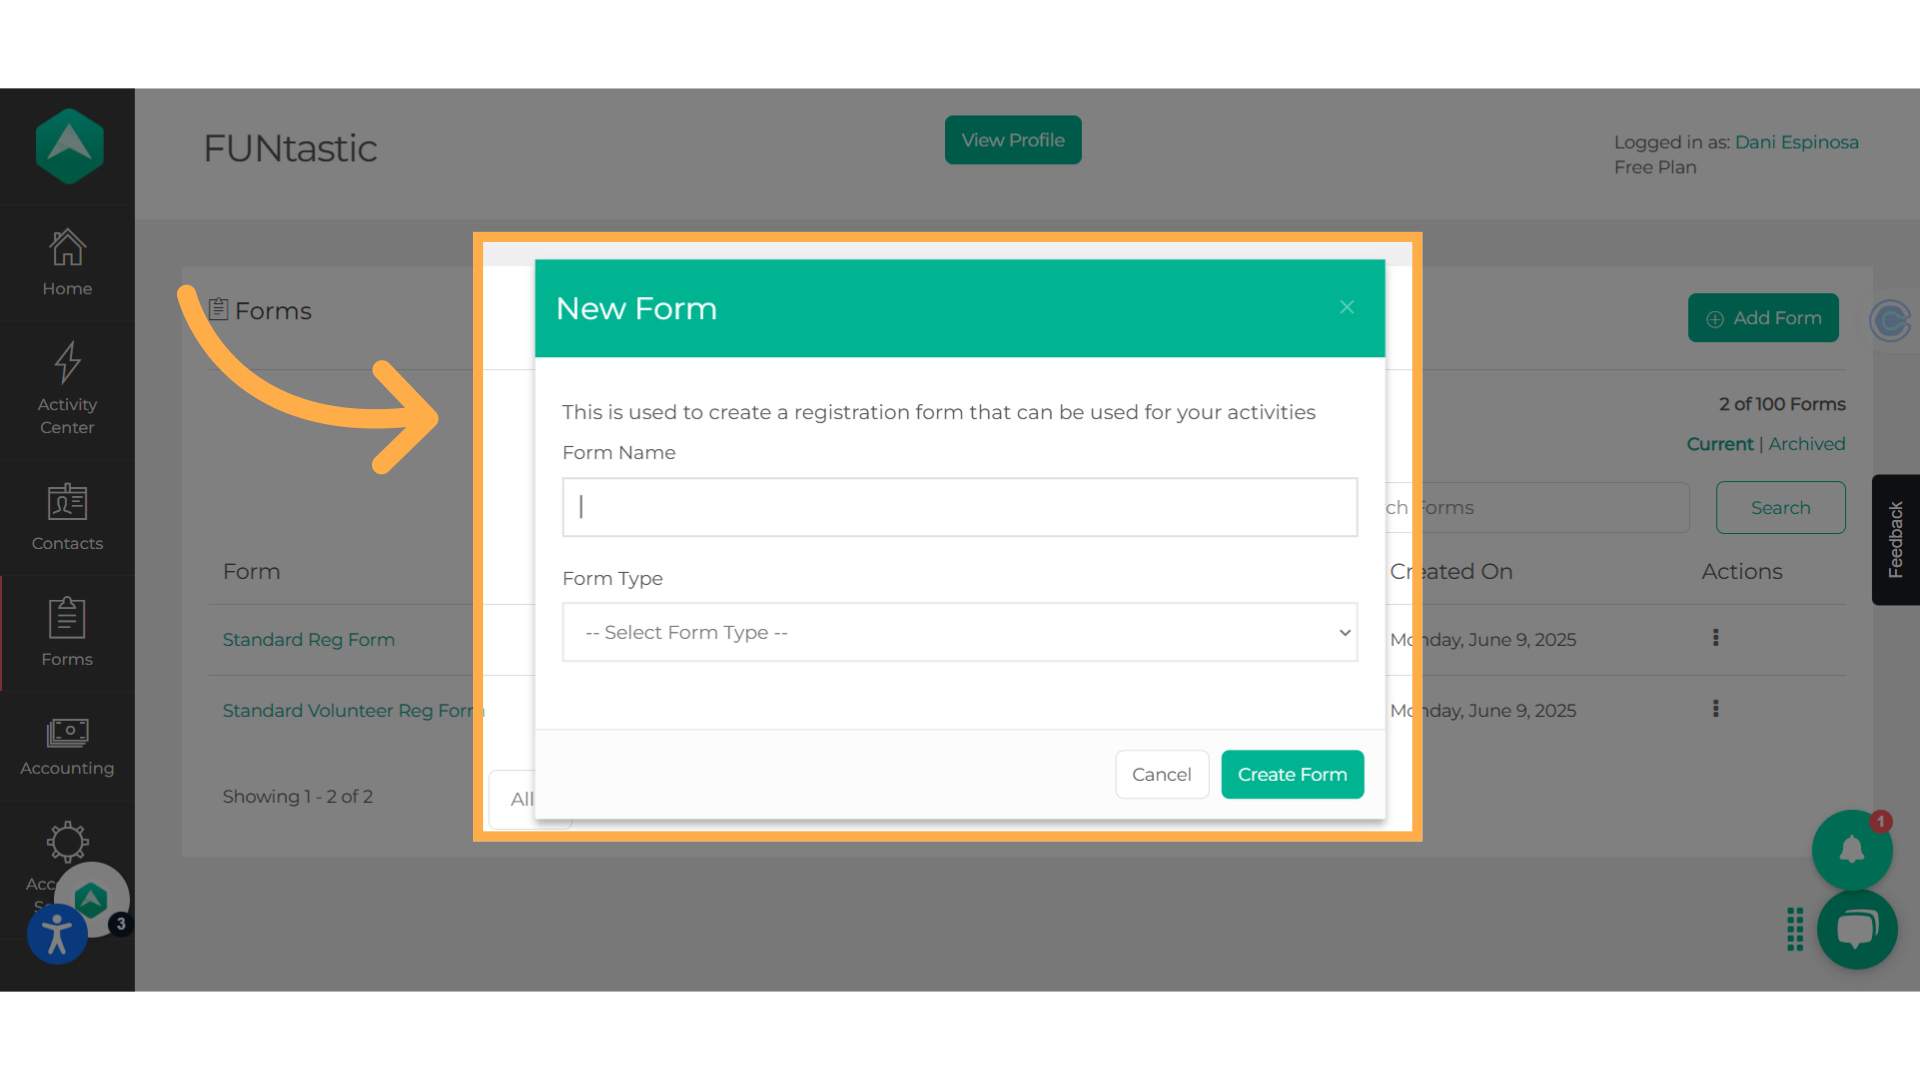
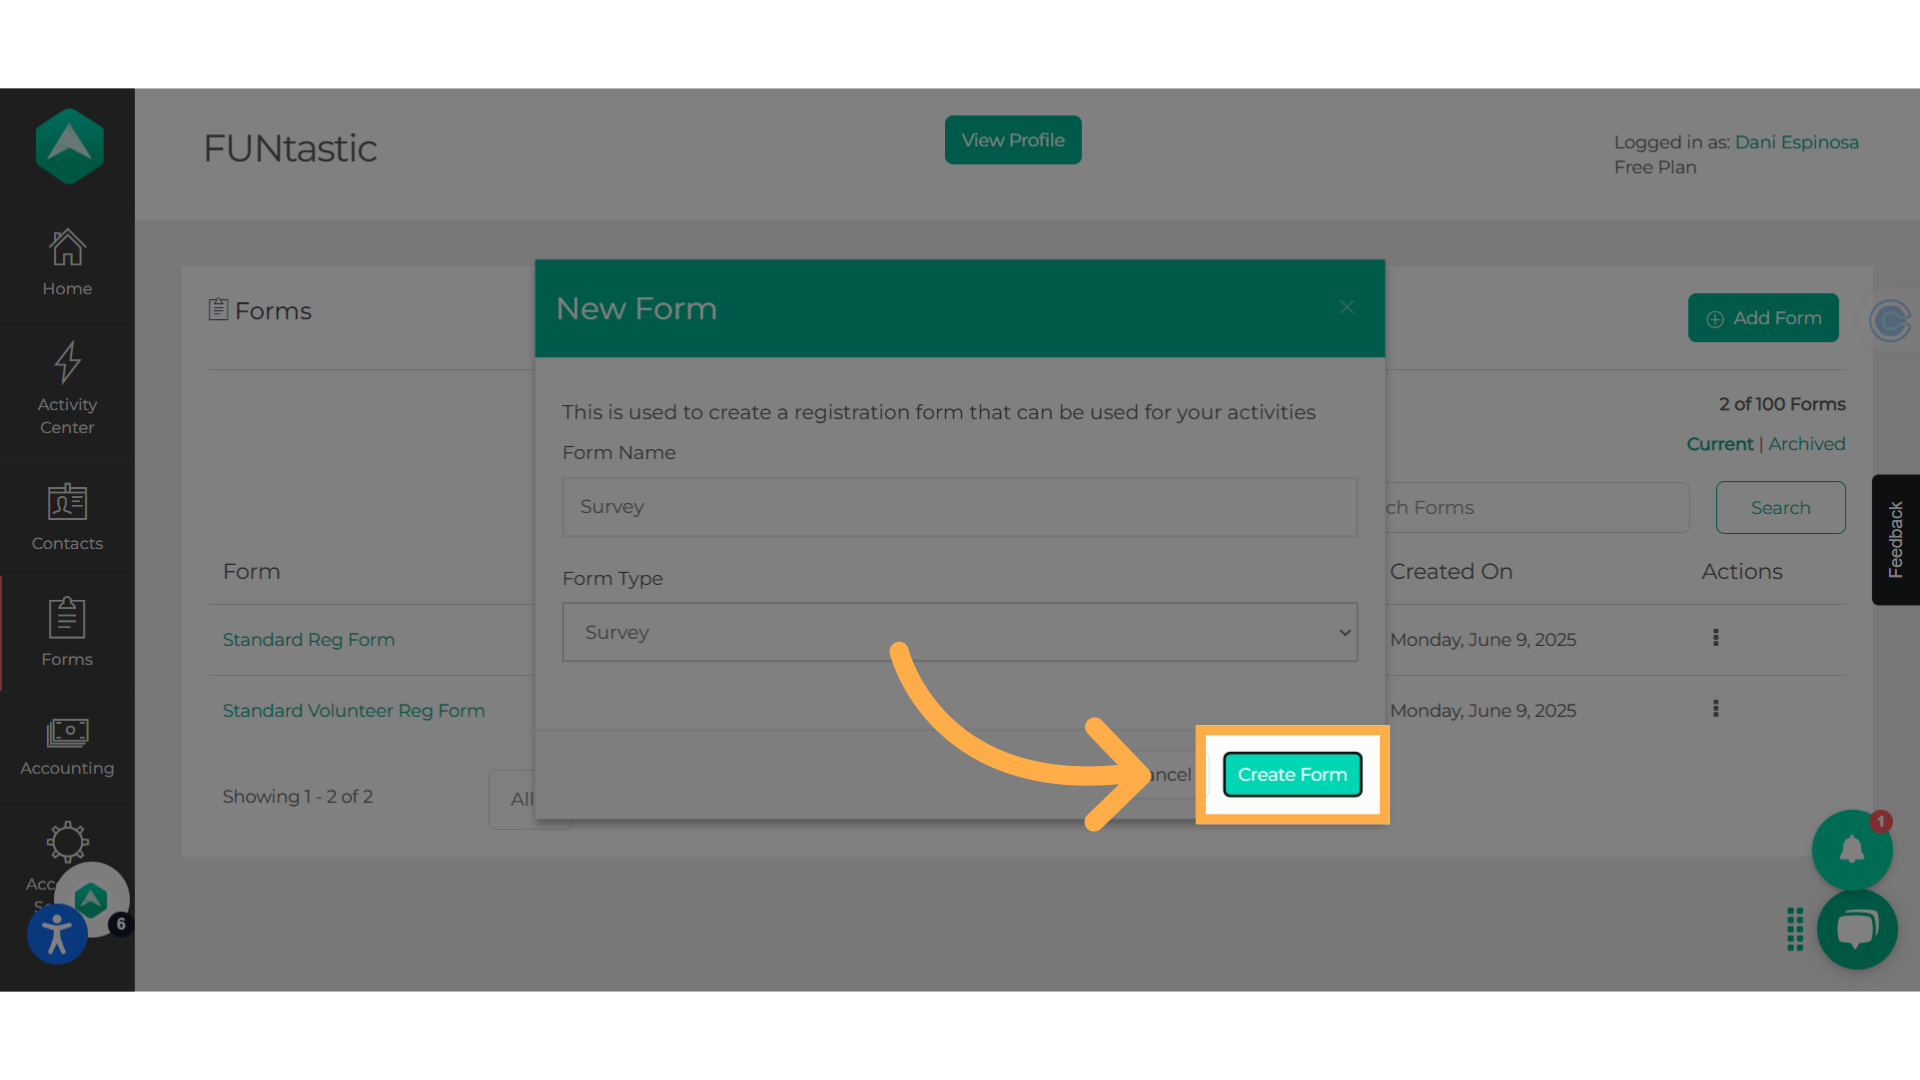
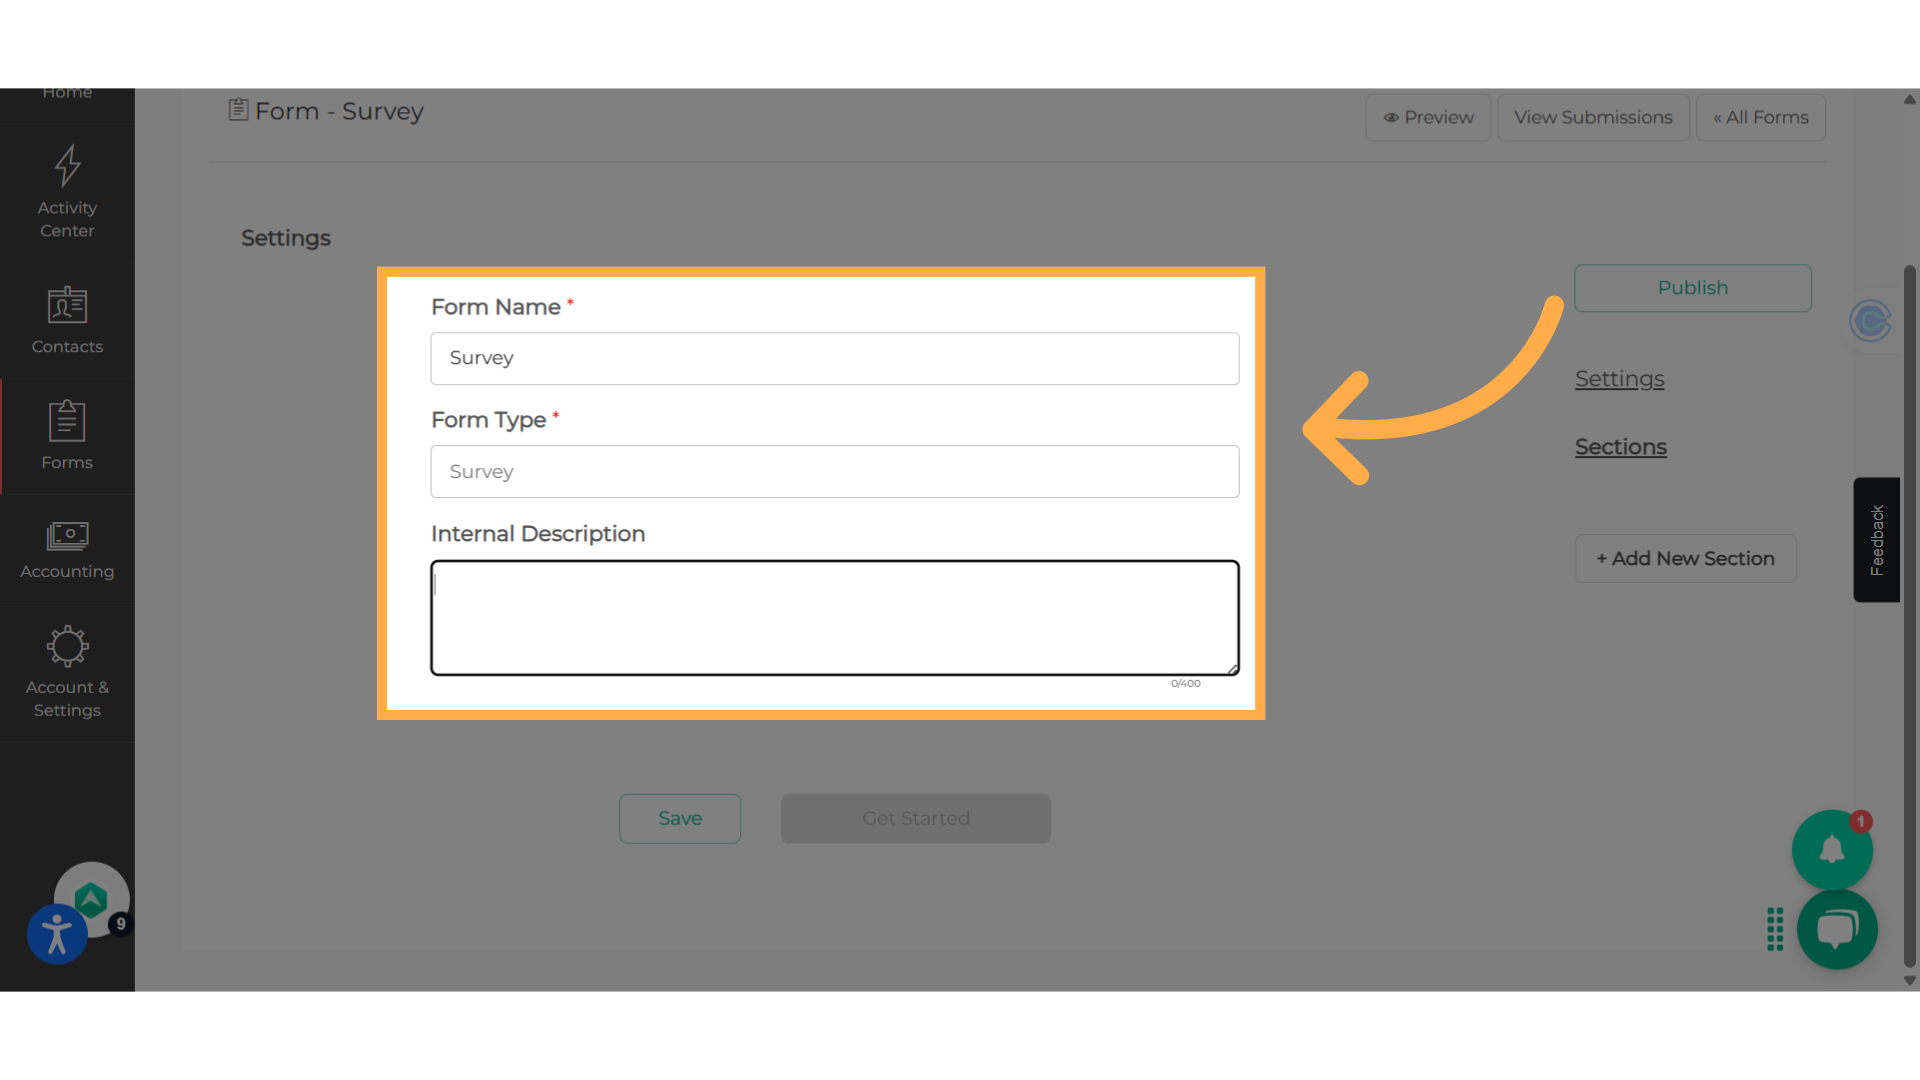
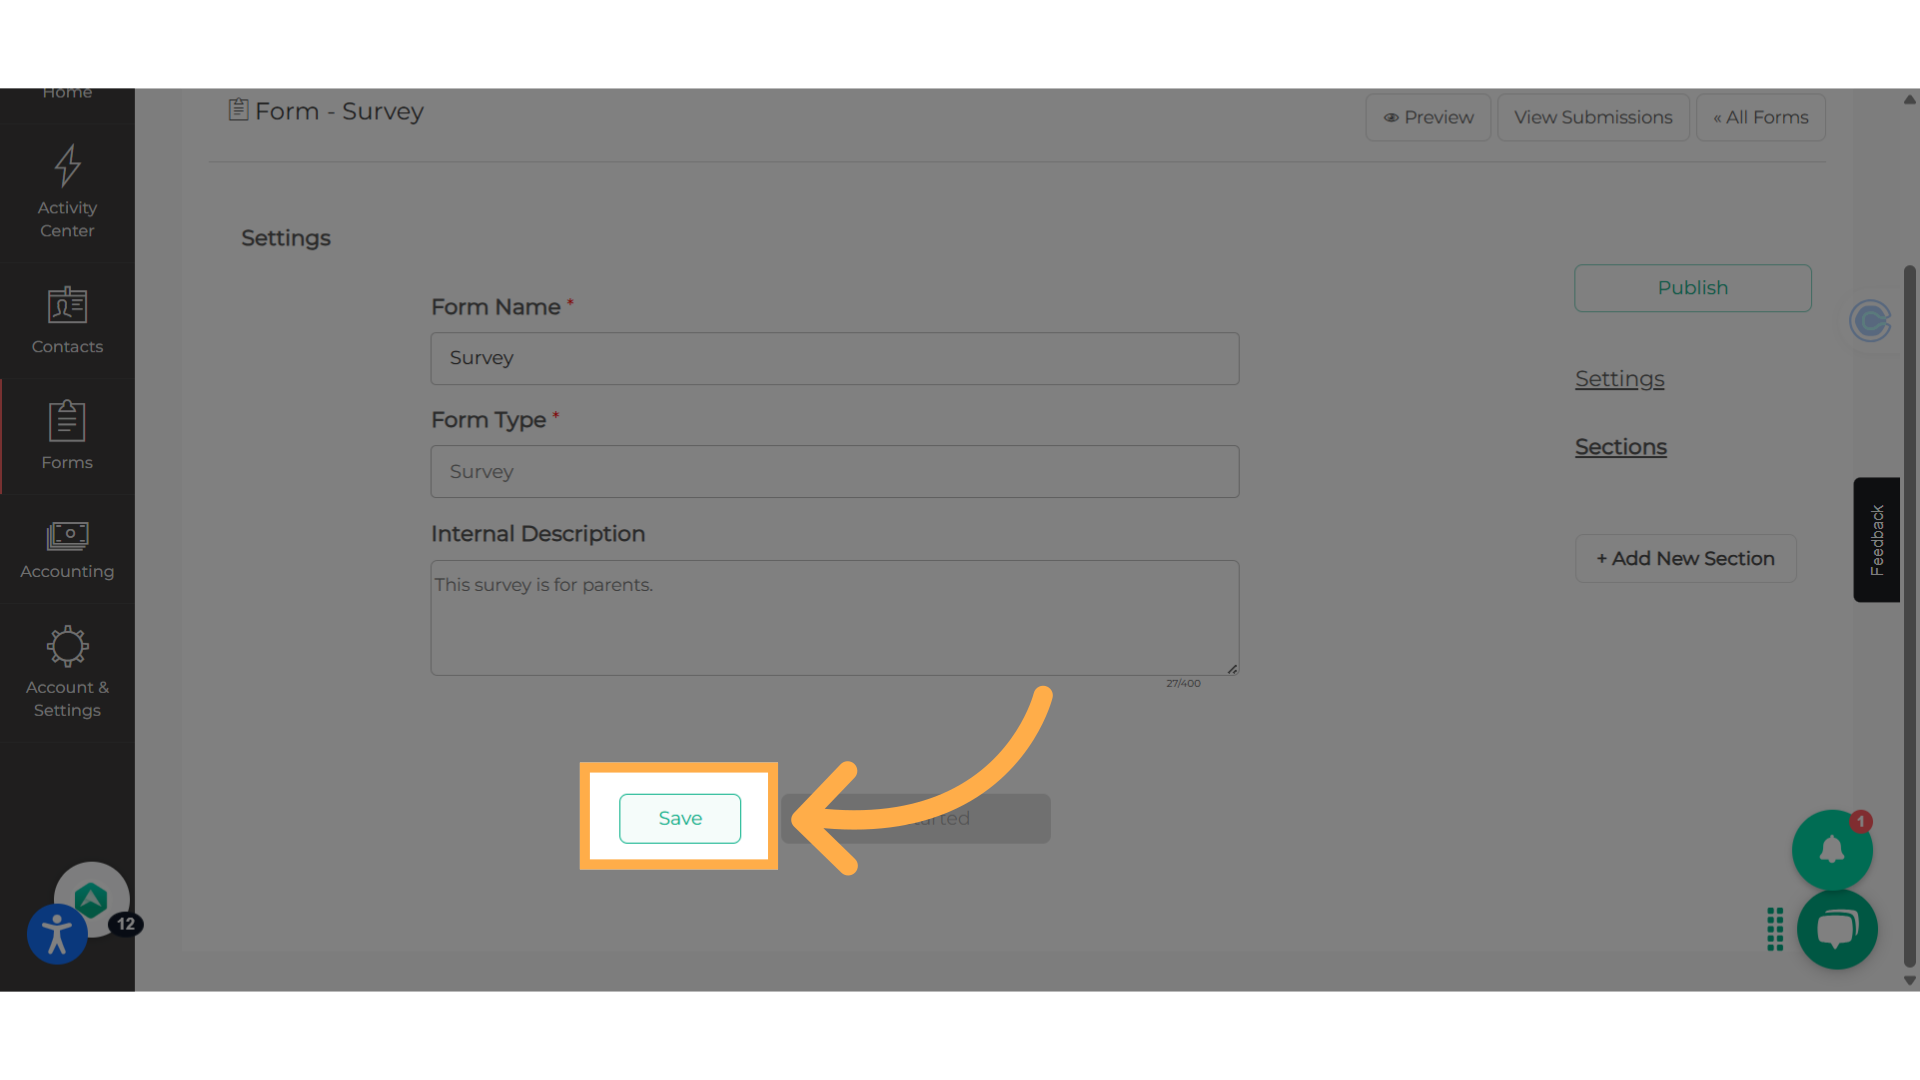
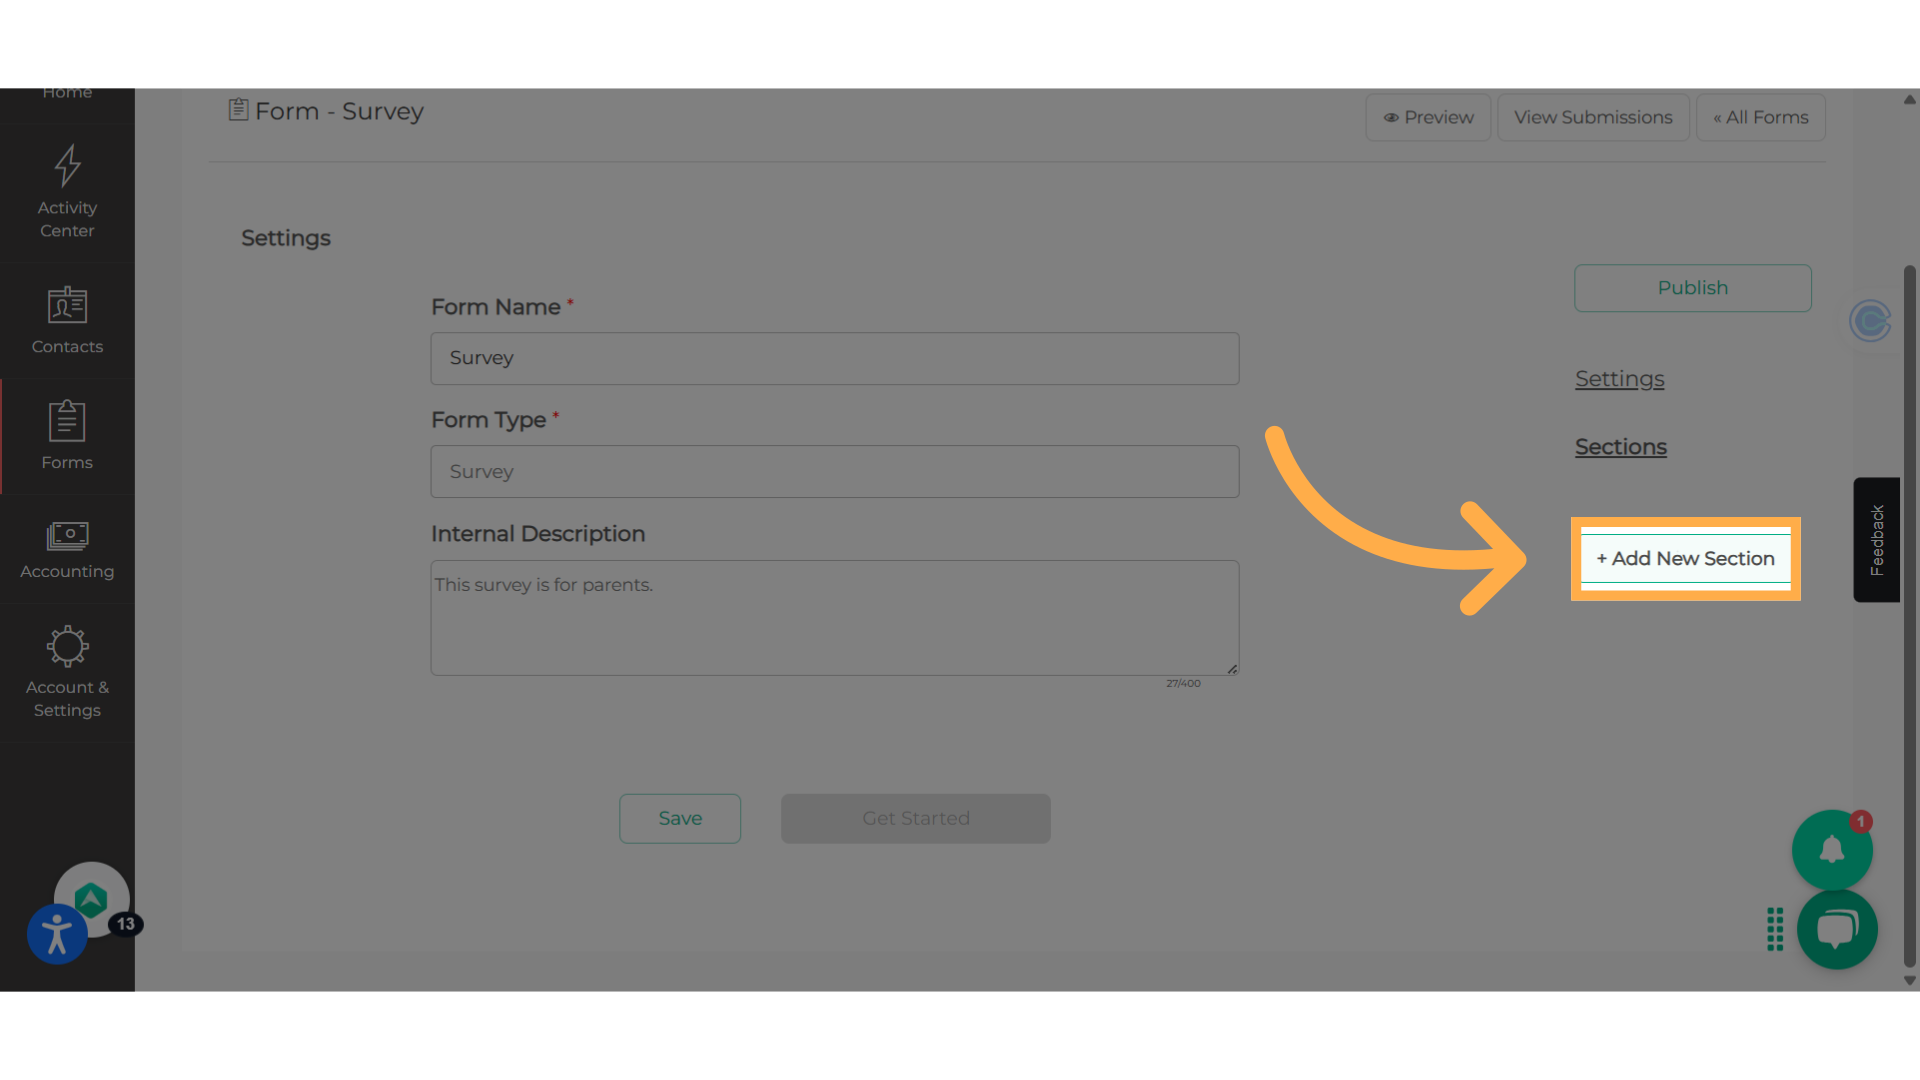
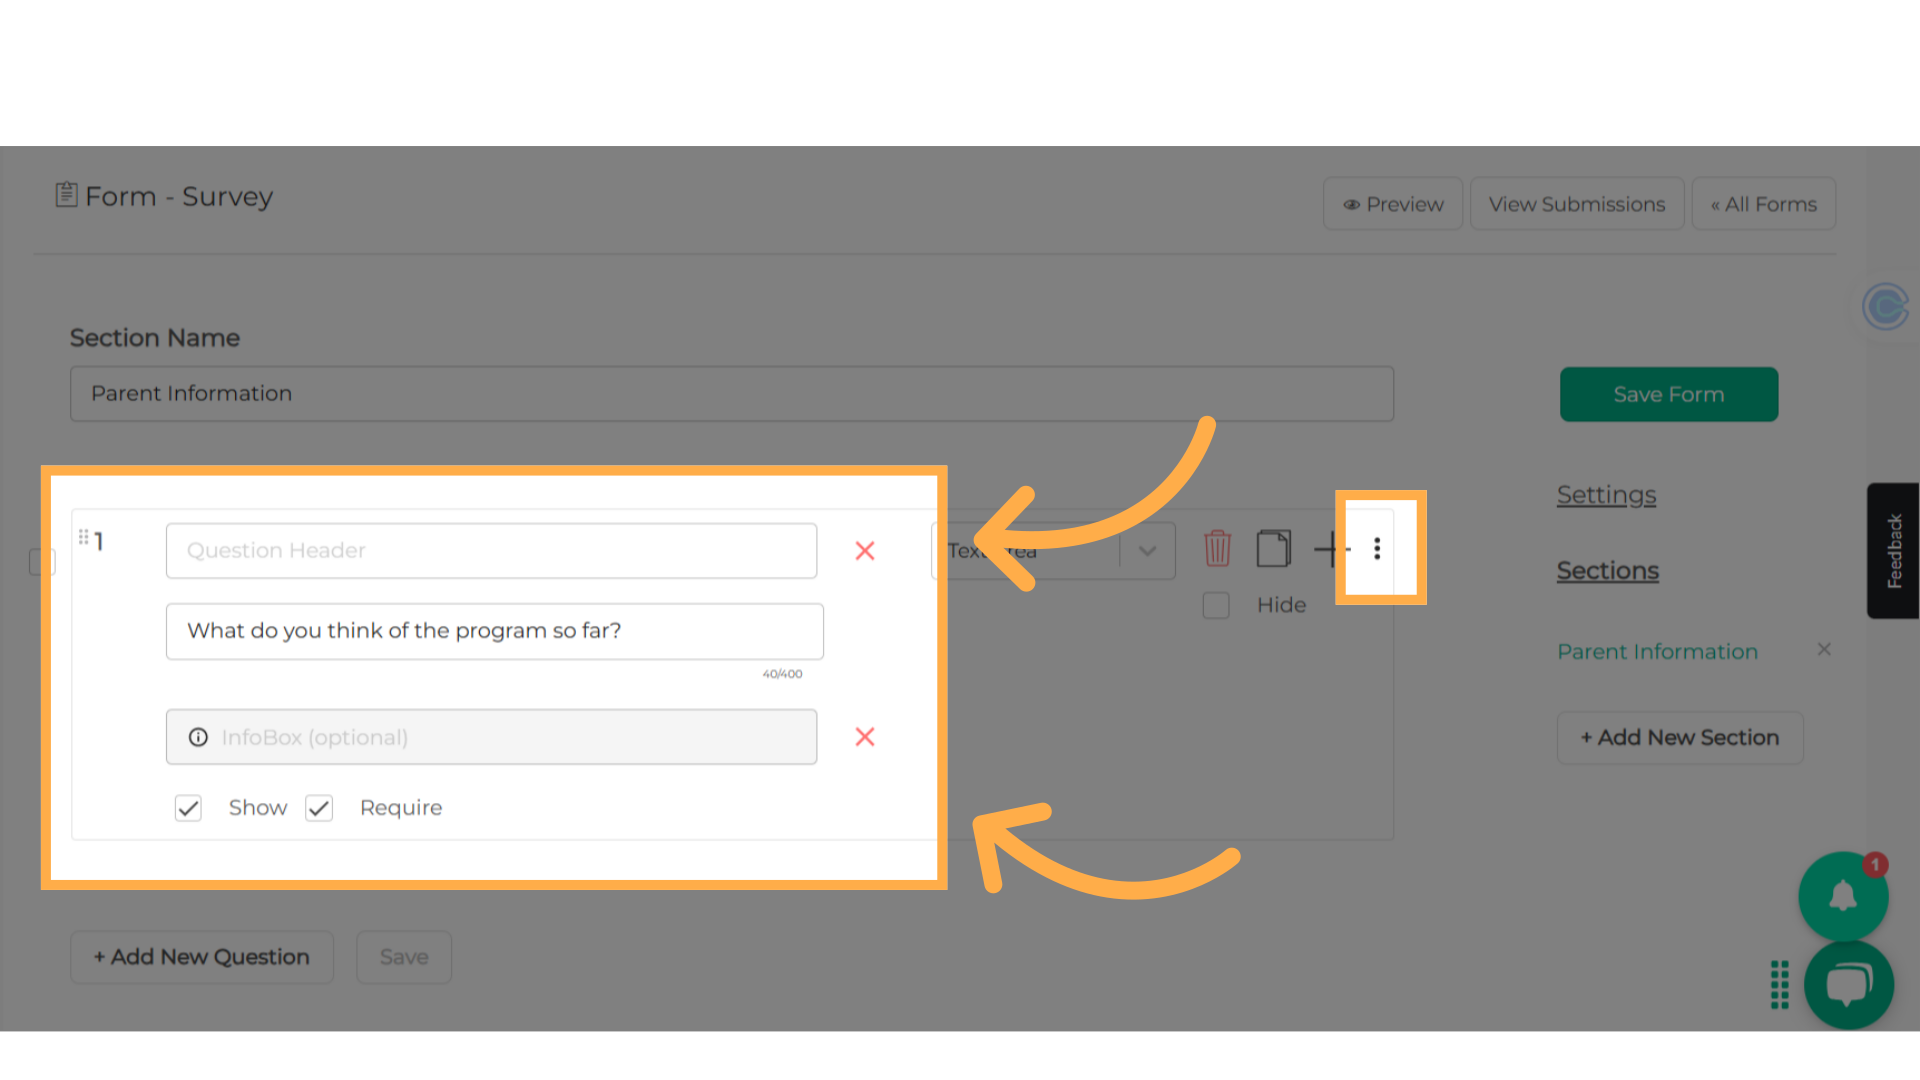
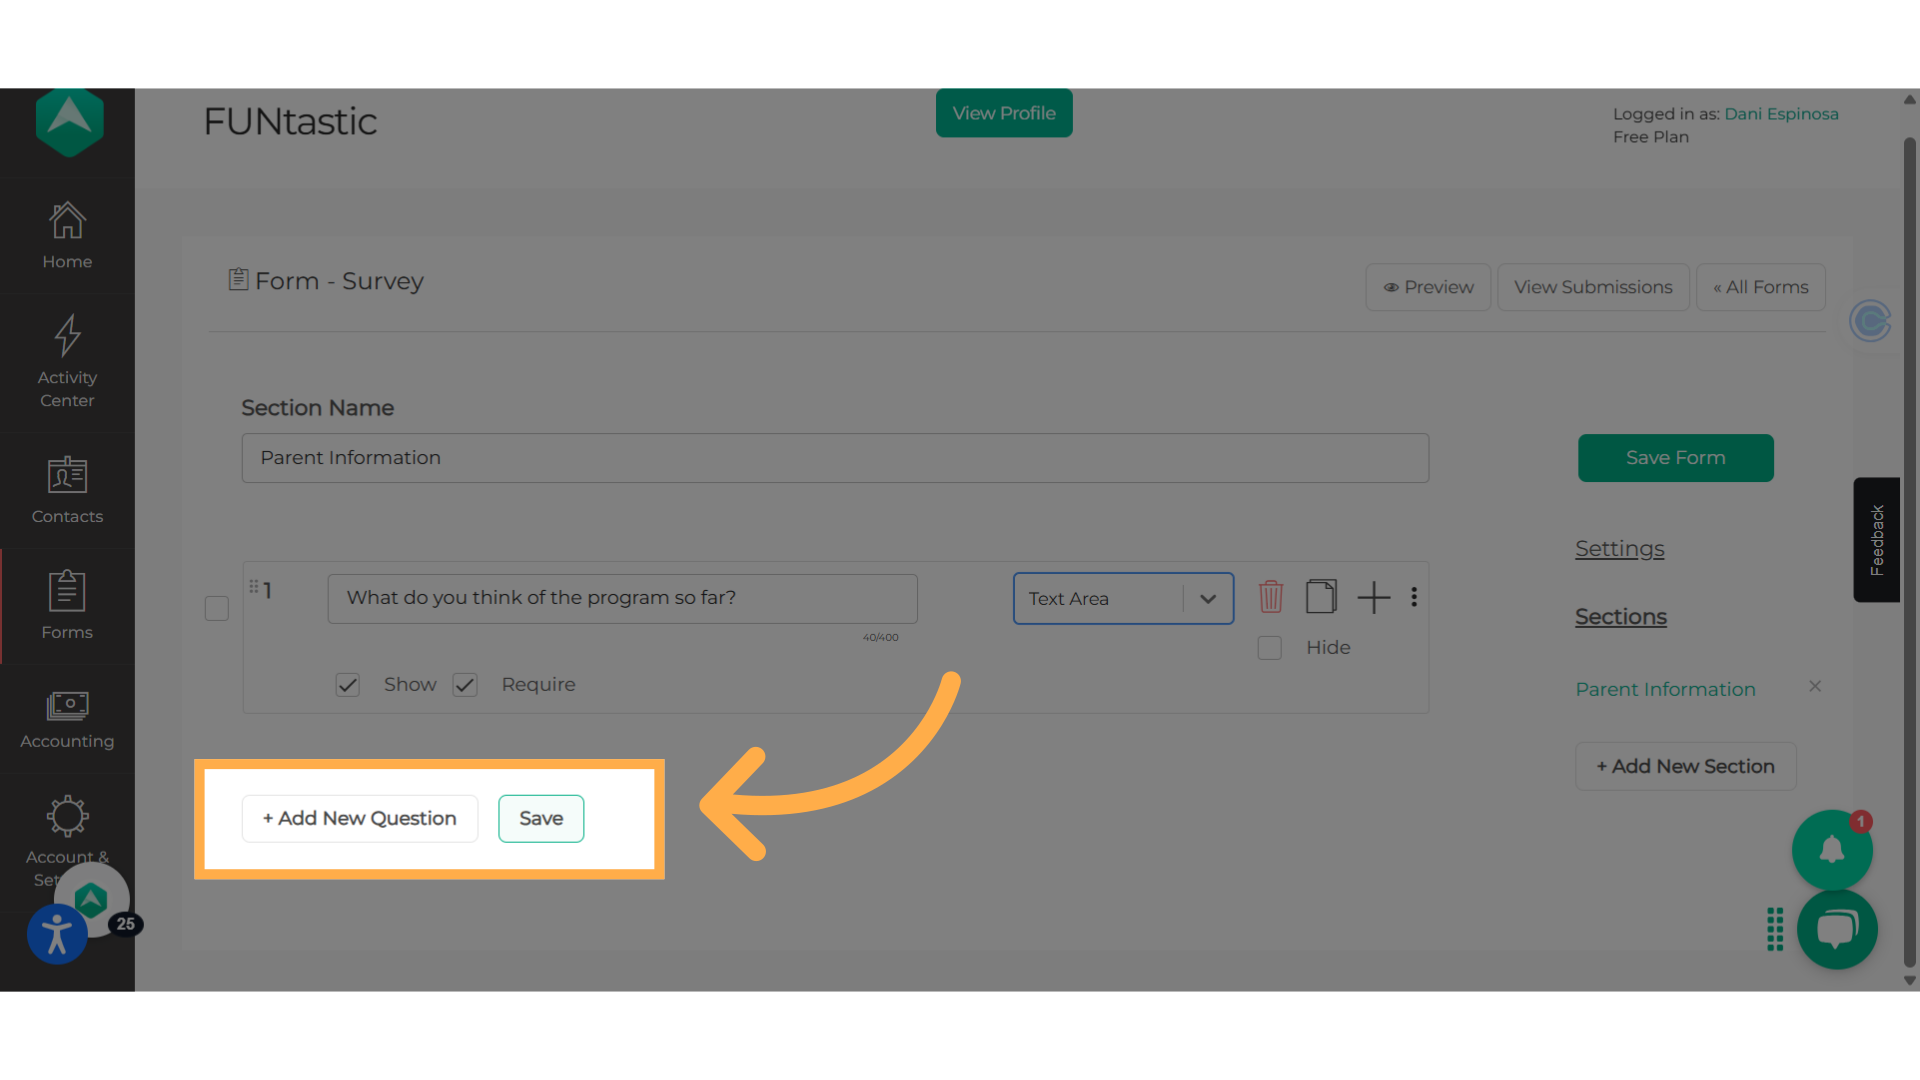
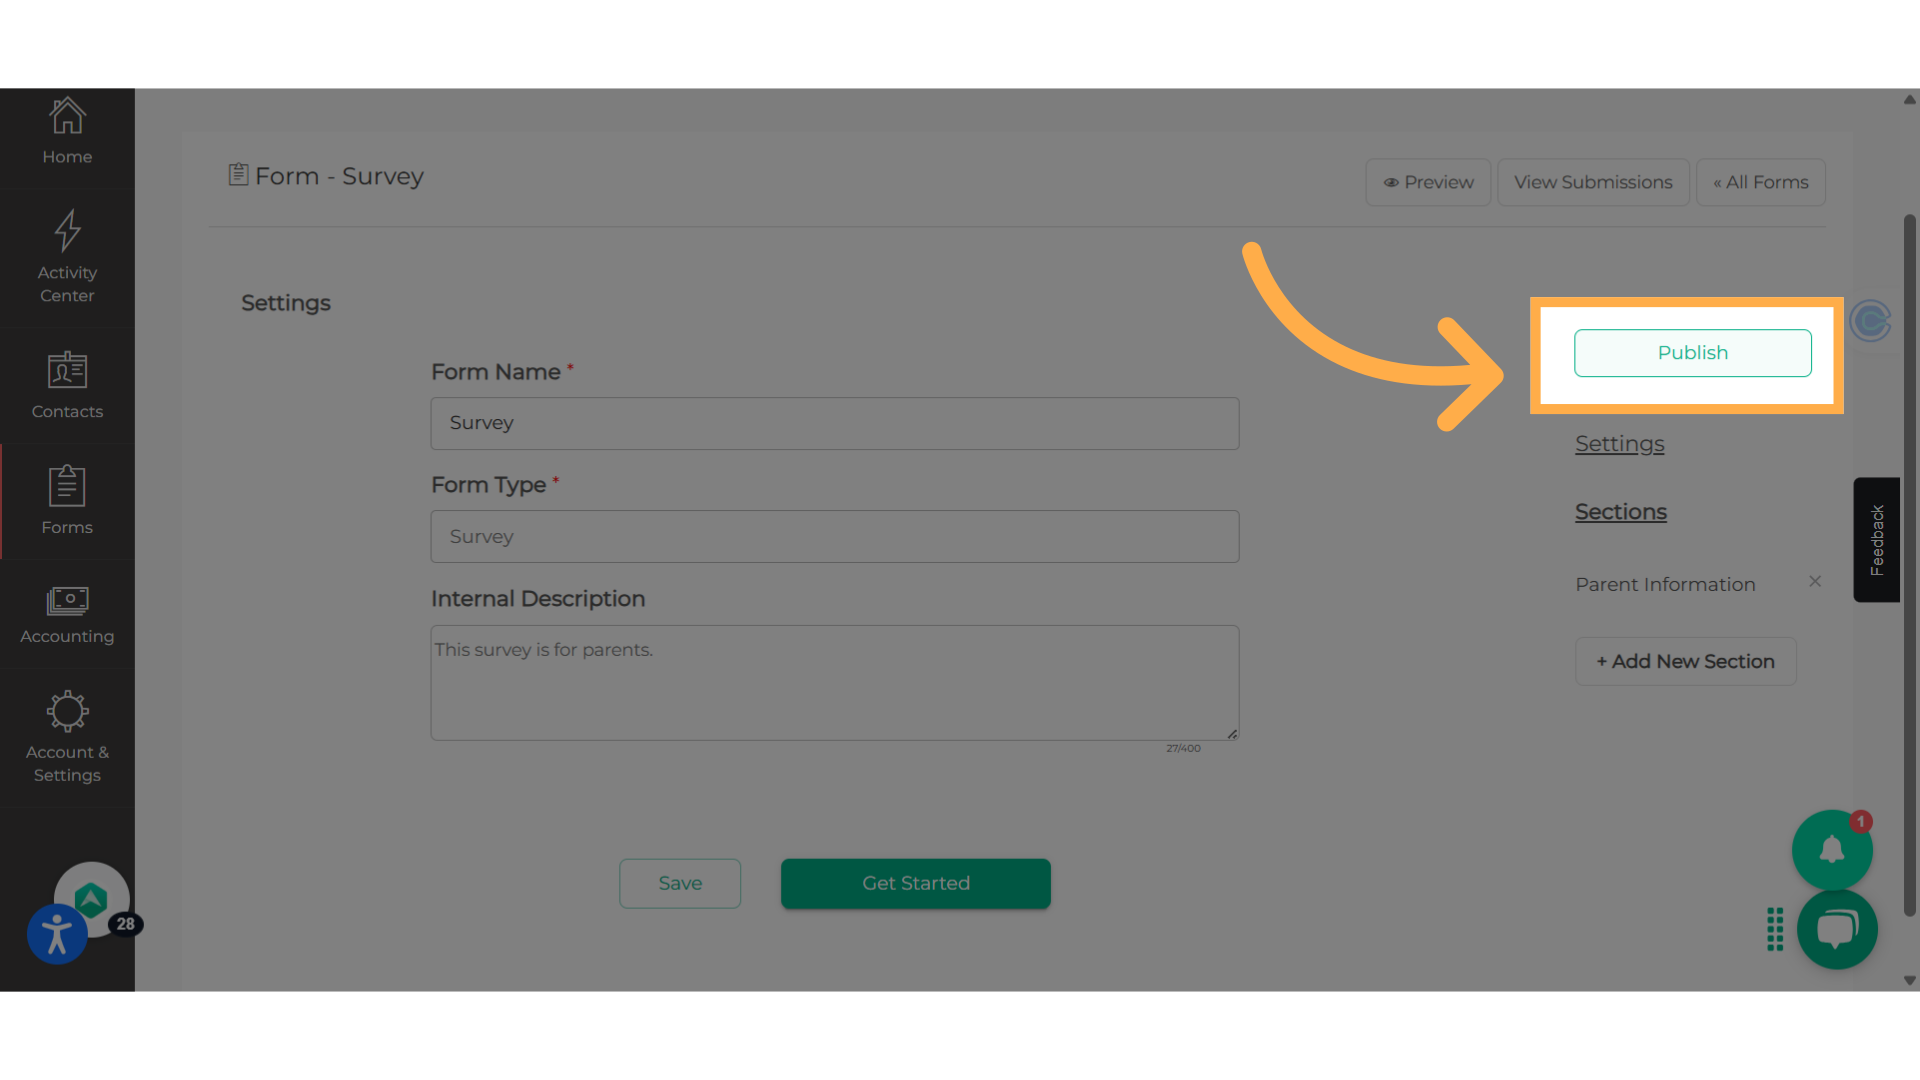
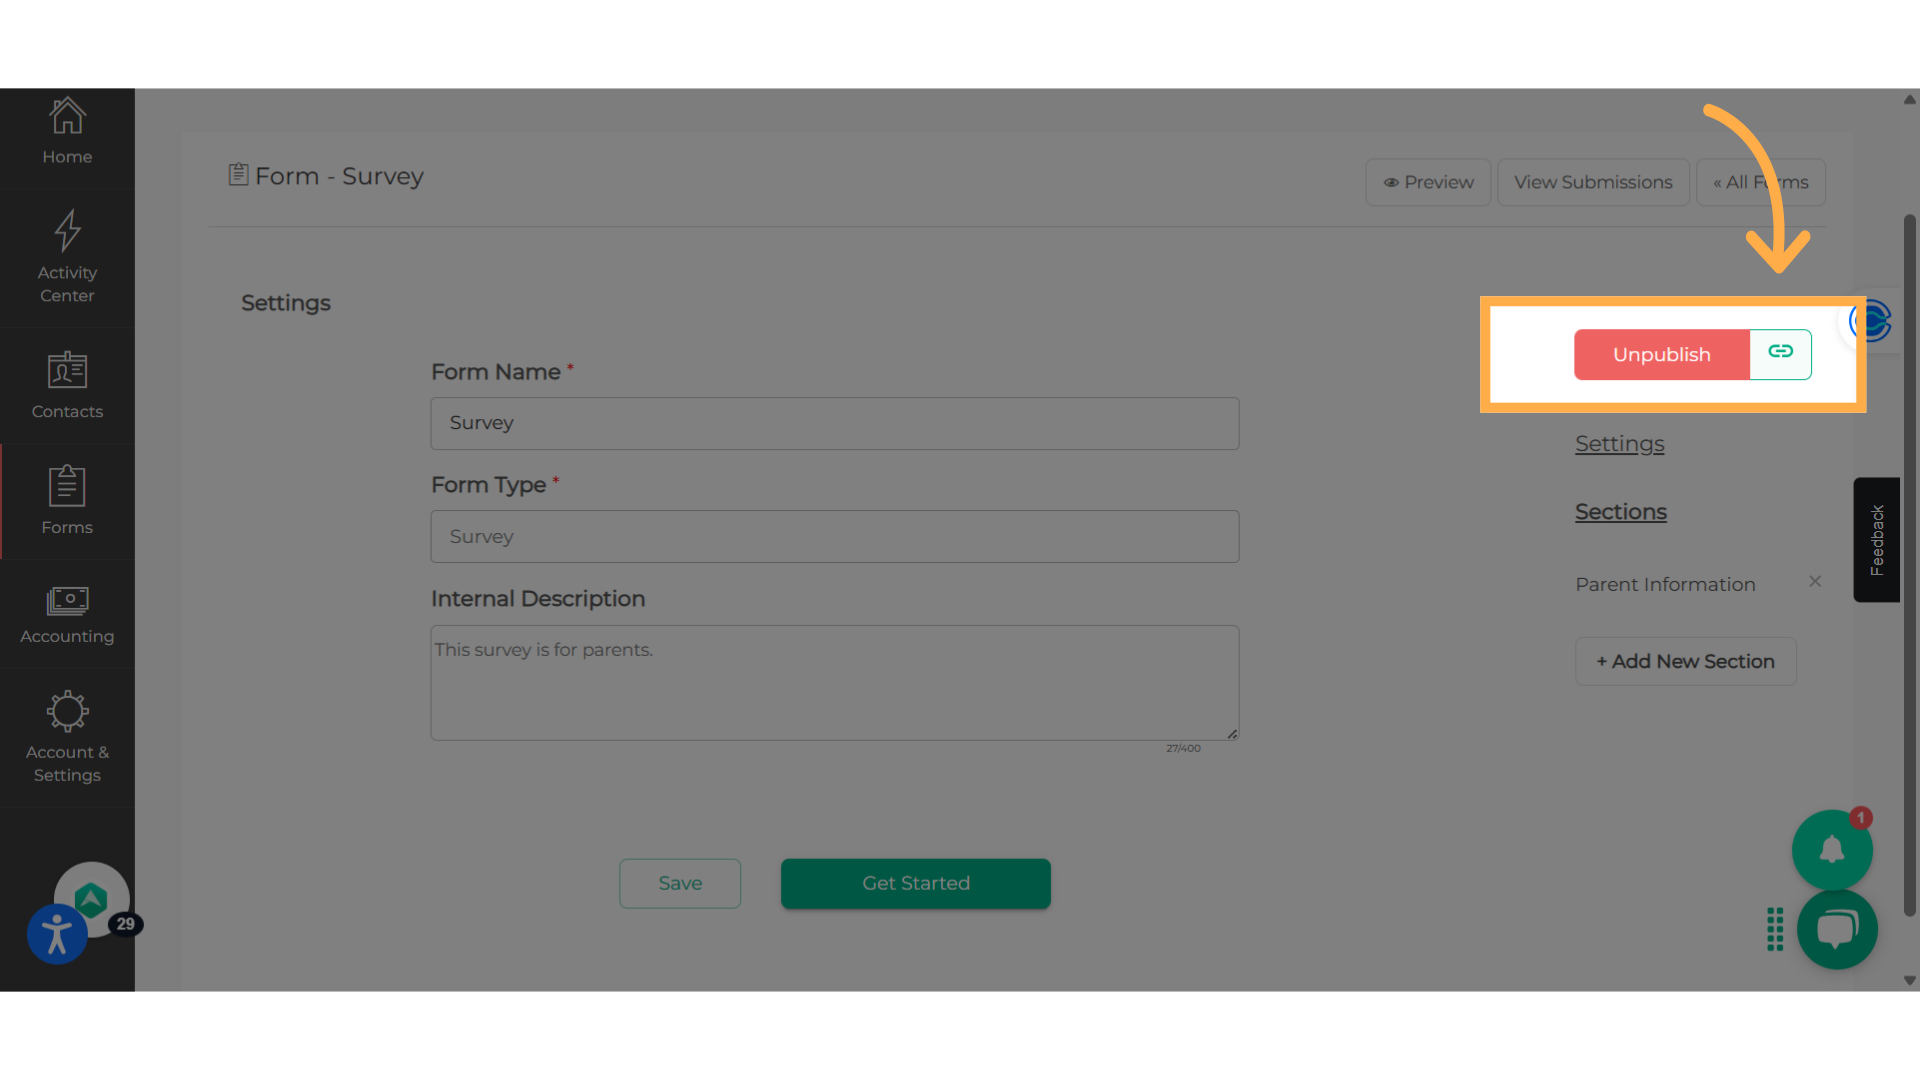
Surveys serve as a tool to collect information from both your registrants and non-registrants. You have the option to distribute surveys beyond the AHQ platform by sharing them via your personal email, flyers, QR codes, and more. Rest assured, you will still have access to view the submissions through our platform.
Learn how to create a survey on the Afterschool HQ platform with these engaging instructions.
Go to afterschoolhq.com
1. Introduction
From initiating the form creation process to publishing the survey, follow the steps below to efficiently design a survey with AfterSchool HQ.

2. Click here
From your home dashboard, click on "Forms".

3. Click "Add Form"
Begin by clicking on "Add Form" to create your survey.

4. Fill Out
Add a name to your form and then select the form type

5. Click "Create Form"
Then, select "Create Form".

6. Settings
In the "Settings", you can edit the name of the form and form type. The "Internal Description" box is for notes. Registrants will not see this.

7. Save
If you edit anything here, always save!

8. Click on "+Add New Section"
To start adding your questions, click on "+Add New Section".

9. Type & Check
Title the section and click the check mark. Follow the same step to create new sections.

10. Click "+ Add New Question"
Then click on the actual title and select "+Add New Question".

11. Add your question
Please type your question in the question box. Using the dropdown on the right, choose the format that the registrants will respond in. Finally, decide whether the question will be marked as optional with 'Show' or if it will be a mandatory question labeled 'Require' on the bottom. Then 'Save'!

12. Other Options
You can remove a question by clicking on the red trash can. To copy the question, just click on the copy icon. If you select the plus sign, you'll be able to add a new question right below this one. Finally, by checking the hide box, the parent won't see the question, but you will, and you can edit it whenever you're ready.

13. Question Header
If you click on the 3 dots, you'll be able to add a question header or add a info box.

14. Add more questions or Save!
Click on "+Add New Question" or "Save"!

15. Click "Publish"
Return to the survey's settings page and click on "Publish". This will enable your survey to start collecting responses.

16. Survey Link
You can now share the survey link and wait for responses.

This guide walked you through How to Create a Survey on Afterschool HQ. Thanks for watching!
💡If you have any questions or experience any technical difficulties with How to Create Surveys, don't hesitate to get in touch with our support team at support@afterschoolhq.com.