How to Create & Use Locked Student Notes

The Locked Notes feature enhances privacy by letting note creators restrict access to specific users. It's available only on Pro and Enterprise plans.

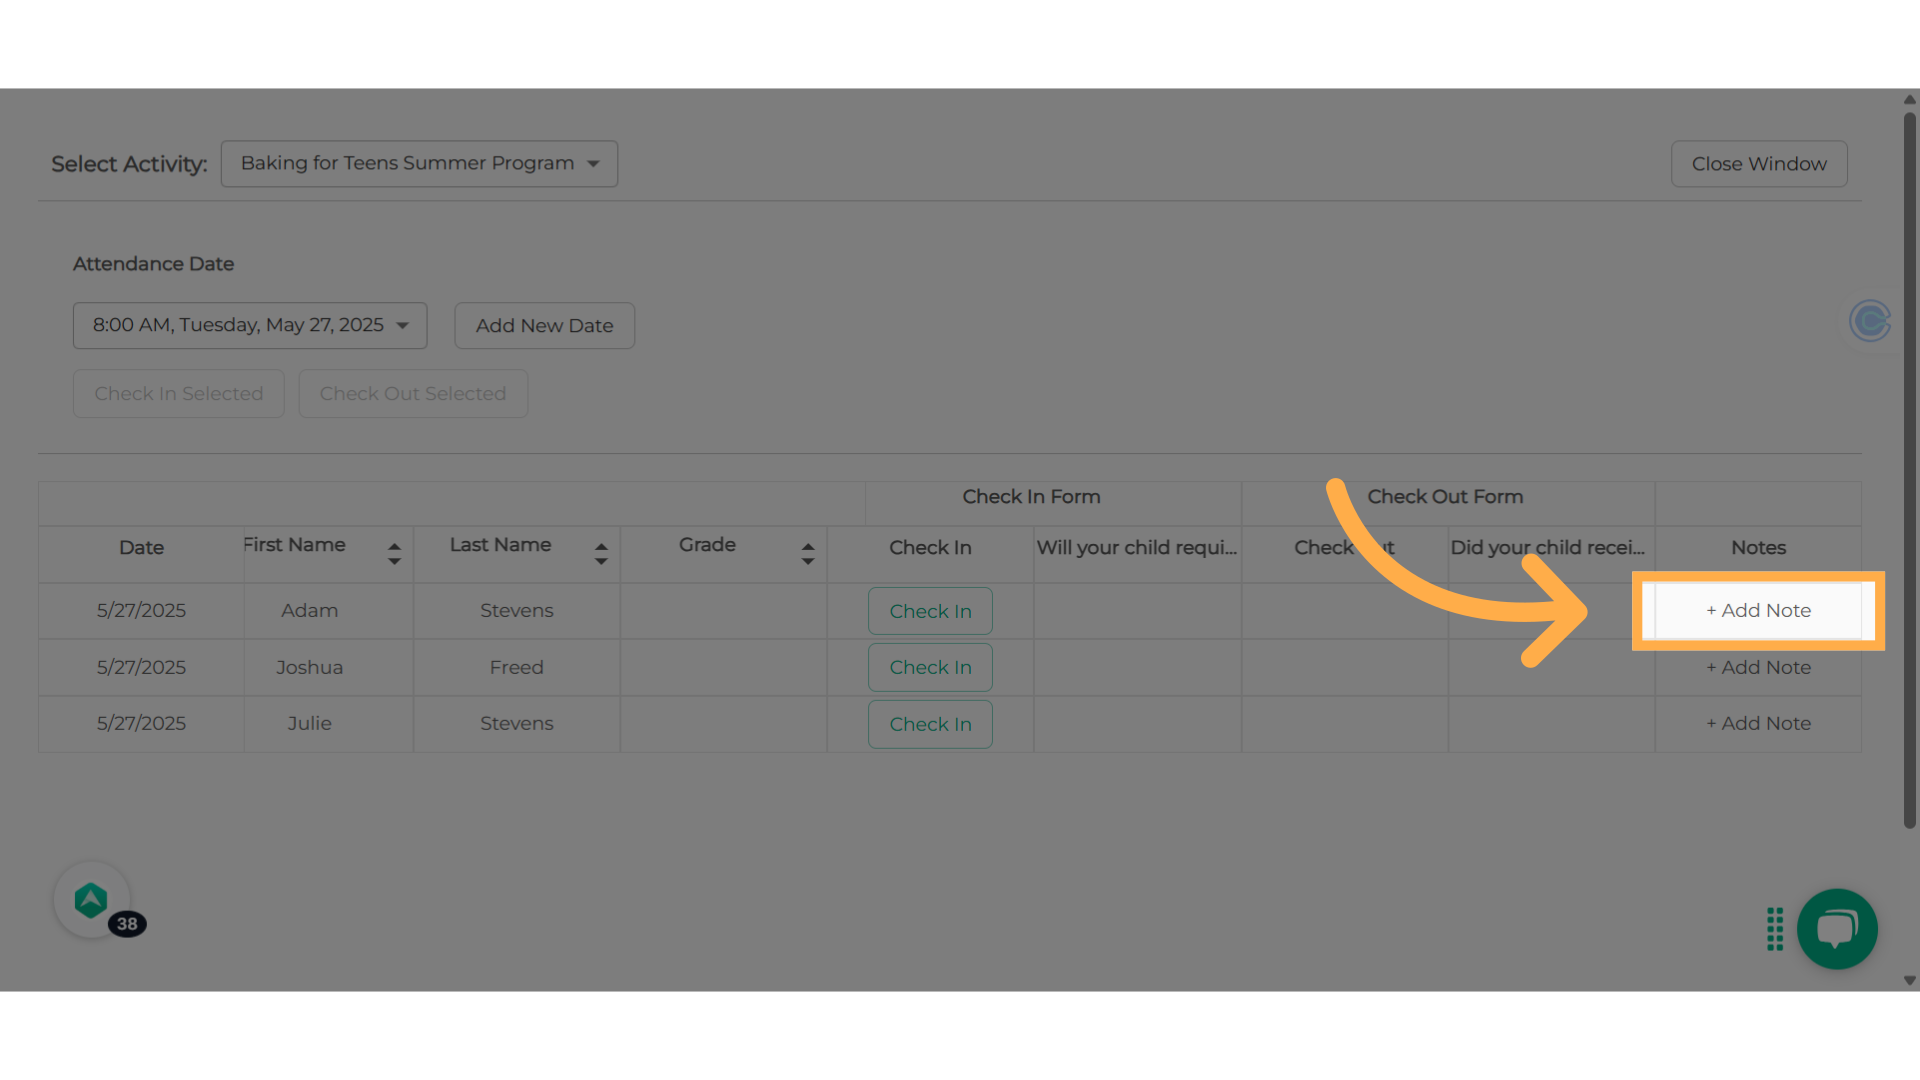
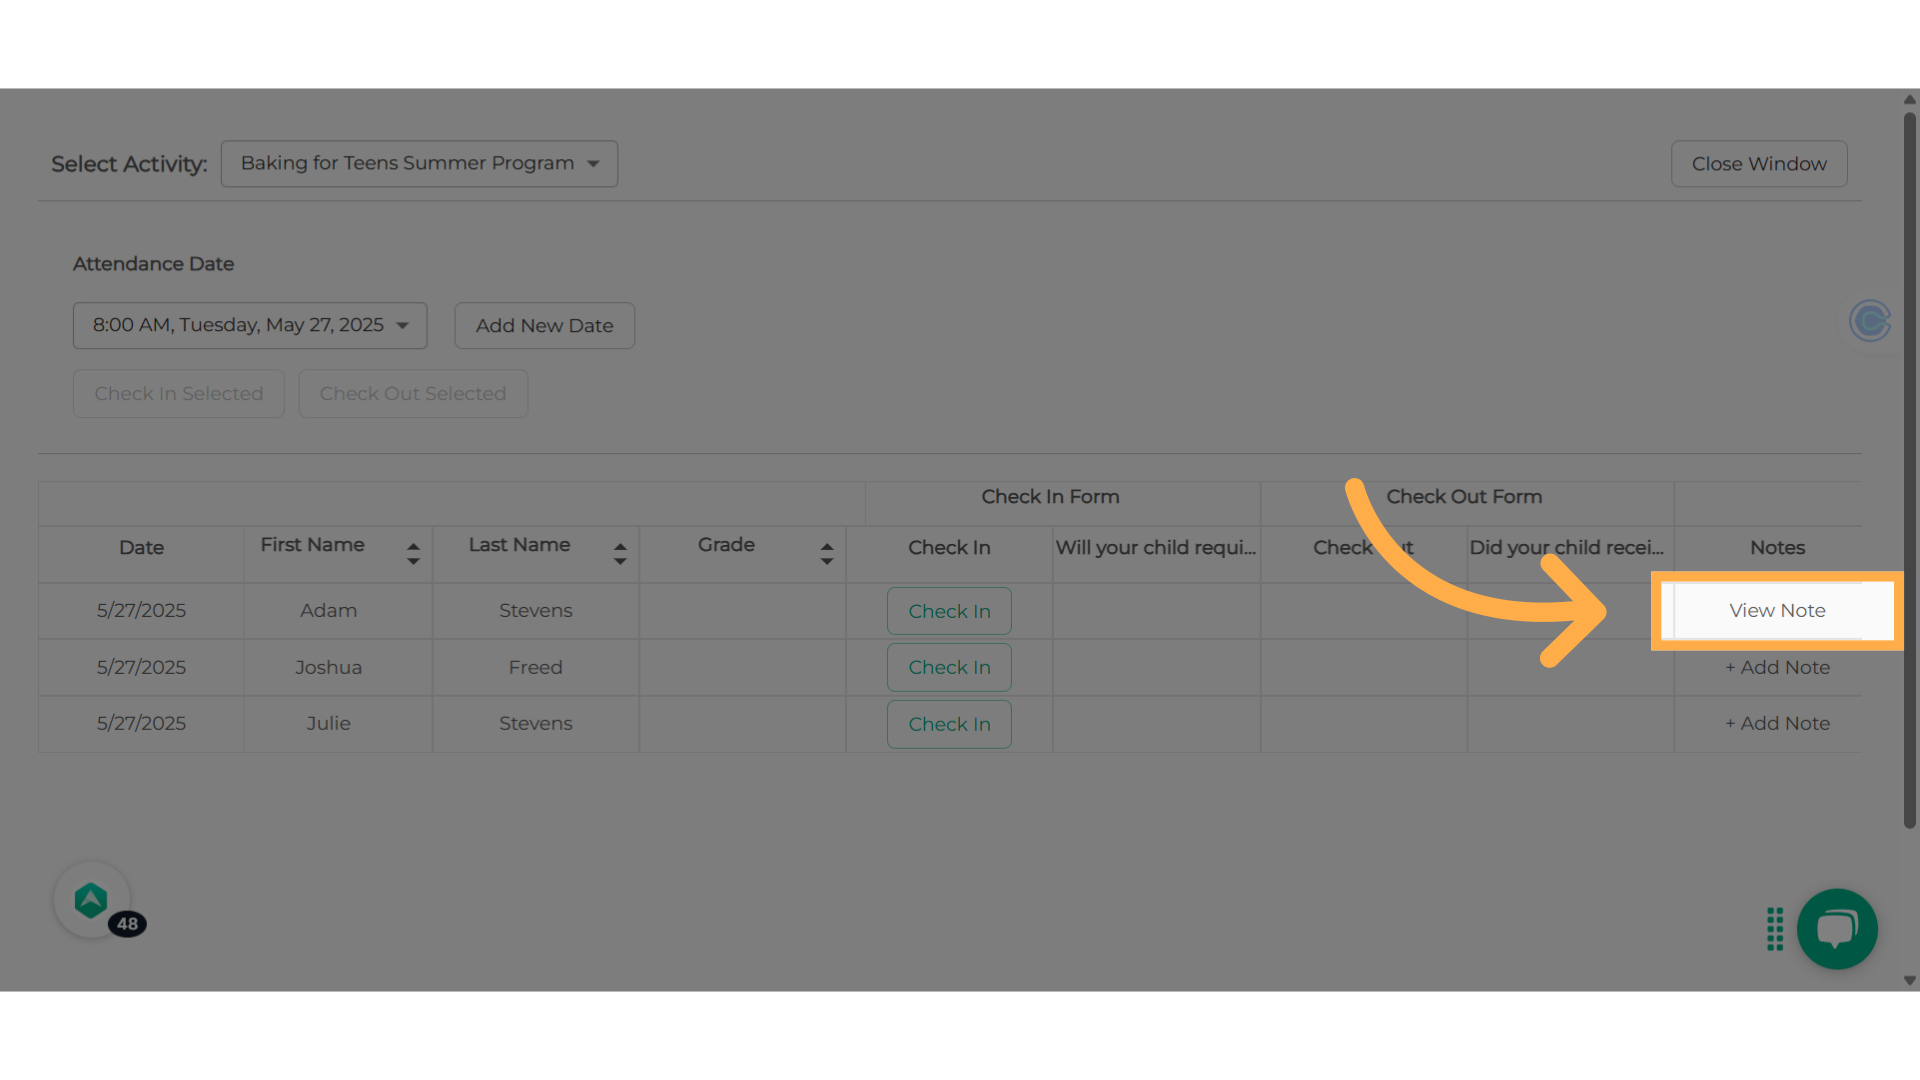
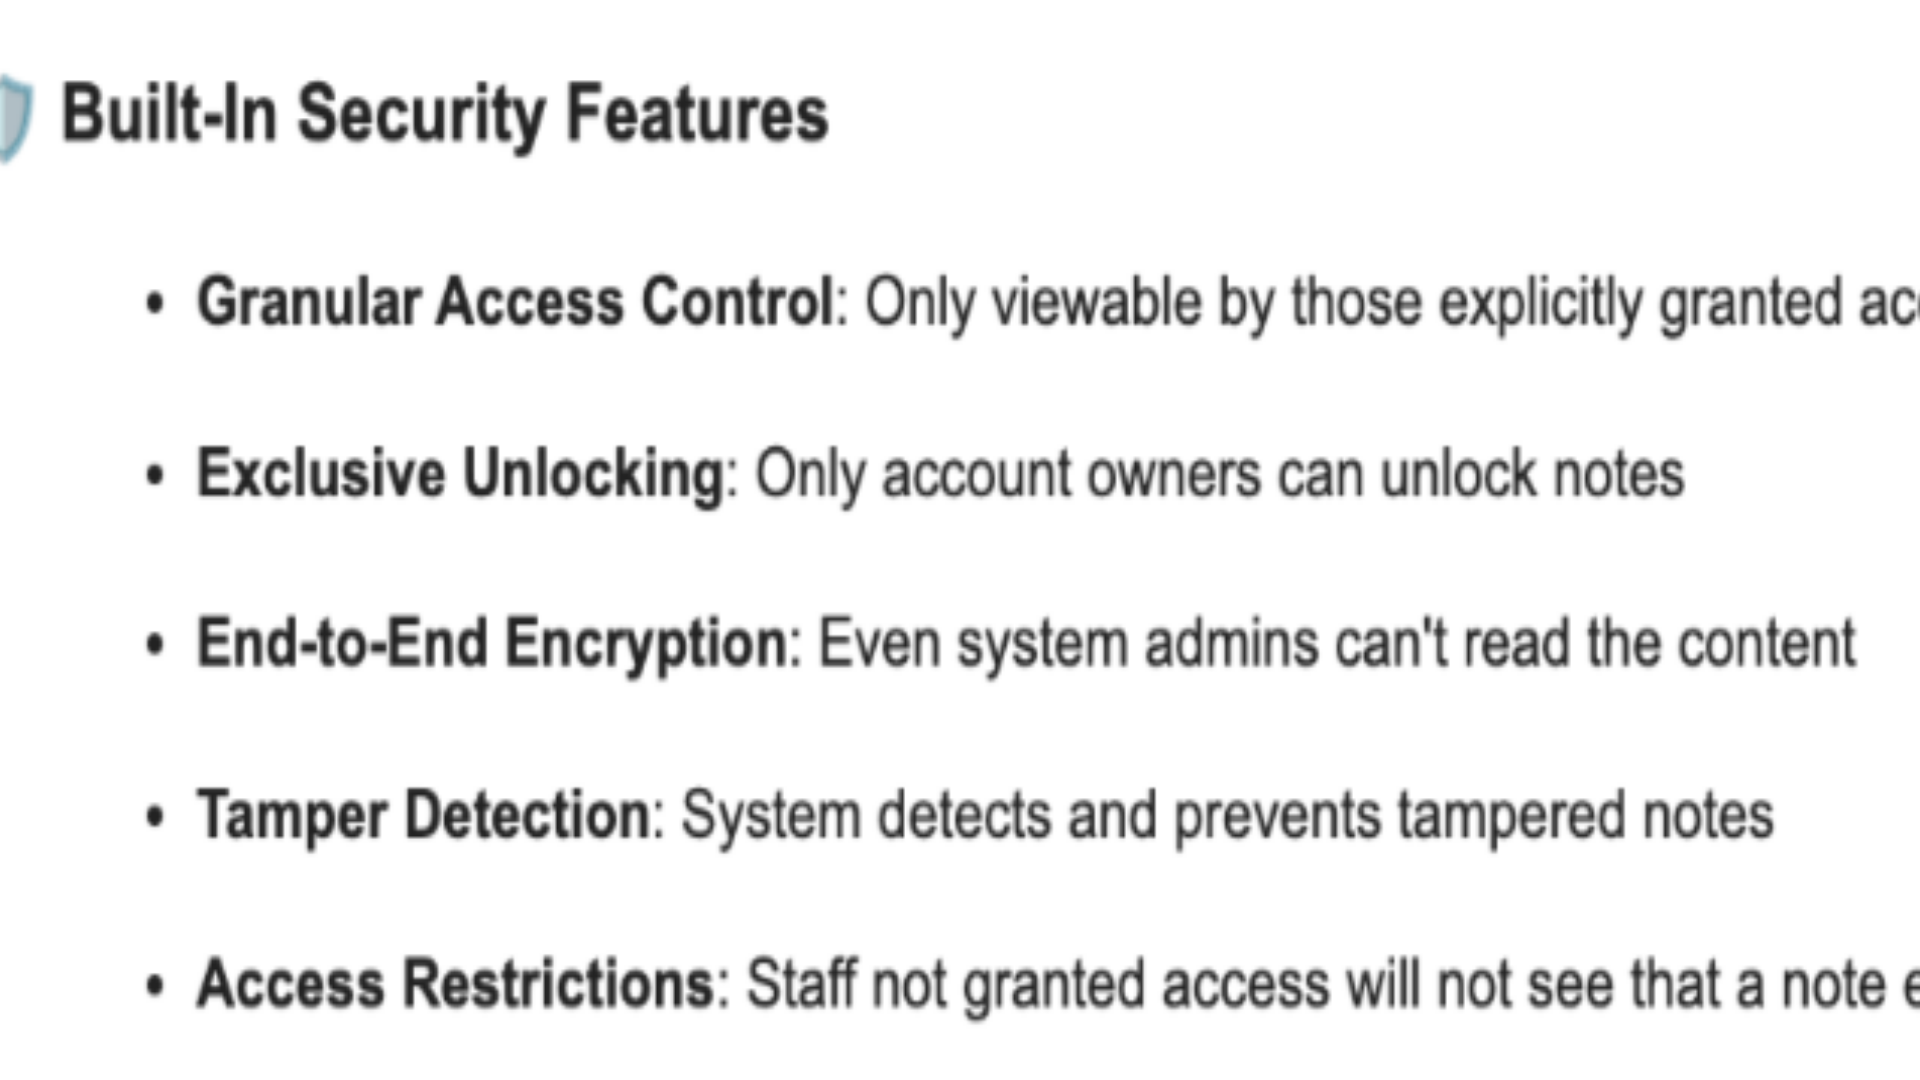
Locked notes are only visible to users who have been granted access by the note creator or someone else with access. If a user does not have access to view a locked note, it will not show in their list of notes or on the attendance table.
Customer Support (CS) team can see that a locked note exists (along with its author and timestamp), but cannot view the note's text content.
This guide will walk you through the process of creating and utilizing locked student notes in Afterschool HQ, ensuring secure access to sensitive information

Go to afterschoolhq.com

1. Introduction

In this guide, we will explore the process of creating and utilizing locked student notes, as well as how to configure permissions.
Introduction

2. Click "Students"

From your home dashboard, hover over "Contacts" and select "Students".
Click 'Students'

3. Click "View Details"

To see specific details about a student, click on "View Details" next to that student's name.
Click 'View Details'

4. Click "Notes"

From the student registration page, access the student's notes by clicking on "Notes."
Click 'Notes'

5. Click "New Note"

Create a new note by selecting "New Note."
Click 'New Note'

6. Enter the required information

Please provide a title and date for your note. After that, go ahead and write your note.
Enter the required information

7. Lock the note

Tick this box to lock your note.
Lock the note

8. Permissions

Give others permission to view and edit the note by clicking on the 'Grant Access' drop-down.
Permissions

9. Enter the staff name

Enter the staff members name and then select the name.
Enter the staff name

10. Hit "Save"

Save the changes by clicking on "Save."
Hit 'Save'

11. Edit by clicking here

To edit, click on the 3 dots on the right-hand side of the note.
Edit by clicking here

12. Click here

To revoke permissions, select the drop-down menu in the "Grant Access" section and click the "X" next to the name of the staff member you wish to remove.
Click here

13. Click "Delete"

Delete a note by clicking on the 3 dots on the right-hand side of the note and select "Delete."
Click 'Delete'

14. Confirm "Deletion"

Confirm deletion by clicking on "Delete."
Confirm 'Deletion'

15. Click "Manage Check In/Out"

To add locked notes when using the "Check In and Out" for attendance, click on "Manage Check In and Out" on your home dashboard.
Click 'Manage Check In/Out'

16. Select your activity and date

First, select your activity and the correct date.
Select your activity 
and date

17. Click on "Add Note"

Then, click on "Add Note" to begin.
Click on 'Add Note'

18. Add the required information

Follow the same steps as before by entering the title, selecting the date, adding the note, locking the note, and giving access.
Add the required information

19. Save!

Don't forget to save your locked note!
Save!

20. Click "View Note"

You can always go back and view the note by clicking on "View Note."
Click 'View Note'

21. Click "Close Window"

Close the window by clicking on "Close Window."
Click 'Close Window'

22. Permission Summary

Any user has the ability to create and secure a note, but the ability to view the note's content is determined by their role and whether they have been given permission. Notes that are locked will not be visible to users who do not have access, and they will not show up in the notes list or attendance table.
Permission Summary

23. Security Measures for Locked Student Notes

AfterSchool HQ incorporates several privacy features to protect sensitive student information. These measures ensure a secure and confidential environment, while keeping the platform user-friendly for authorized staff.
Security Measures for 
Locked Student Notes
This guide walked you through Creating and Using Locked Student Notes with Afterschool HQ. Thanks for watching!

Best Practice or Advice from our team:

Removing Feature Flag or Account Downgrade

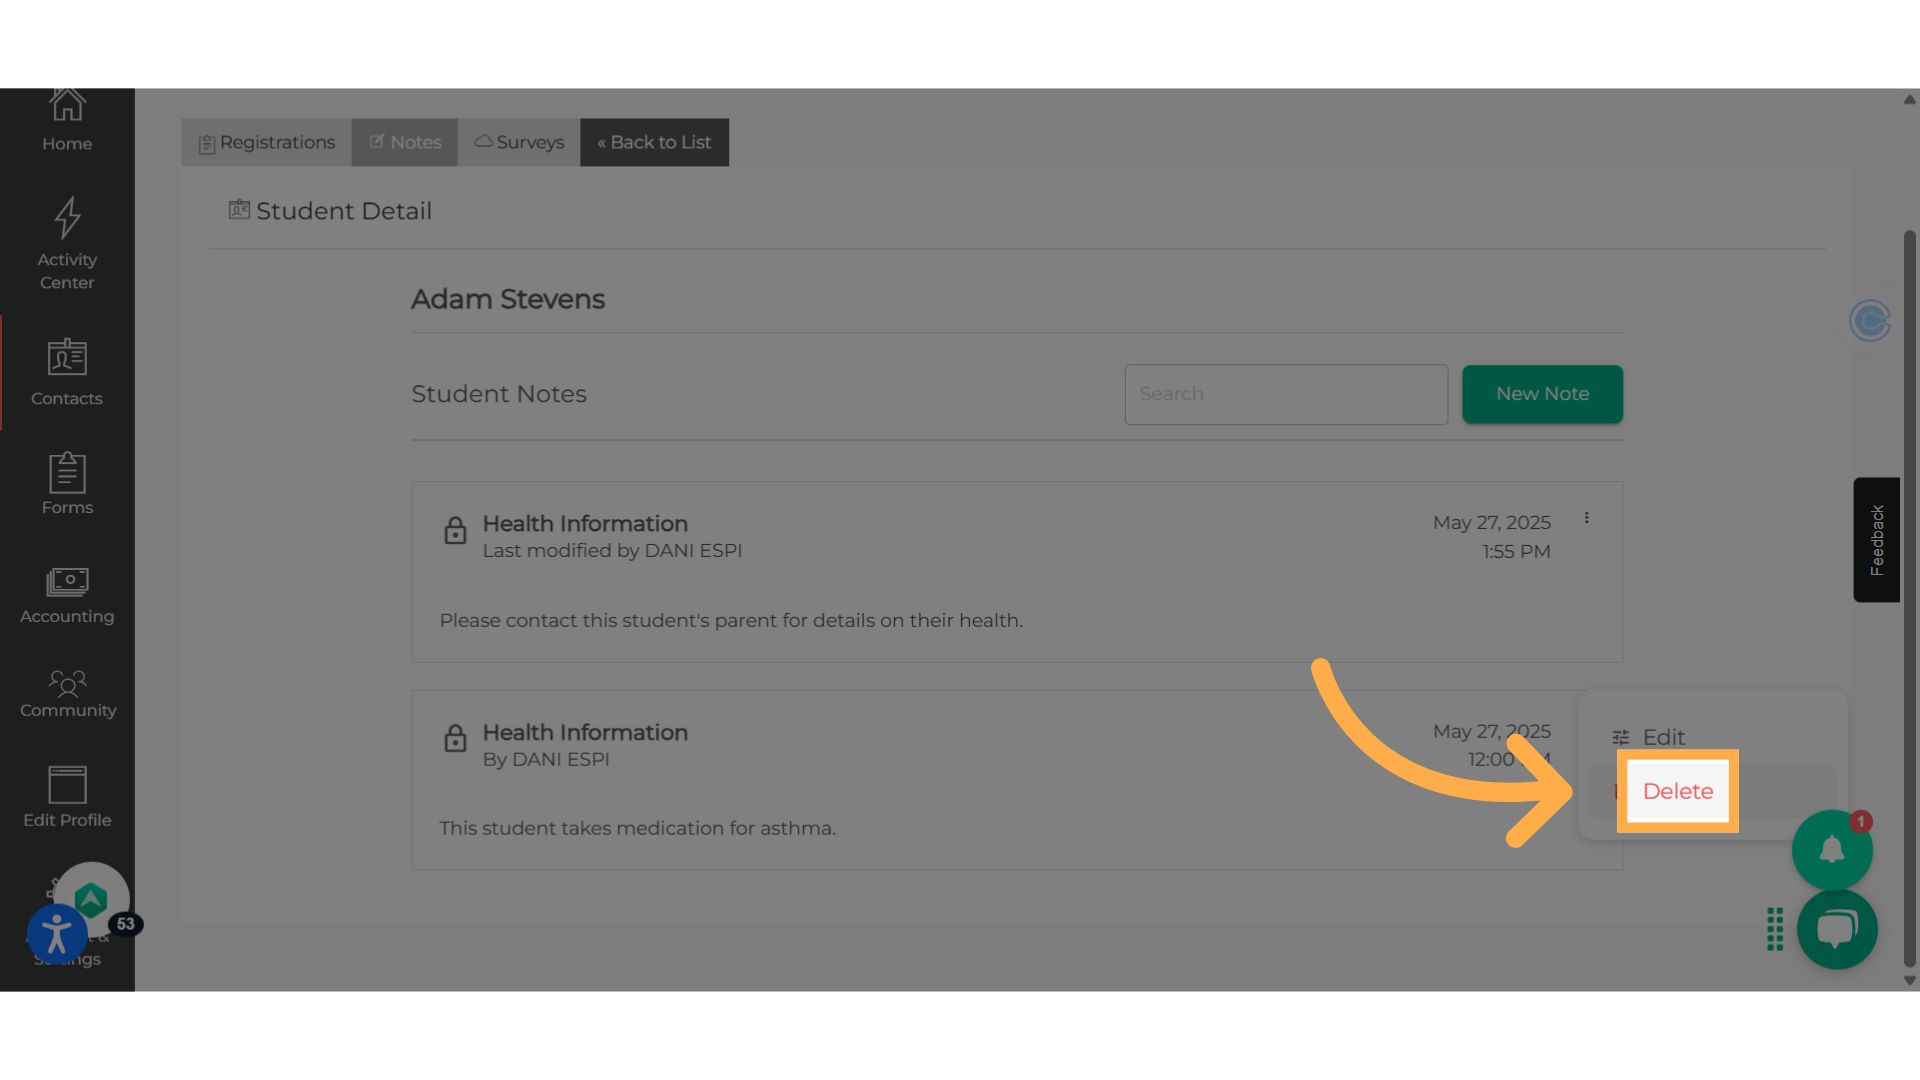
If an account no longer qualifies for the Locked Notes feature (i.e., it is no longer on a Pro or Enterprise plan, or the feature flag is disabled), locked notes will behave differently. On the notes list, locked notes will display a message indicating that they were locked while the account had access to the feature, along with a prompt to upgrade. The three-dot menu for these notes will be hidden.
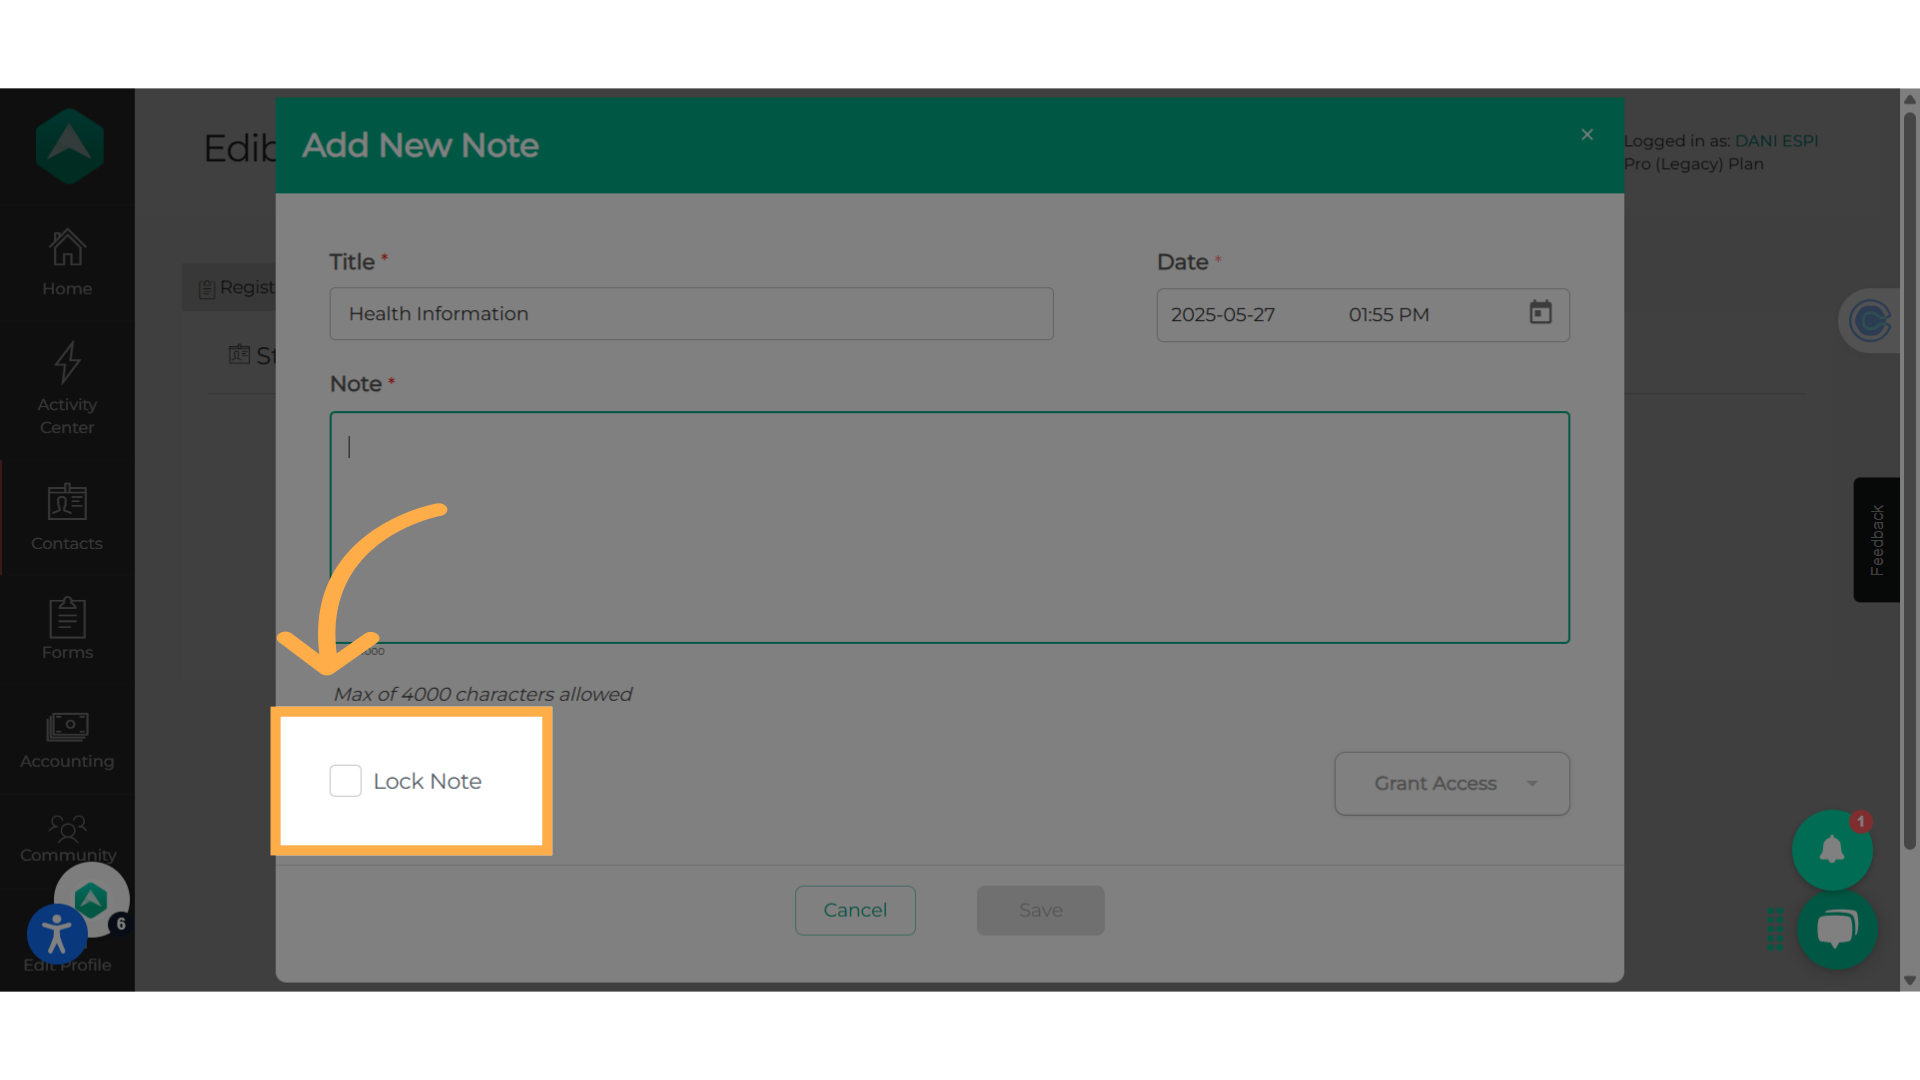
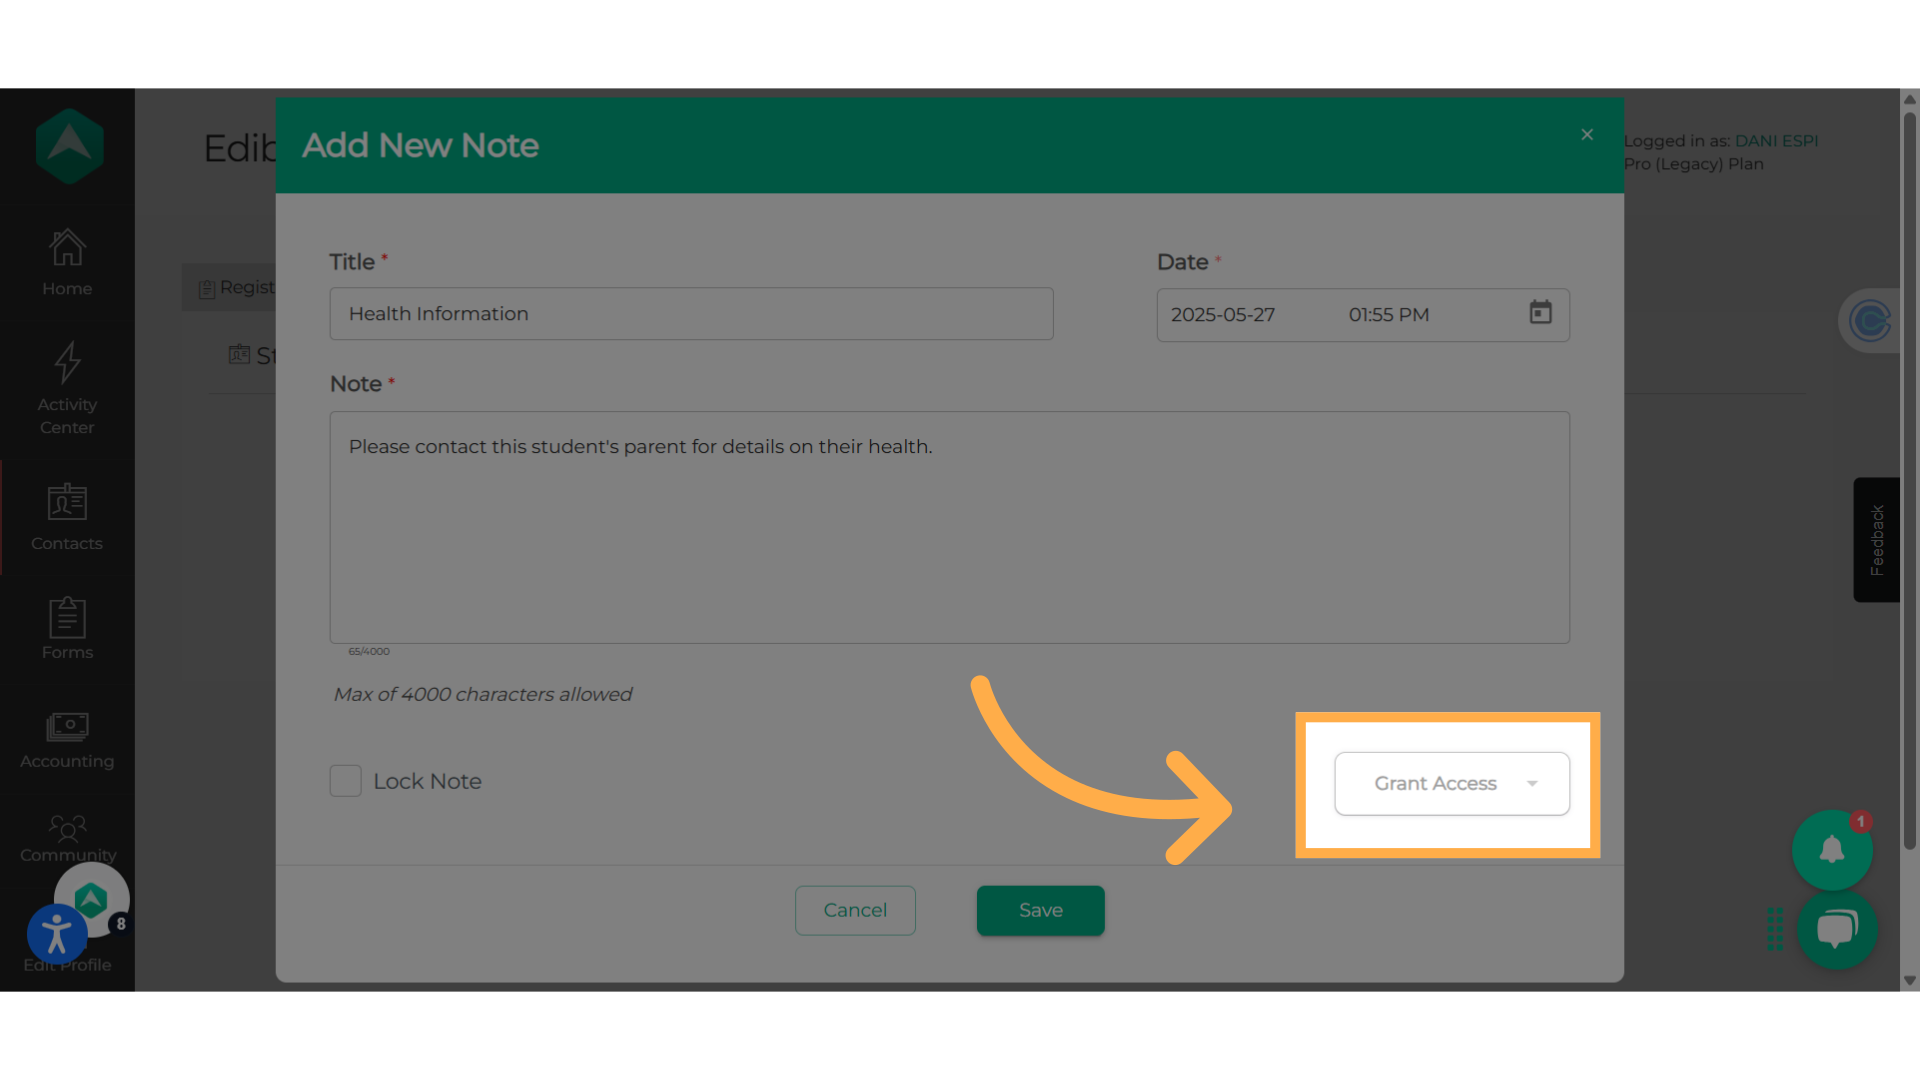
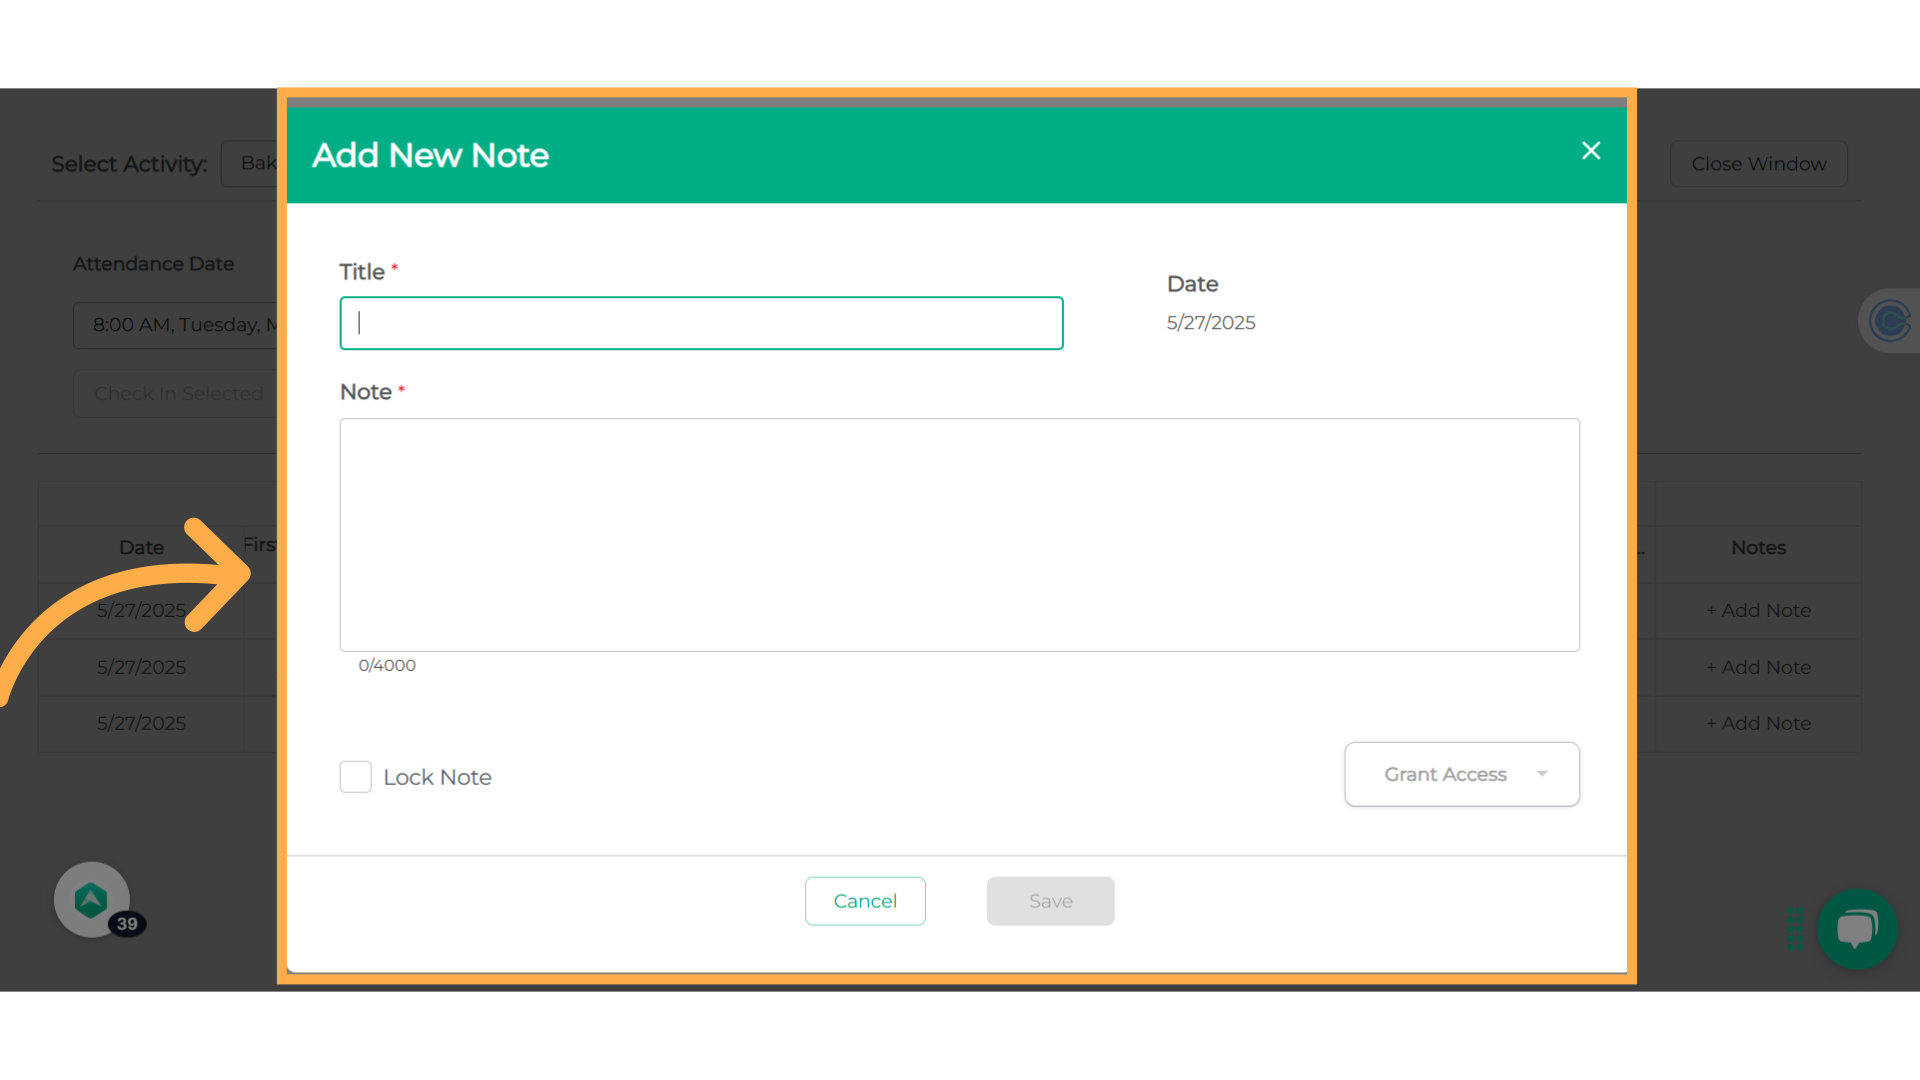
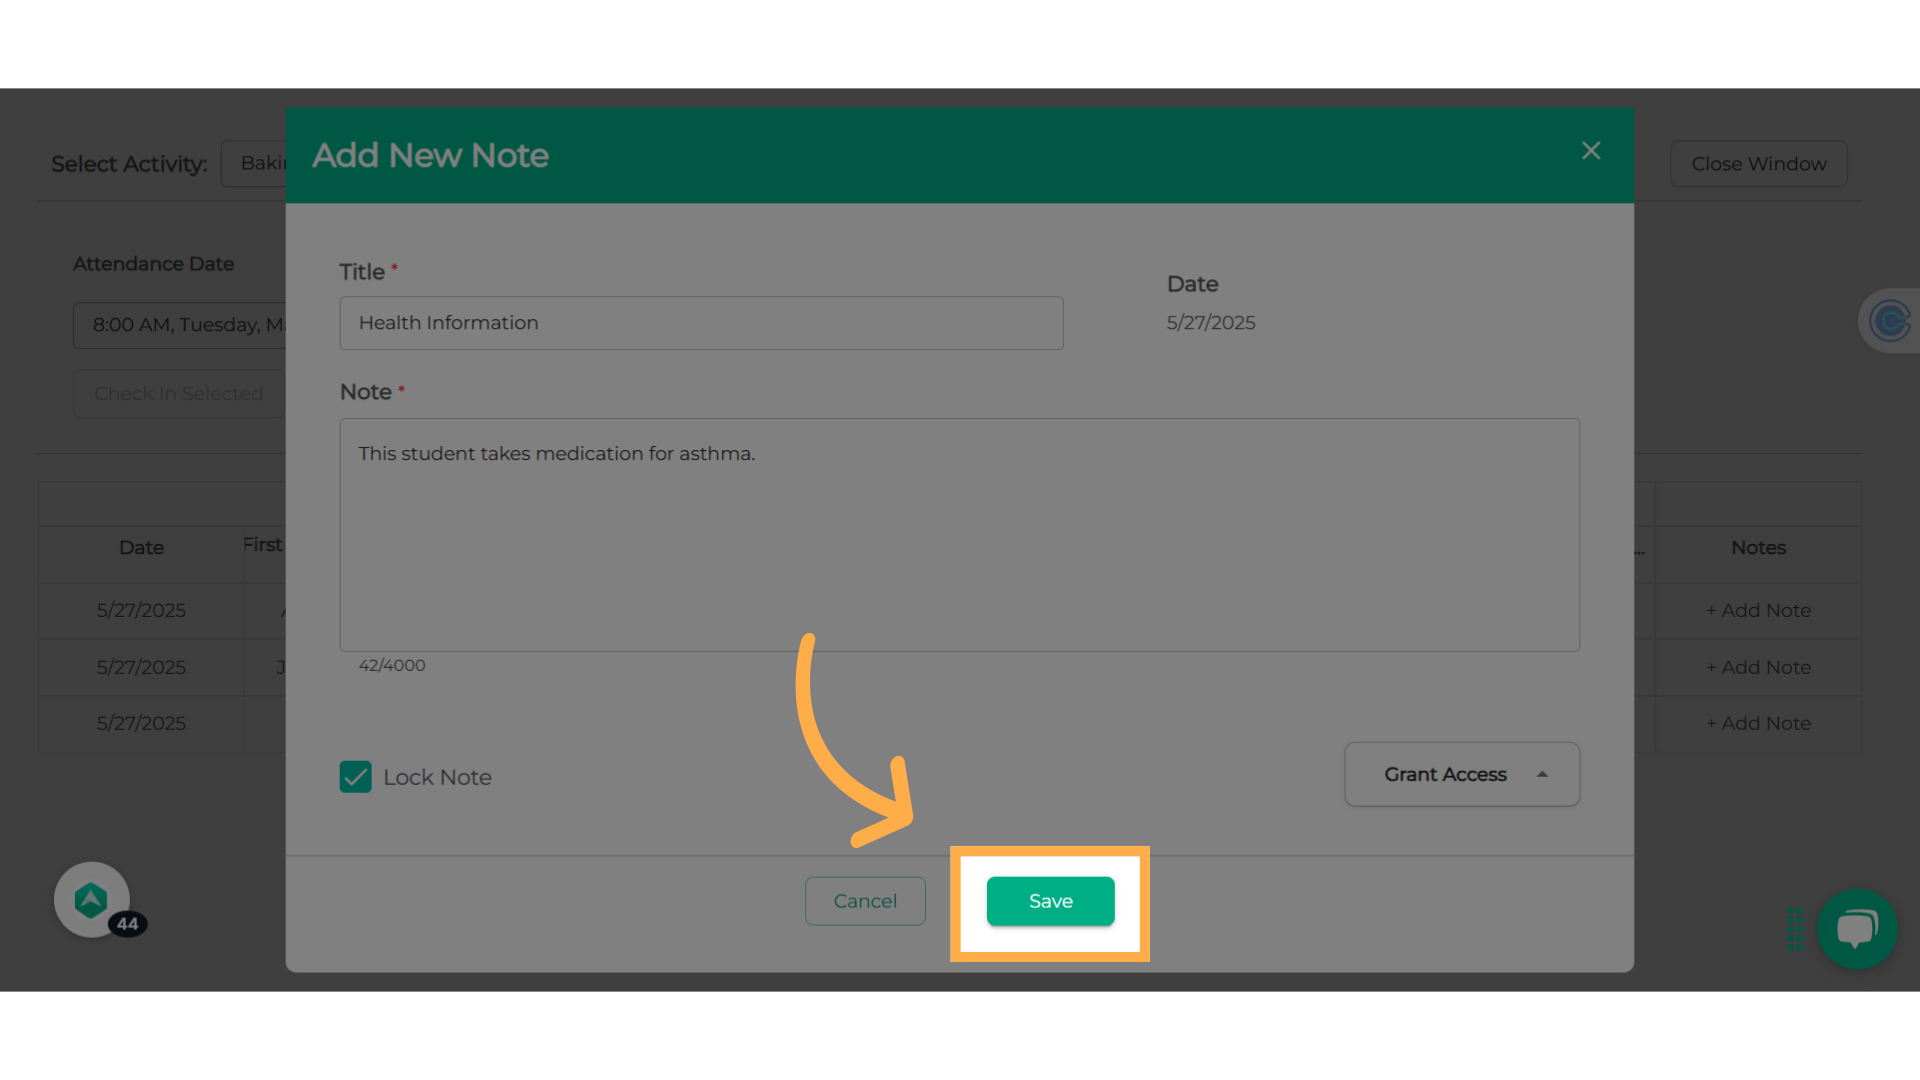
In the note creation or edit modal, the "Lock Note" checkbox will still be visible but disabled. Clicking it will display a popup message prompting the user to upgrade to access the feature. Similarly, the "Grant Access" dropdown will also be disabled and will show the same upgrade prompt if clicked.

Changes to Account Ownership

If an account owner is downgraded, a modal will inform the user that the person being downgraded must be manually re-added to any locked notes they want to retain access to. The permission associated with being an account owner are associated with the role, not the person. Once downgraded, the former owner loses their automatic access to all locked notes. They must be granted access to each note, just like any other staff member.

Super Admin Access

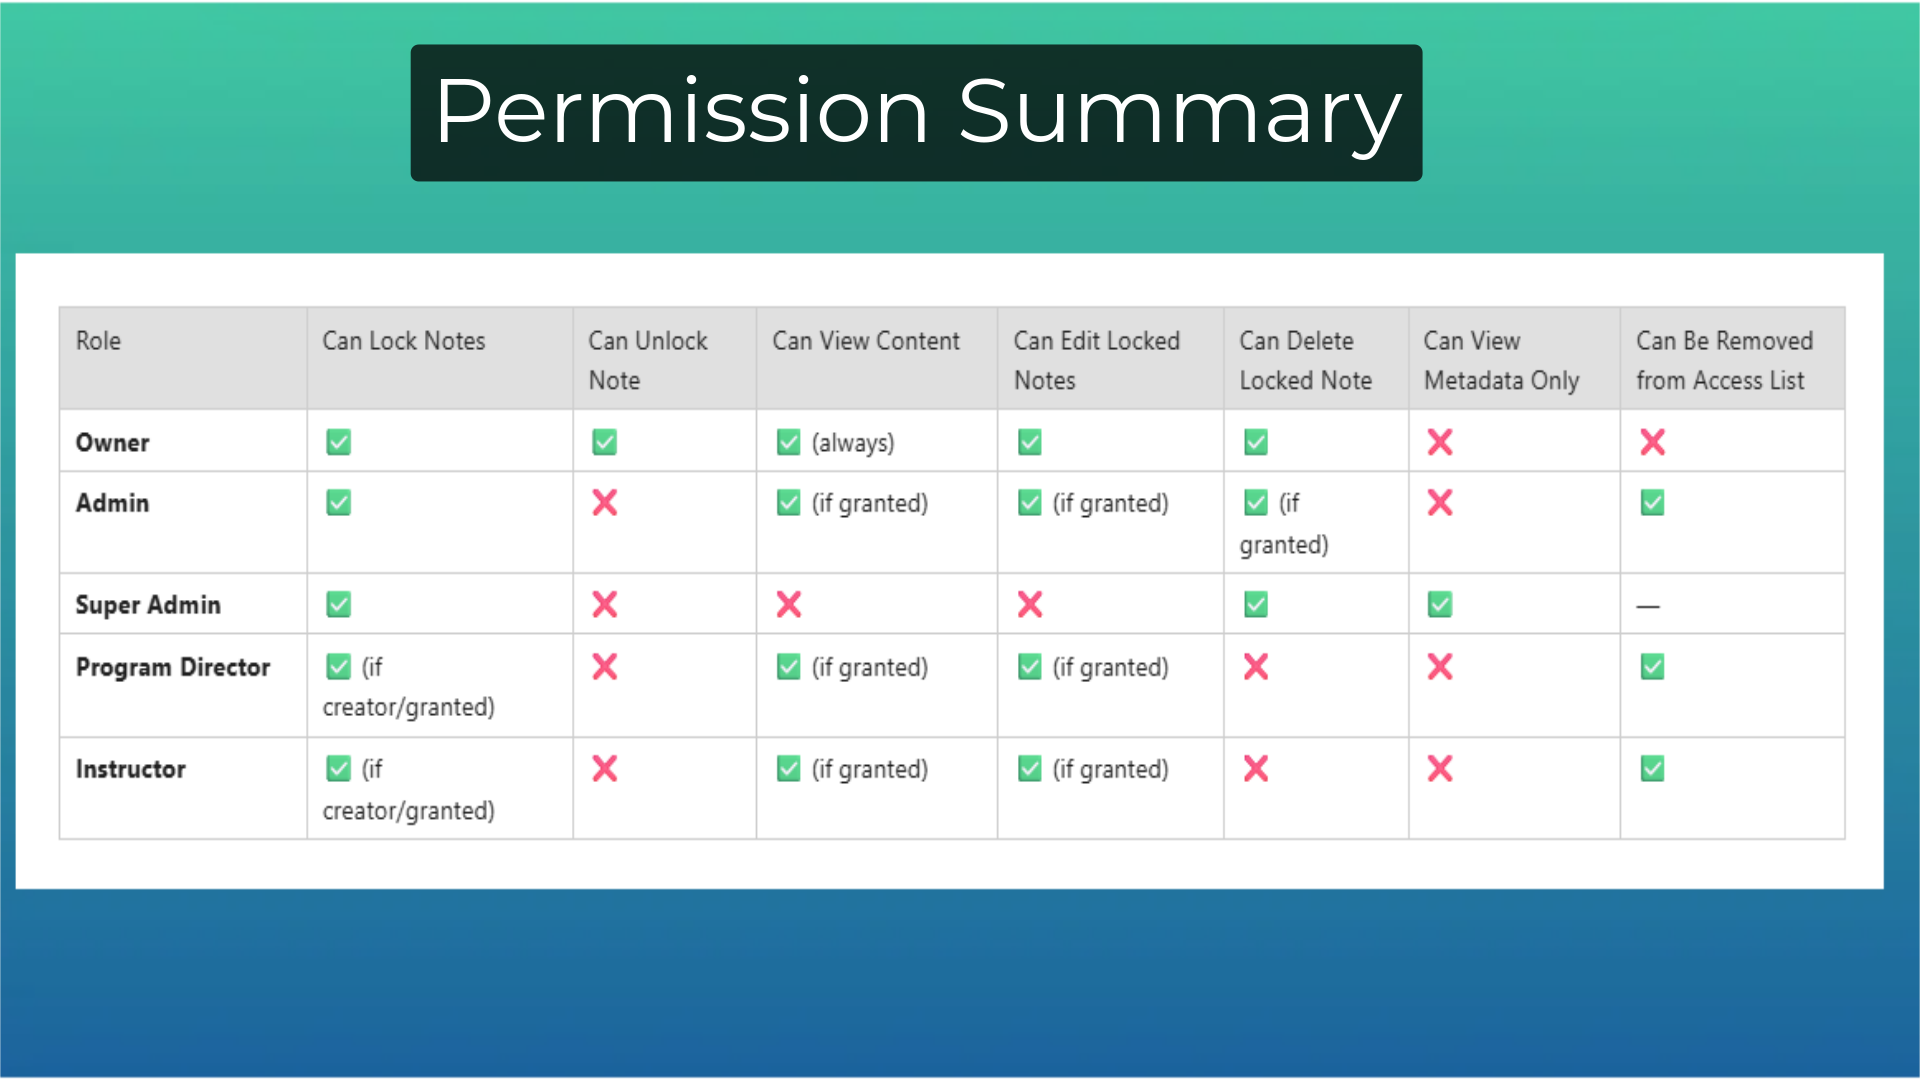
Due to the potentially sensitive nature of locked notes, Super Admin users will not be able to read the contents of any locked note. Super Admin are able to create, delete, and lock a new note (including granting access). Regardless of whether the Super Admin created the note, they will not show in the access list.
 

💡 If you experience any issues or have further questions with Creating & Using Locked Student Notes, don't hesitate to get in touch with our support team at support@afterschoolhq.com.