![ASHQ Logo Vert Flat.png]](https://support.afterschoolhq.com/hs-fs/hubfs/ASHQ%20Logo%20Vert%20Flat.png?height=40&name=ASHQ%20Logo%20Vert%20Flat.png)
Want to make an activity available only to selected families instead of displaying it on your organization's public Landing Page?
AfterSchool HQ allows providers to control which activities are visible to the public on their organization's Landing Page.
Follow along to learn how to enable the Invite Only setting, update your activity's visibility, and share its direct link with the families you want to give access to.
❗Before You Begin
Before making your activity private, make sure you have access to the activity's Setup section.
If the activity hasn't been published yet, you'll also need to complete the publishing process before sharing its activity link.
1. Access Extracurricular Activities
From the main navigation menu, click “Extracurricular Activities” to find the program you want to make private.
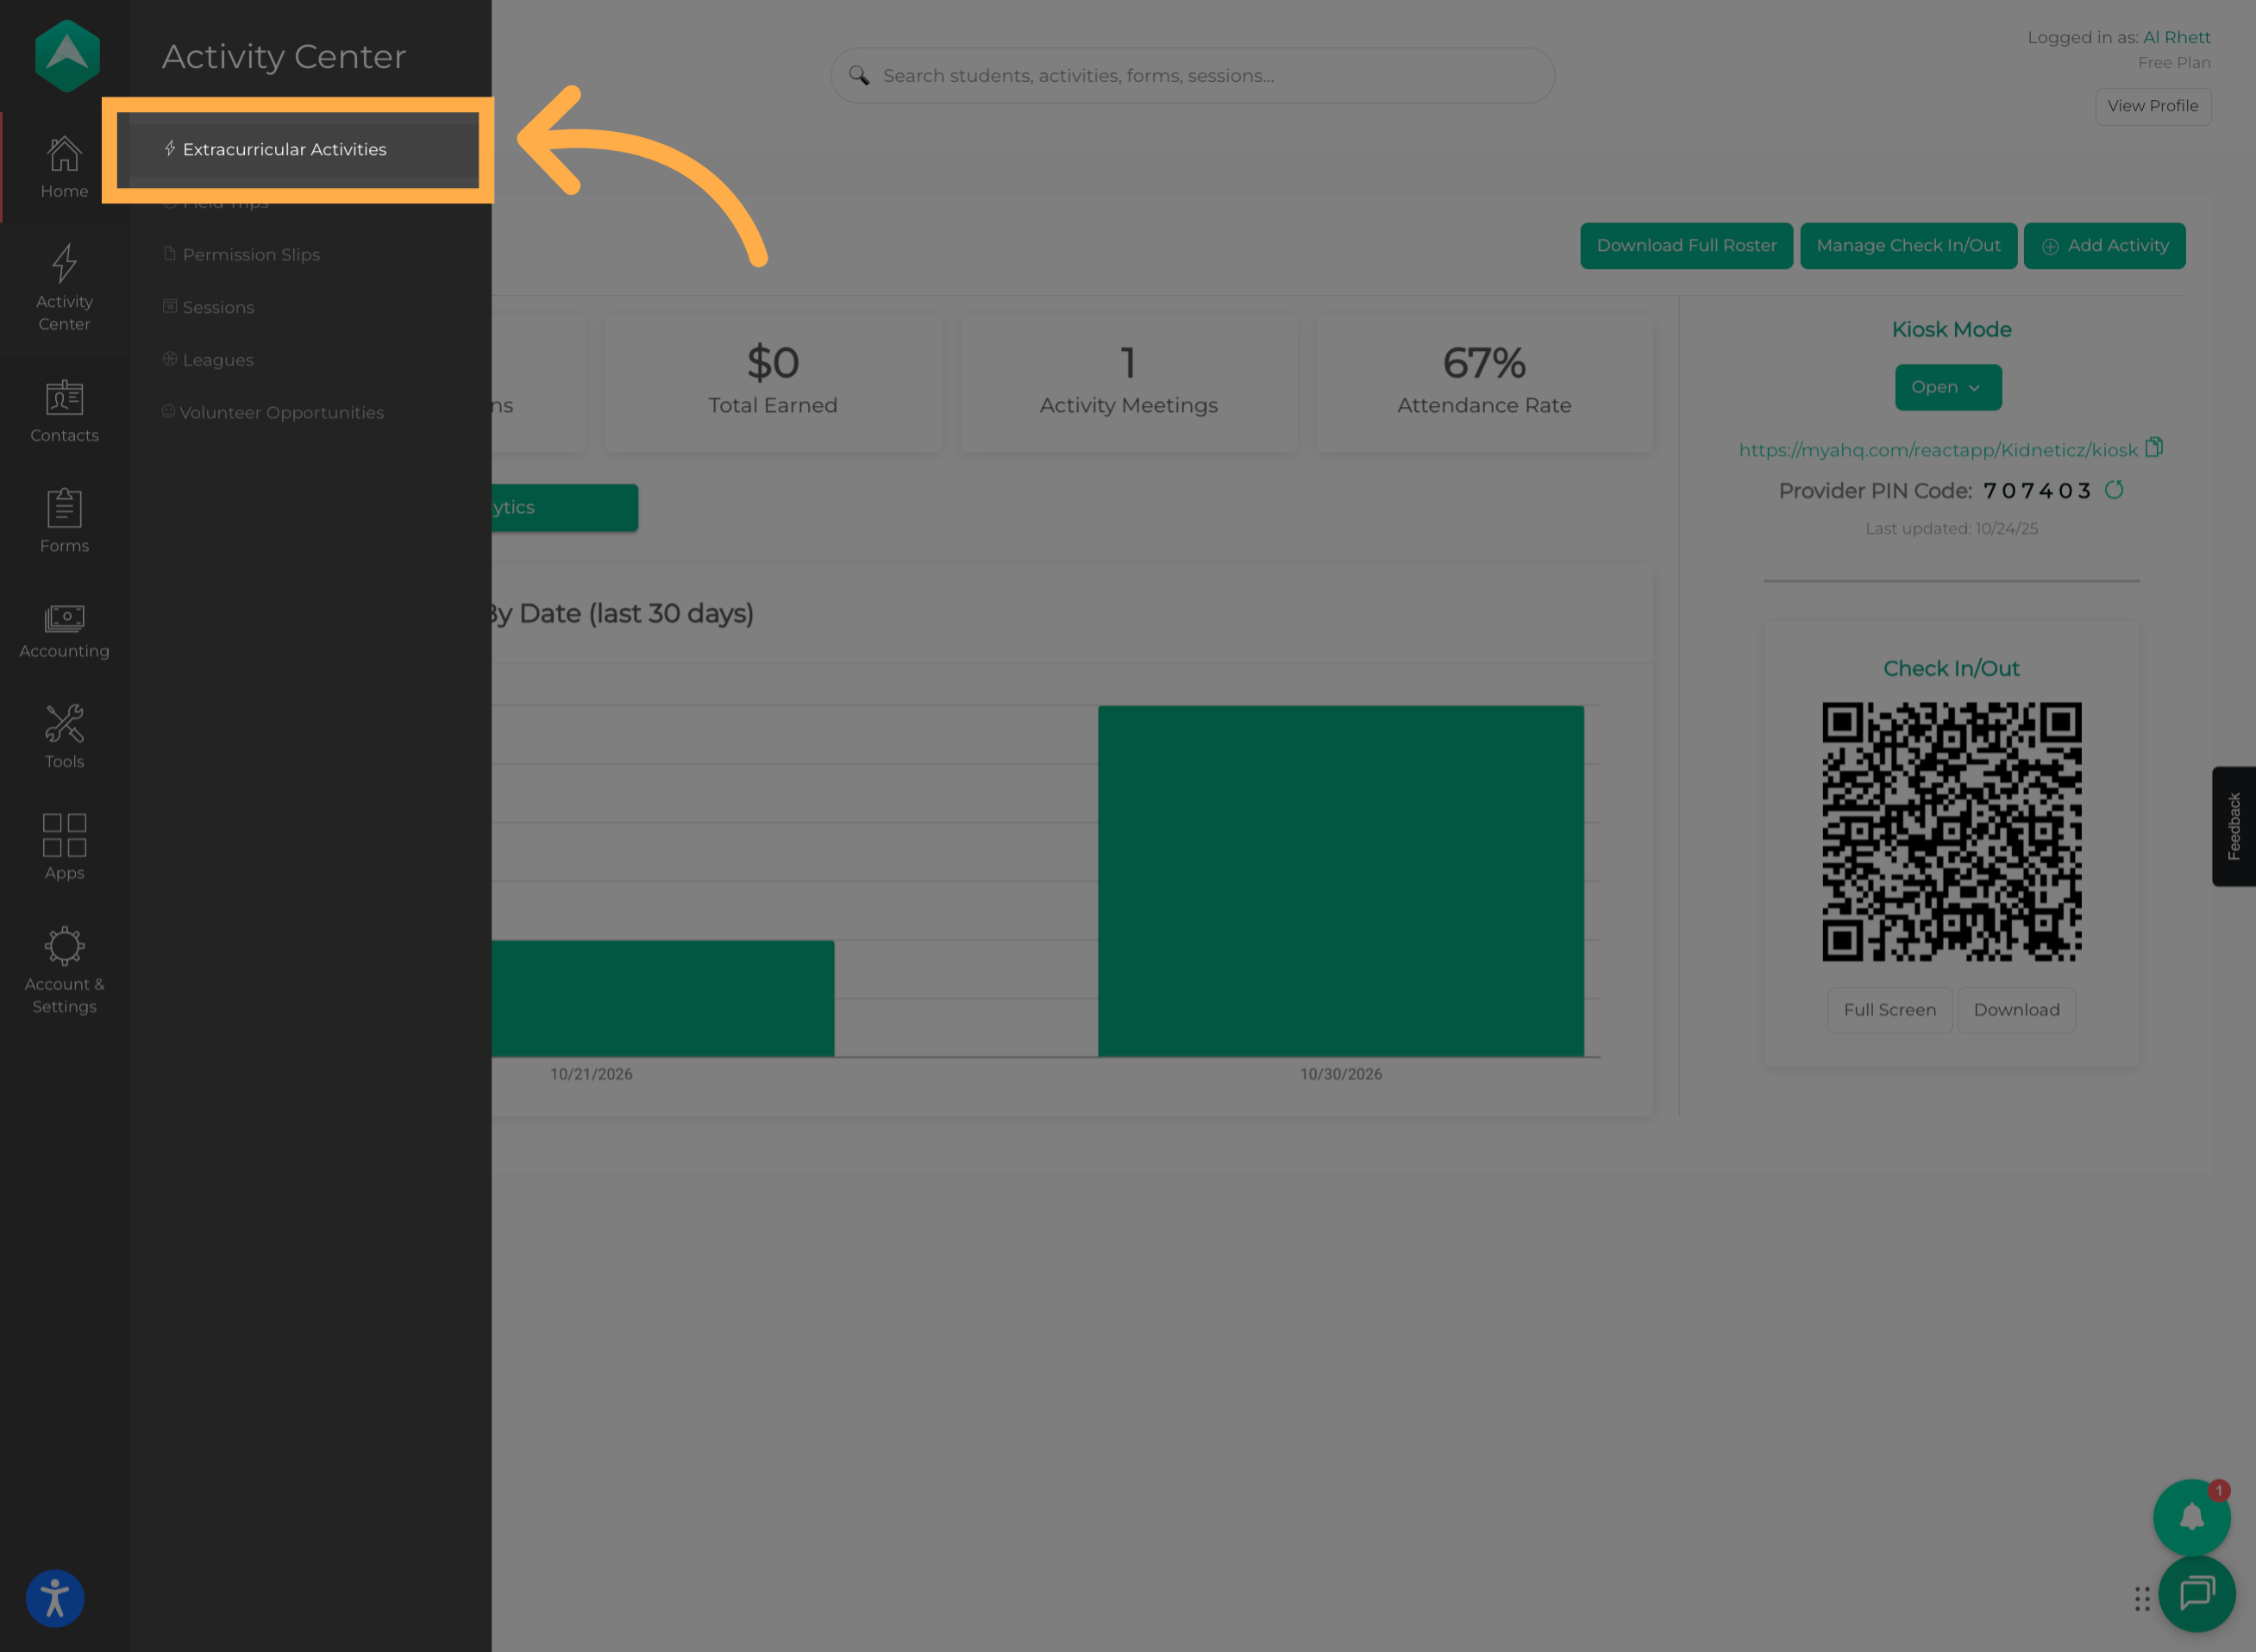
💡 Tip: If your organization has multiple activities, use the available search or filtering options to locate the correct one.
2. Select the Activity
Find and select the activity you want to hide from your organization's Landing Page.
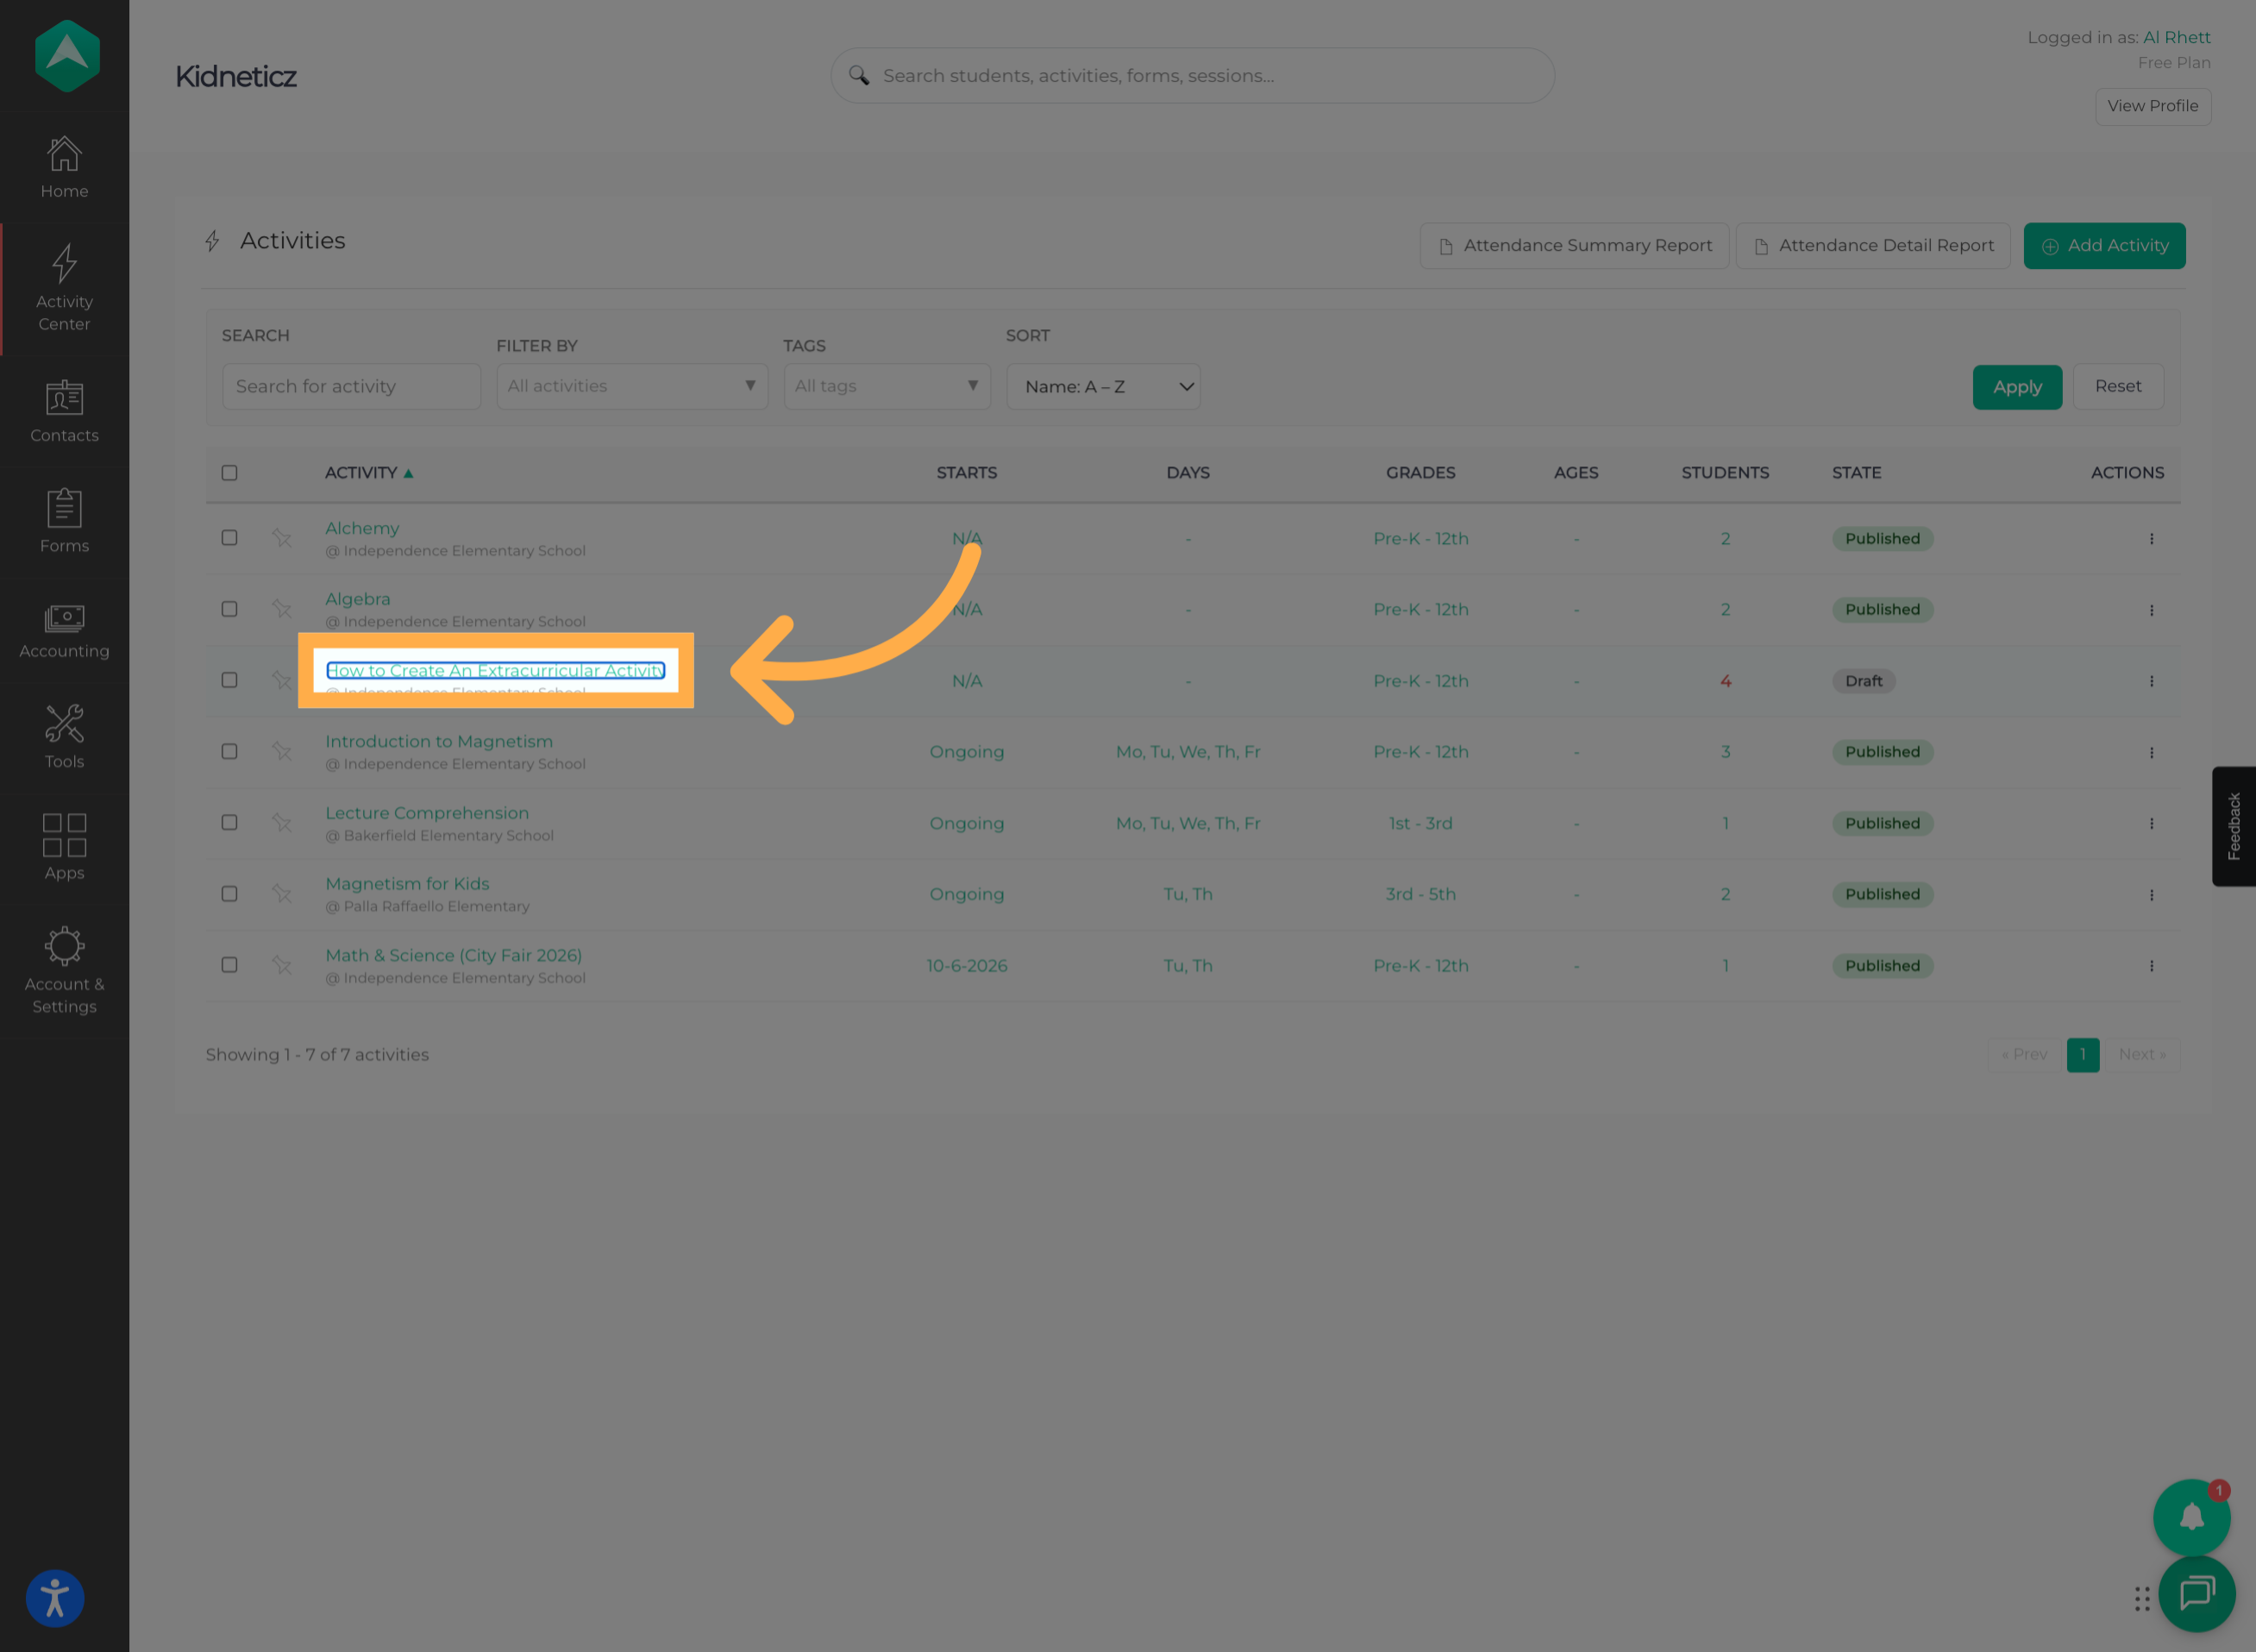
💡 Tip: Double-check that you've selected the correct activity before changing its visibility settings.
3. Open Activity Setup
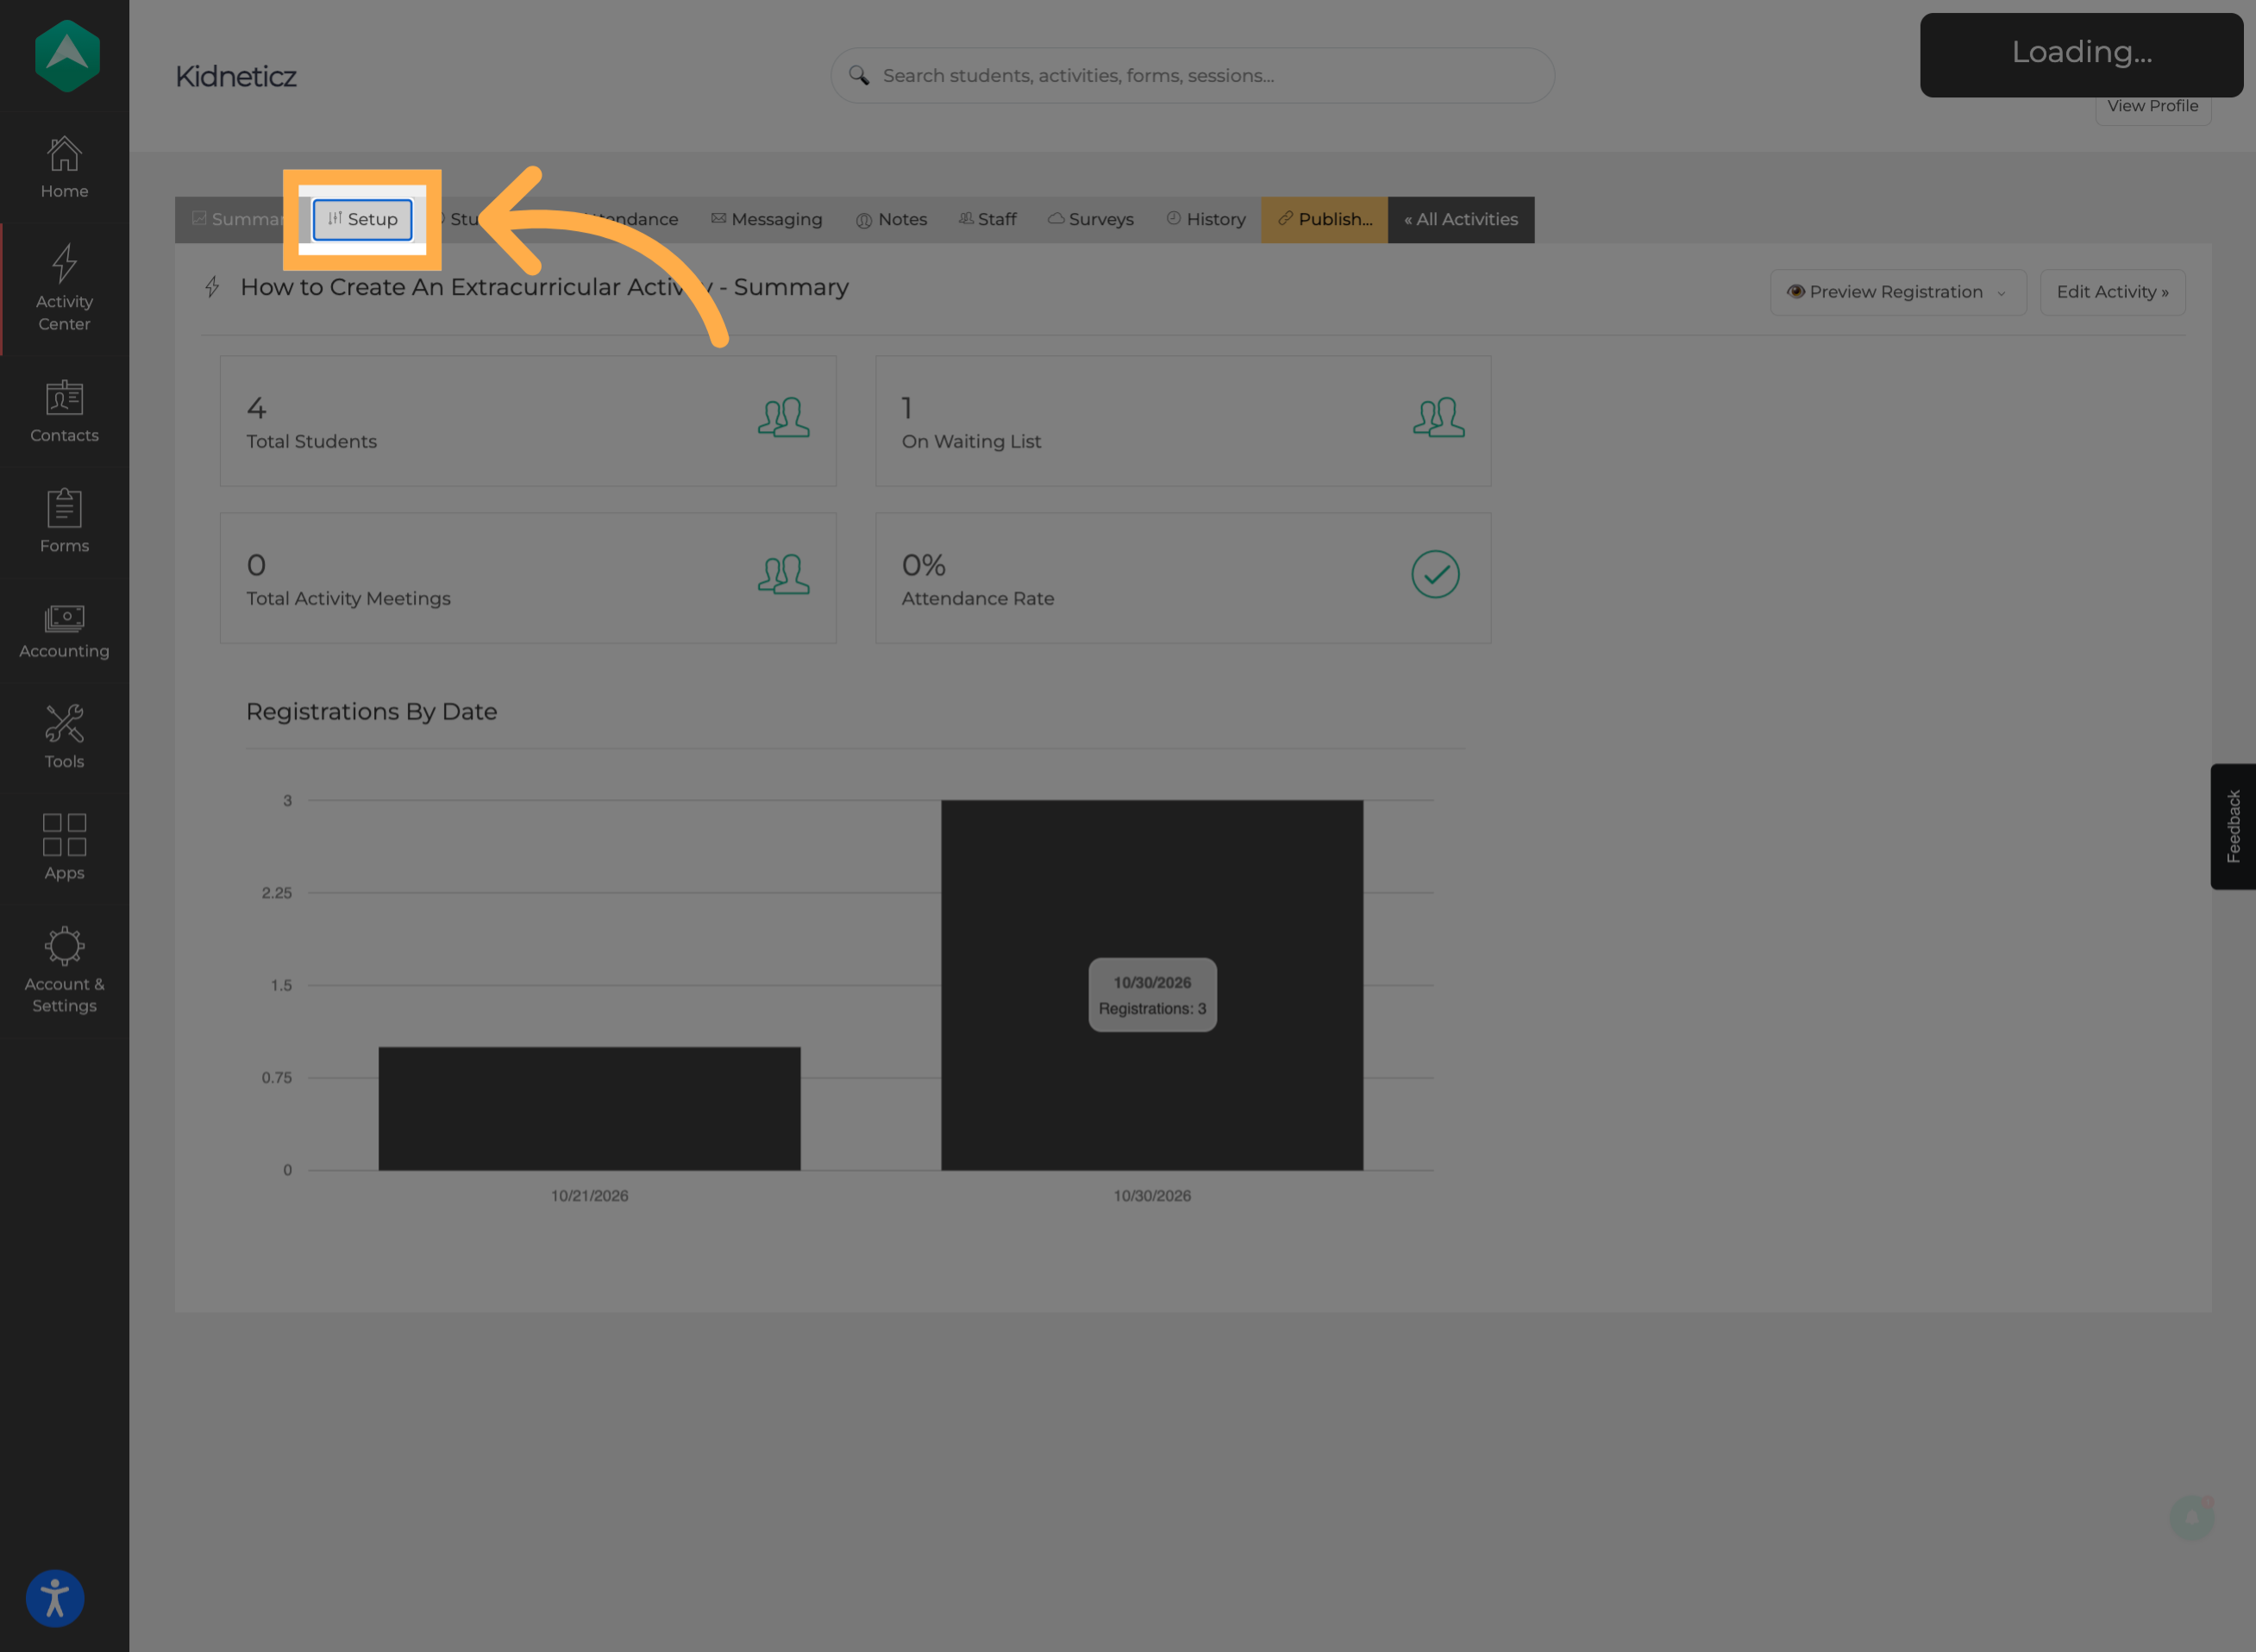
Once you've opened the activity, navigate to the “Setup” section to access its configuration options.
4. Open Advanced Settings
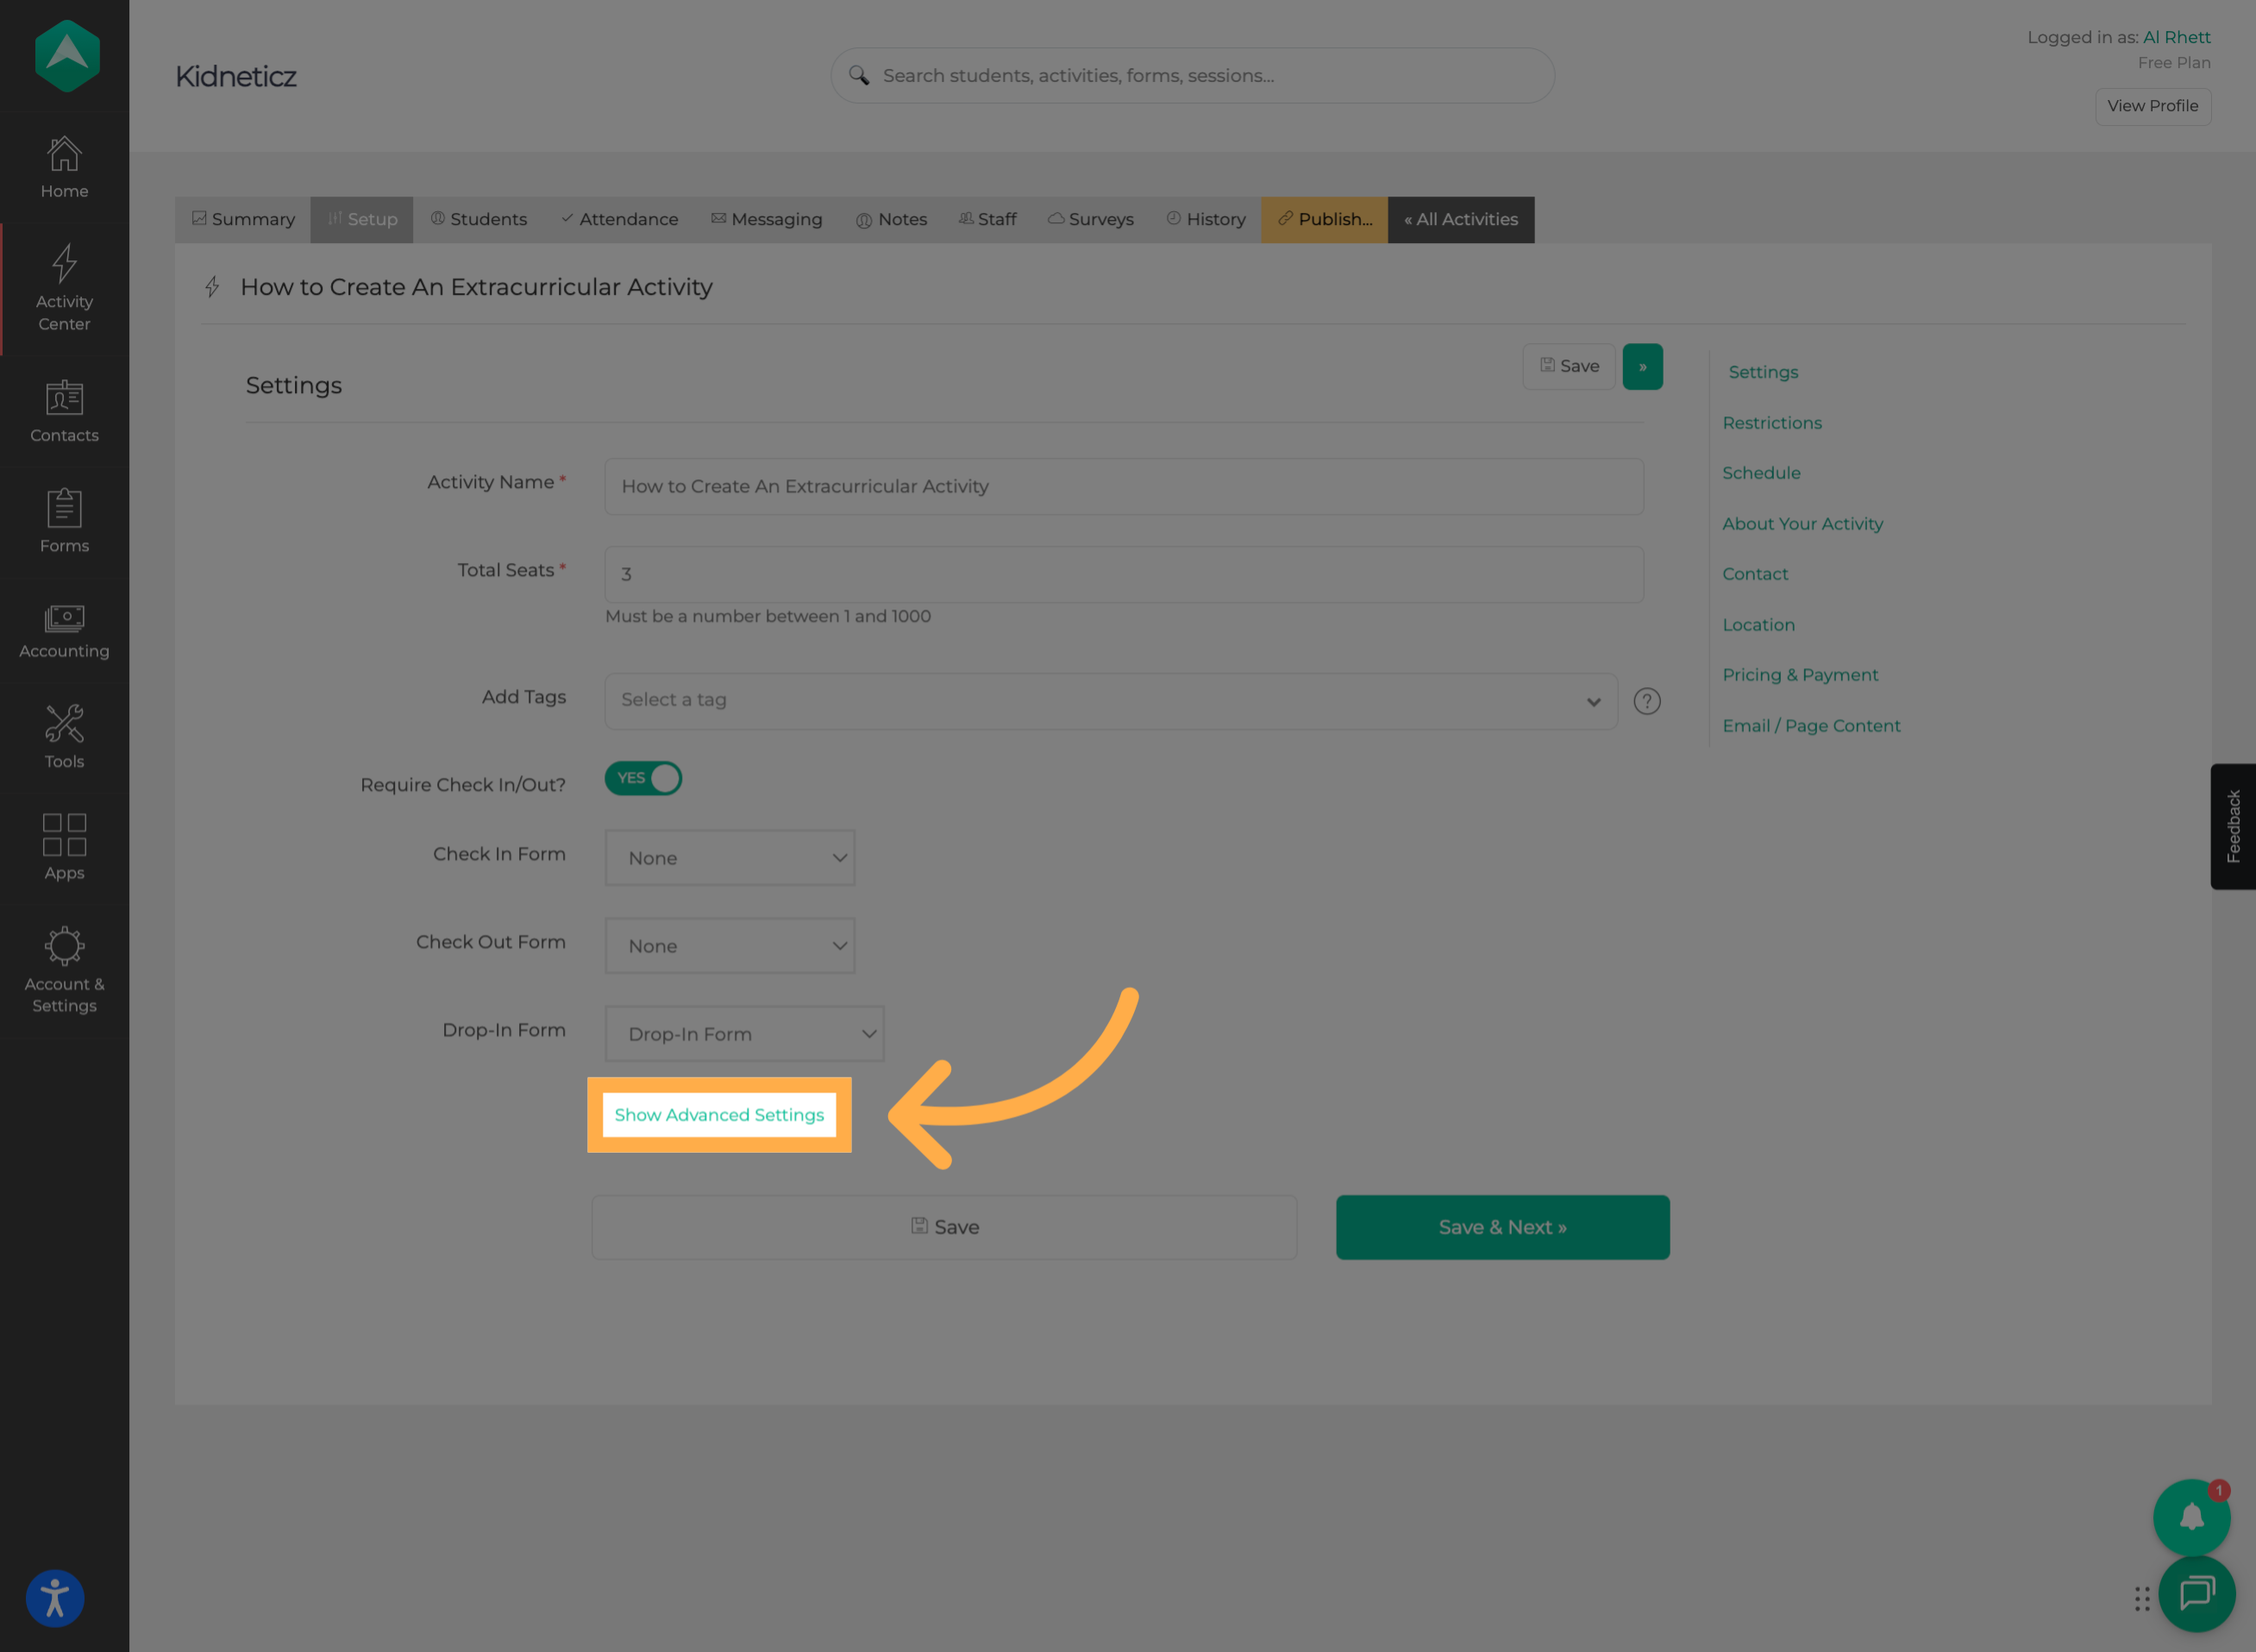
Click “Show Advanced Settings” to reveal additional configuration options, including the activity visibility settings.
5. Enable Invite Only
Locate the “Invite Only” setting and switch it to Yes.
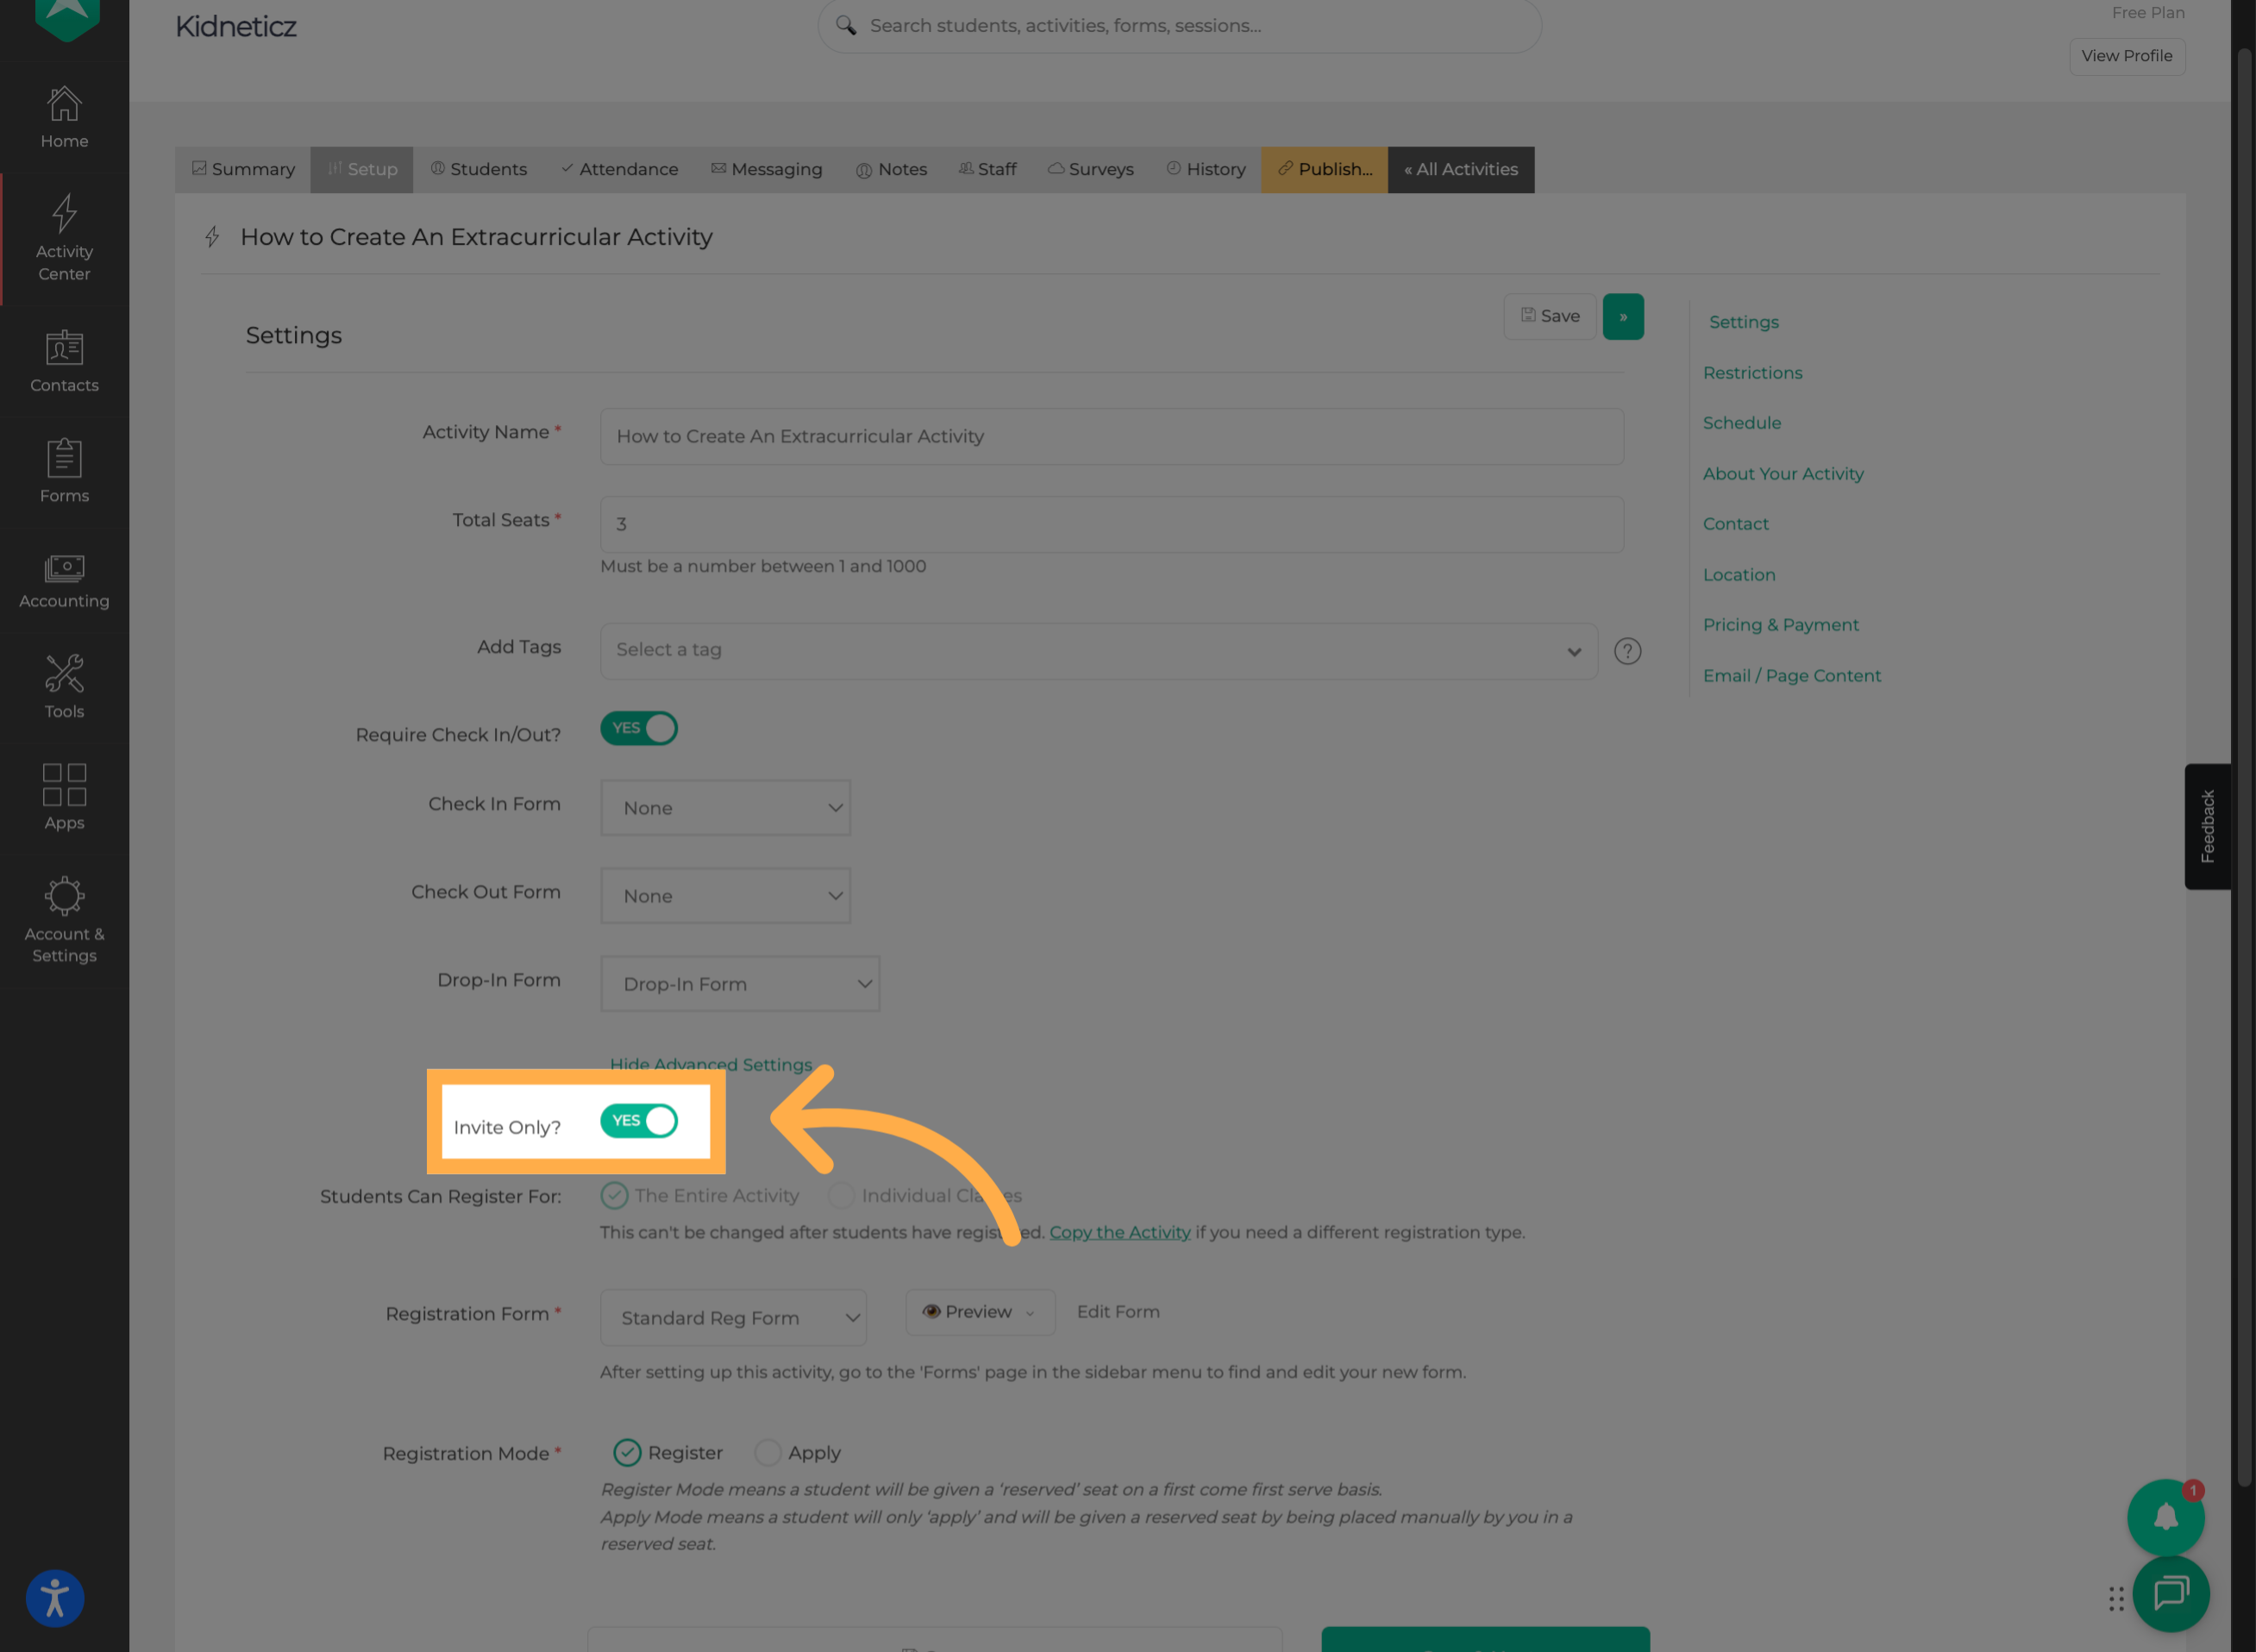
💡 Tip: Remember that enabling Invite Only does not automatically send invitations to families. You'll need to share the activity's direct link with the families you want to give access to.
6. Save Your Changes
Once you've enabled Invite Only, click “Save” to apply your changes and update the activity's visibility.
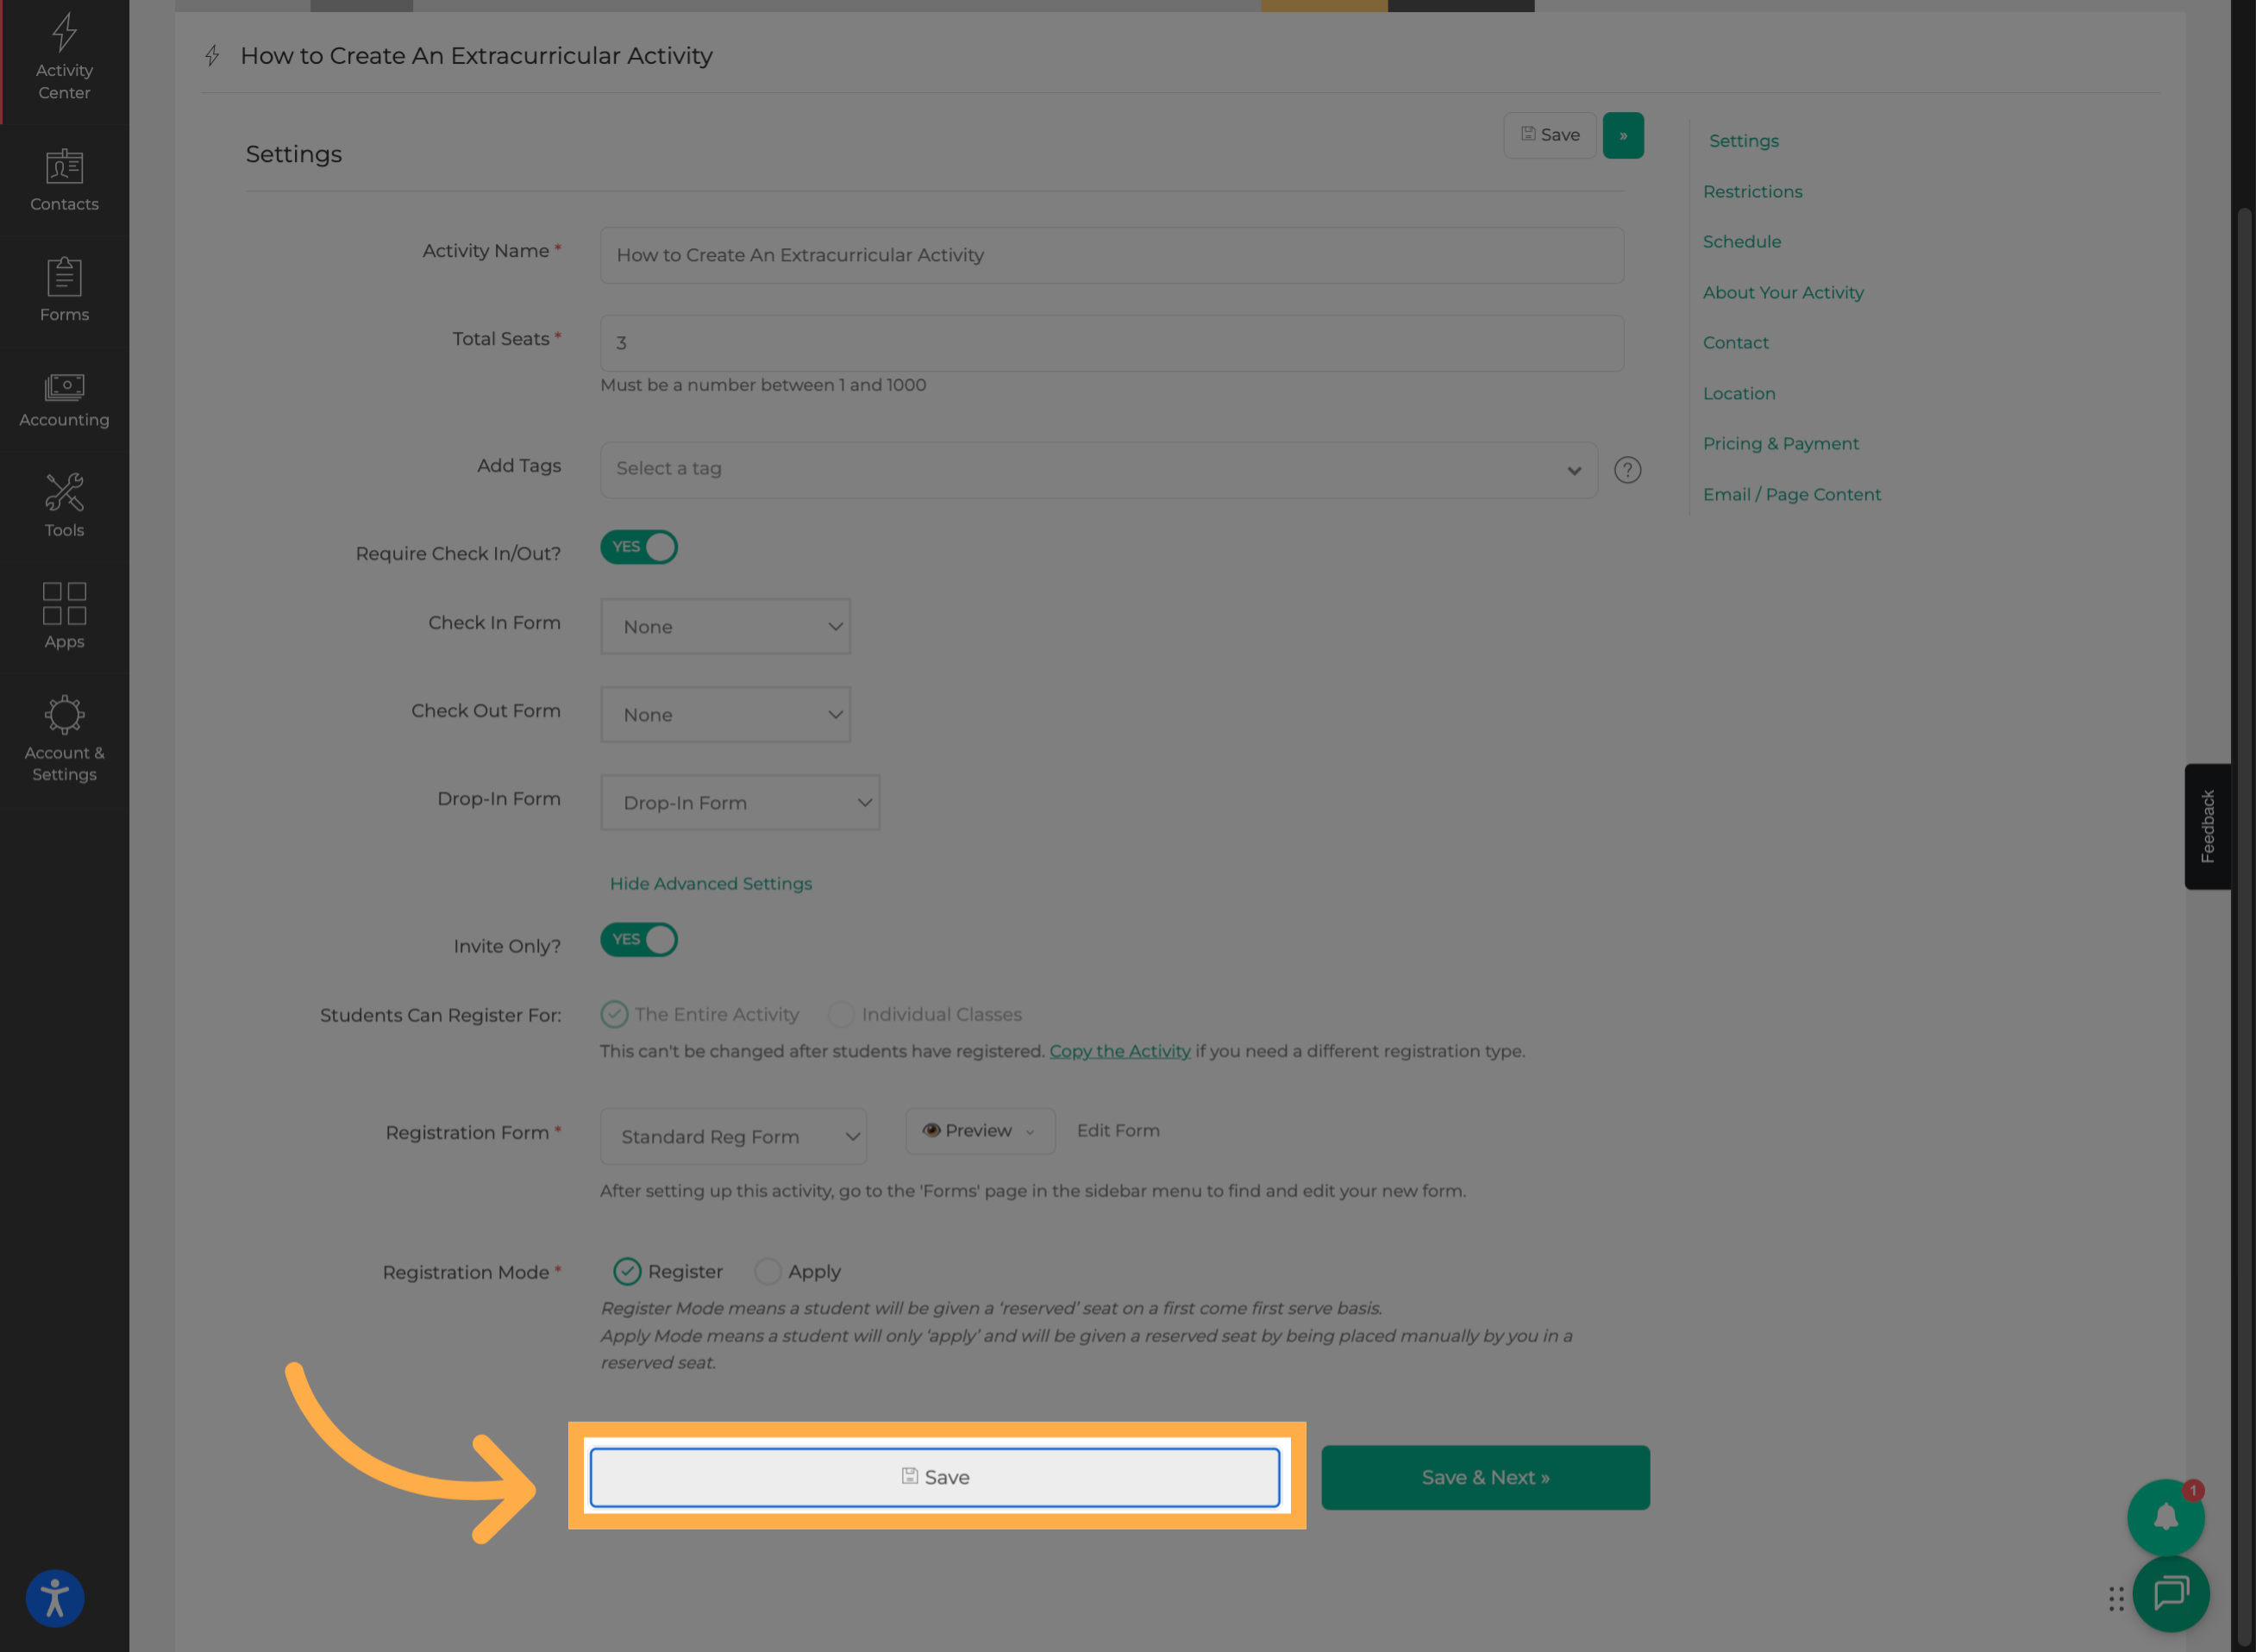
💡 Tip: Make sure your changes are saved before leaving the Setup section.
7. Publish the Activity (If Not Already Published)
If the activity hasn't been published yet, continue through the publishing process to make it accessible through its activity link.
If your activity is already published, you can skip this step and proceed to copying its link.
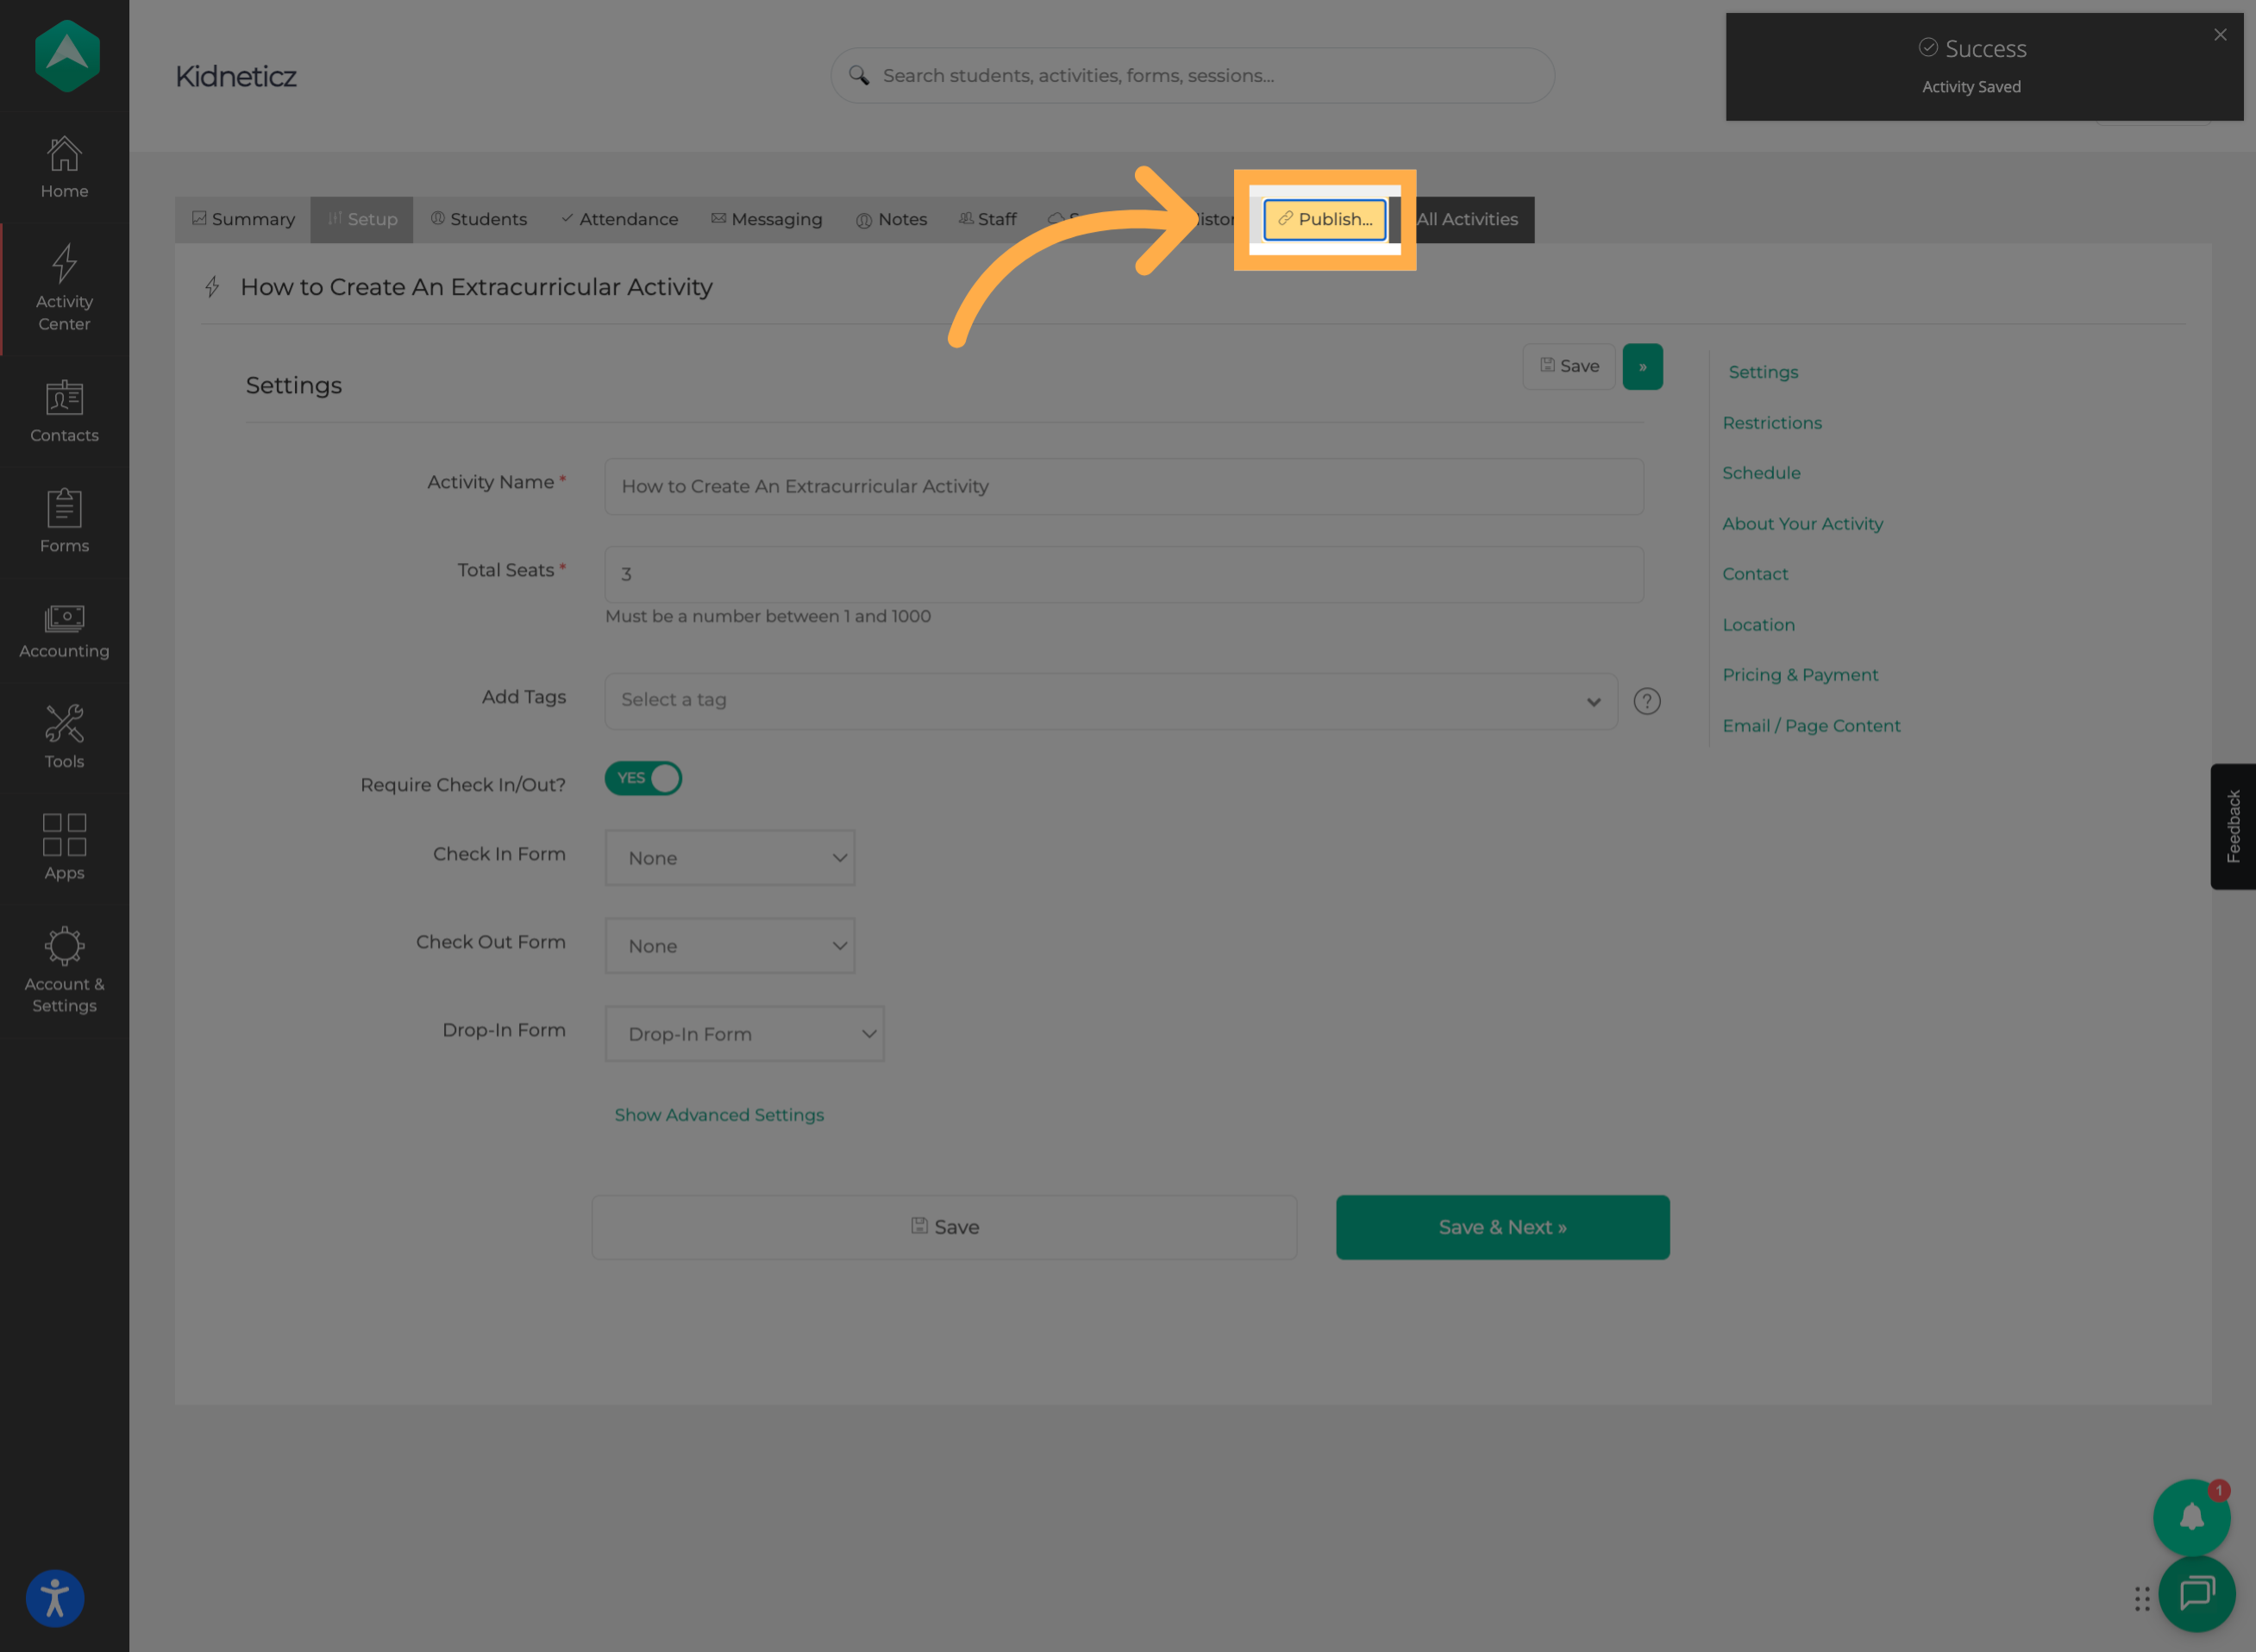
💡 Tip: You don't need to publish an activity again if it has already been published. The Invite Only setting controls its public visibility.
8. Confirm Activity Publication
Complete the publishing process to finalize your activity.
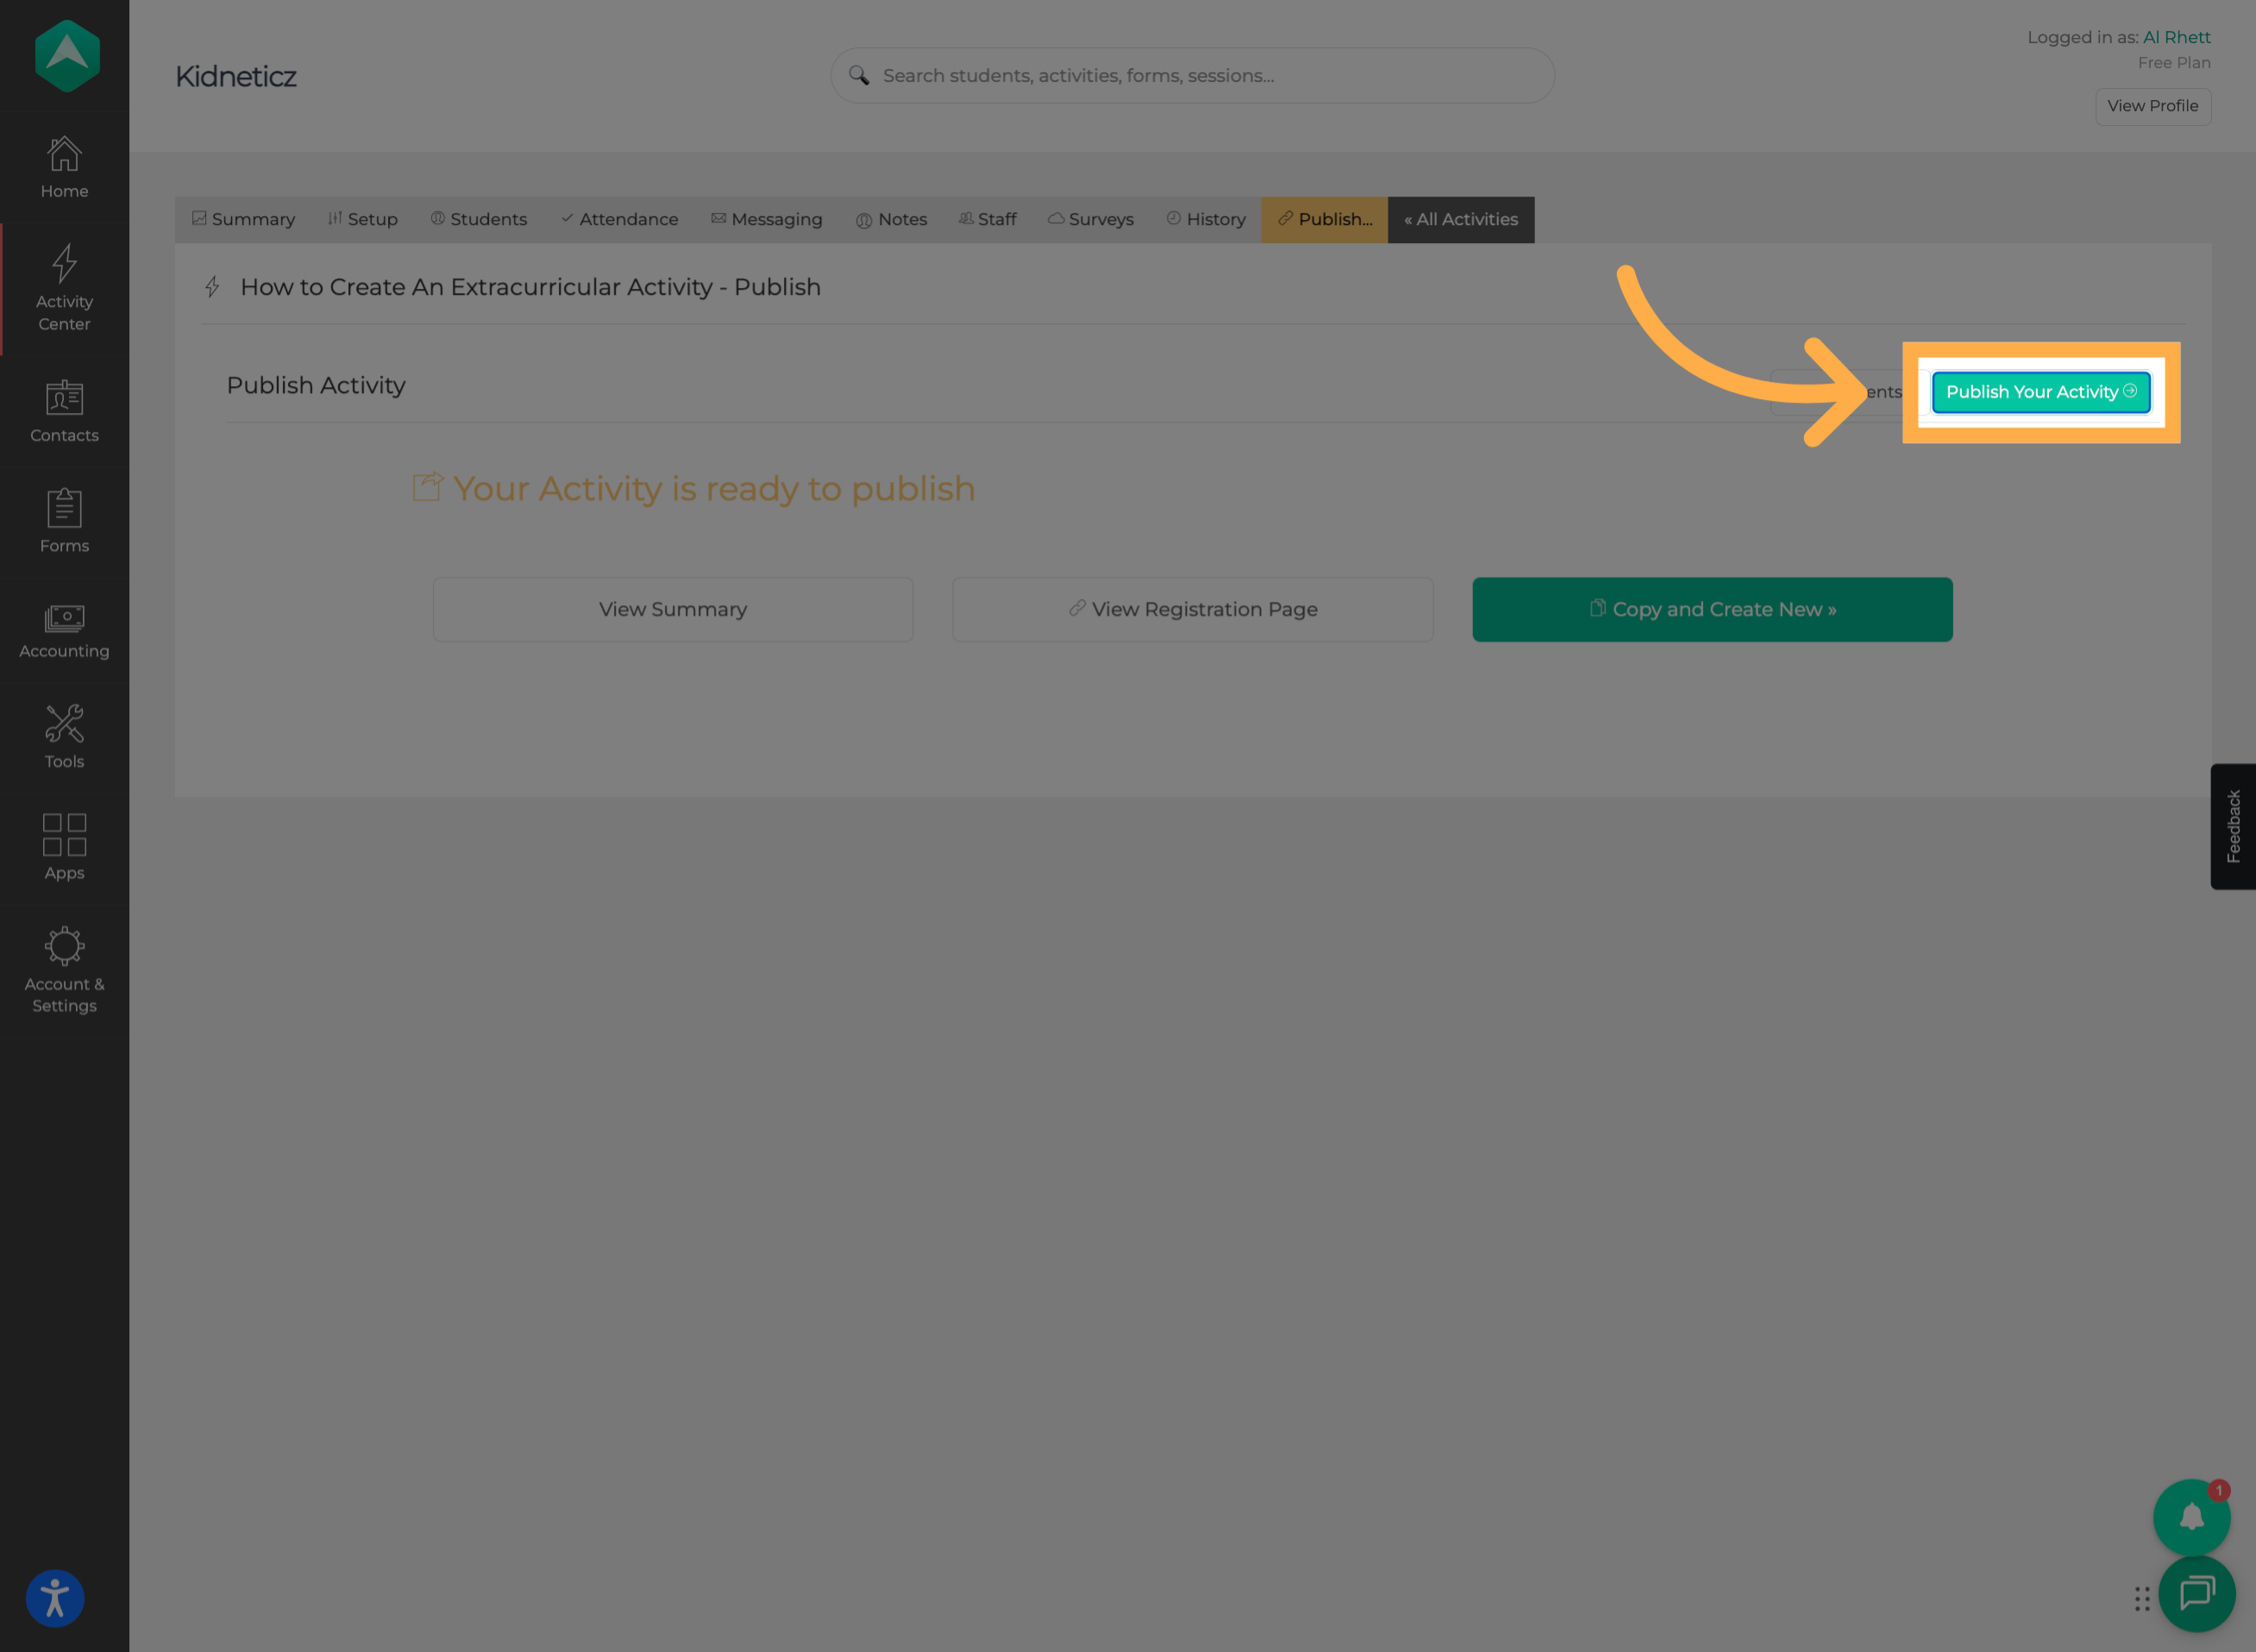
9. Copy and Share Your Activity Link
Once the activity is published, click the paper icon to copy its activity link.
You can then share this link directly with the families you want to give access to the activity.
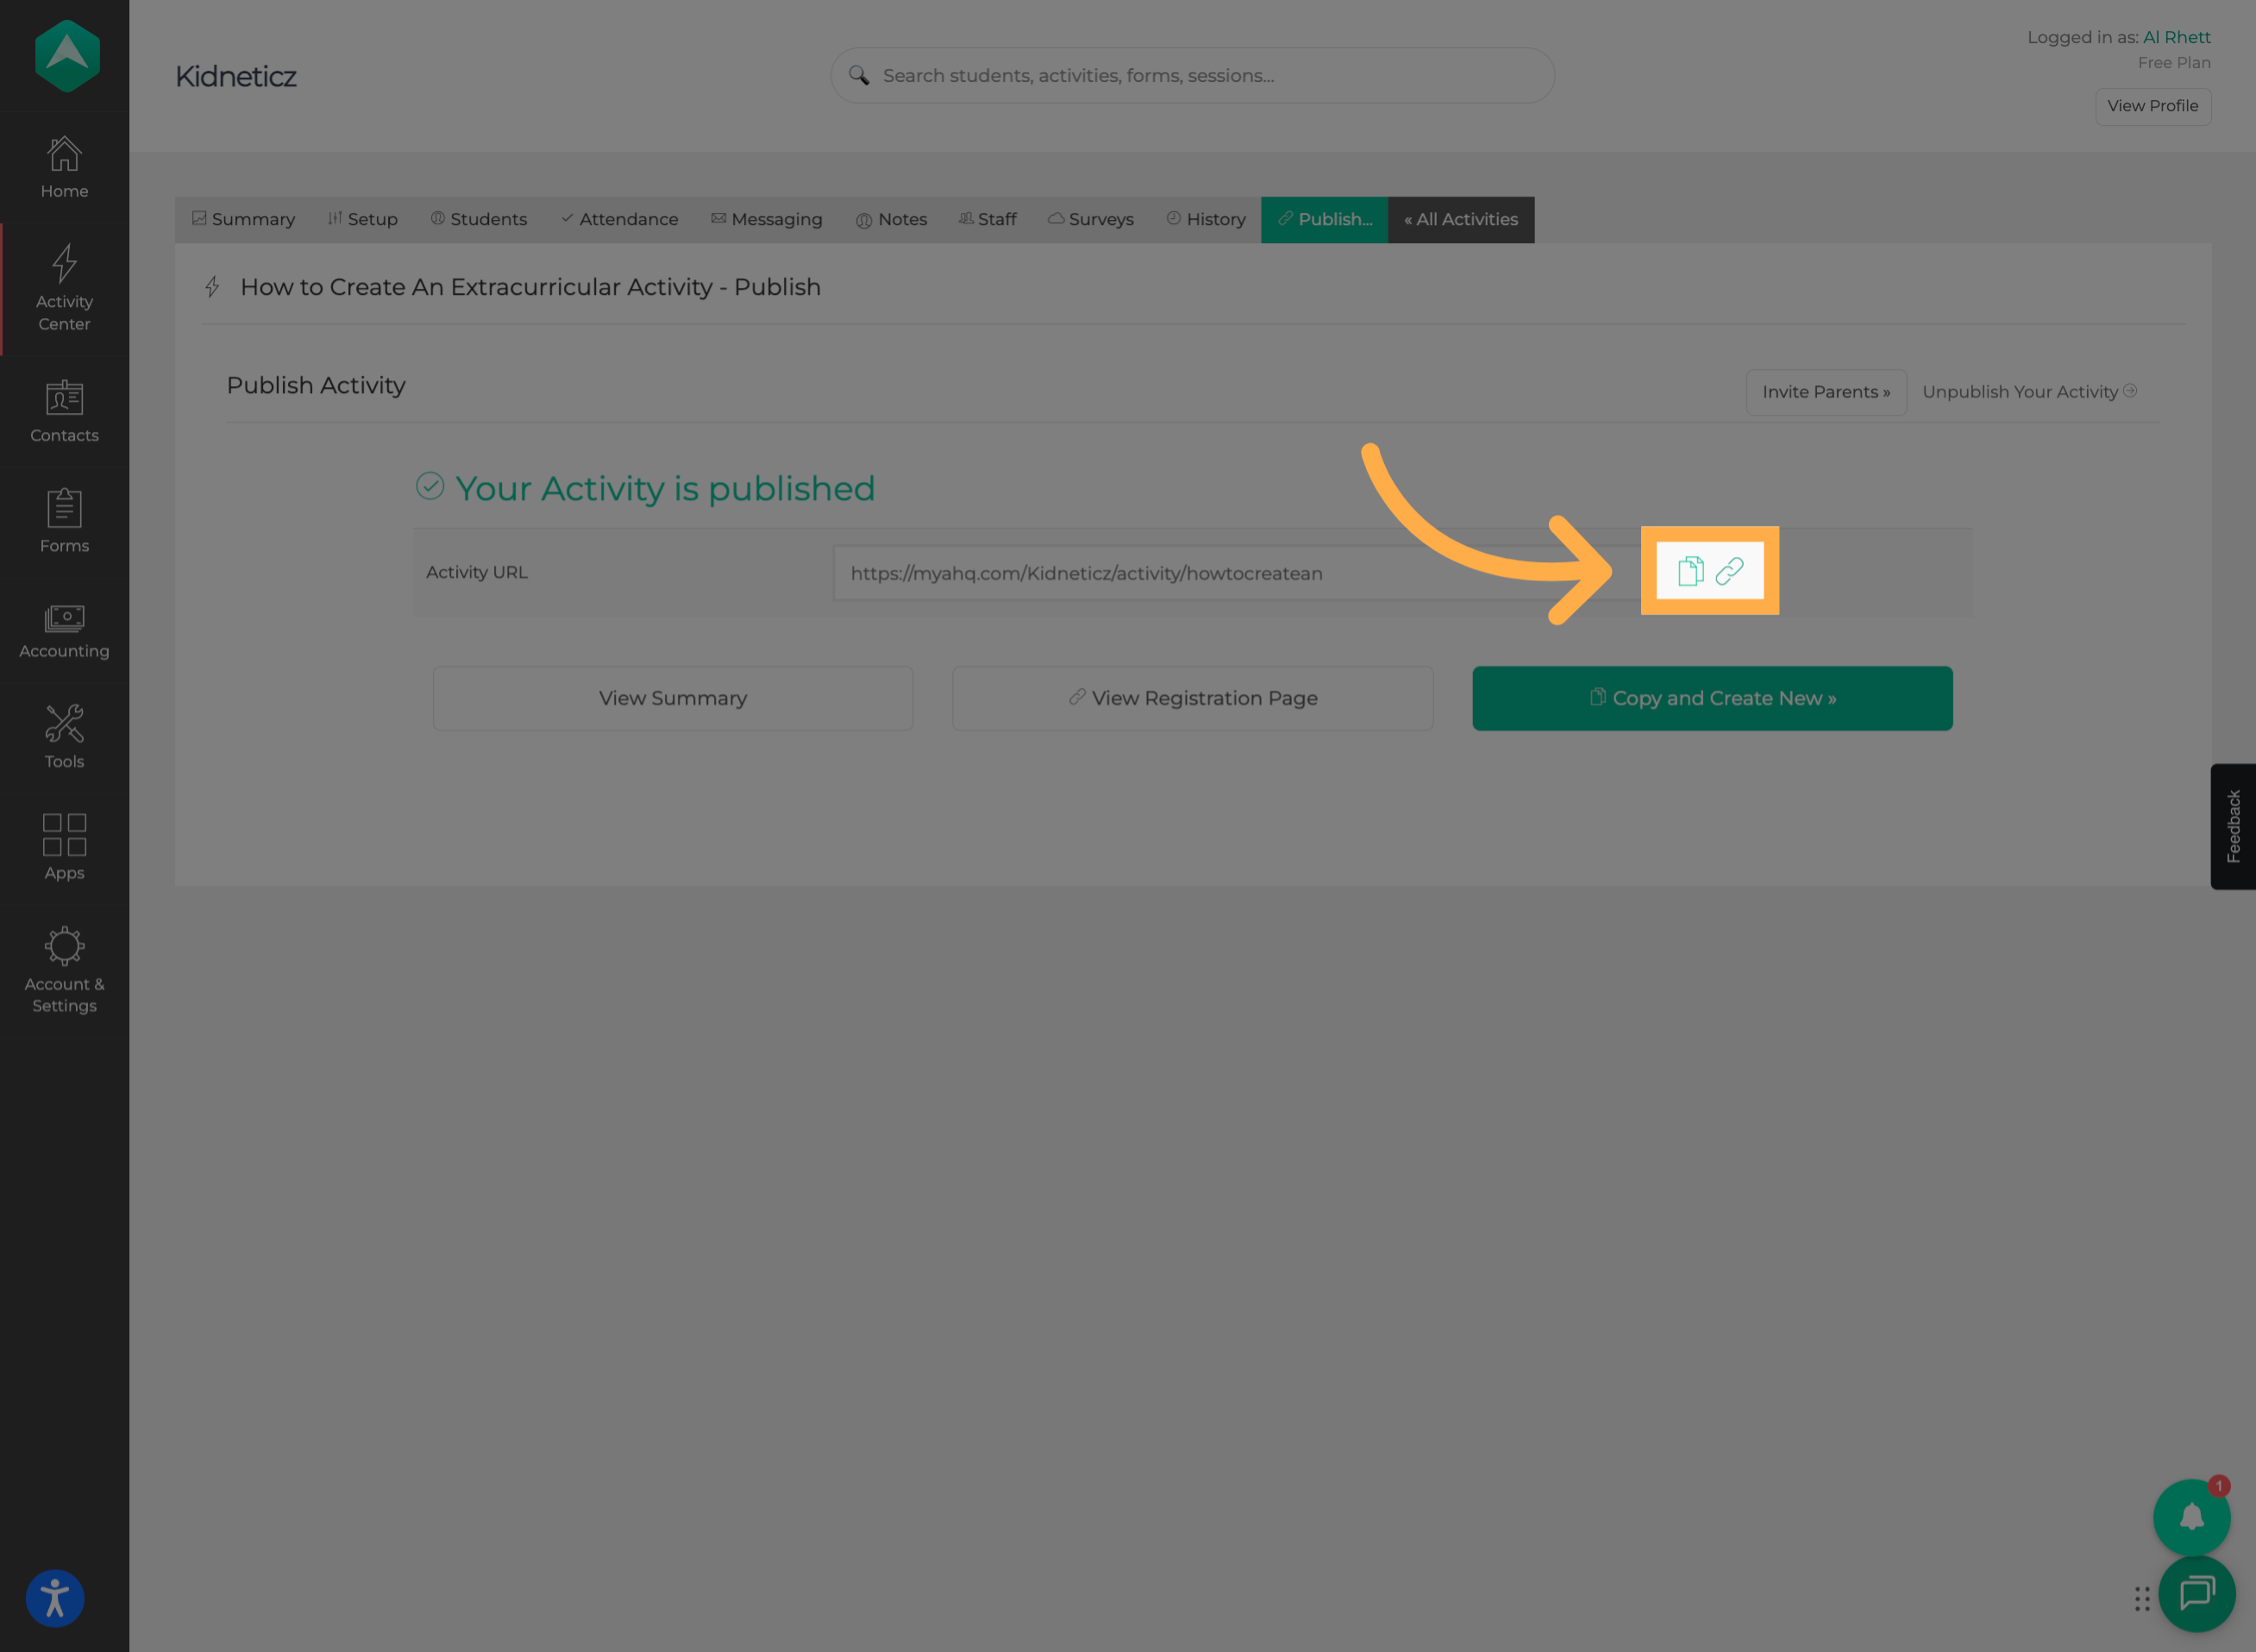
💡 Tip: Share the link through your preferred communication channel, such as email or a direct message, so the intended families can access the activity.
Frequently Asked Questions
Q: What happens when I enable Invite Only?
A: The activity is hidden from your organization's public Landing Page and will no longer appear among its publicly displayed program offerings.
Q: Does enabling Invite Only automatically send invitations to families?
A: No. The setting does not send invitations or notifications. It simply hides the activity from public view. You must share the activity link directly with the families you want to reach.
Q: Can families still access an activity after Invite Only is enabled?
A: Yes. You can share the activity's direct link with the families you want to give access to.
Q: Do I need to publish my activity to share its link?
A: Yes. The activity needs to be published before you can copy and share its published activity link.
Q: What if my activity is already published?
A: You don't need to publish it again. Simply enable “Invite Only”, save your changes, and copy the existing activity link using the paper icon.
Q: Where can I find my activity link?
A: Once your activity is published, locate the paper icon and click it to copy the activity link. You can then share it directly with families.
Q: Can I make my activity publicly visible again?
A: Yes. You can return to the activity's Setup section, open “Advanced Settings”, and change the “Invite Only” setting to No. Save your changes to update the activity's visibility.
💡If you experience any issues or have further questions with “How to Hide an Activity from Your Landing Page”, don't hesitate to get in touch with our support team at support@afterschoolhq.com.