Received a payment outside of AfterSchool HQ? Follow the instructions below to learn how to manually log offline payments such as cash, checks, or external payments directly within the platform.
1. Open Extracurricular Activities
Click “Extracurricular Activities” to view your available programs and activities.
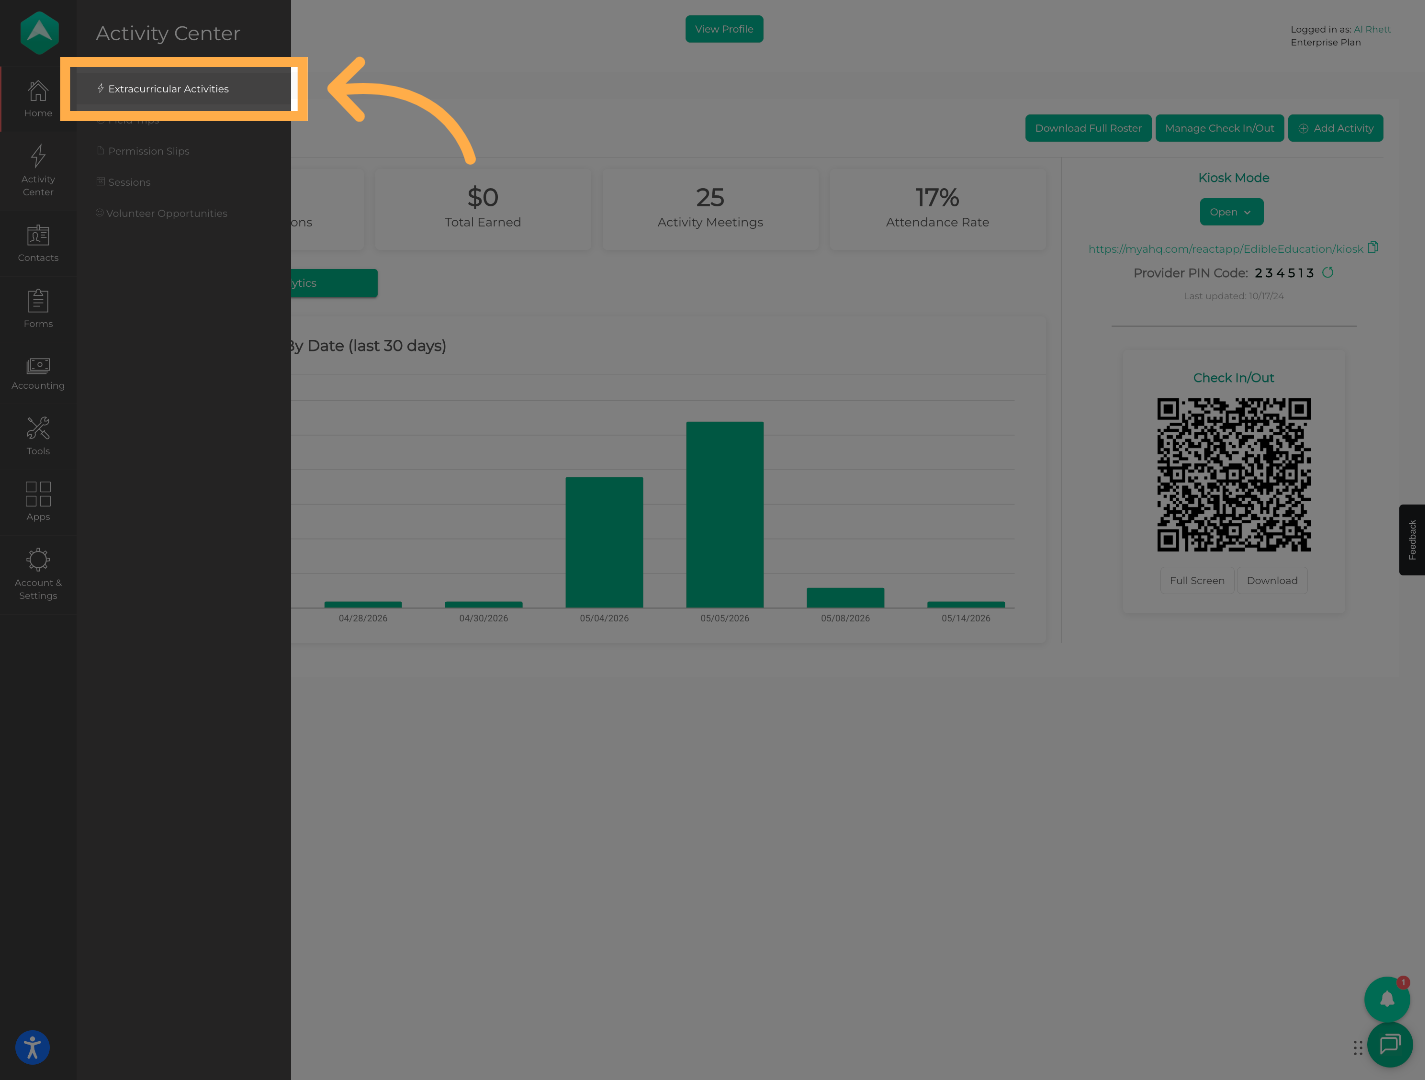
💡 Tip: Make sure you are opening the correct activity associated with the payment.
2. Manage the Activity
Select the activity where you would like to manage student payment information.
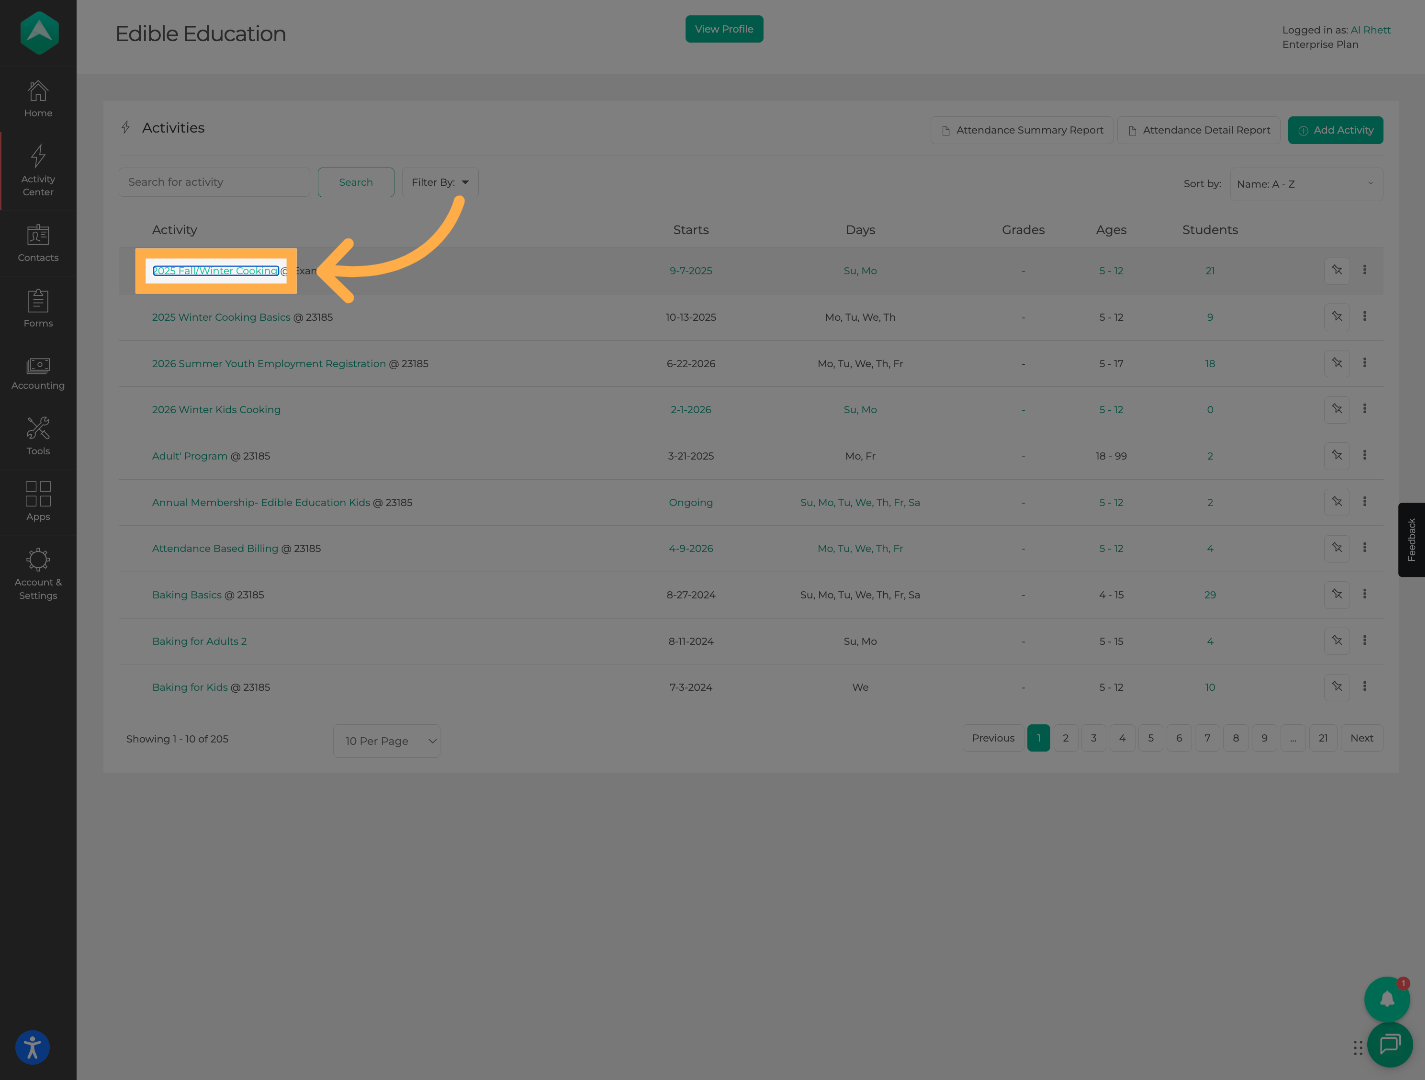
💡 Tip: Activities with pricing enabled will allow payment tracking and balance management.
3. Open the Students Tab
Click “Students” to view all enrolled participants for this activity.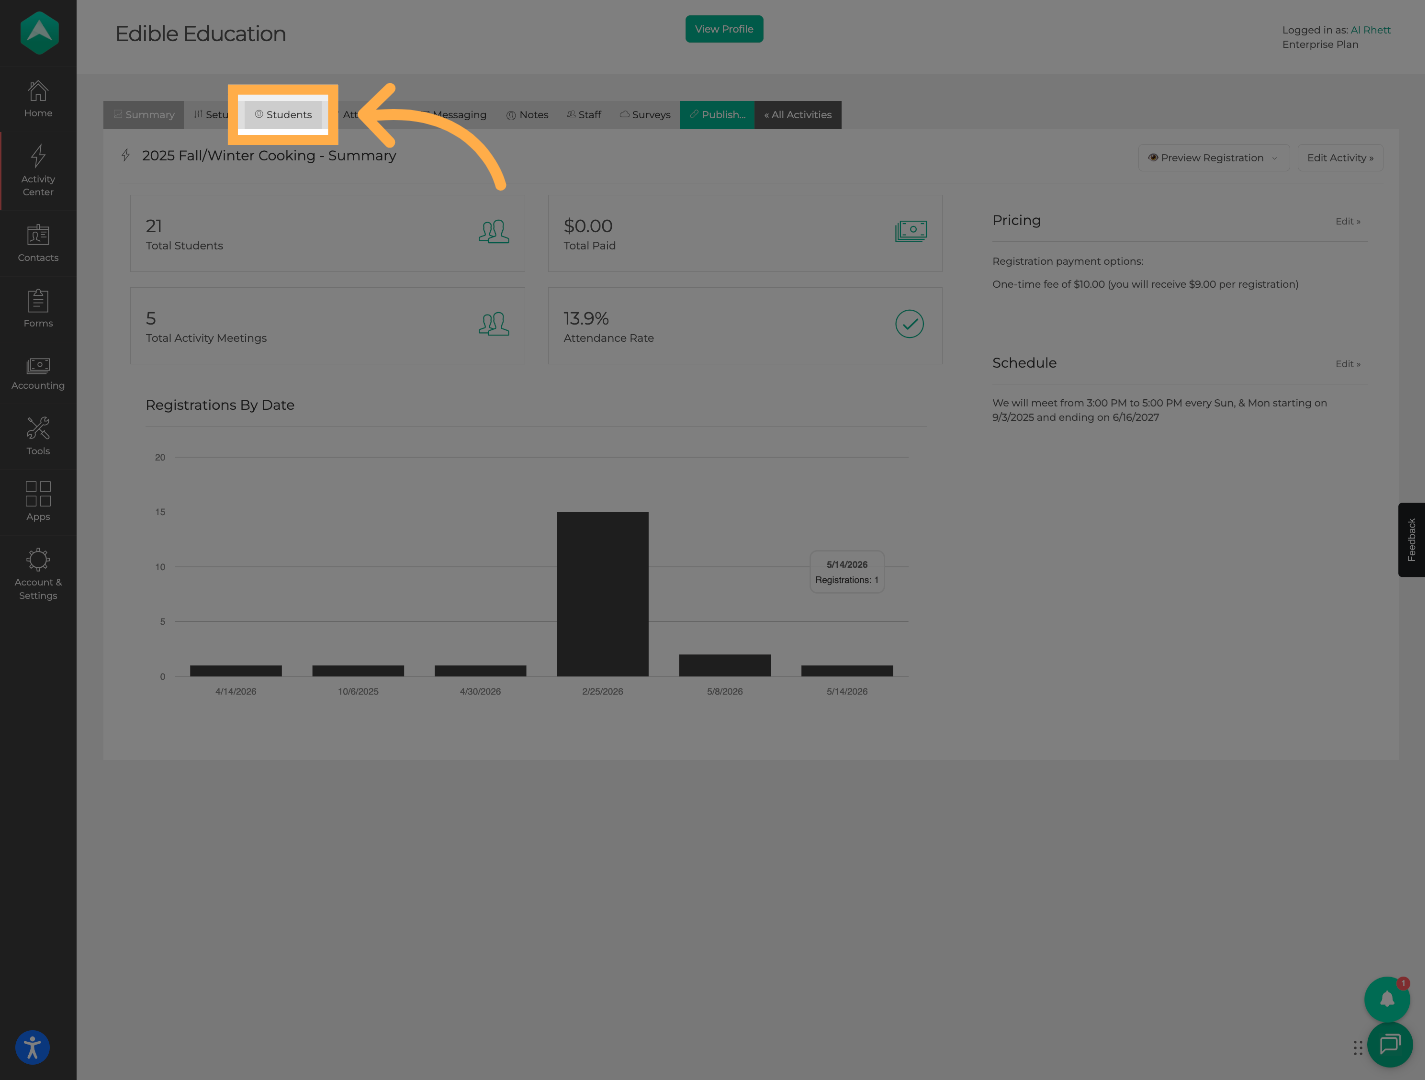
💡 Tip: This section allows you to review registration details, balances, and payment history for individual students.
4. Open Student Payment Details
Locate the student and click “View Details” to access their registration and payment information.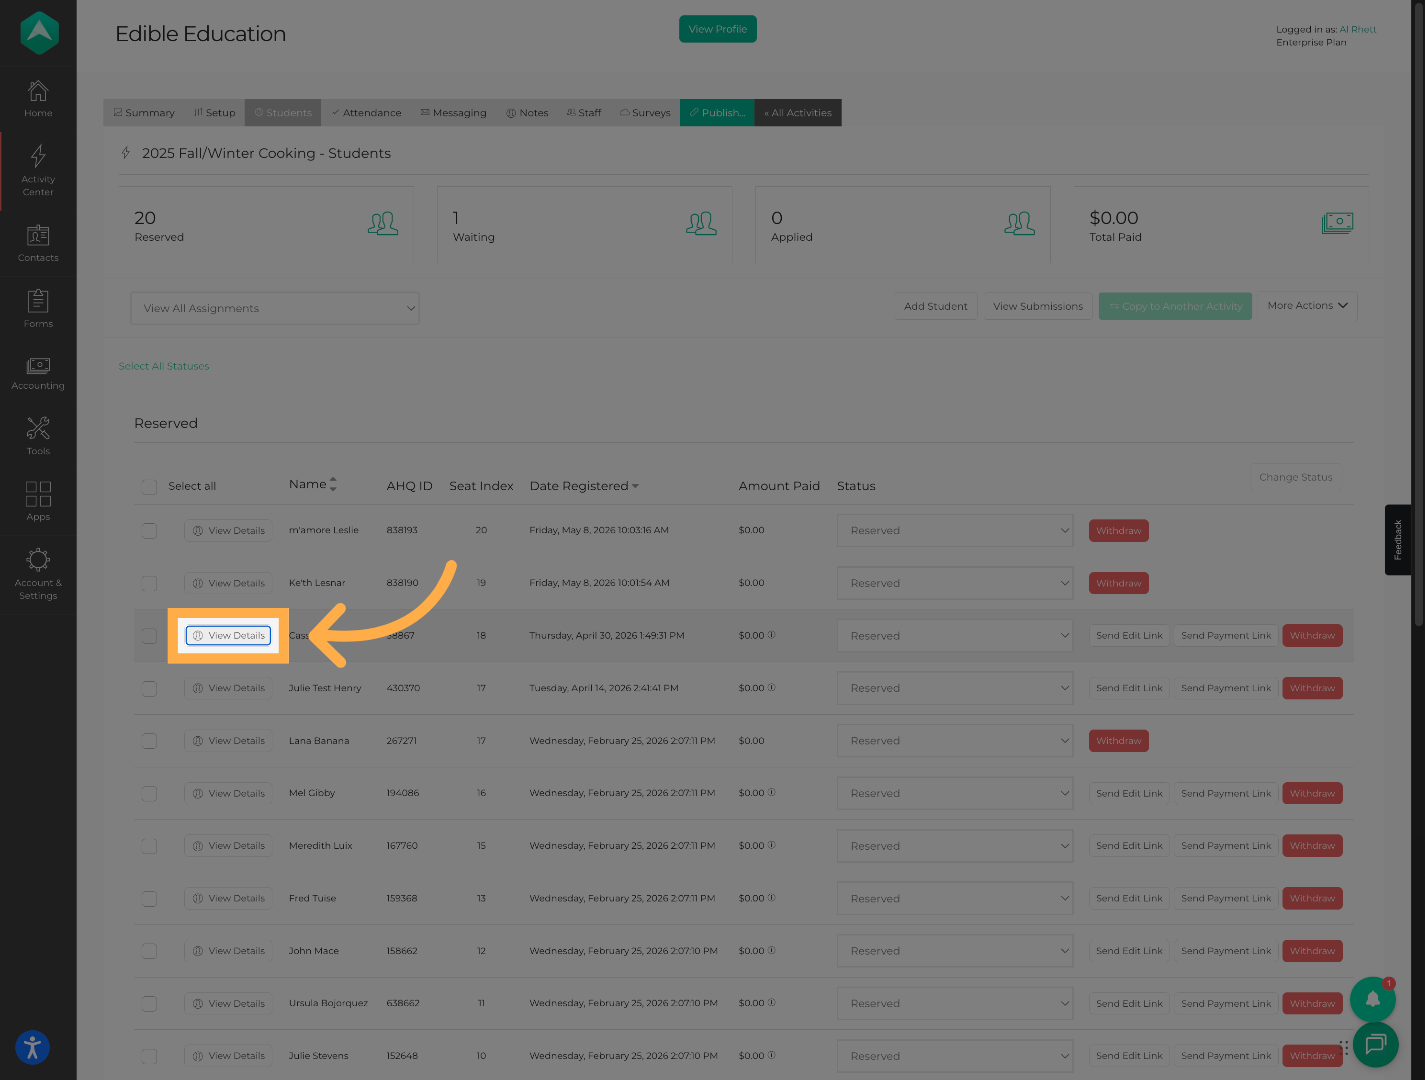
💡 Tip: Use your browser’s search function or filters if you are managing a large roster.
5. Review Current Payment Balance
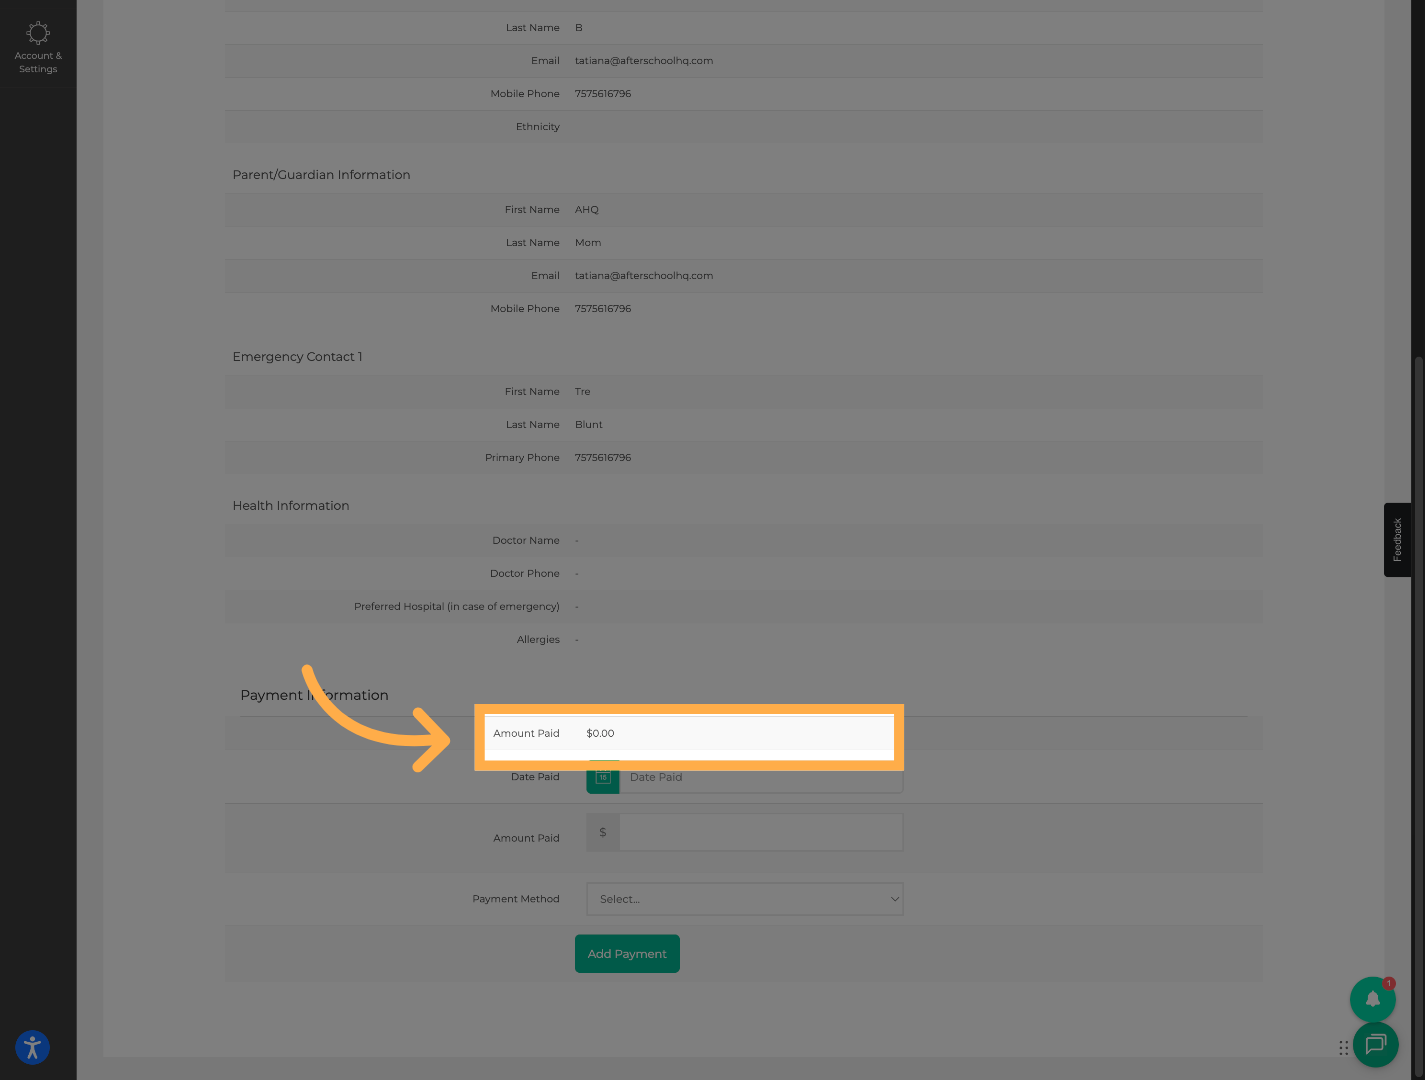
💡 Tip: Always review the current balance before adding a new payment to help prevent duplicate entries or overpayments.
6. Enter the Payment Date
Select the date the offline payment was received.
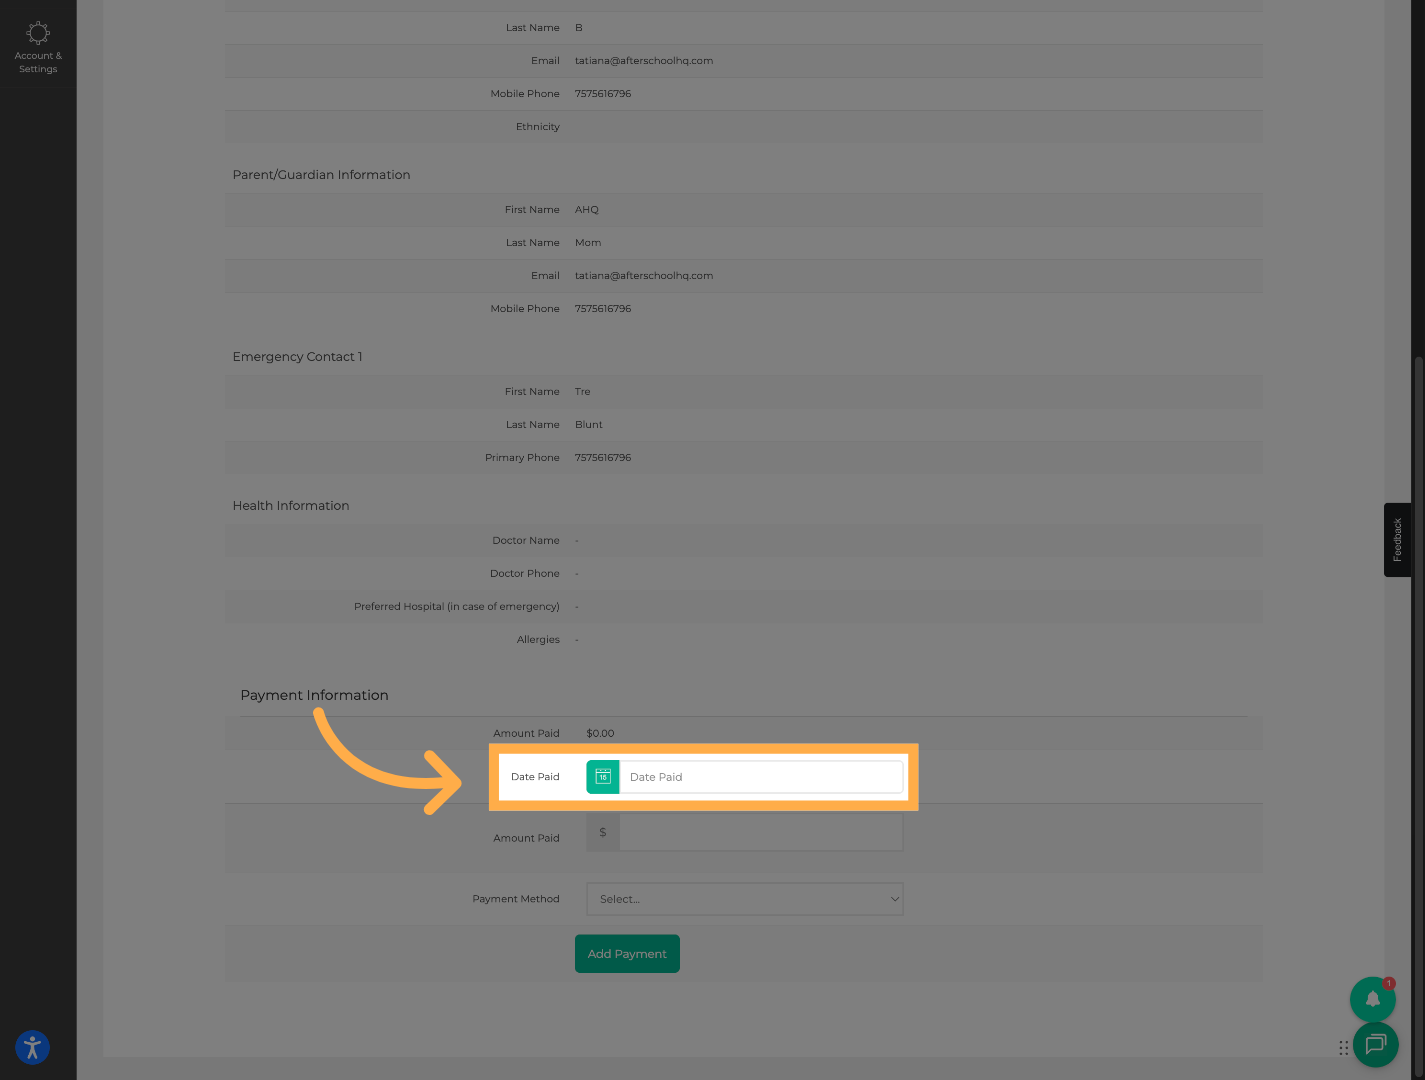
💡 Tip: Using the actual payment date helps keep accounting and financial reporting accurate.
7. Enter the Payment Amount
Type the amount that was paid offline.
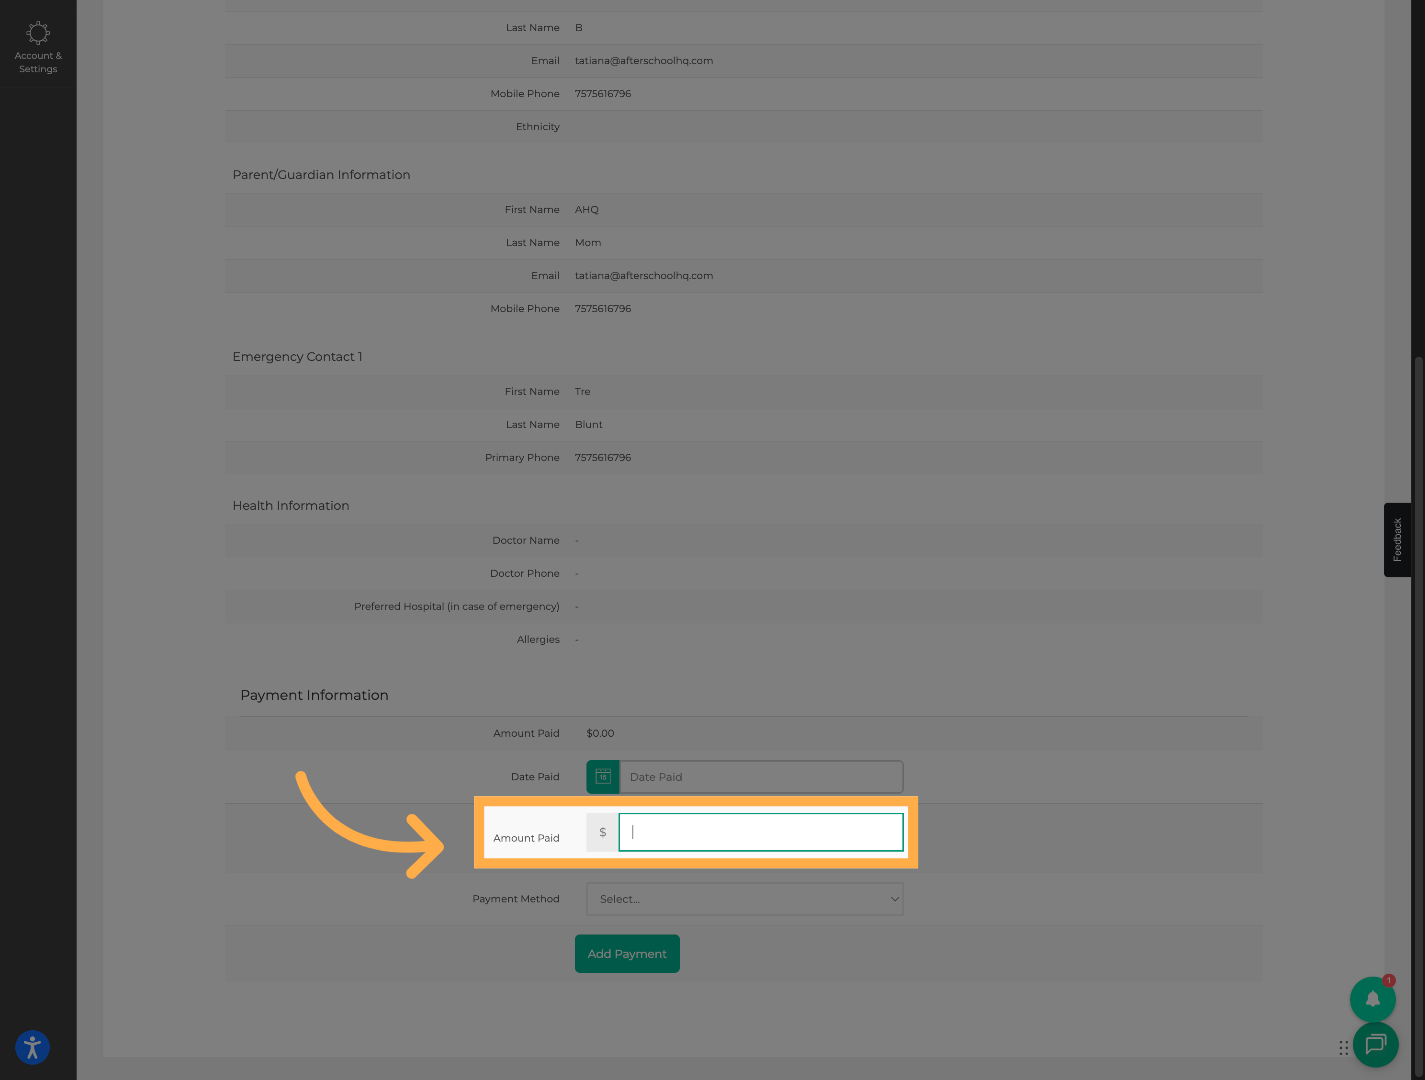
💡 Tip: Double-check the amount before saving to ensure balances update correctly.
8. Select the Offline Payment Method
Choose the payment method used, such as cash, check, or another offline payment option.
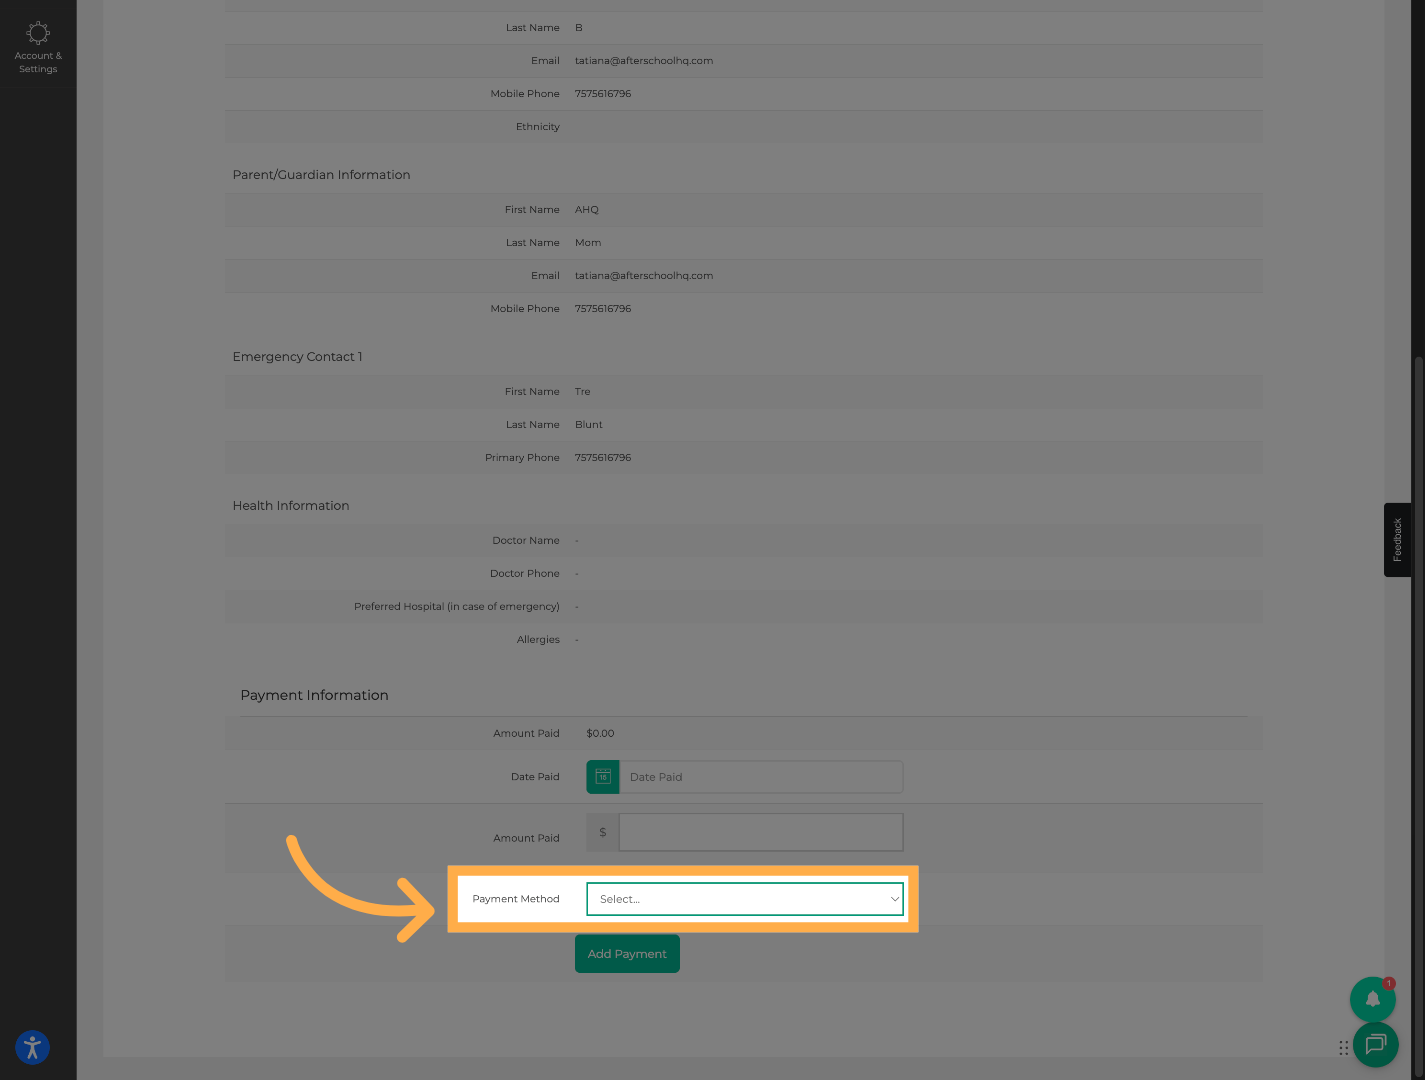
💡 Tip: Selecting the correct payment method makes reconciliation and reporting much easier later.
9. Save the Offline Payment
Click “Add Payment” to record the payment on the student’s account.
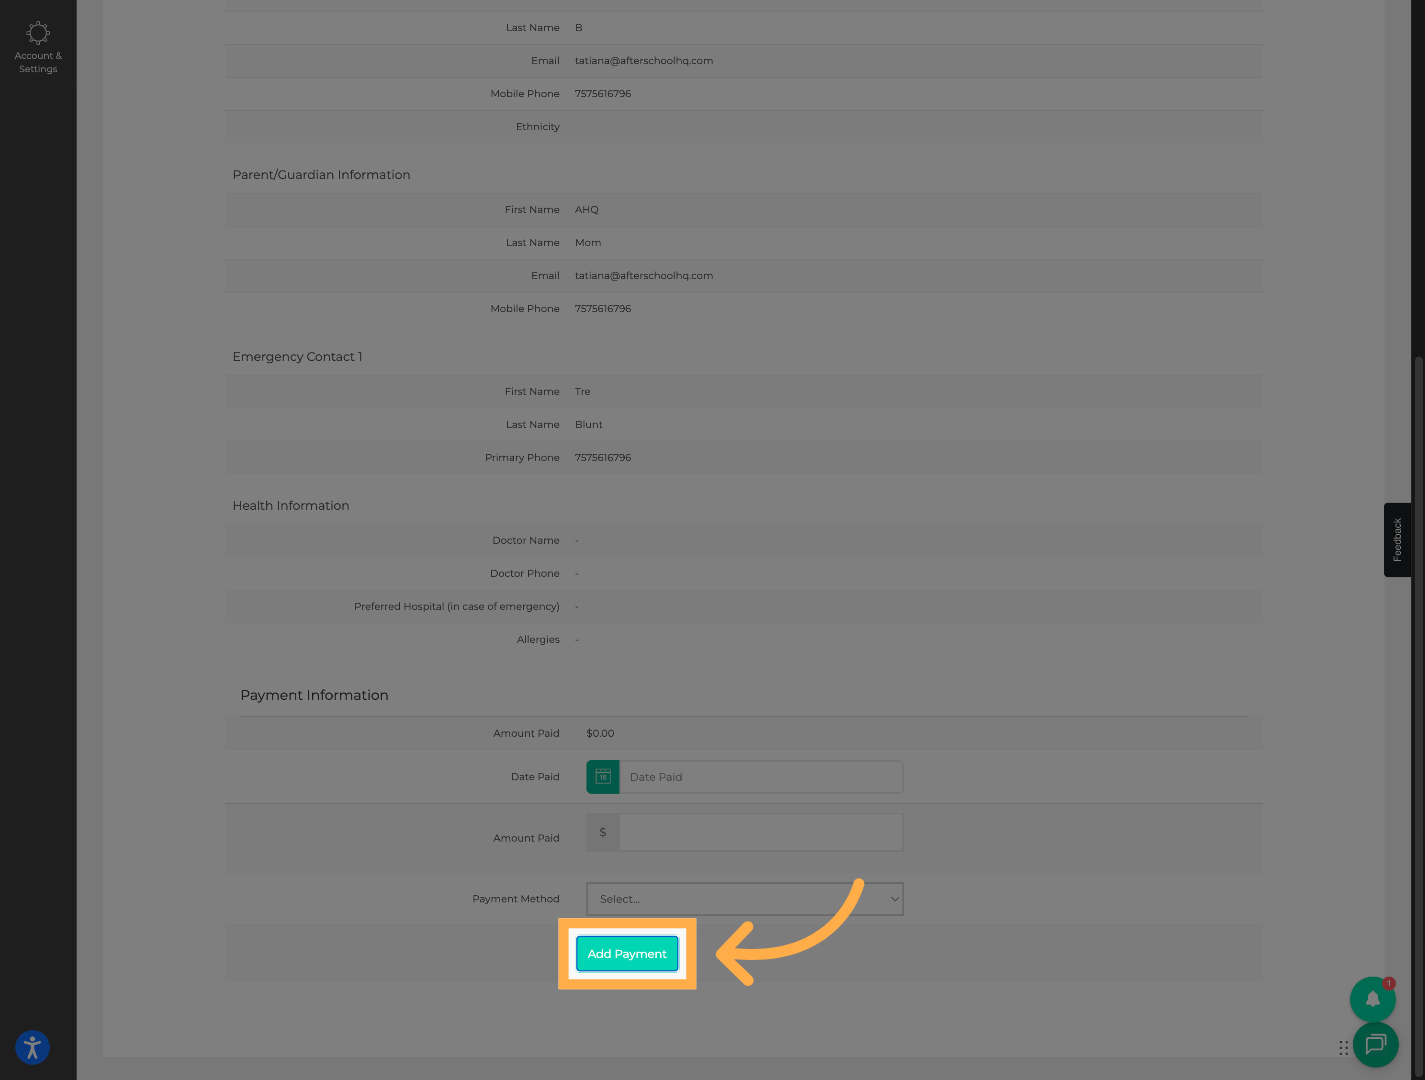
💡 Tip: Once saved, the payment will immediately update the student’s payment history and balance information.
10. Review Financial Records
Click on “Accounting” to review the newly added offline payment in your financial records.
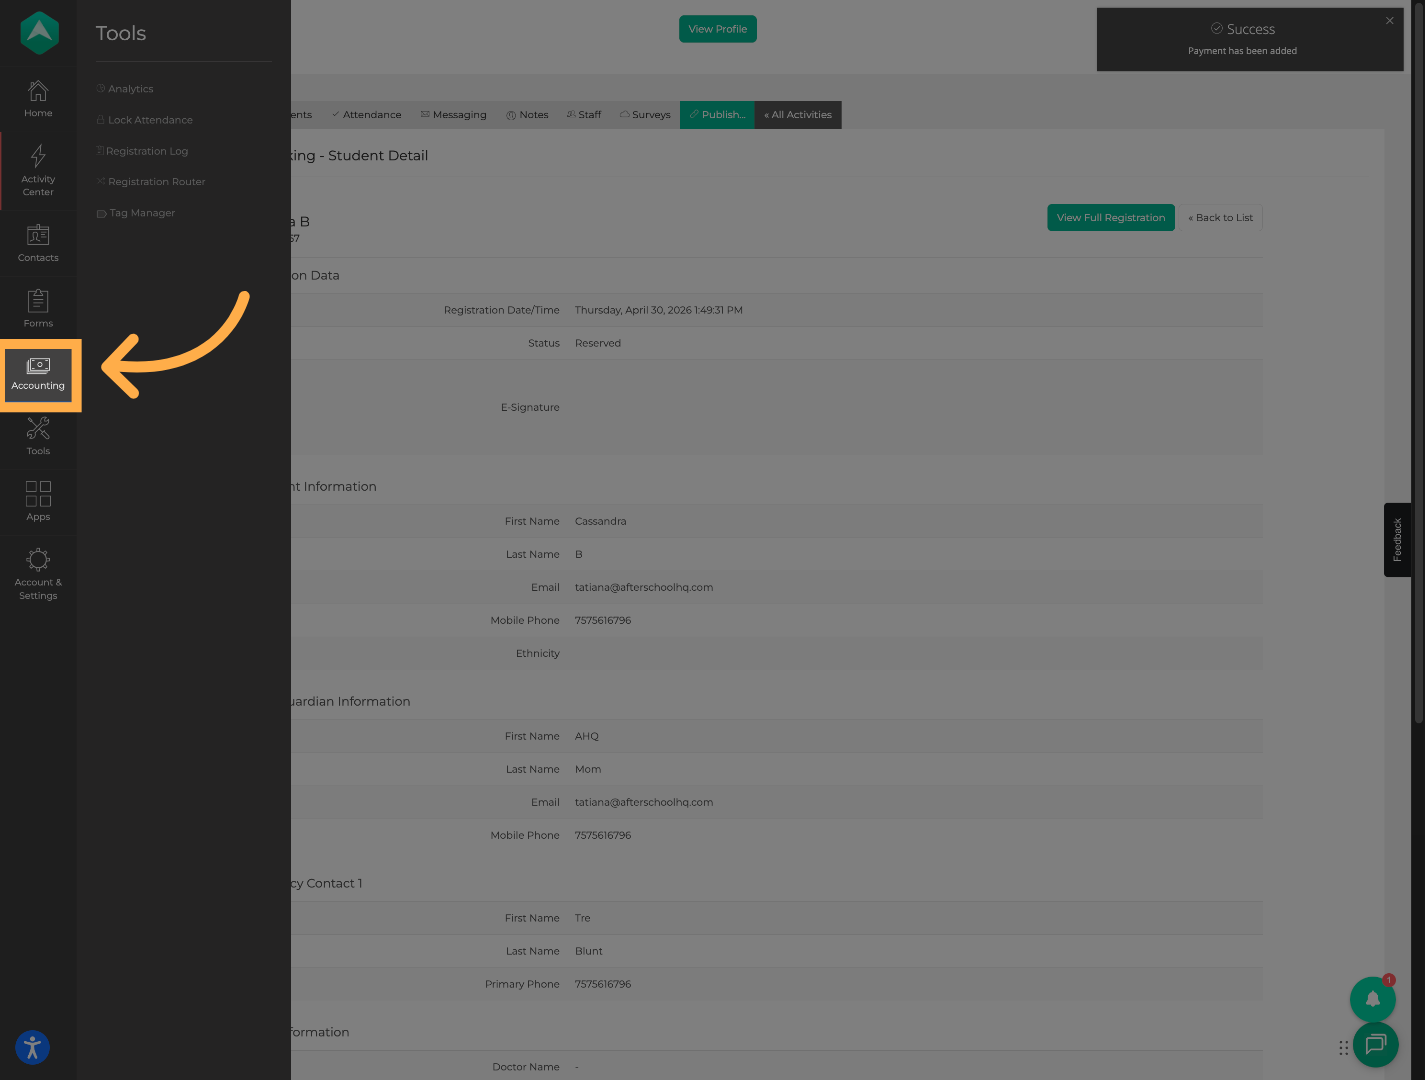
💡 Tip: Regularly reviewing accounting records can help identify missing or incorrect payments early.
11. Review Offline Payment
You can now review the recently added offline payment within your accounting and payment reporting sections.
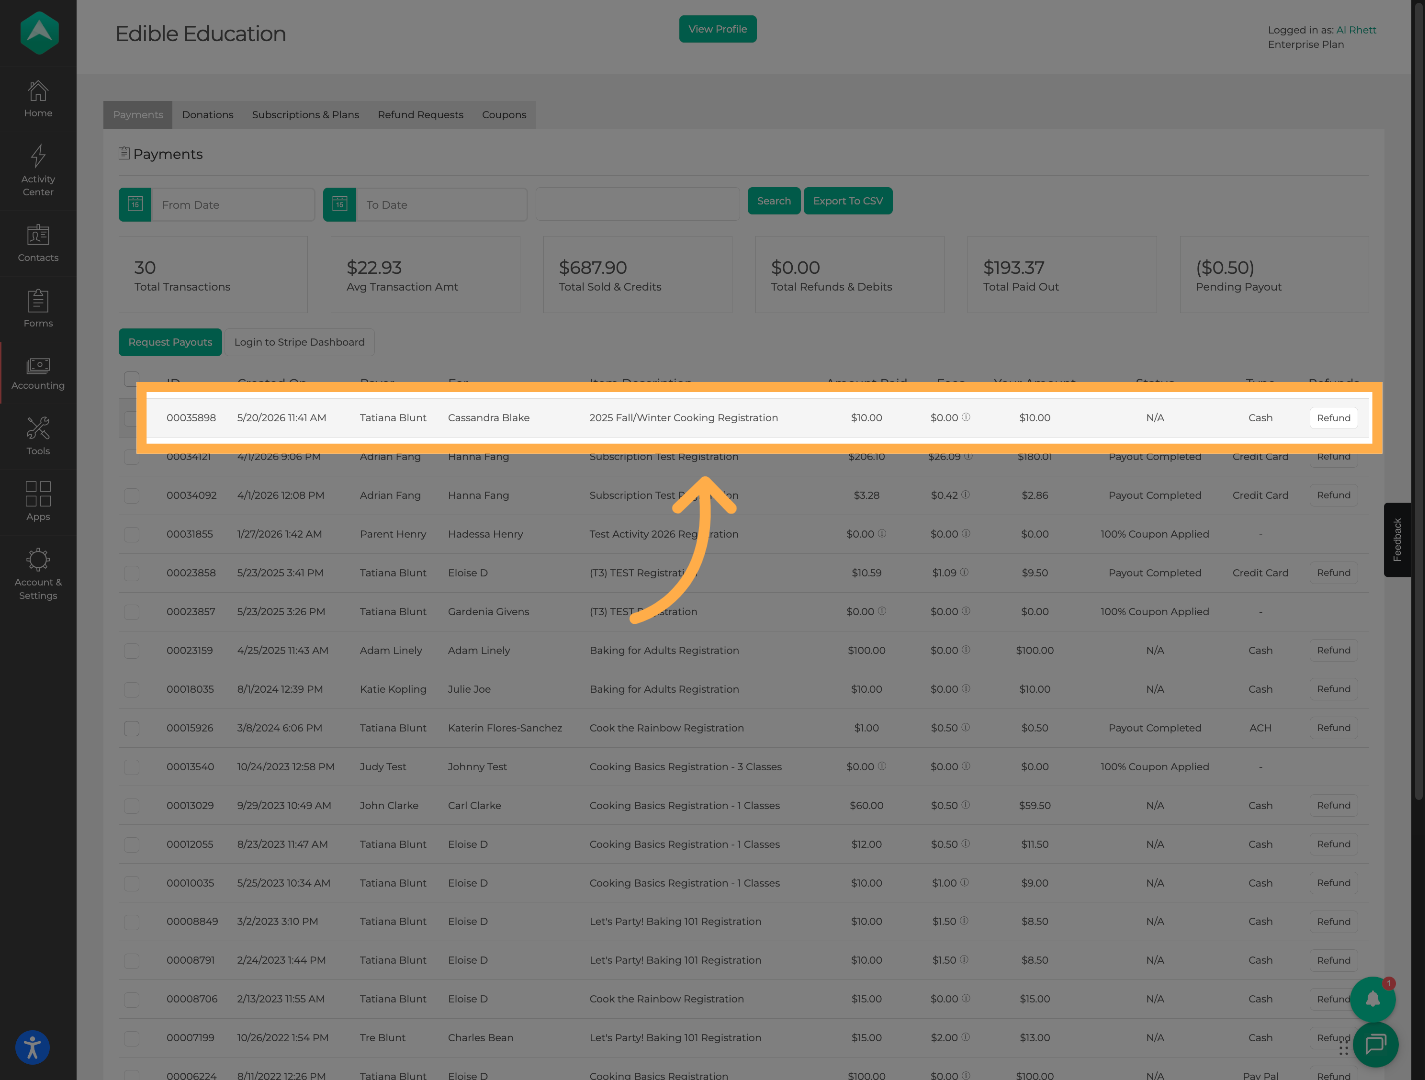
💡 Tip: Confirm that the payment amount, date, and payment method were saved correctly after submission.
12. Record an Offline Refund
If needed, you can also manually record offline refunds to help keep balances and reporting accurate.
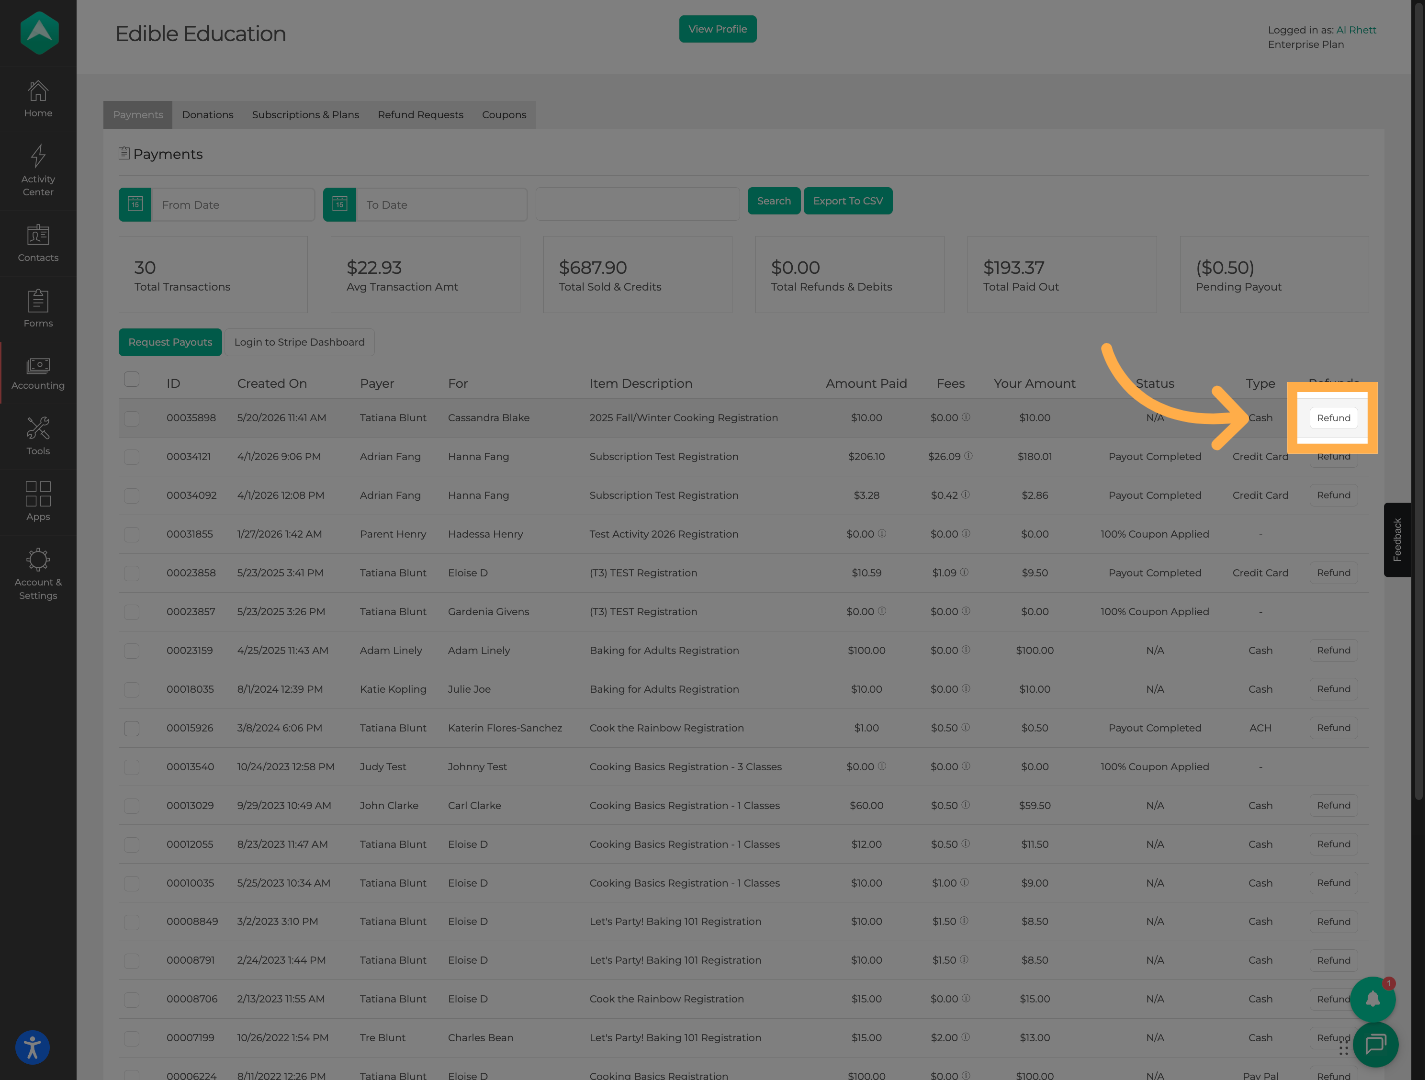
💡 Tip: Recording refunds promptly helps maintain accurate balances and improves financial reporting consistency.
Frequently Asked Questions
Q: Can I manually log cash payments?
A: Yes. Cash payments can be manually added through the Payment Information section.
Q: Can I manually log check payments?
A:Yes. Check payments can also be tracked manually.
Q: Why don’t I see the Payment Information section?
A: Pricing may not be enabled on the activity.
Q: Will manually added payments appear in reporting?
A: Yes. Manually tracked payments should appear within accounting and payment reporting areas.
Q: Can I edit or correct a manually entered payment?
A: This depends on your account permissions and organization setup.
Q: Does manually tracking payments charge families automatically?
A: No. Manual payment entries only record payments already received outside of AfterSchool HQ.
💡If you experience any issues or have further questions with “How to Manually Track Payments Received Outside of AfterSchool HQ”, don't hesitate to get in touch with our support team at support@afterschoolhq.com.