Need to collect additional attendance information during check-in or check-out? This guide will walk you through how to create custom forms, add questions, and attach them to activities within AfterSchool HQ.
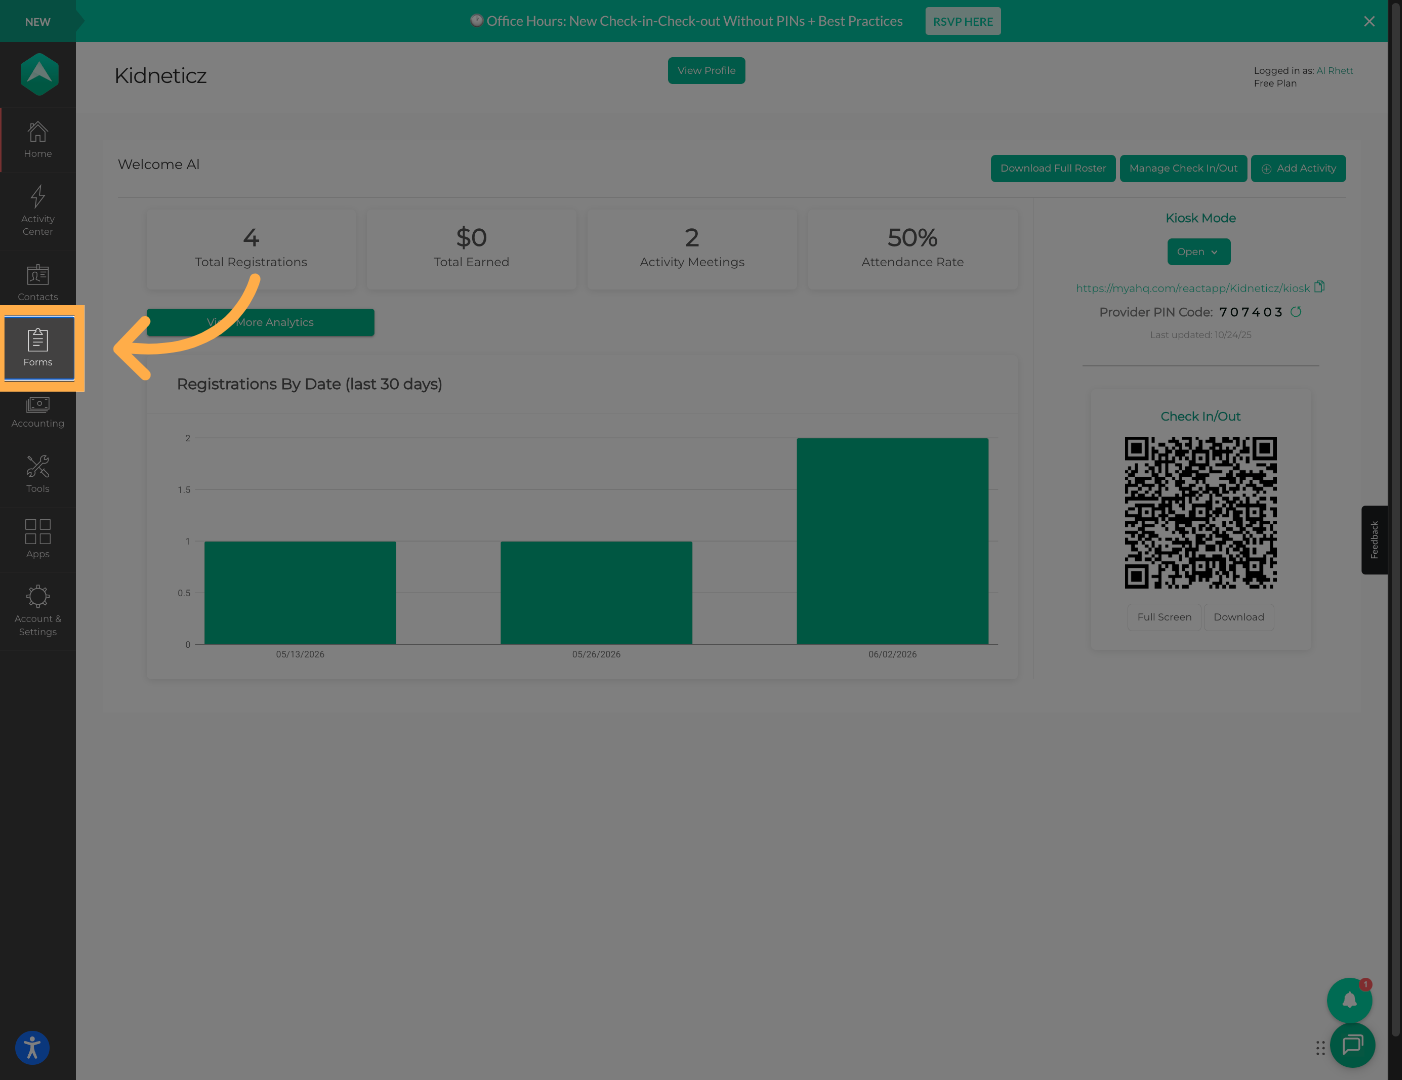
1. Open Forms
Click “Forms” to open the forms management area in AfterSchool HQ.
💡 Tip: Forms can be reused across multiple activities once published.
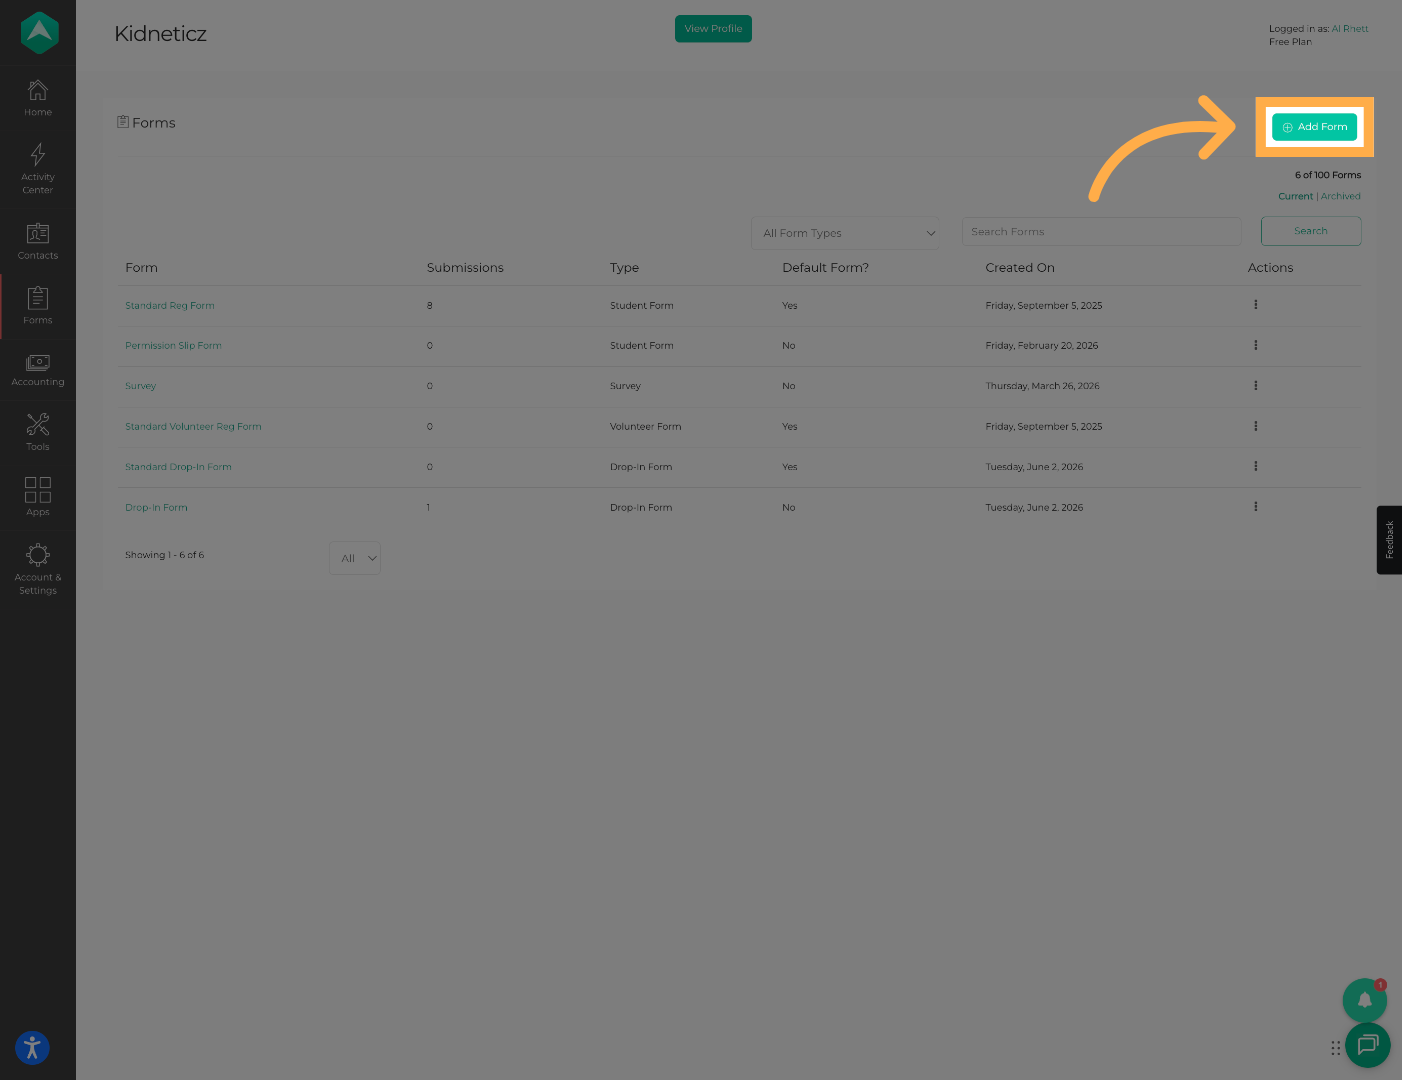
2. Create a New Form
Click “Add Form” to begin creating a new form.
💡 Tip: Use clear naming conventions so staff can easily identify forms later.
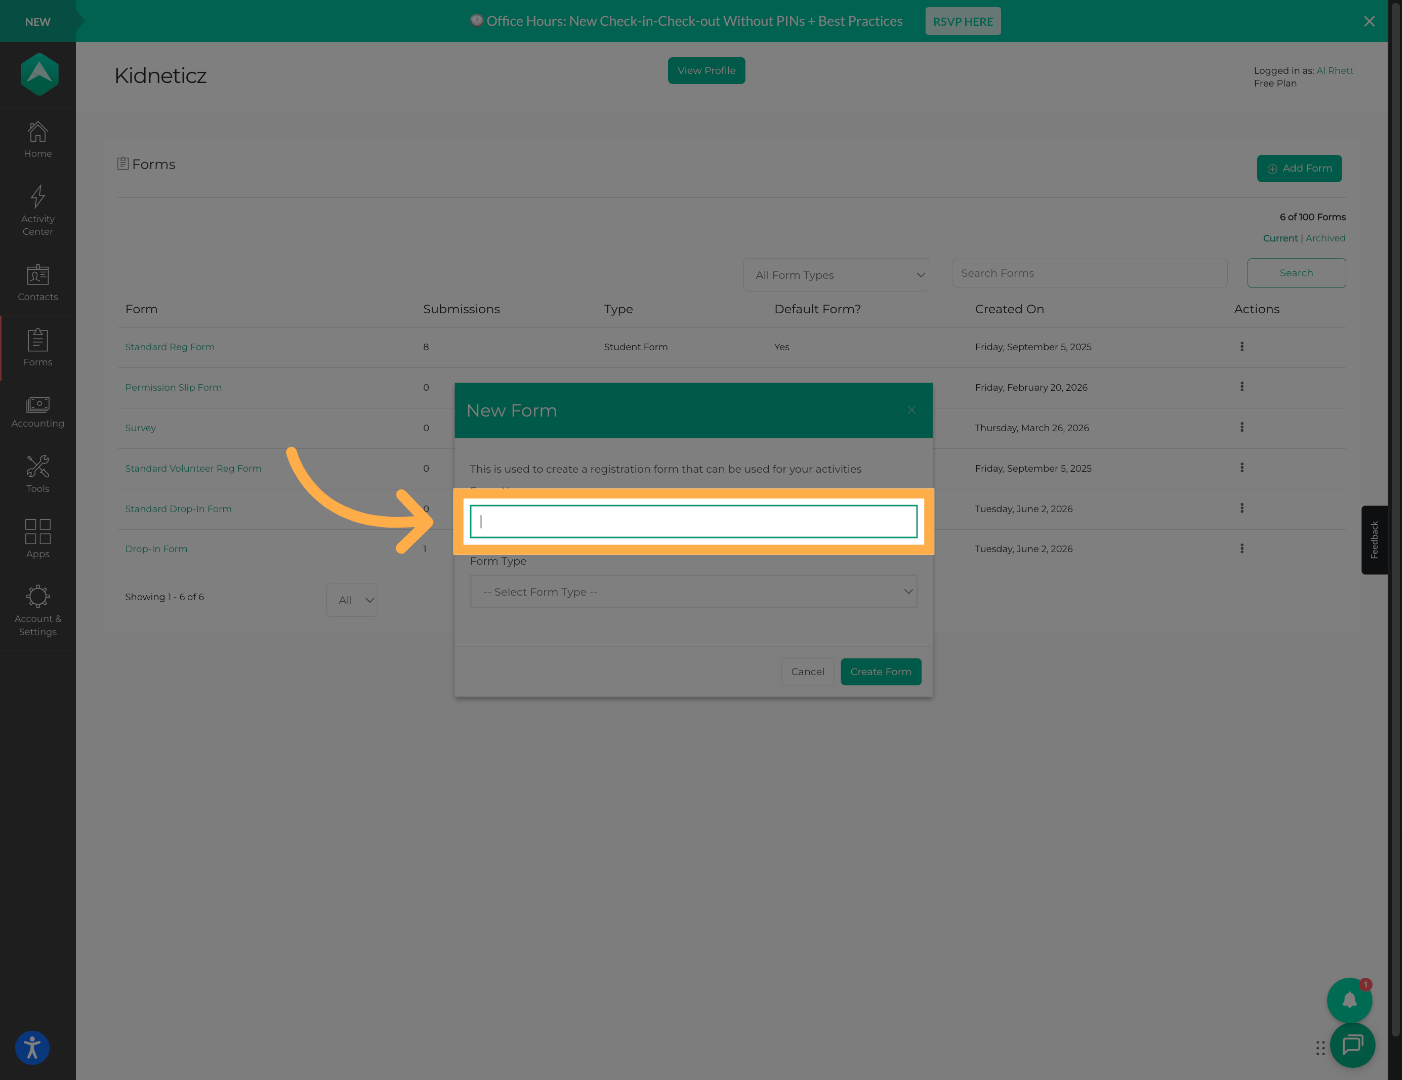
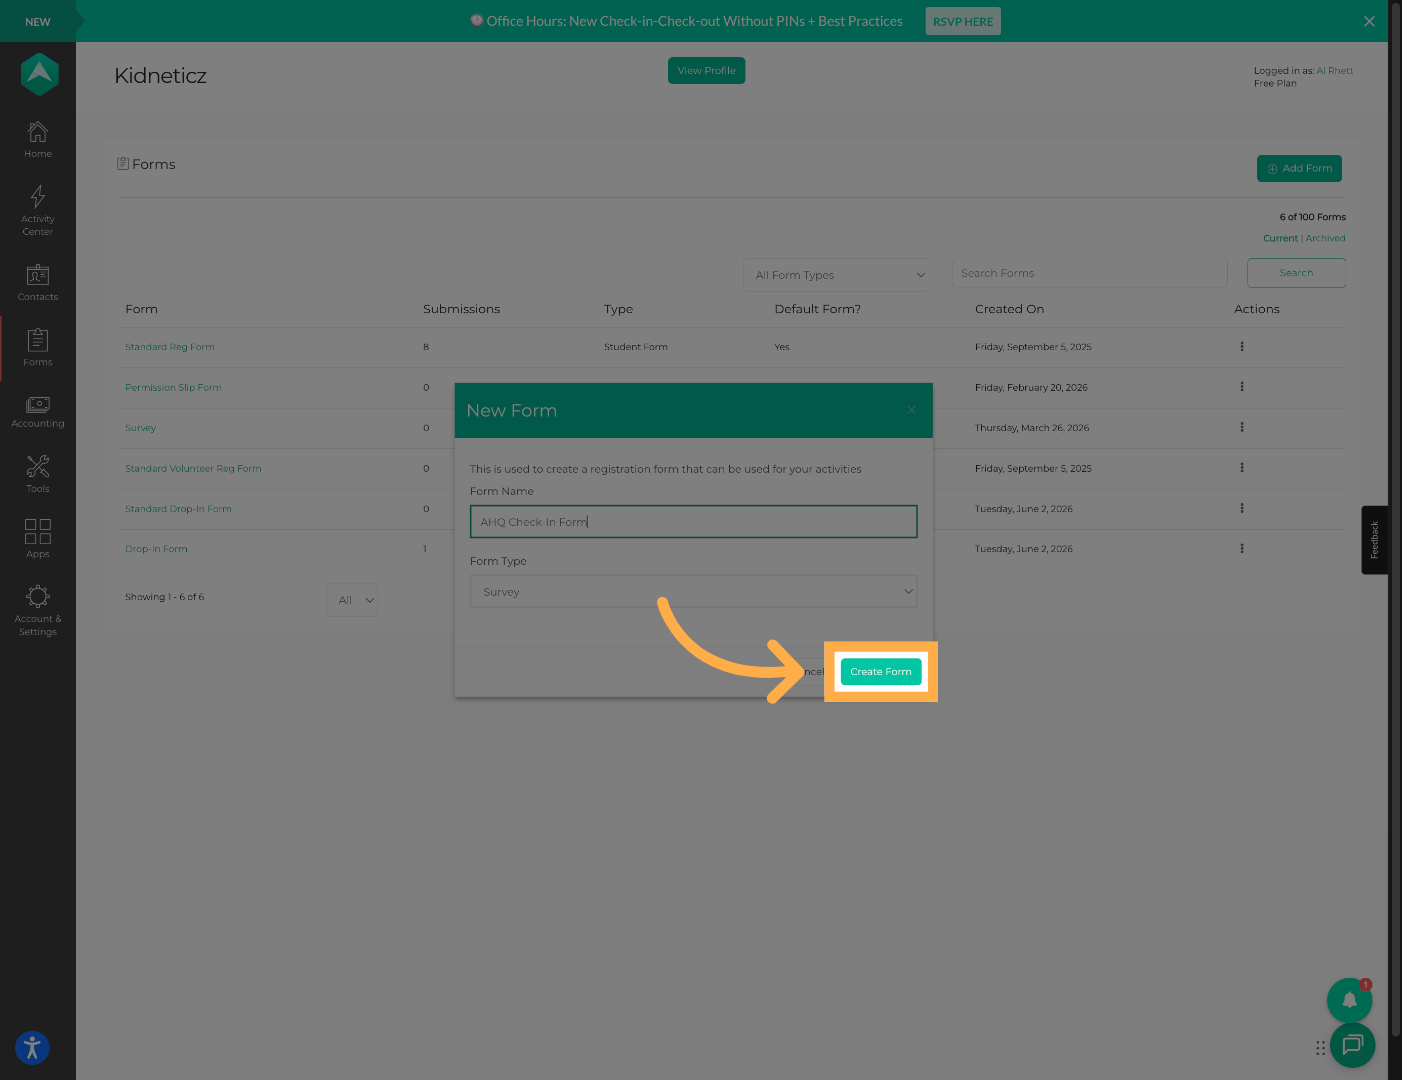
3. Name Your Form
Enter a name for your check-in form.
Example:
- Daily Check-In Form
- Student Pick-Up Form
- Snack Attendance Form
💡 Tip: Including the purpose of the form in the title makes setup easier later.
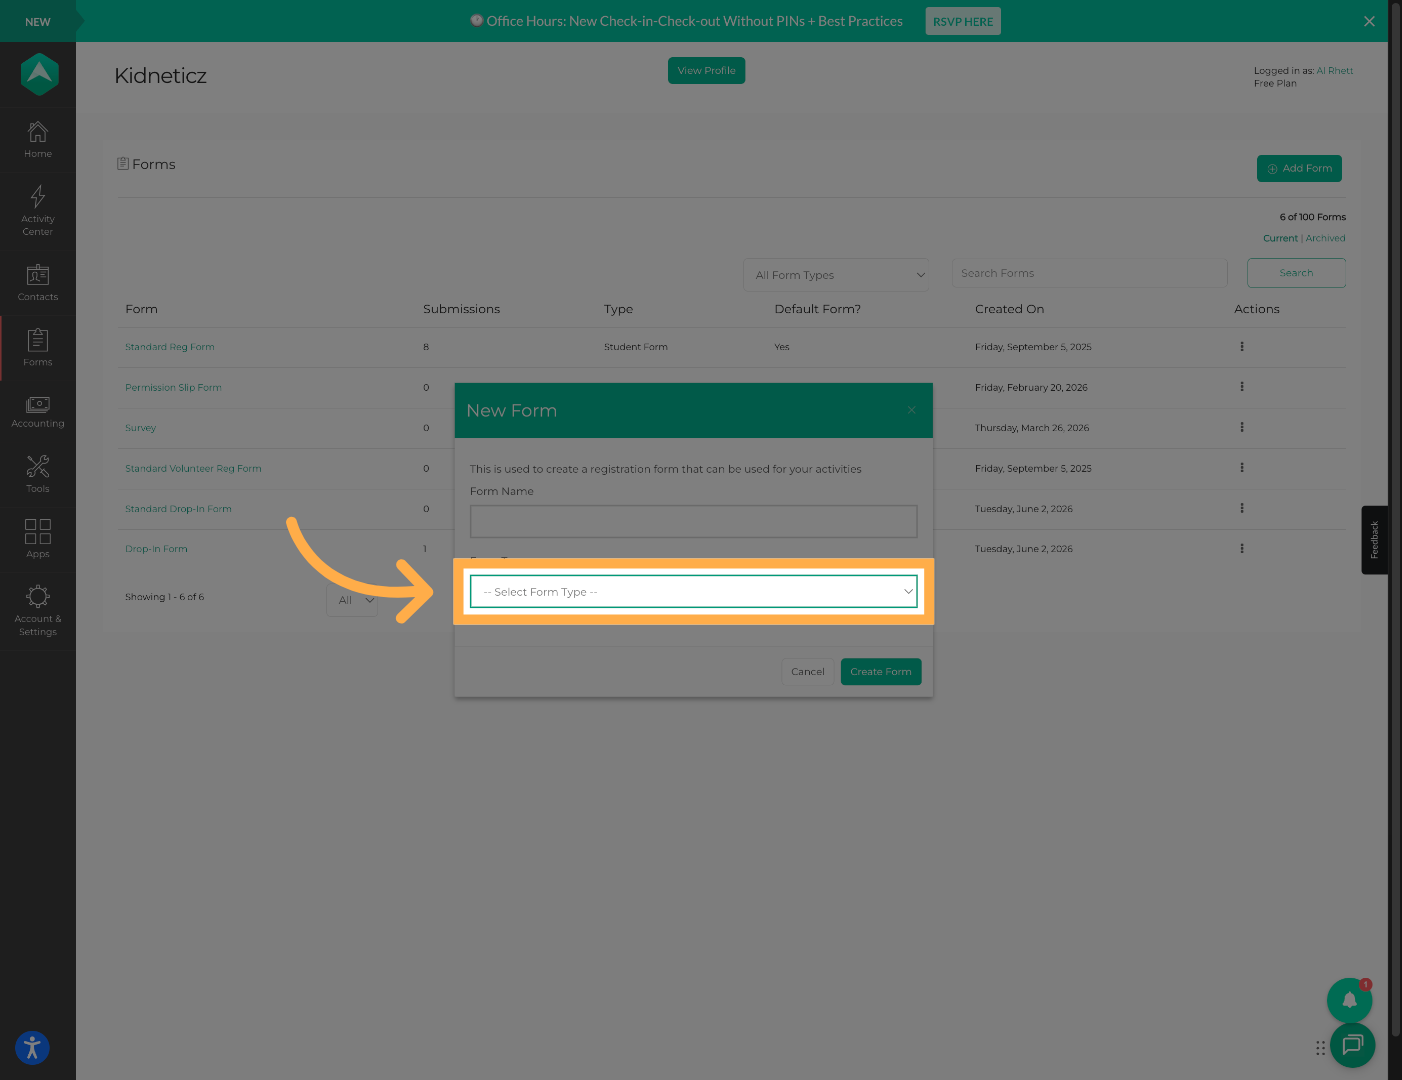
4. Select Form Type
Select “Survey” as the form type.
💡 Tip: Survey forms allow you to customize questions for attendance workflows.
5. Create the Form
Click “Create Form” to finalize the form creation process.
6. Open the First Section
Begin editing the first section of the form.
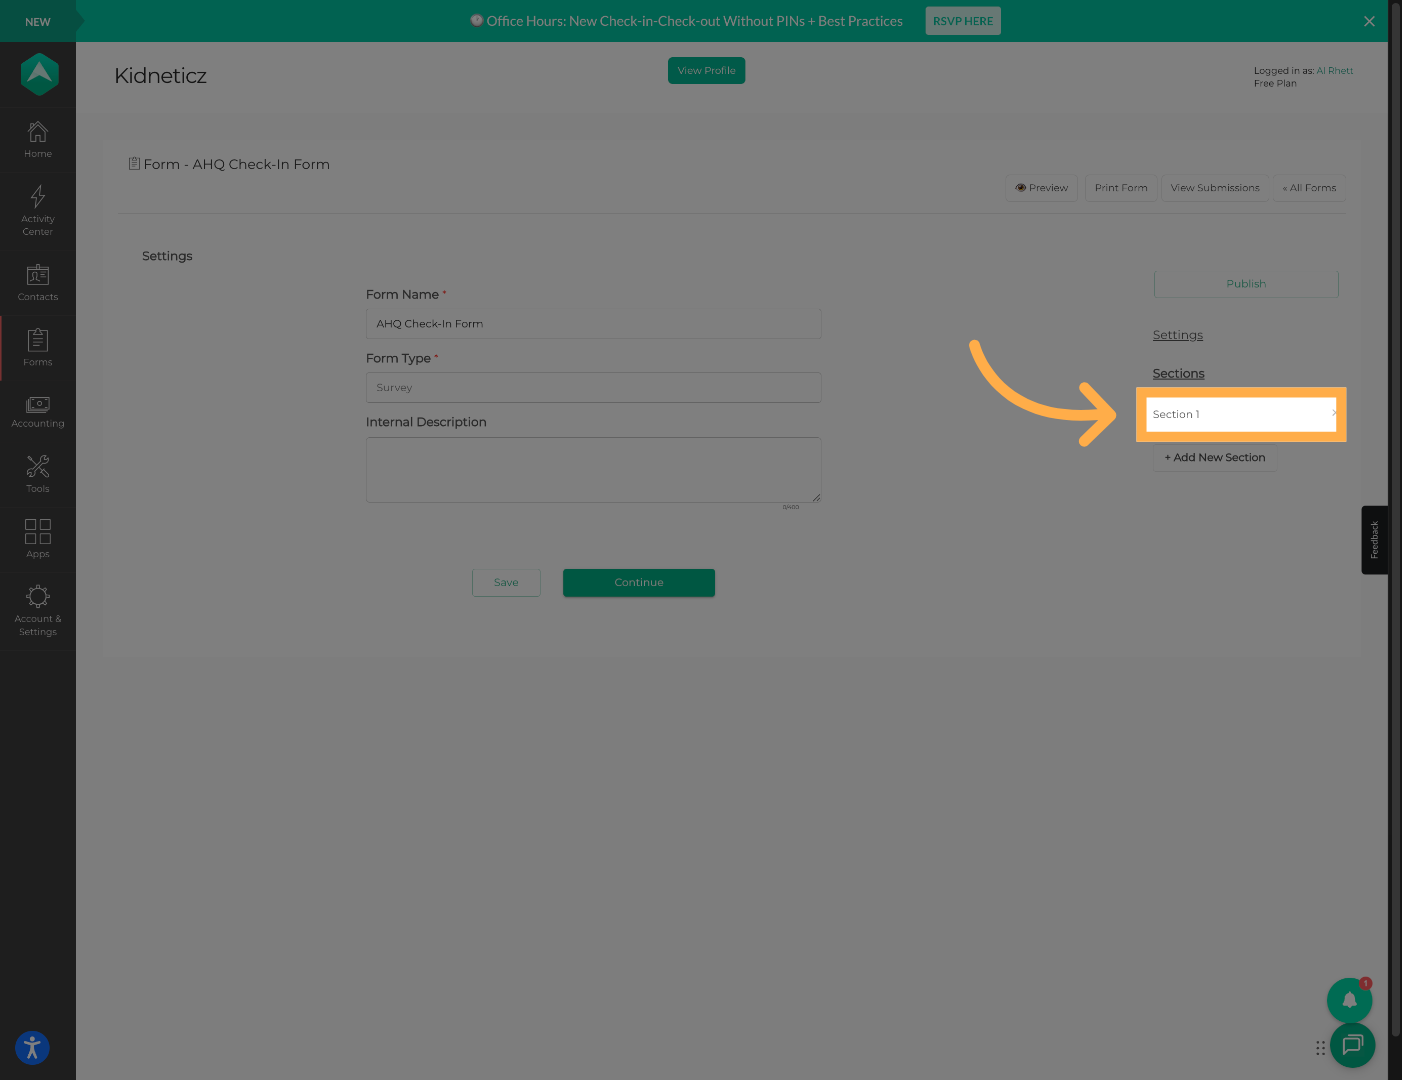
💡 Tip: Sections help organize questions into groups for easier completion.
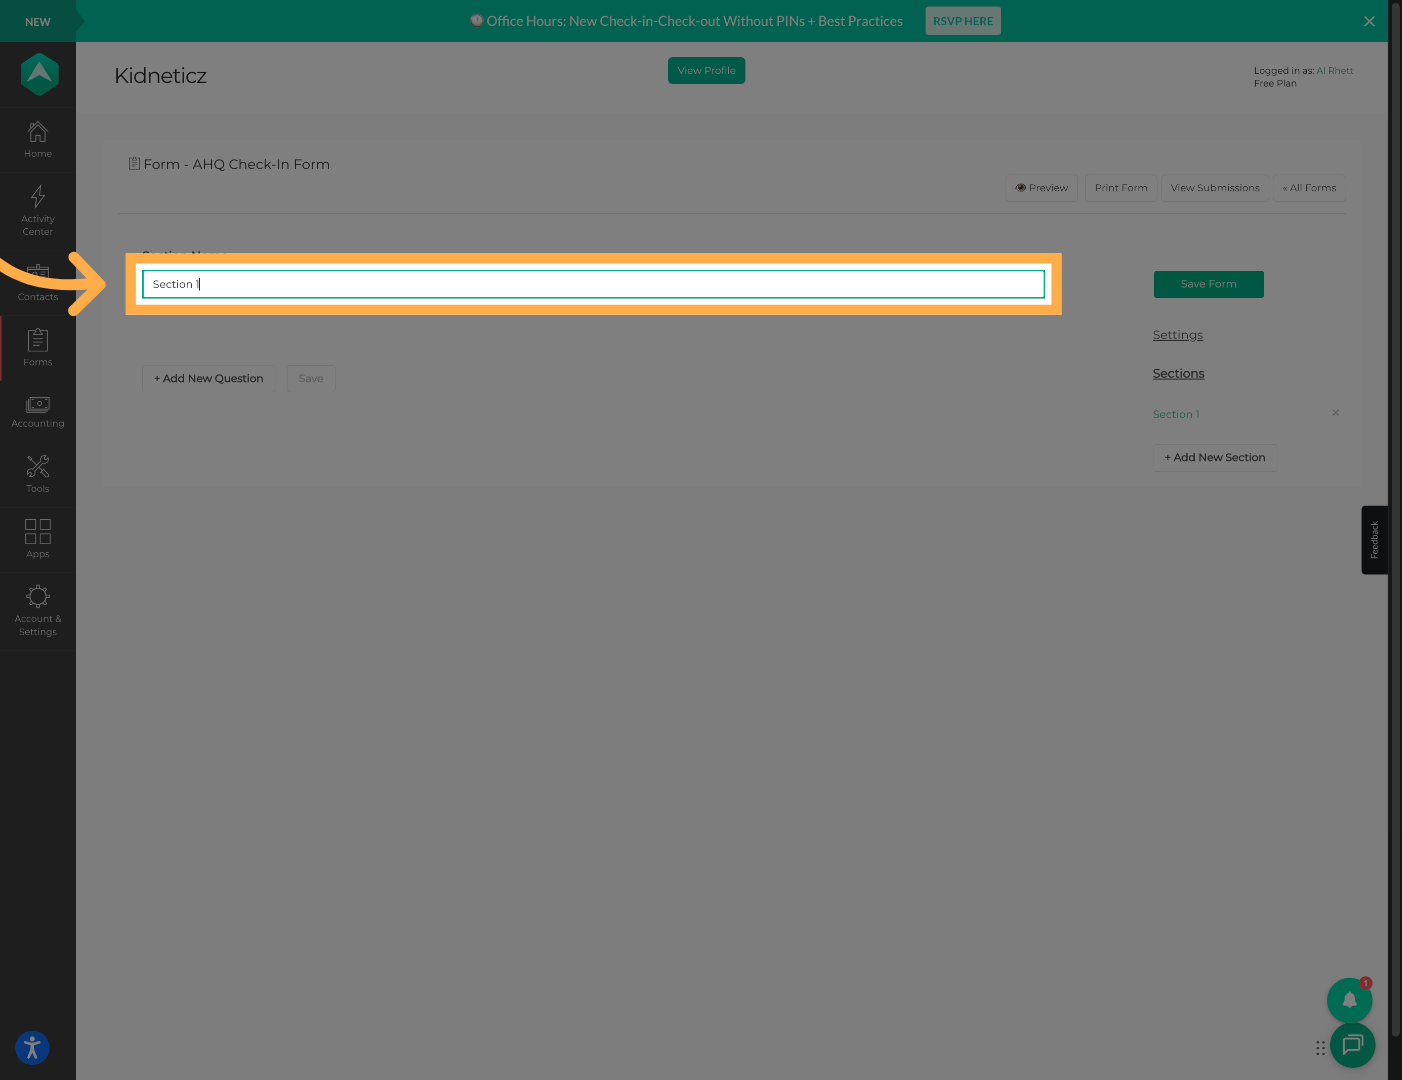
7. Rename the Section
Rename Section 1 to match the purpose of the form.
Examples:
- Parent Check-In
- Student Pick-Up Details
- Transportation Questions
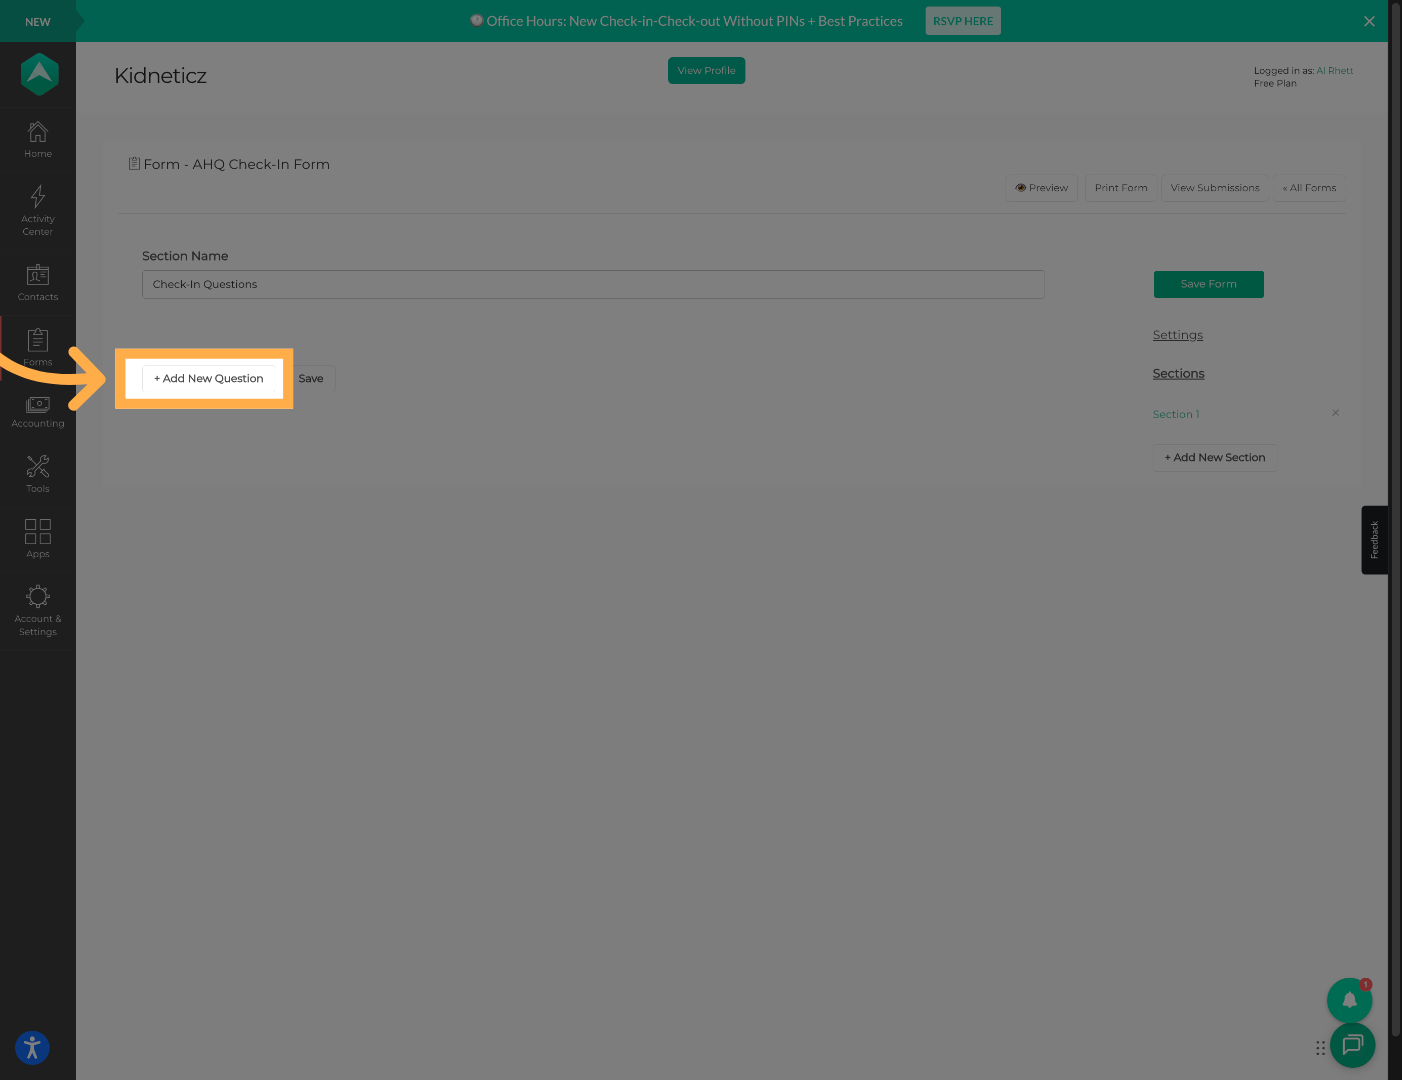
8. Add a New Question
Click “Add New Question” to begin adding form questions.
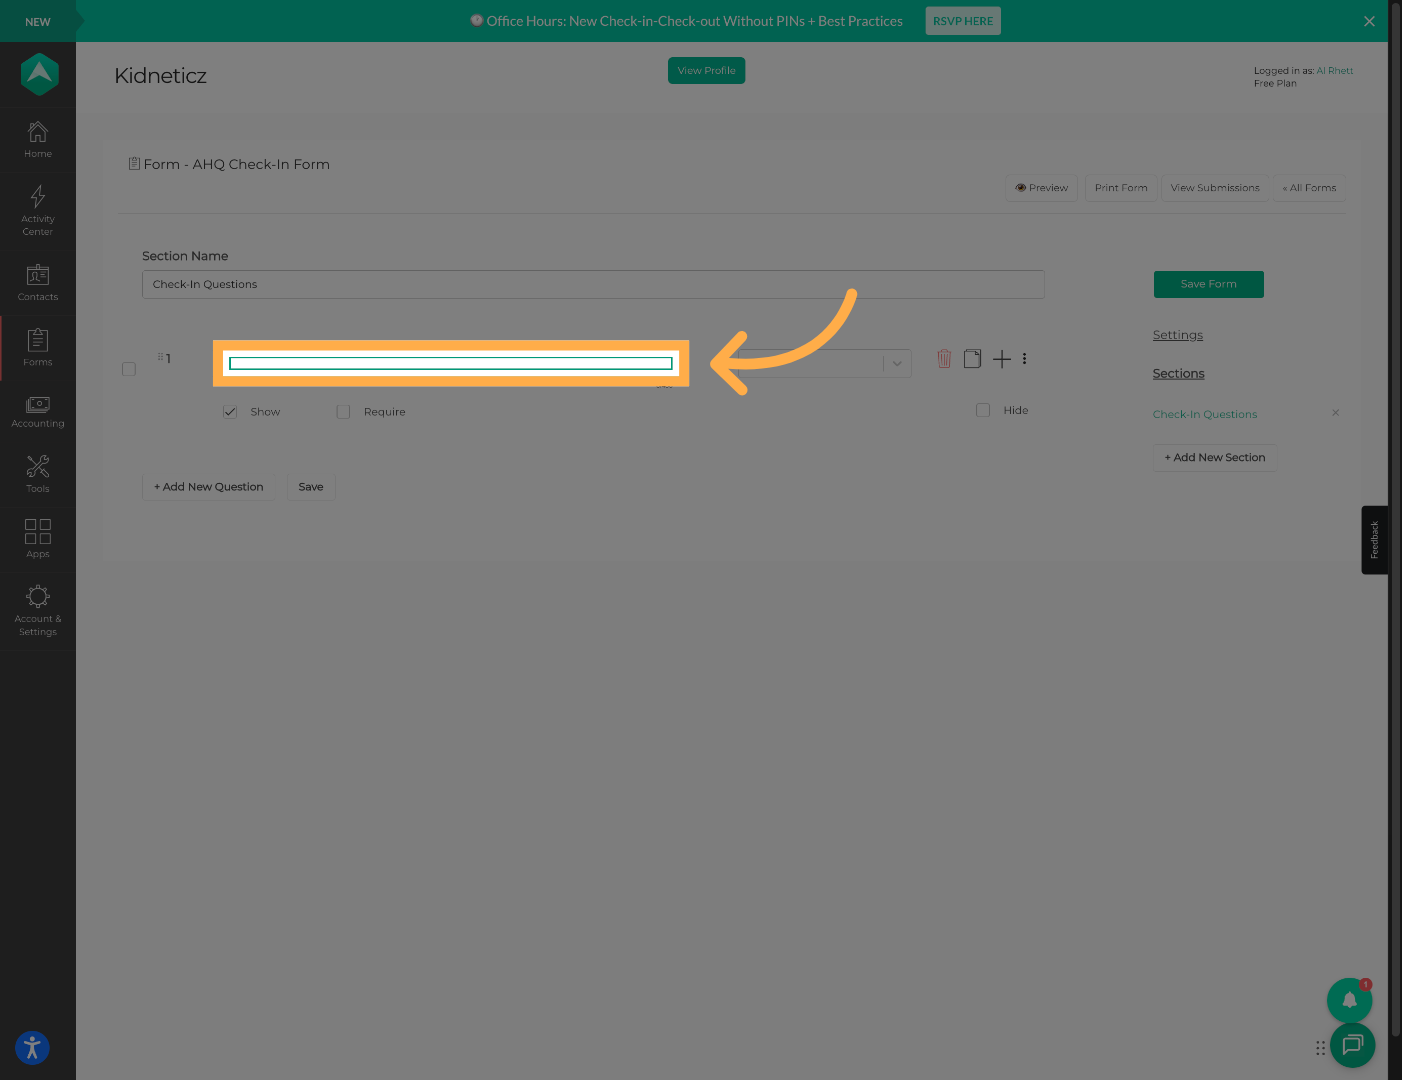
9. Enter Your Question
Type the question you would like families or staff to answer.
Examples:
- Who is picking up the student?
- Did the student receive a snack?
- Transportation method for today?
💡 Tip: Keep attendance questions short and easy to answer for faster check-in/check-out.
10. Select a Question Type
Choose the appropriate question type such as:
- Dropdown
- Single Line Text
- Checkbox
- Date
- Number
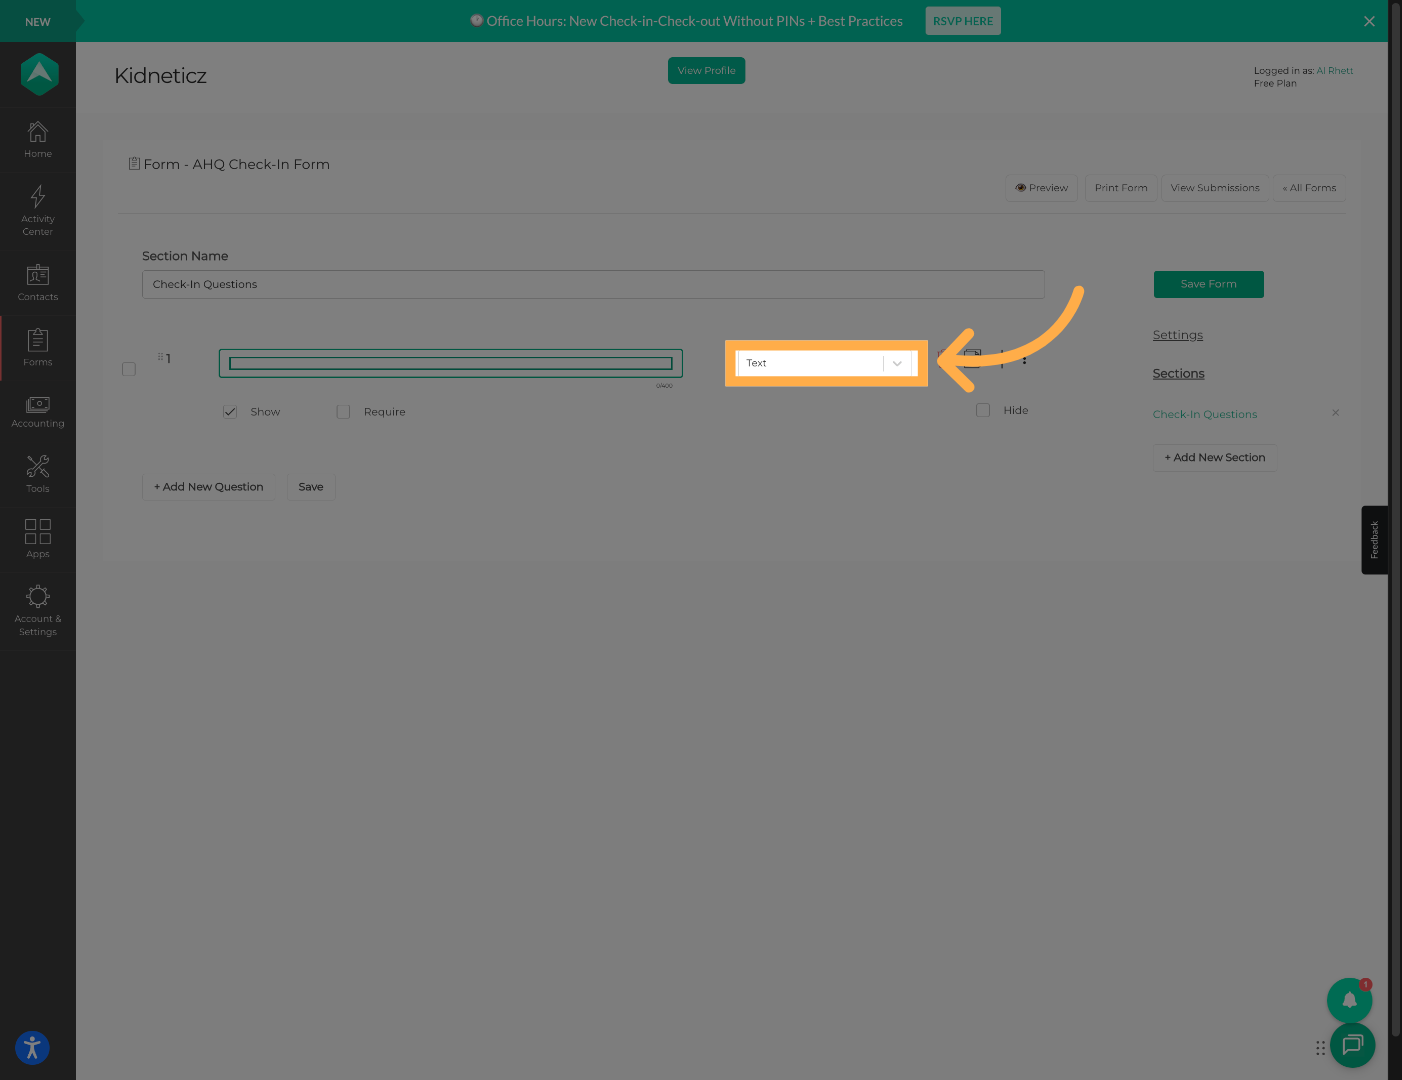
💡 Tip: Dropdown and Checkbox fields are usually the fastest options during attendance.
11. Add Additional Questions
Continue adding additional questions as needed for your attendance workflow.
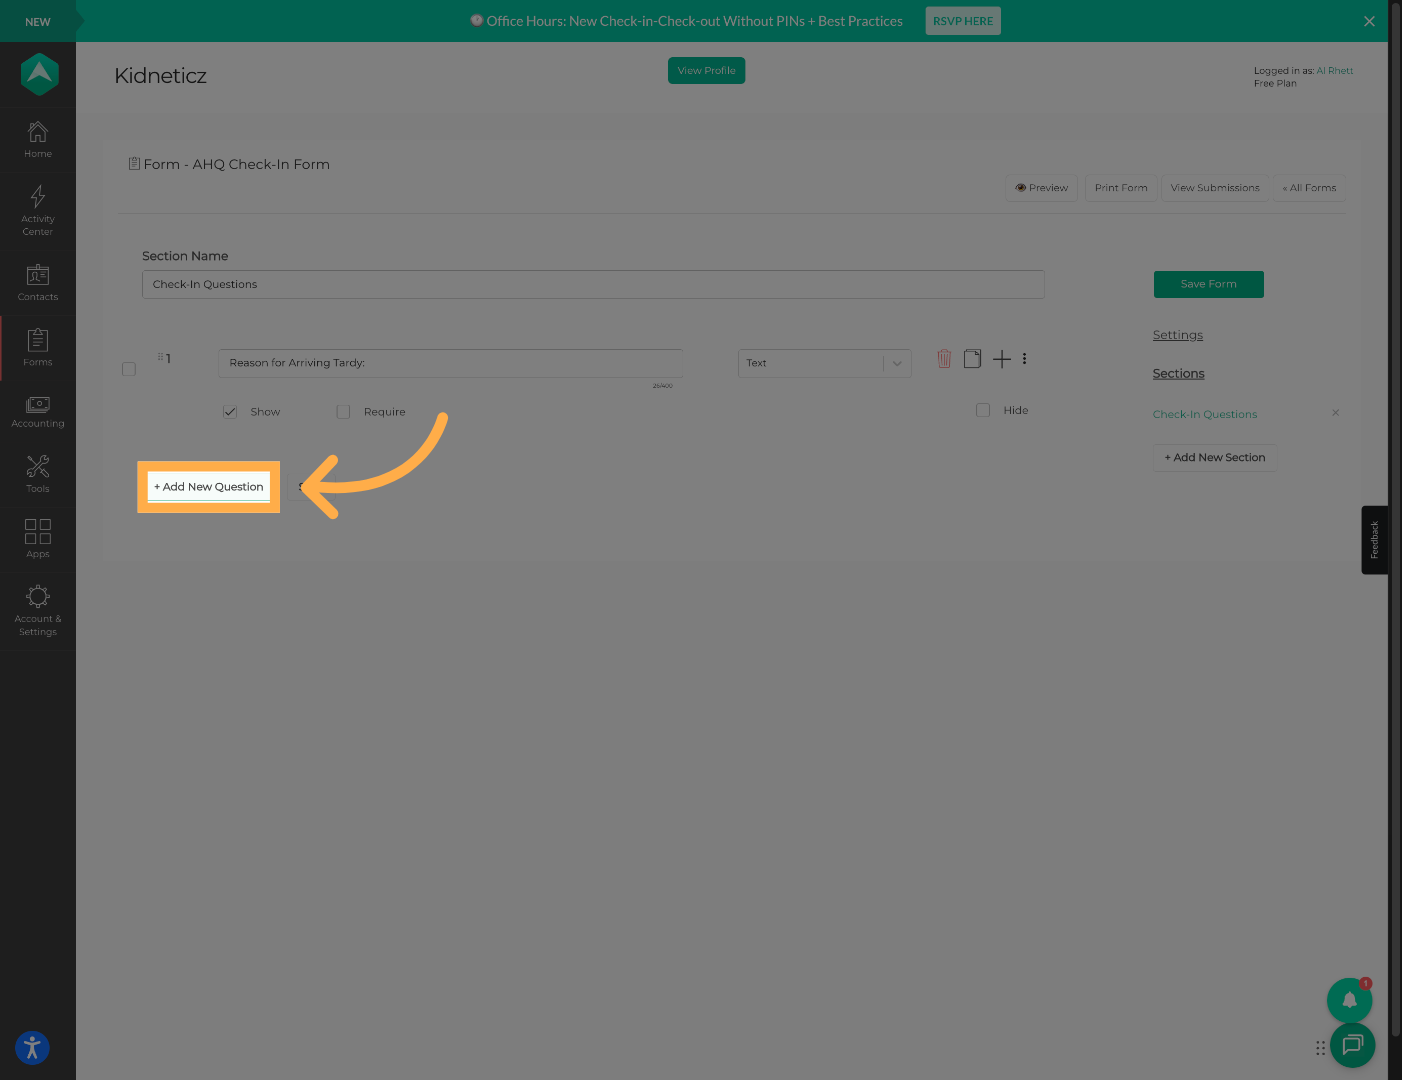
💡 Tip: Avoid adding unnecessary questions that could slow down check-in or dismissal.
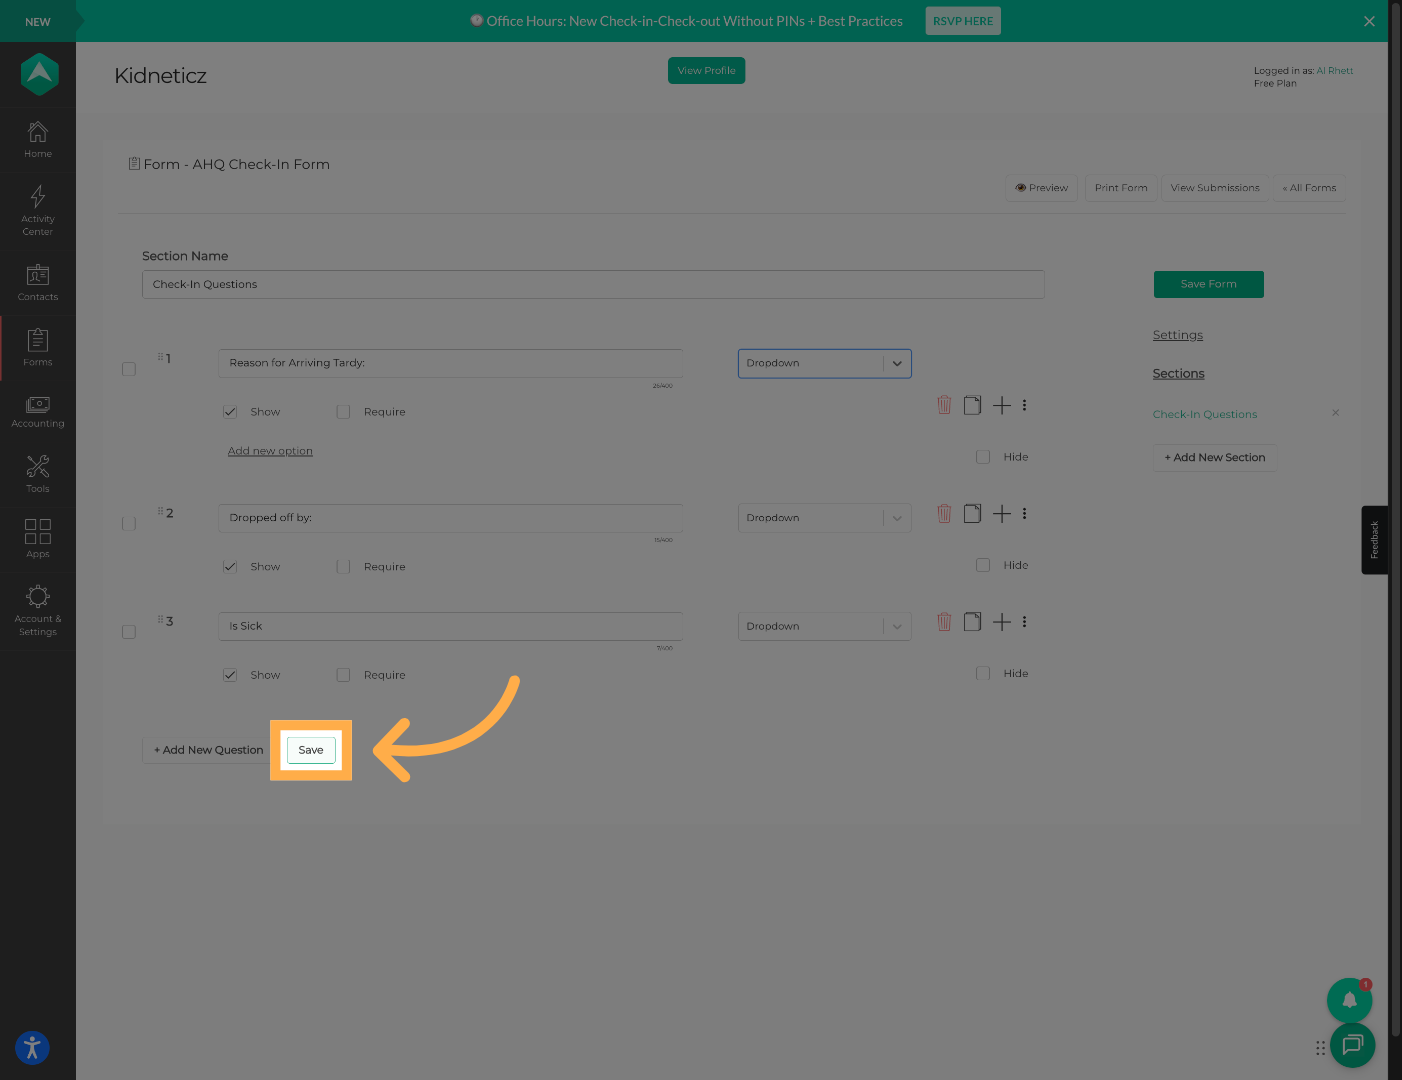
12. Save Question Settings
Click “Save” once you have finished adding all form questions.
13. Open Form Settings
Click “Settings” to access the form configuration options.
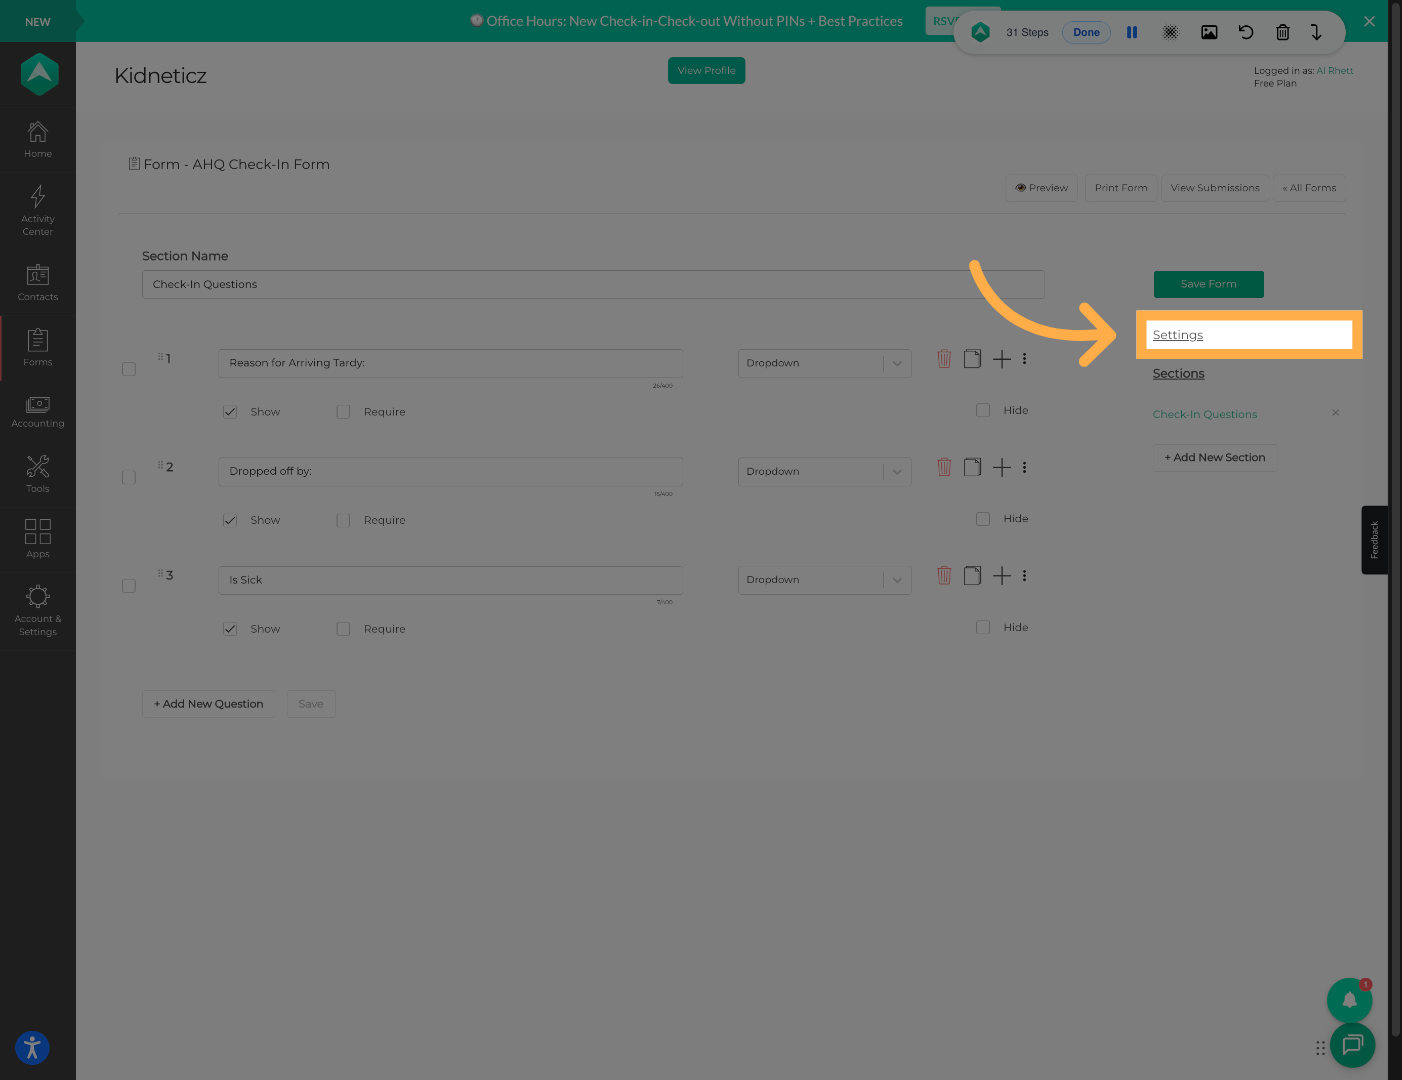
💡 Tip: Review settings carefully before publishing to ensure the form is ready for staff and families.
14. Publish the Form
Click “Publish” to make the form available for use.
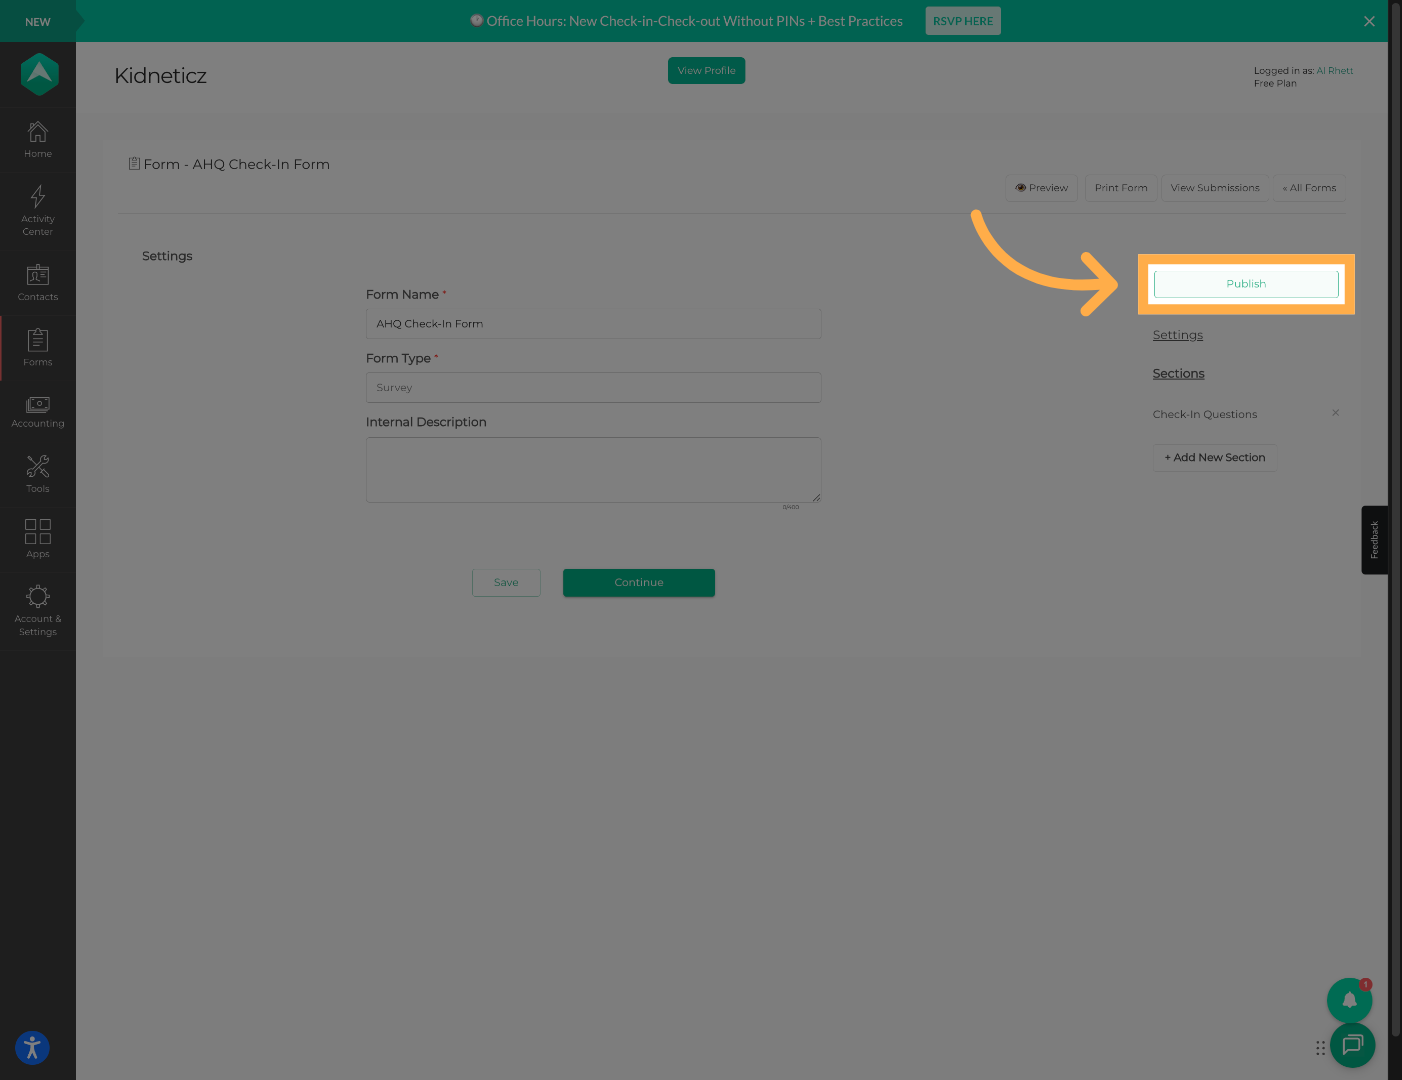
💡 Tip: Only published forms can be attached to activities.
15. Create a Check-Out Form (Optional)
Repeat the same process if you would also like to create a separate check-out form.

💡 Tip: Many organizations use check-out forms for transportation or authorized pick-up tracking.
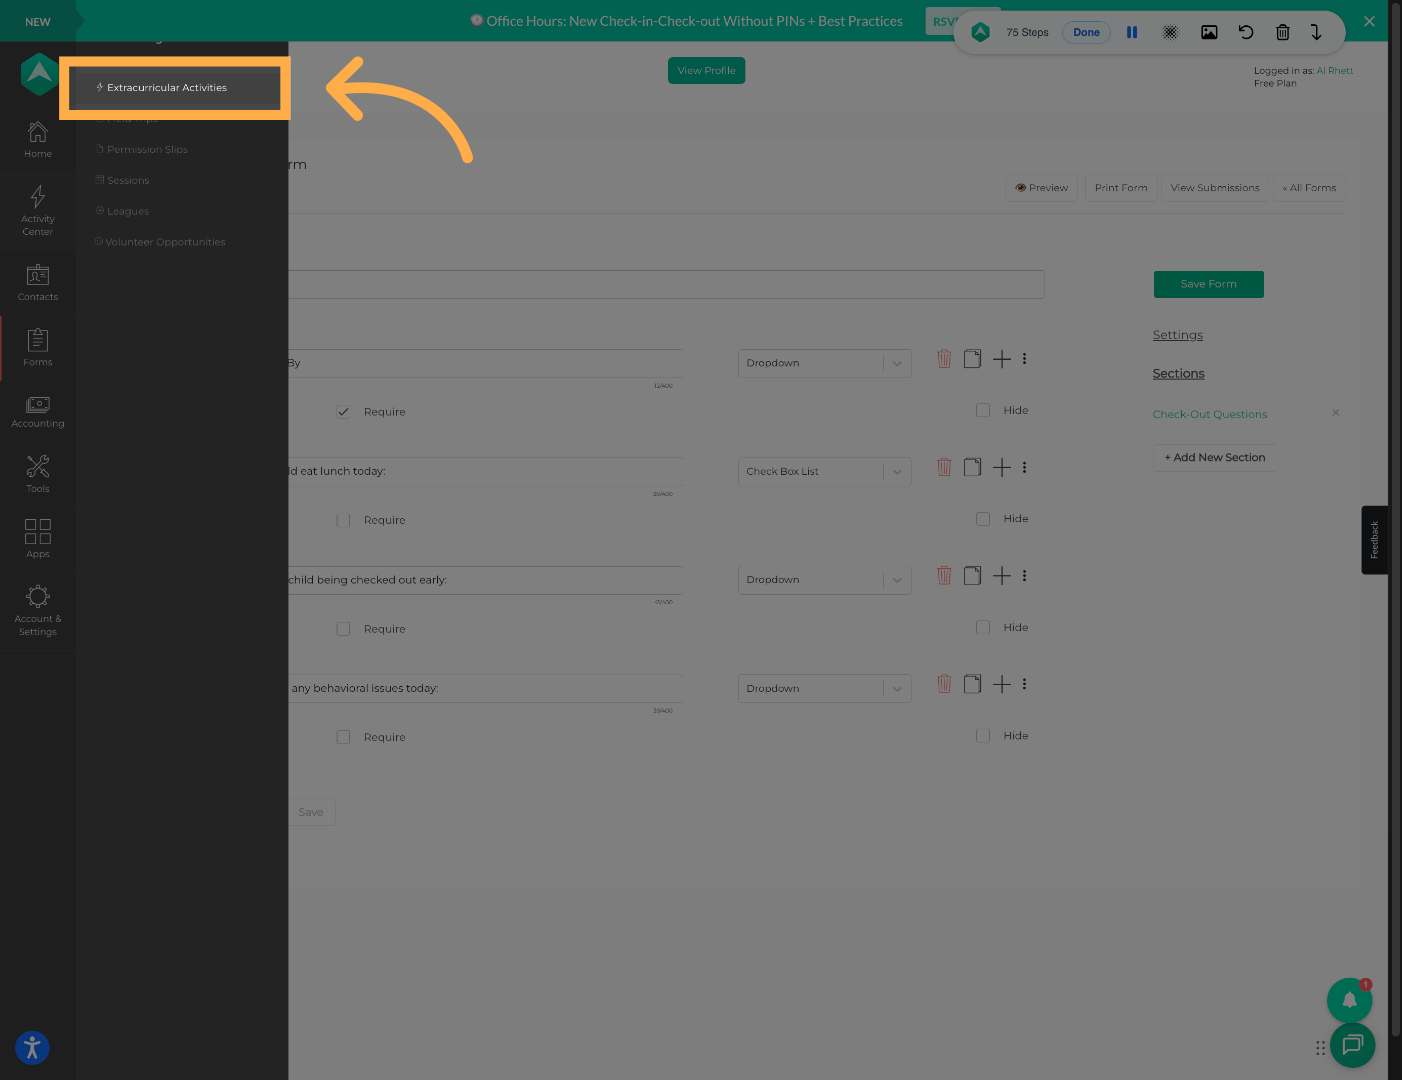
16. Open Extracurricular Activities
Click “Extracurricular Activities” to access your activity list.
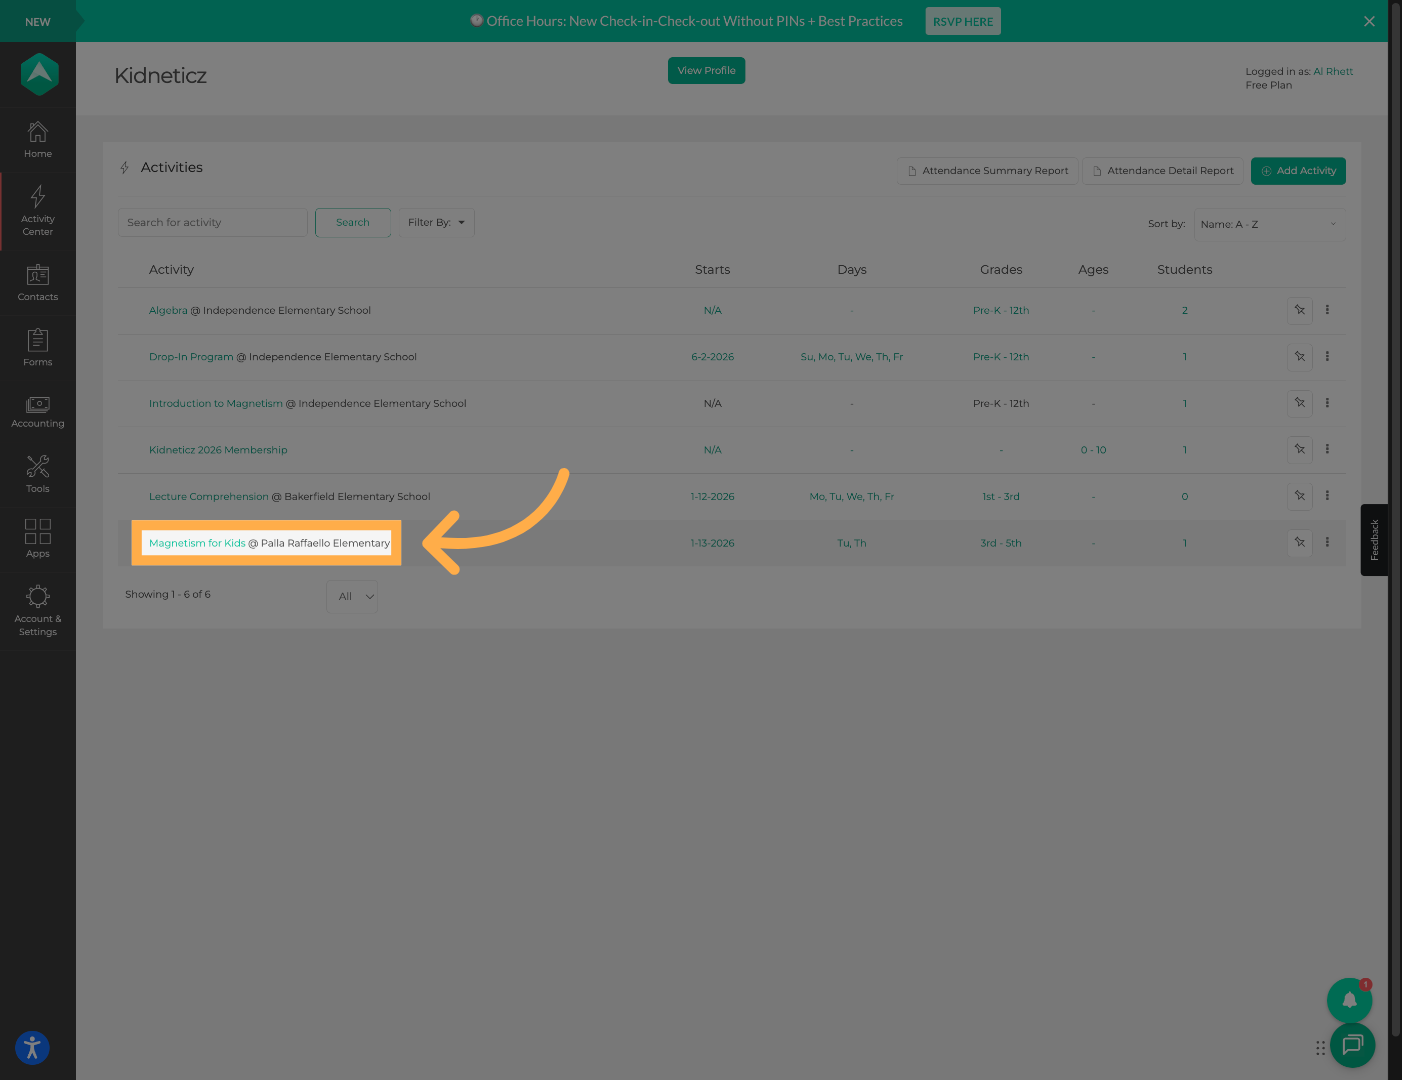
17. Select an Activity
Open the activity where you would like to use the forms.
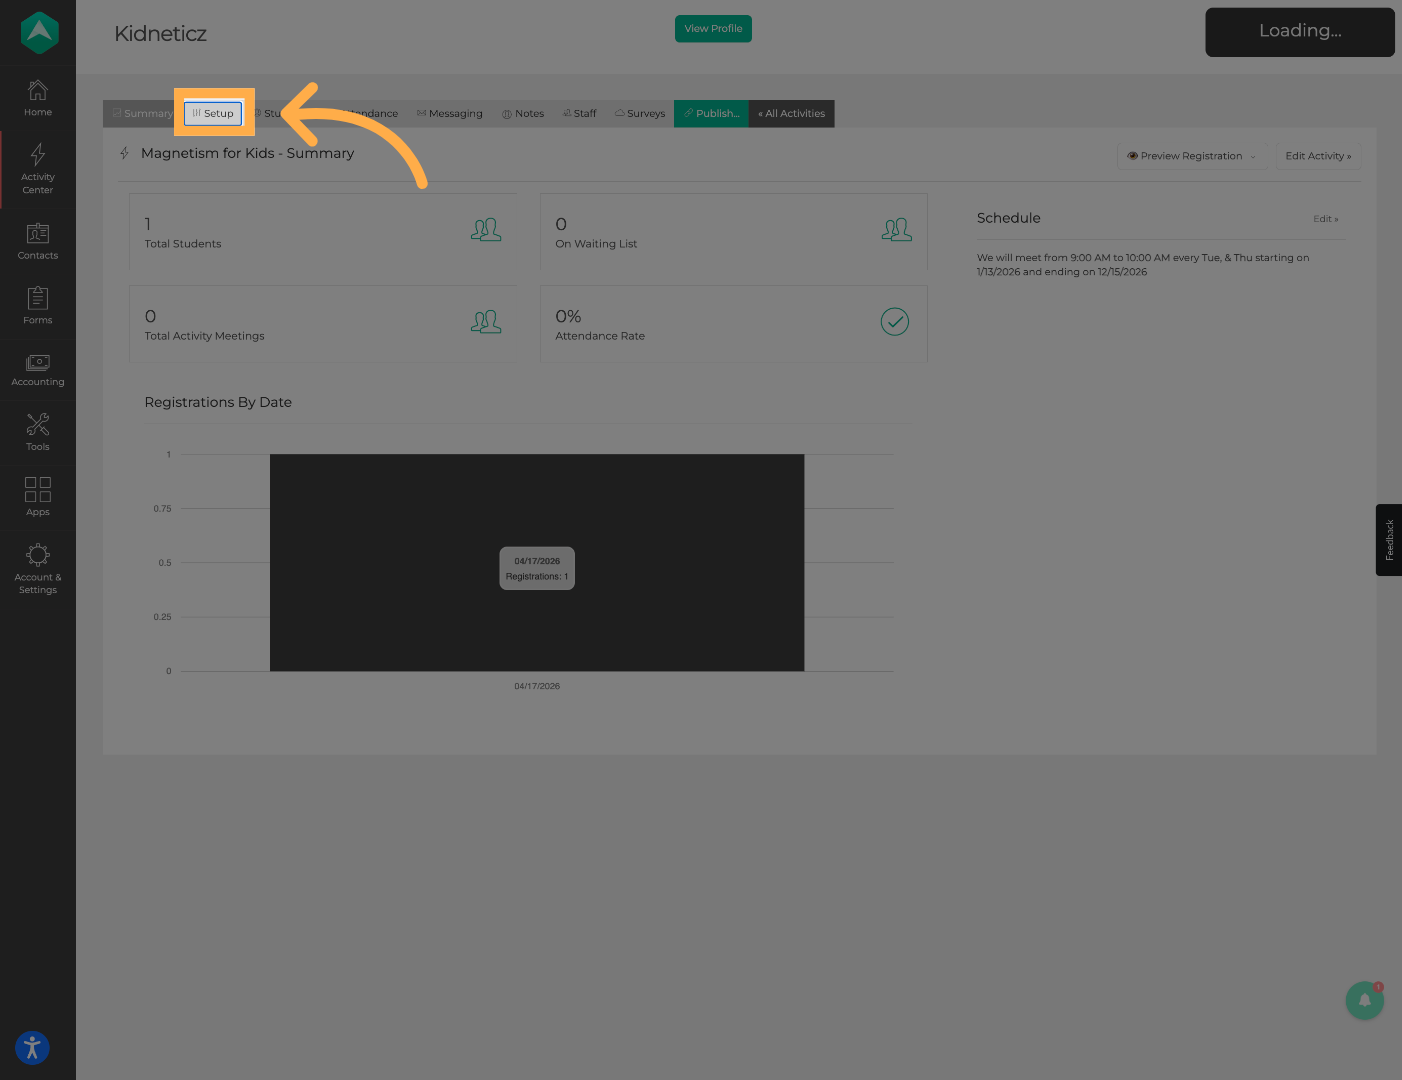
18. Open Activity Setup
Click “Setup” to configure the selected activity.
19. Enable Check-In & Check-Out
Turn on “Require Check In and Check Out.”
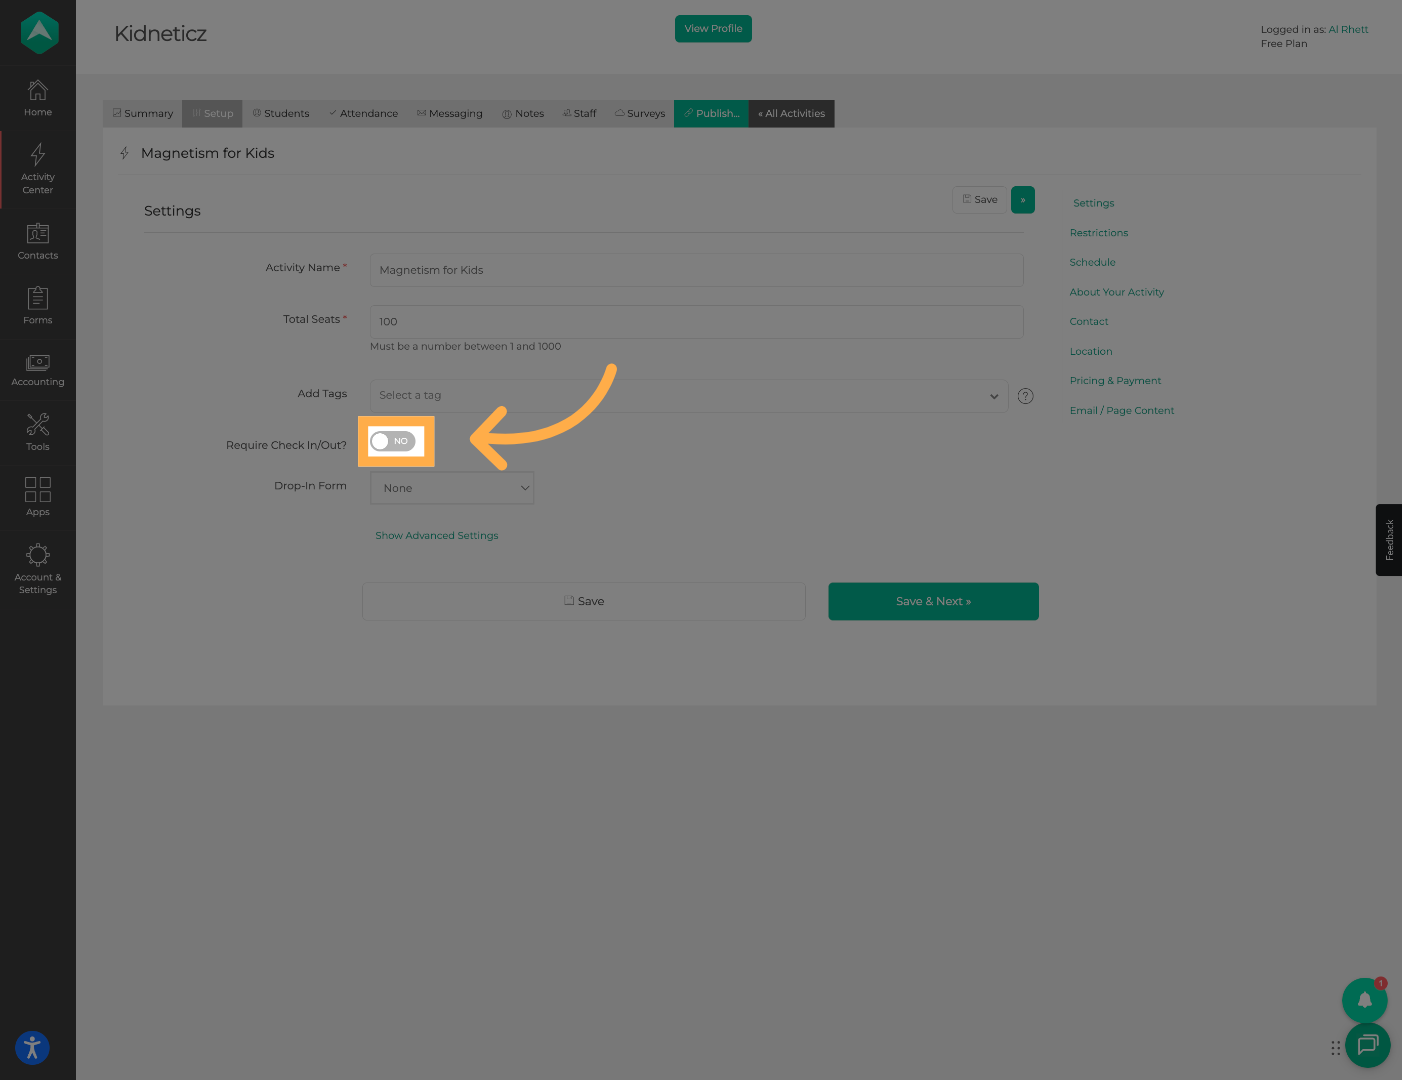
💡 Tip: Additional form selection fields will appear once this setting is enabled.
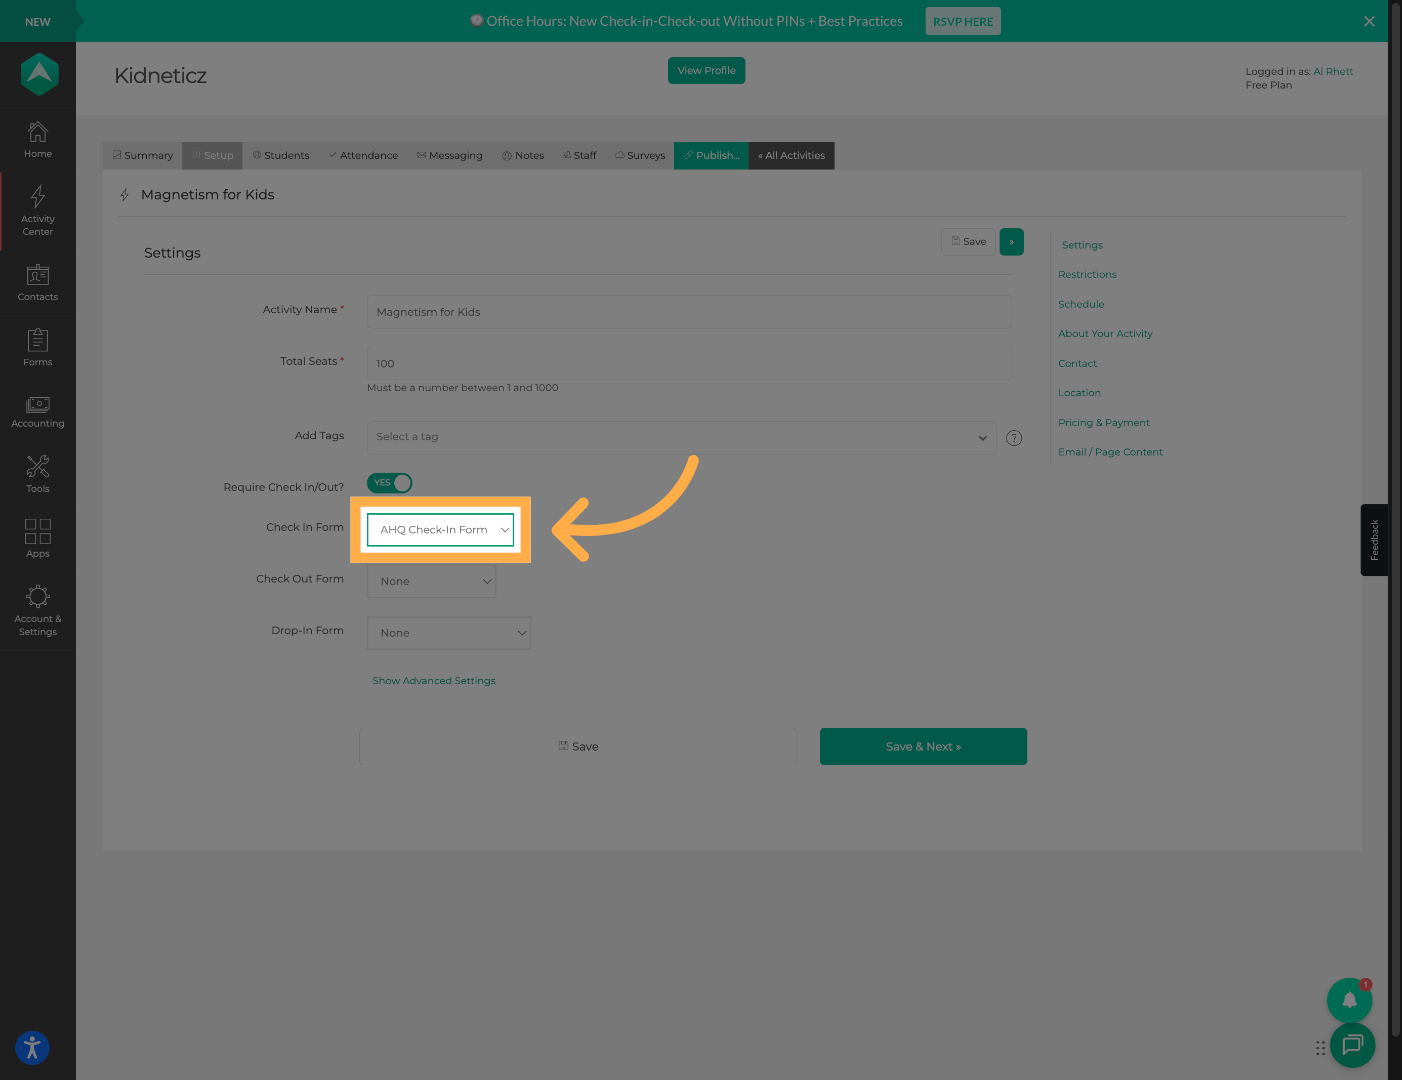
20. Select the Check-In Form
Choose the check-in form you created from the dropdown menu.
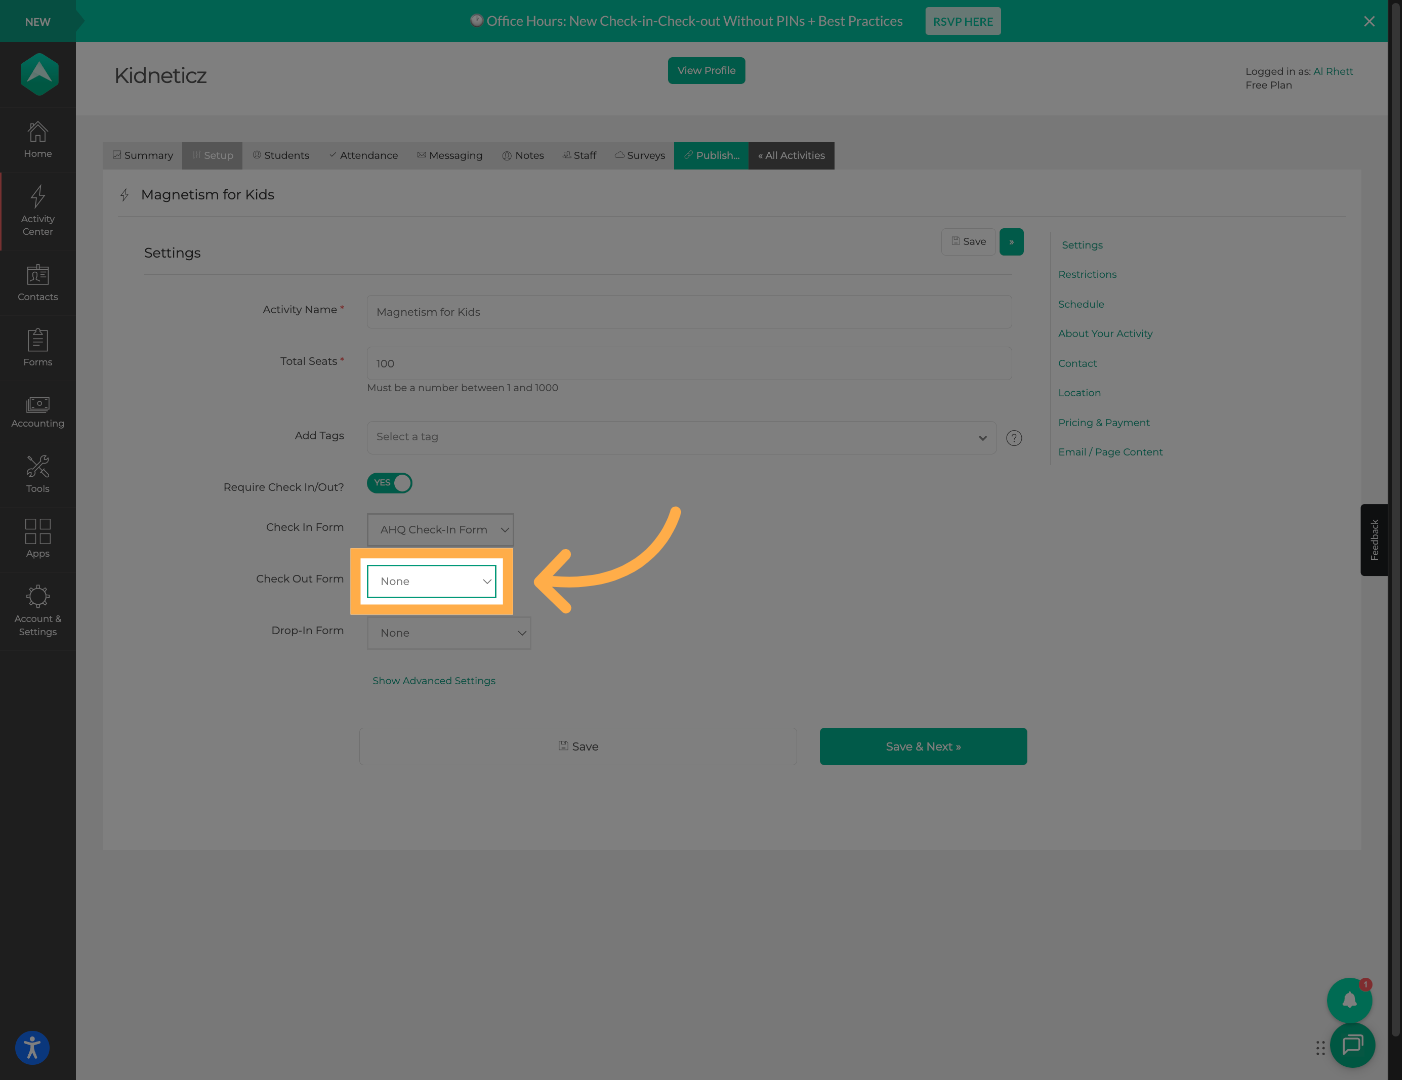
21. Select the Check-Out Form (Optional)
Choose a check-out form if you would like to require dismissal questions as well.
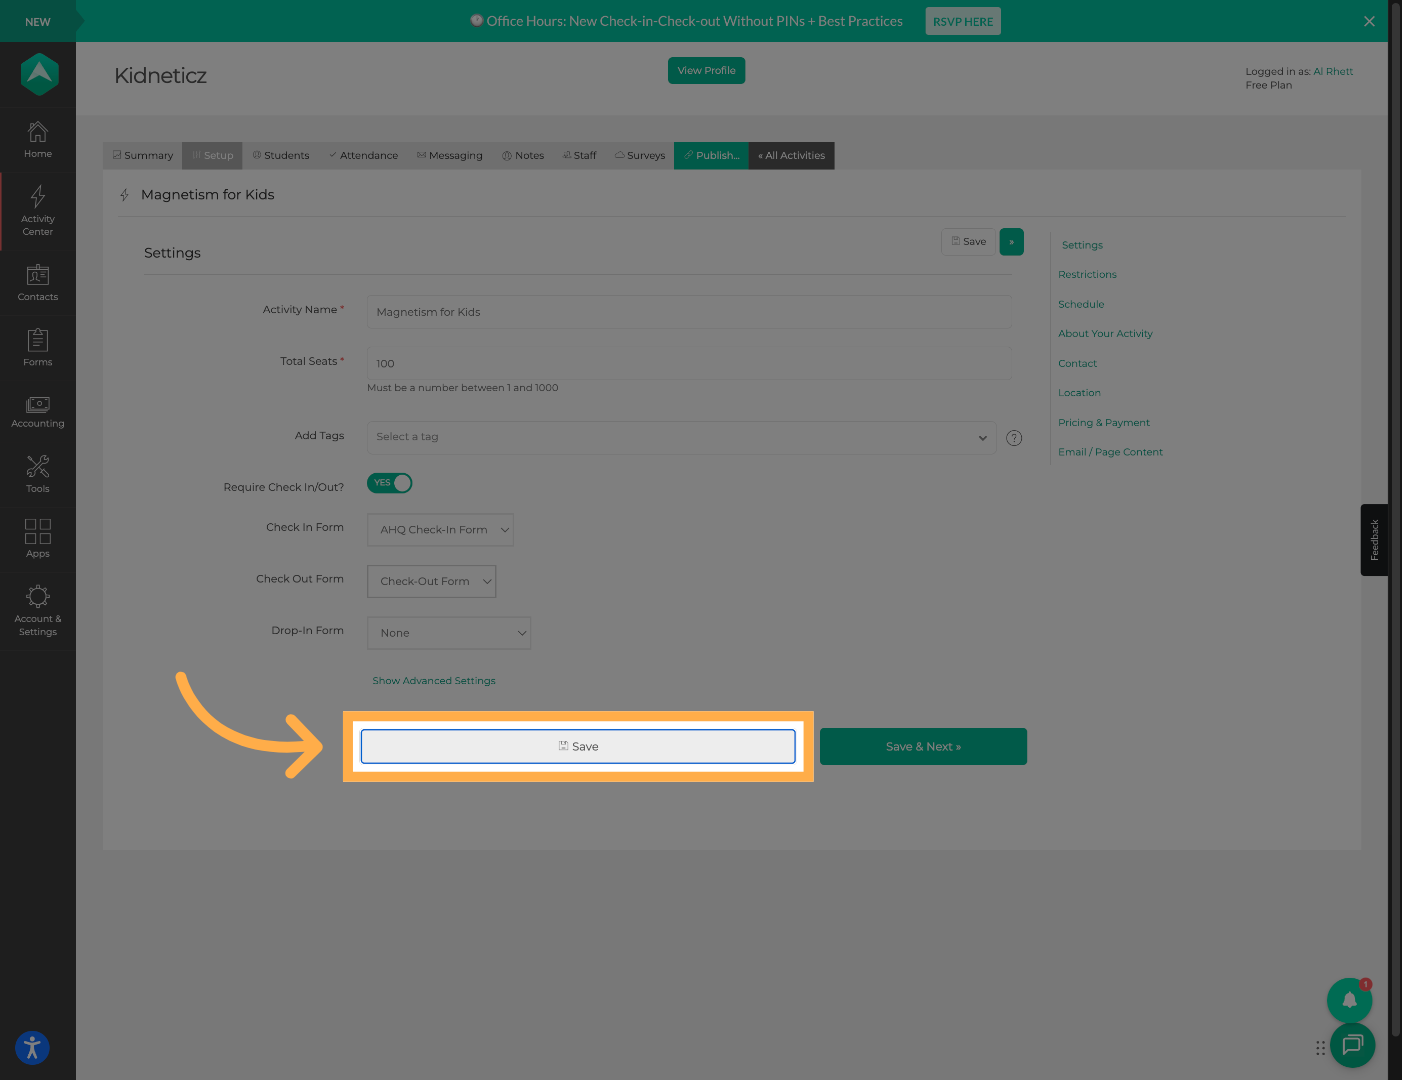
22. Save Activity Settings
Click “Save” to apply the activity configuration changes.
💡 Tip: Test the activity afterward to confirm the forms appear correctly during attendance.
Frequently Asked Questions
Q: What types of questions can I add to check-in forms?
A: You can add question types such as Dropdown, Single Line Text, Checkbox, Date, Email, and Number fields.
Q: Can I create both check-in and check-out forms?
A: Yes. You can create separate forms for check-in and check-out using the same process.
Q: Do forms need to be published before use?
A: Yes. Forms must be published before they can be attached to activities and used during attendance.
Q: Can forms be edited after publishing?
A: Yes. You can reopen and modify forms later if updates are needed.
Q: Are check-out forms required?
A: No. Check-out forms are optional and depend on your organization’s attendance workflow.
Q: How do I attach forms to an activity?
A: Forms can be attached from the activity Setup section after enabling Require Check In and Check Out.
Q: Can I reuse forms across multiple activities?
A: Yes. Published forms can be reused and attached to multiple activities if needed.
💡If you experience any issues or have further questions with “How to Set Up Check-In and Check-Out Forms”, don't hesitate to get in touch with our support team at support@afterschoolhq.com.