![ASHQ Logo Vert Flat.png]](https://support.afterschoolhq.com/hs-fs/hubfs/ASHQ%20Logo%20Vert%20Flat.png?height=40&name=ASHQ%20Logo%20Vert%20Flat.png)
Need to quickly manage participant registrations and student records?
Follow the instructions below to learn how to filter students, update statuses, move participants between activities, manage withdrawals, and review registration details.
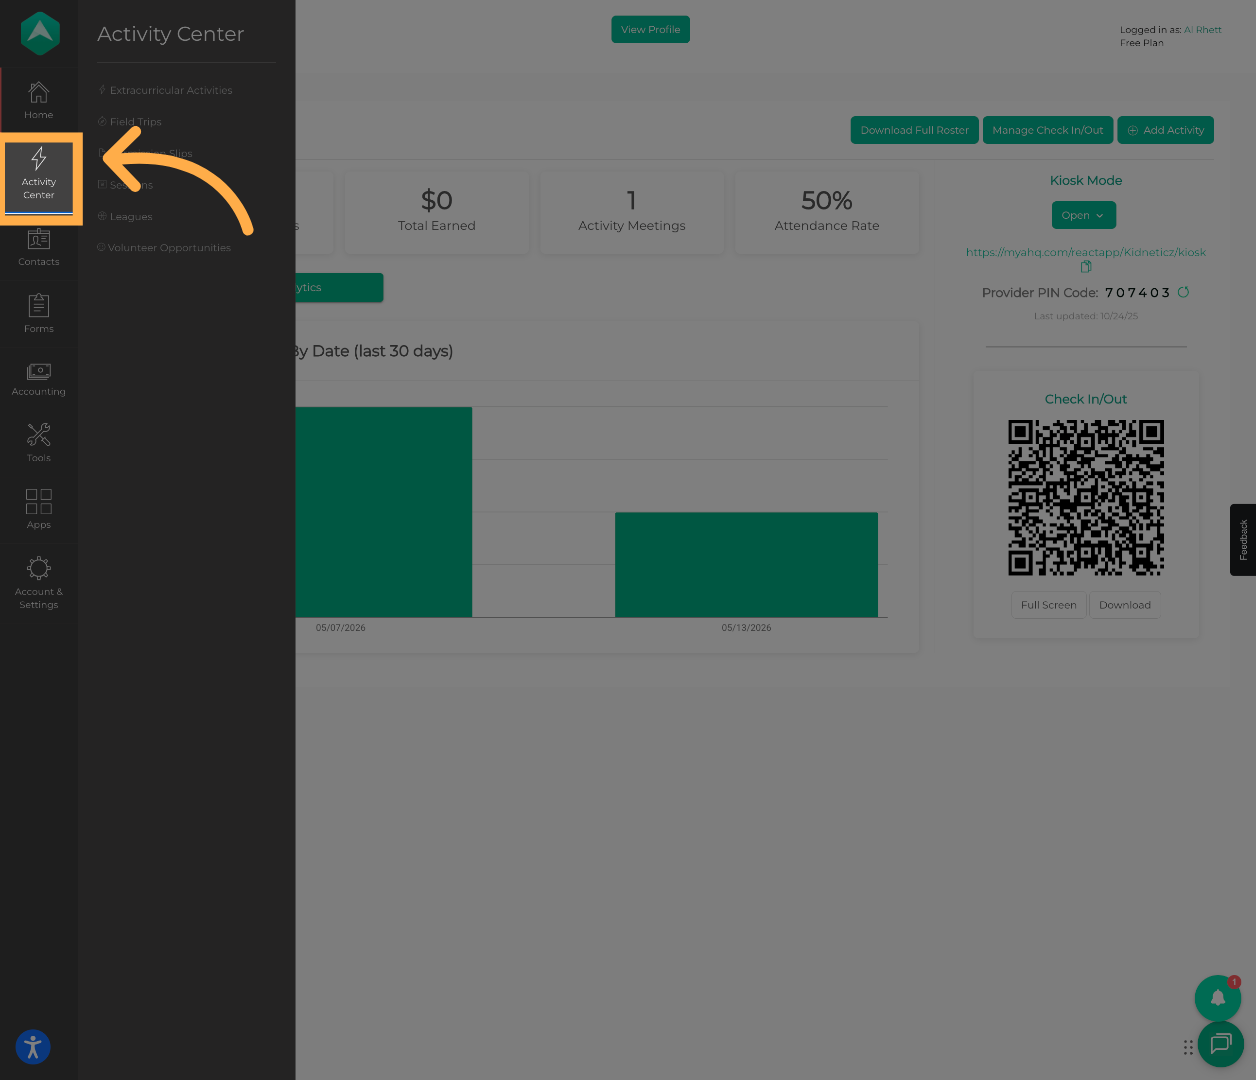
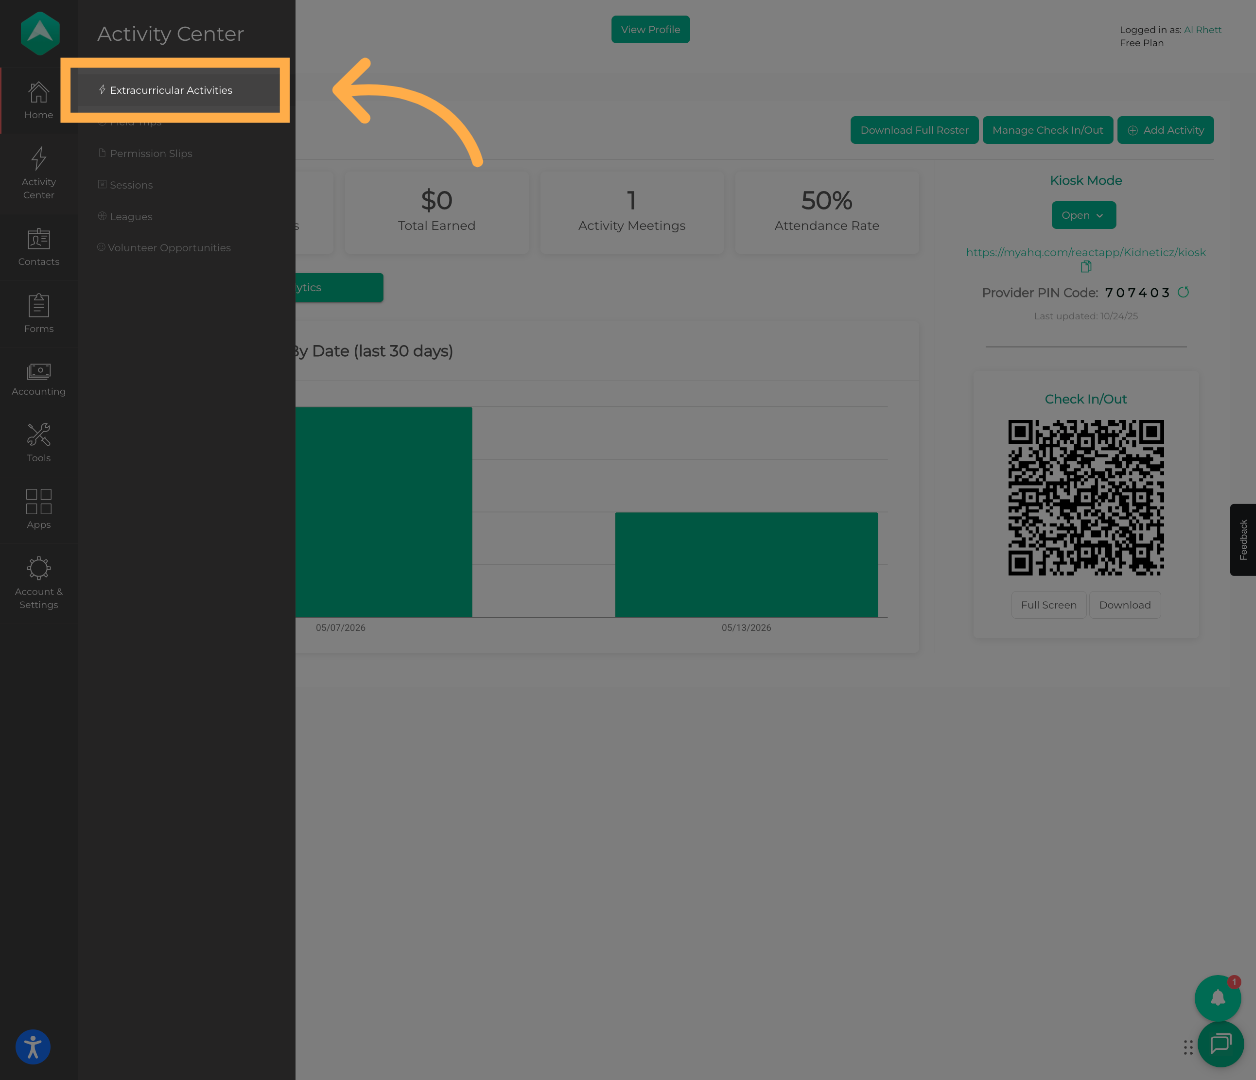
1. Open Extracurricular Activities
Click “Extracurricular Activities” to view and manage your available programs and activities.
2. Select an Activity
Choose the activity you would like to manage to open the activity details page.
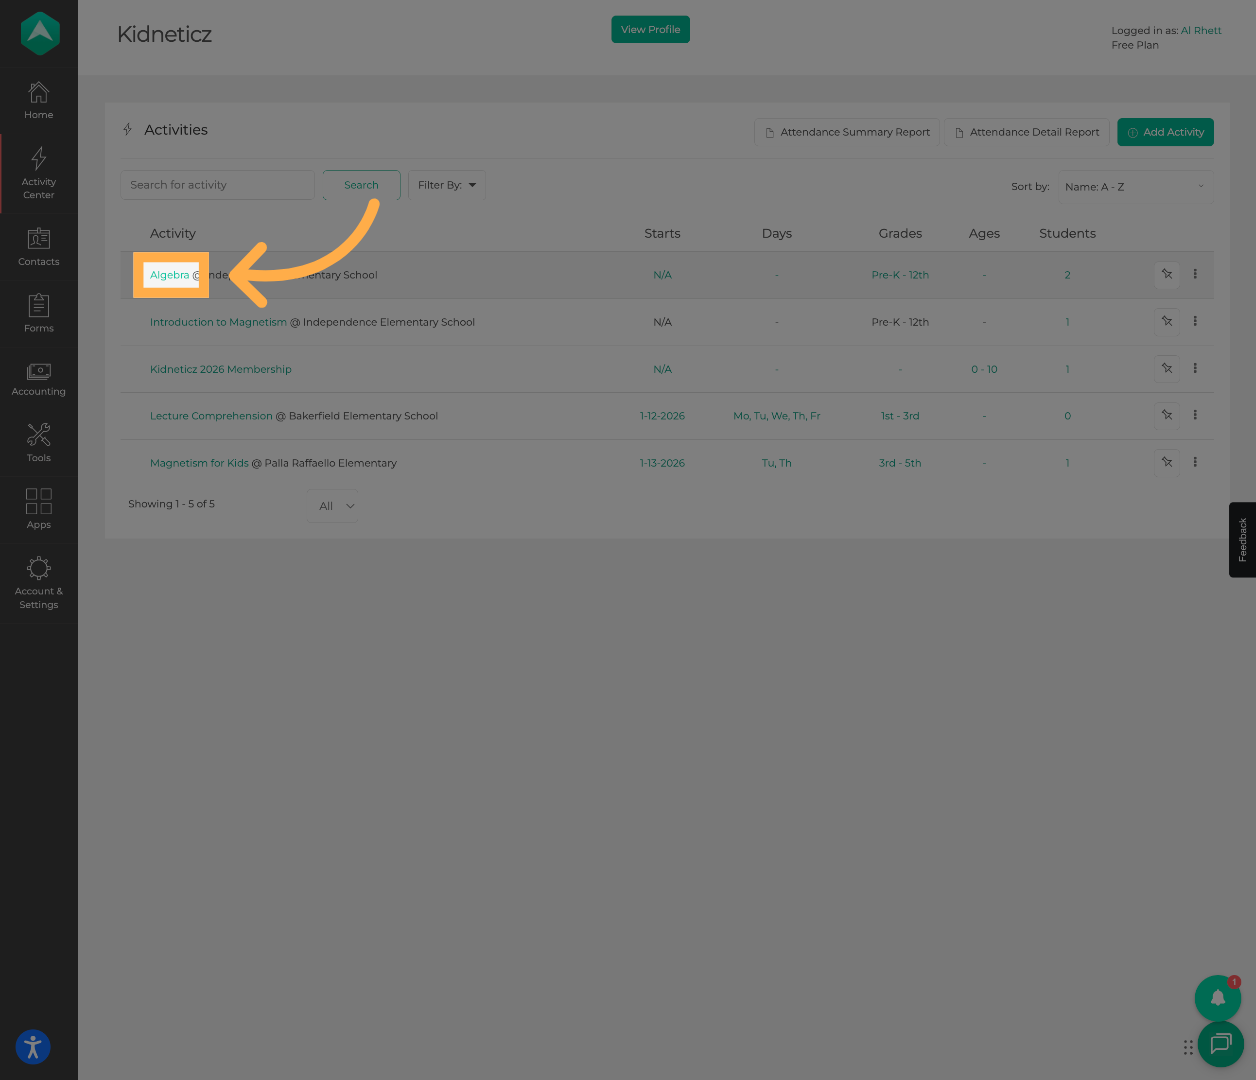
💡 Tip: Make sure you open the correct activity before making student updates or bulk changes.
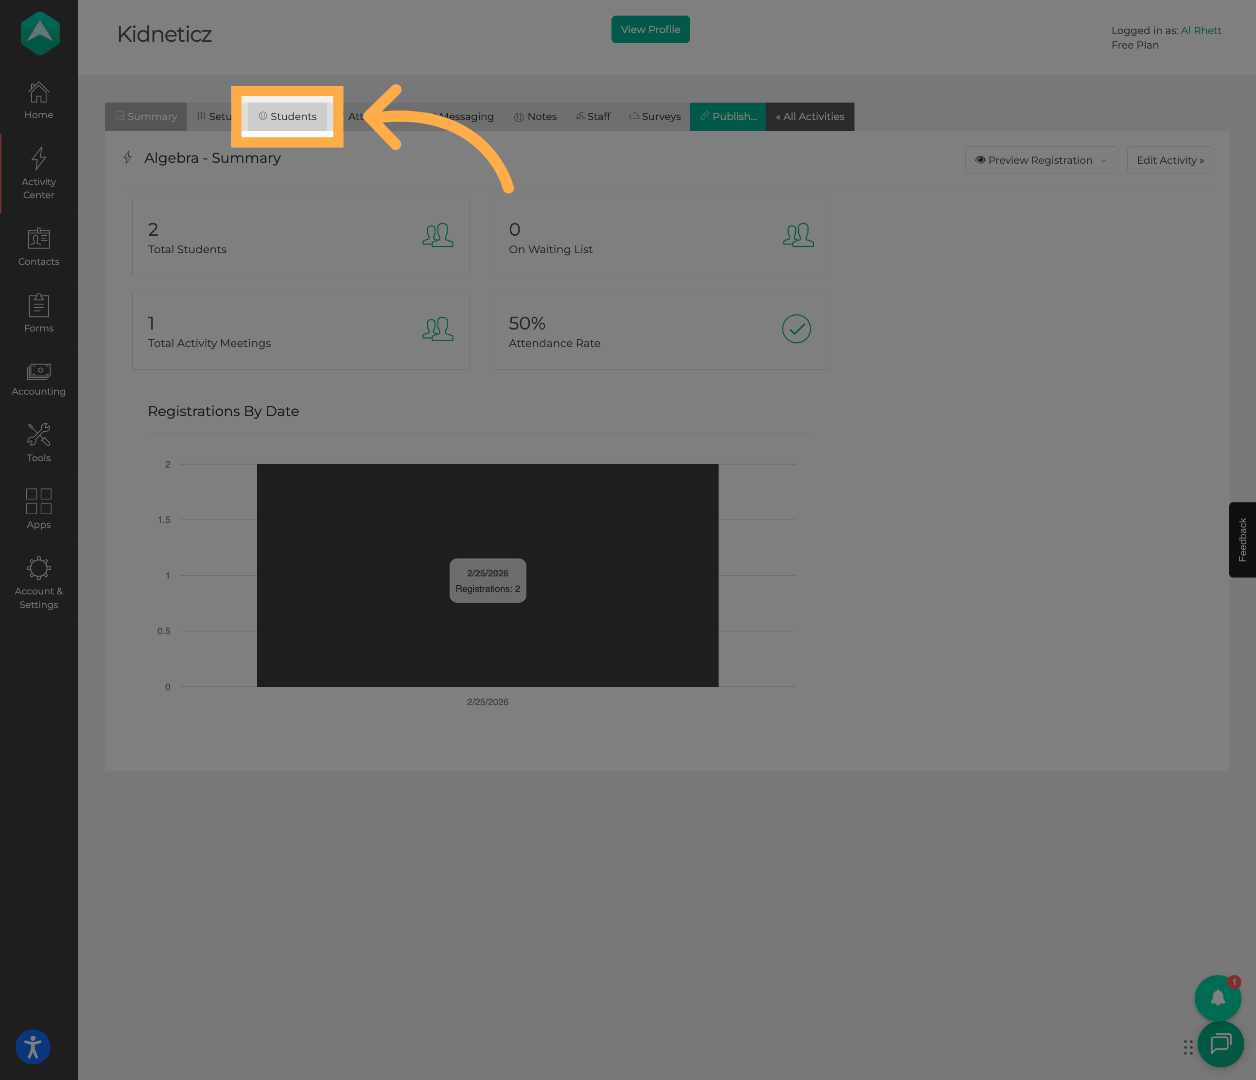
3. Open the Students Tab
Click “Students” to view all participants currently associated with the selected activity.
4. Review Students by Status
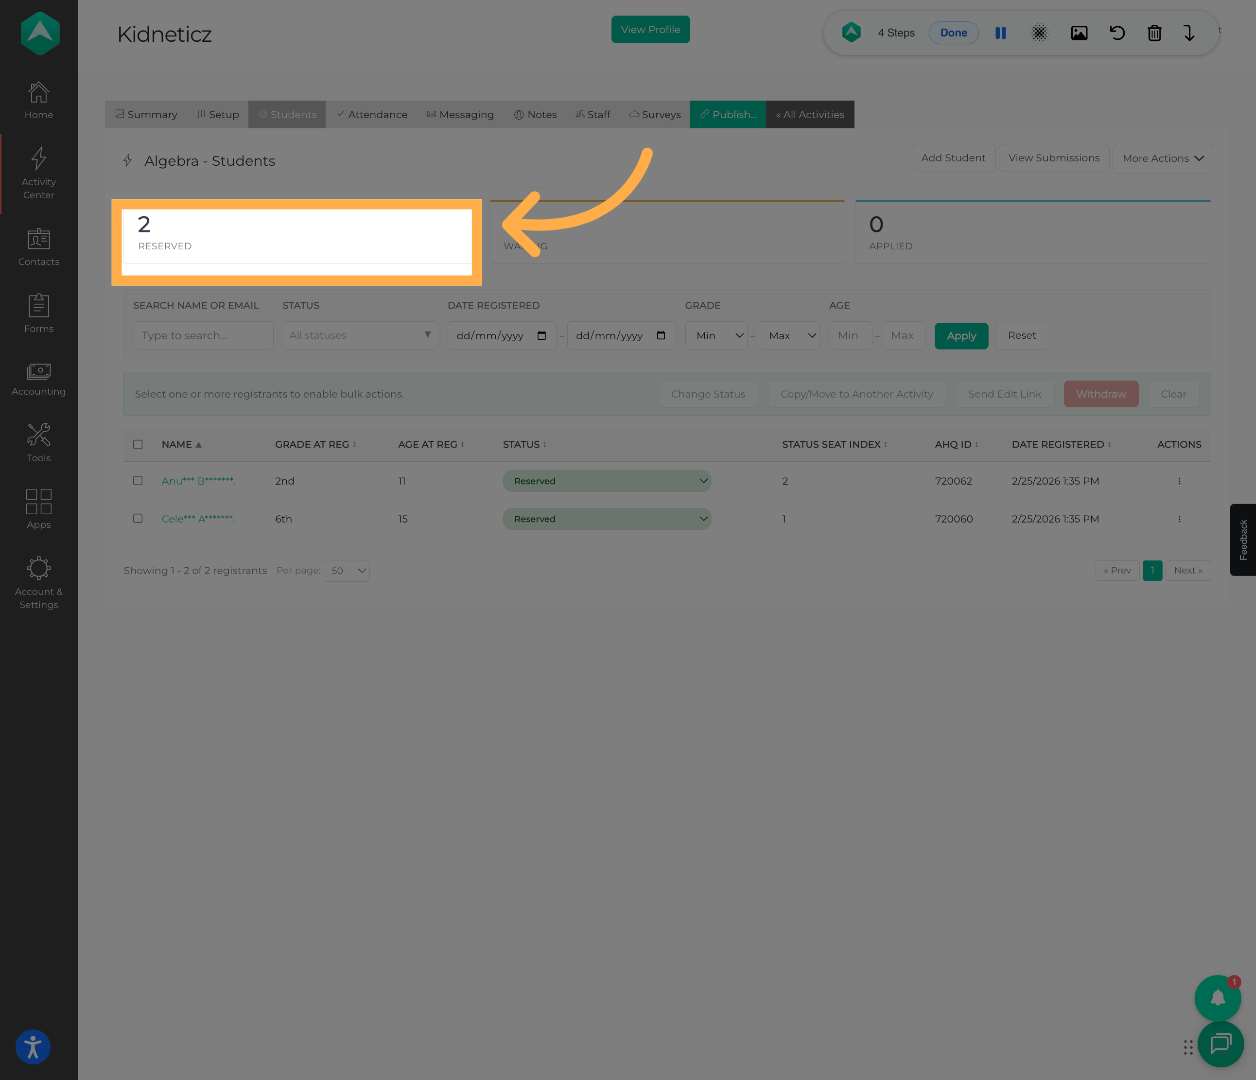
At the top of the page, you can quickly review how many students are currently in “Reserved” status.
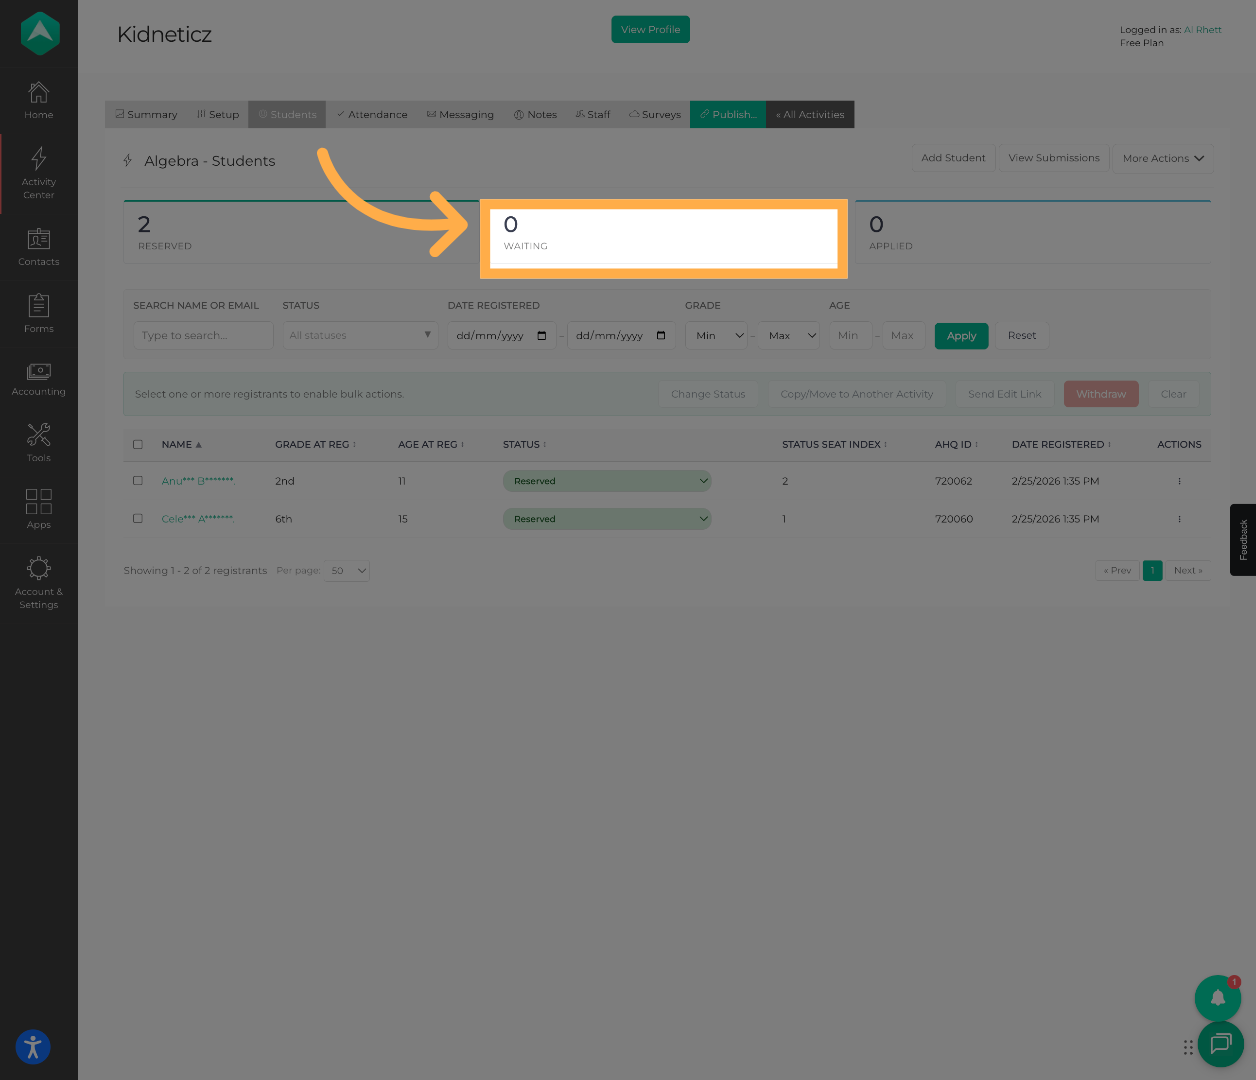
You can also view how many students are currently on the “Waiting list” for the activity.
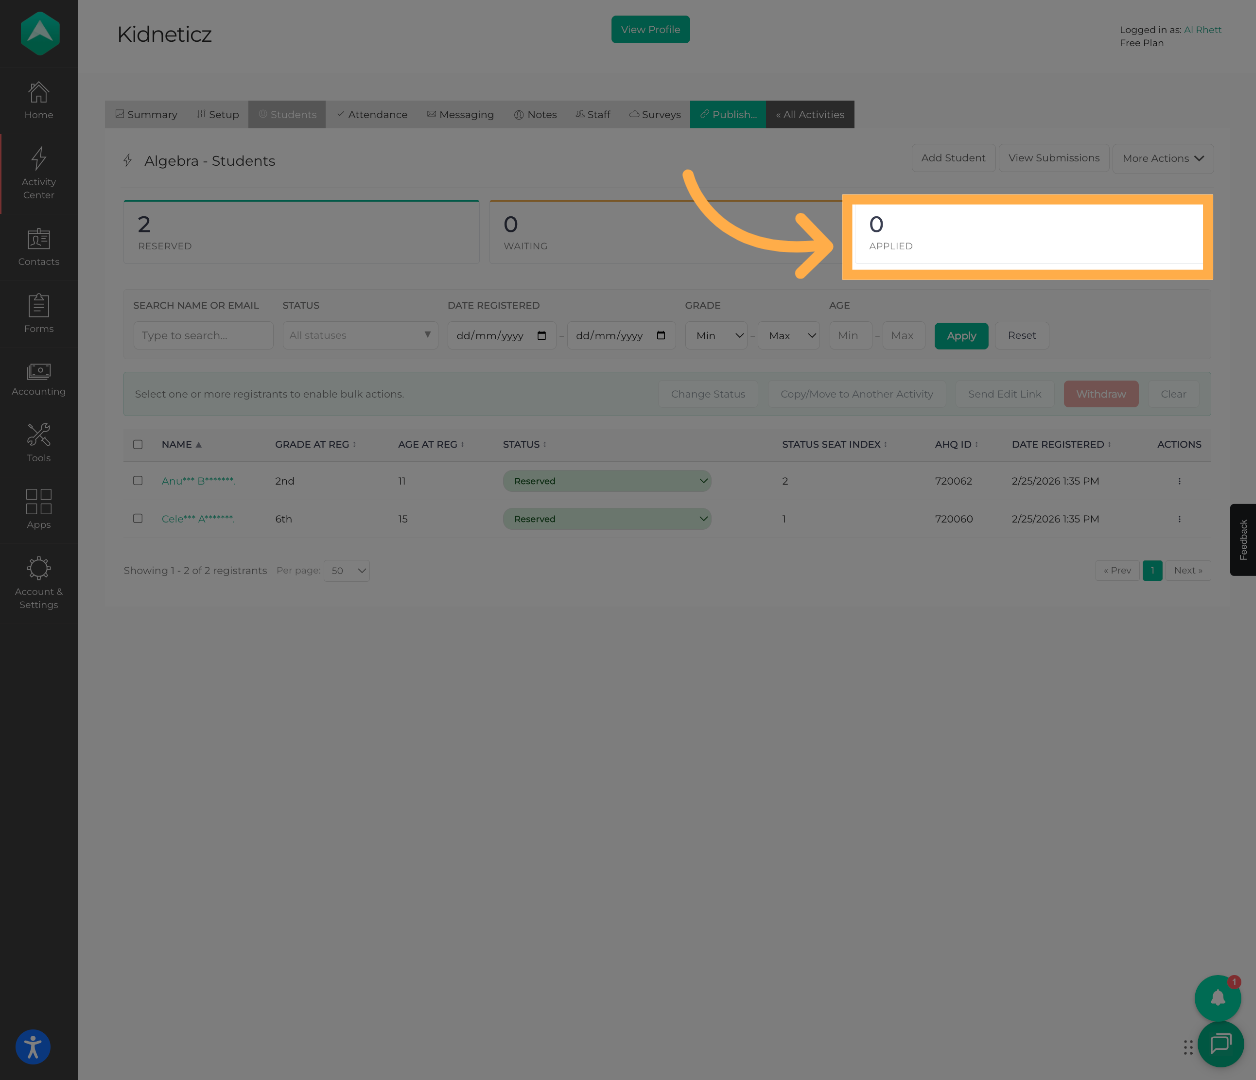
This section also displays how many students are currently in “Applied” status.
5. Use Advanced Filters
You can filter students by name, email, registration status, registration date, grade, or age.
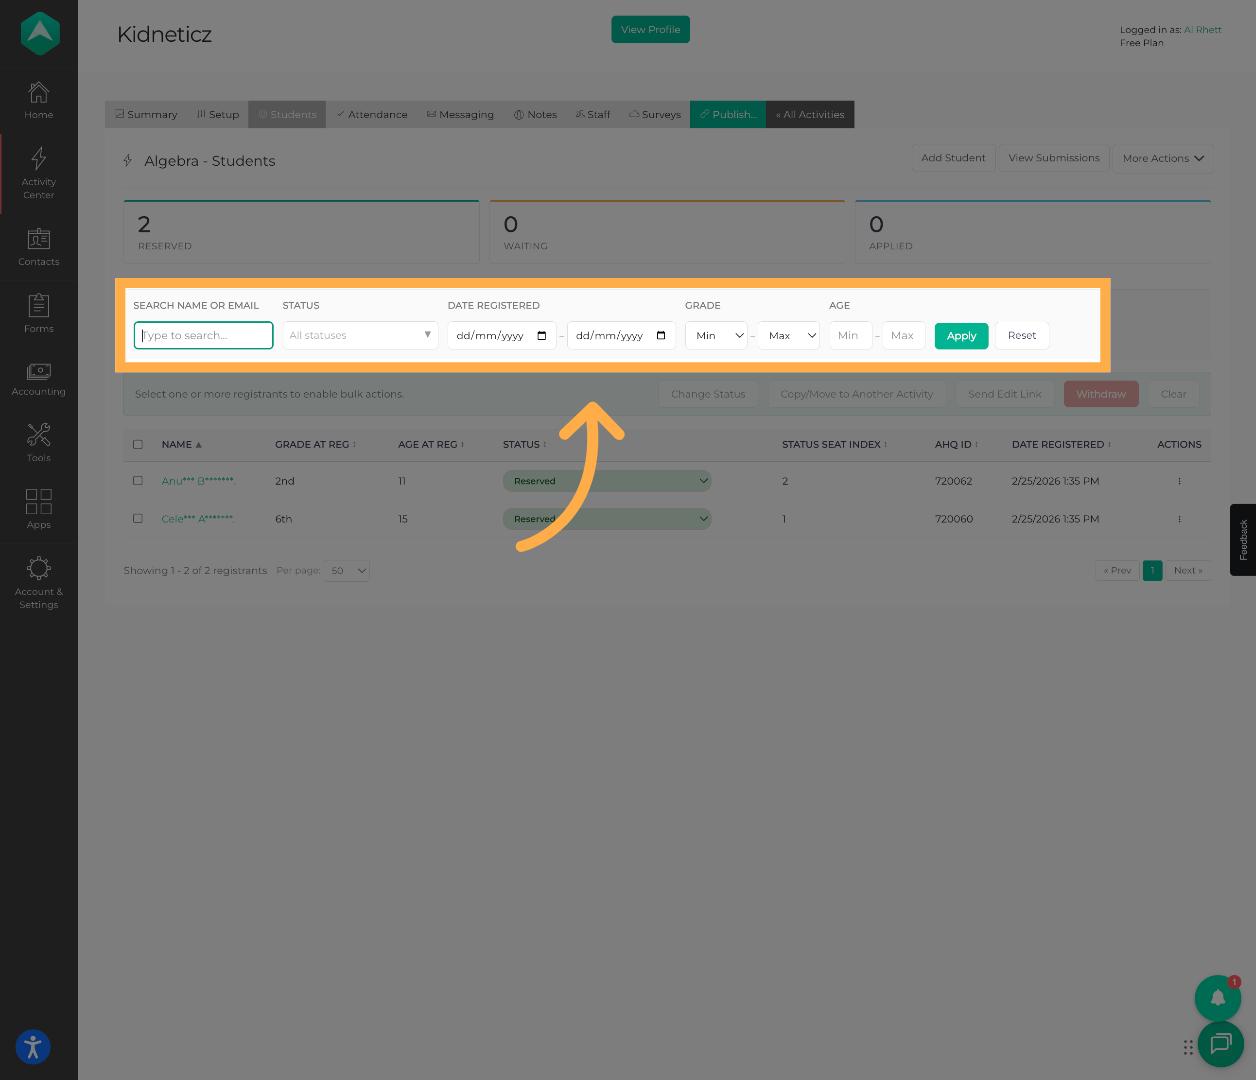
💡 Tip: Filters can help quickly narrow down large participant lists by status, grade, age, or registration date.
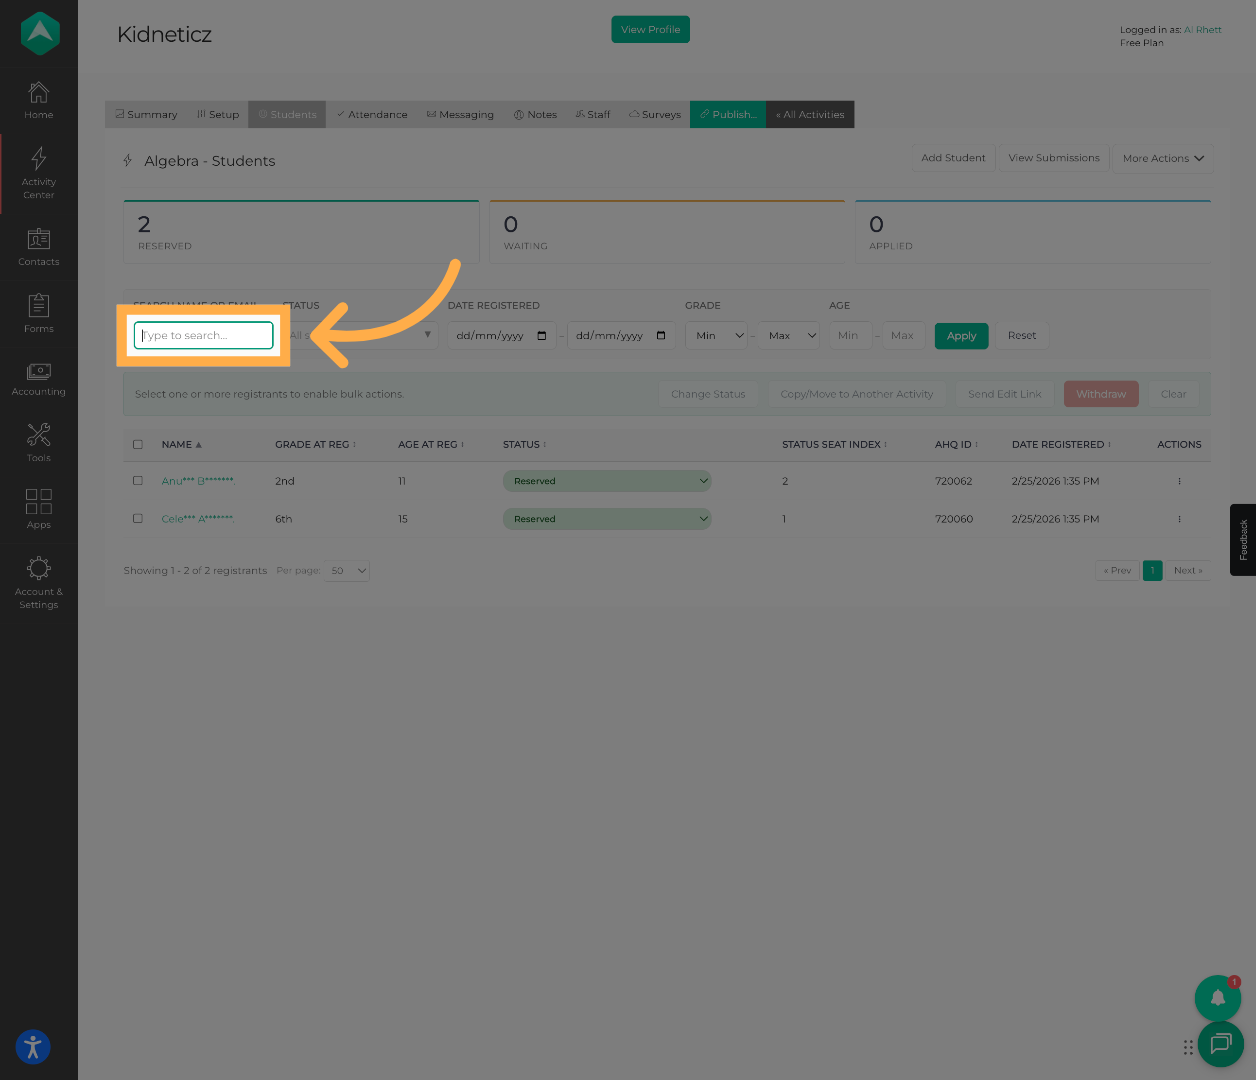
6. Use the Search Field
Click the search field to quickly search for specific students or participant information.
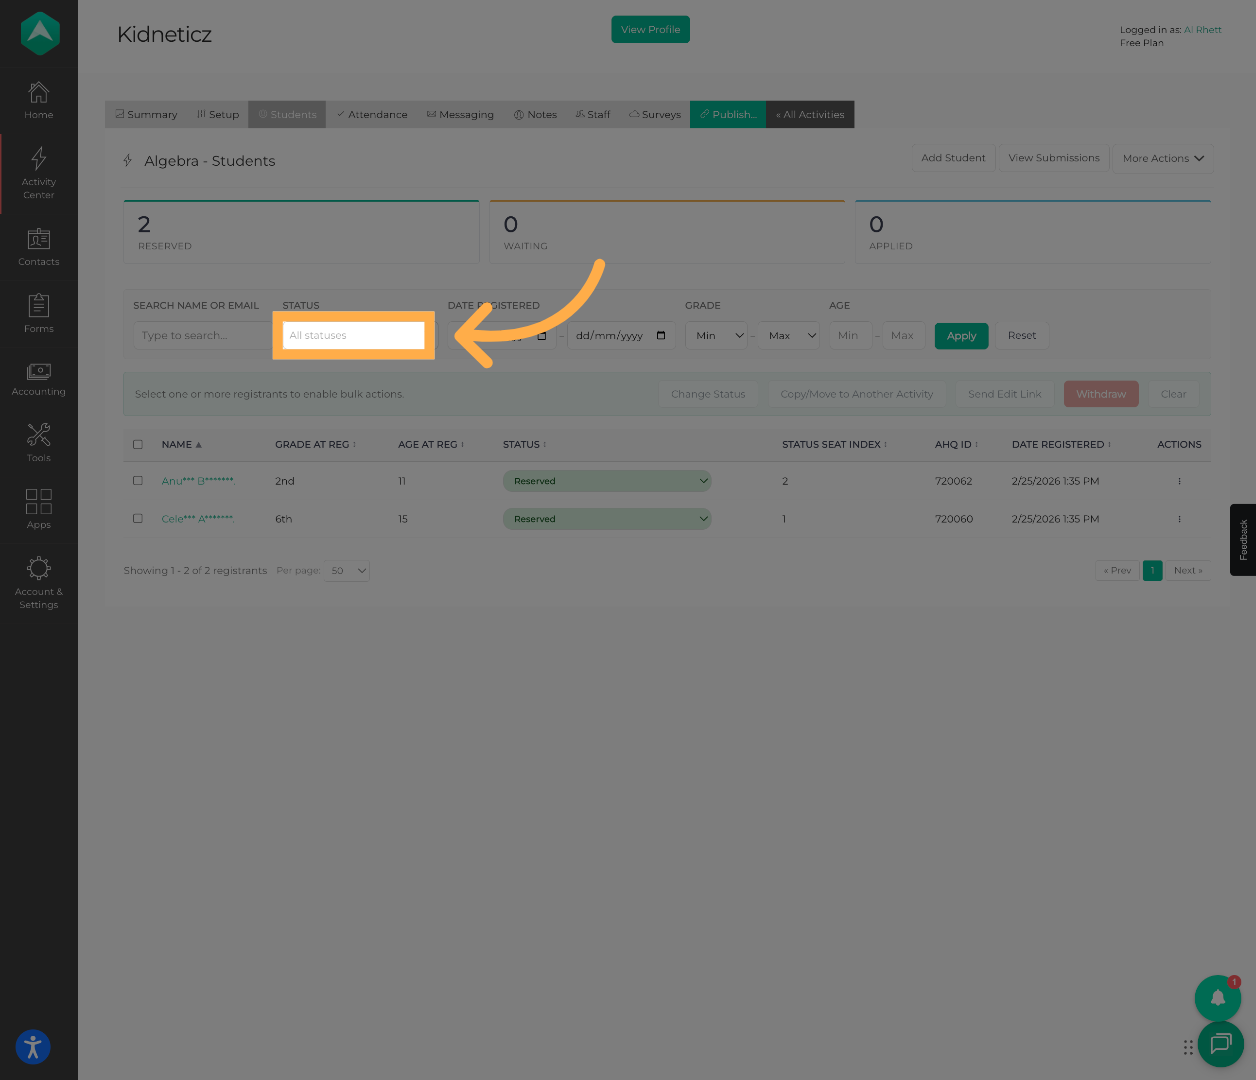
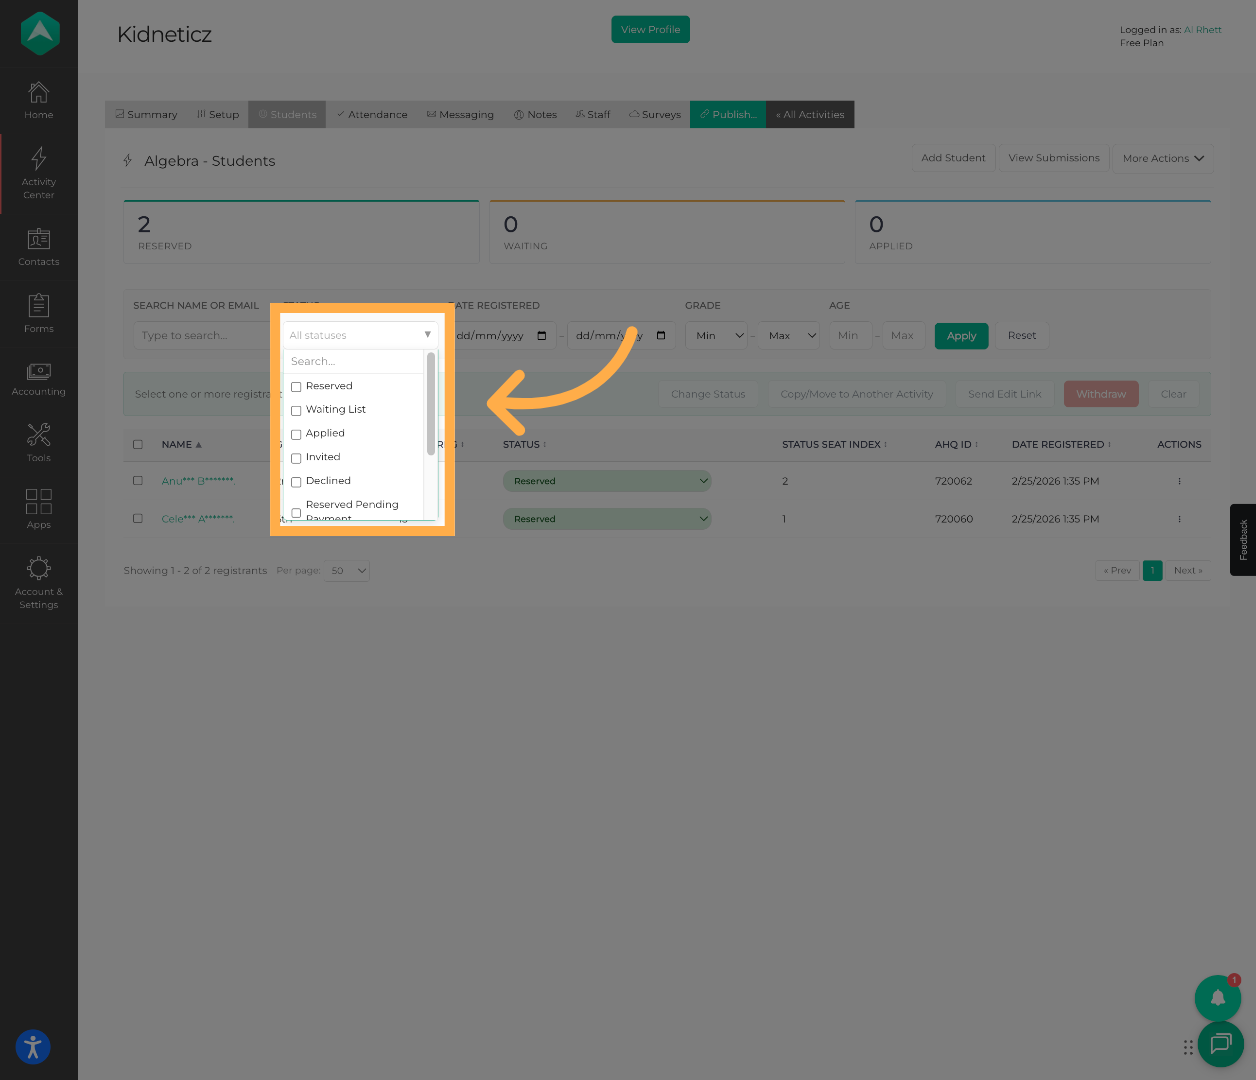
7. Open the Status Filter
Click “All Statuses” to view and select different participant status options.
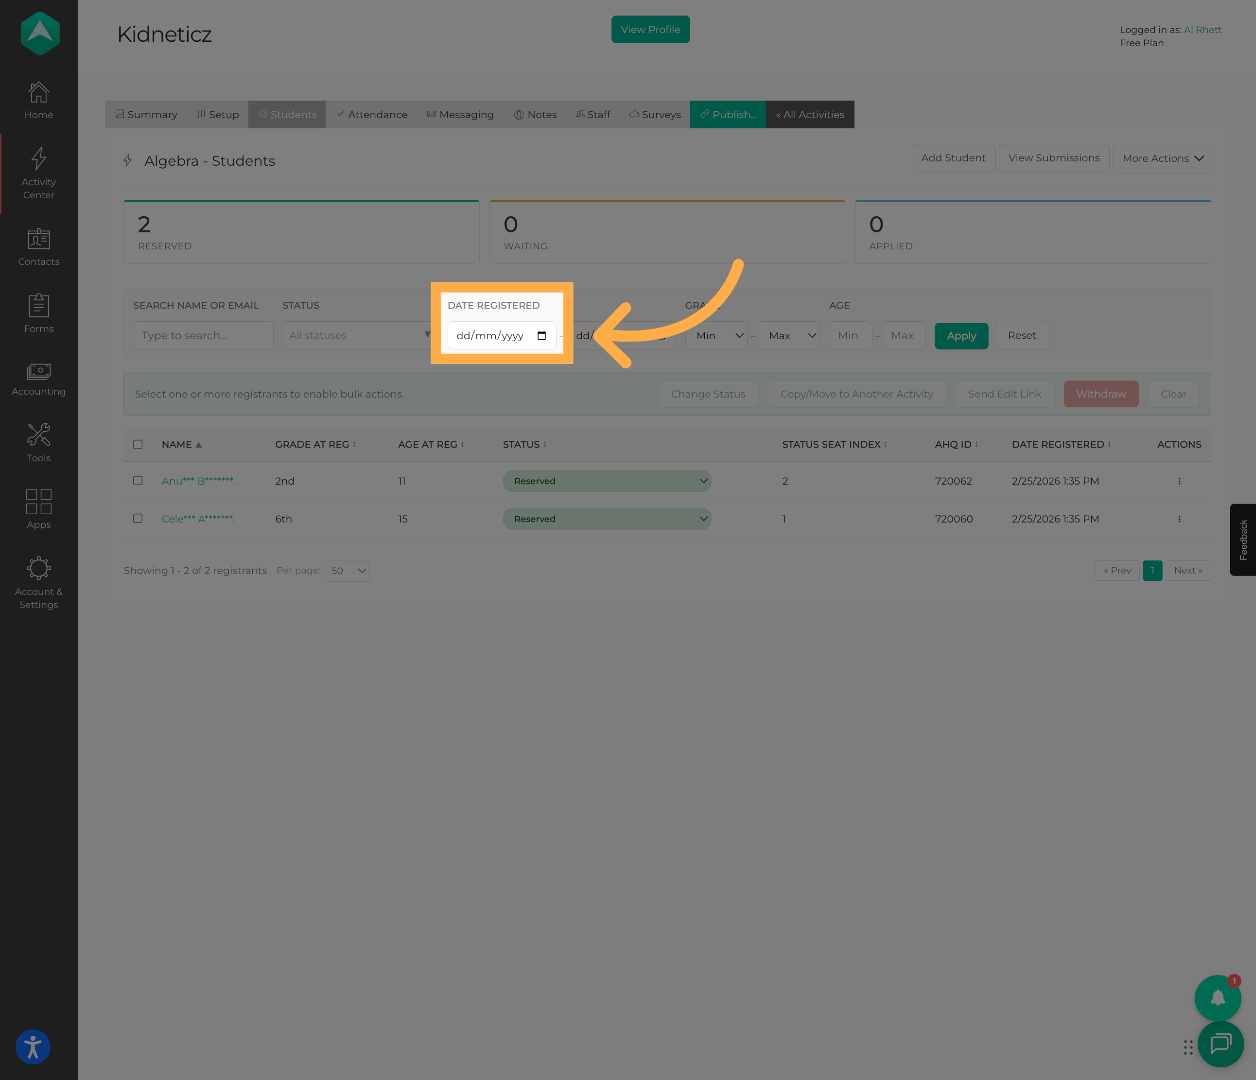
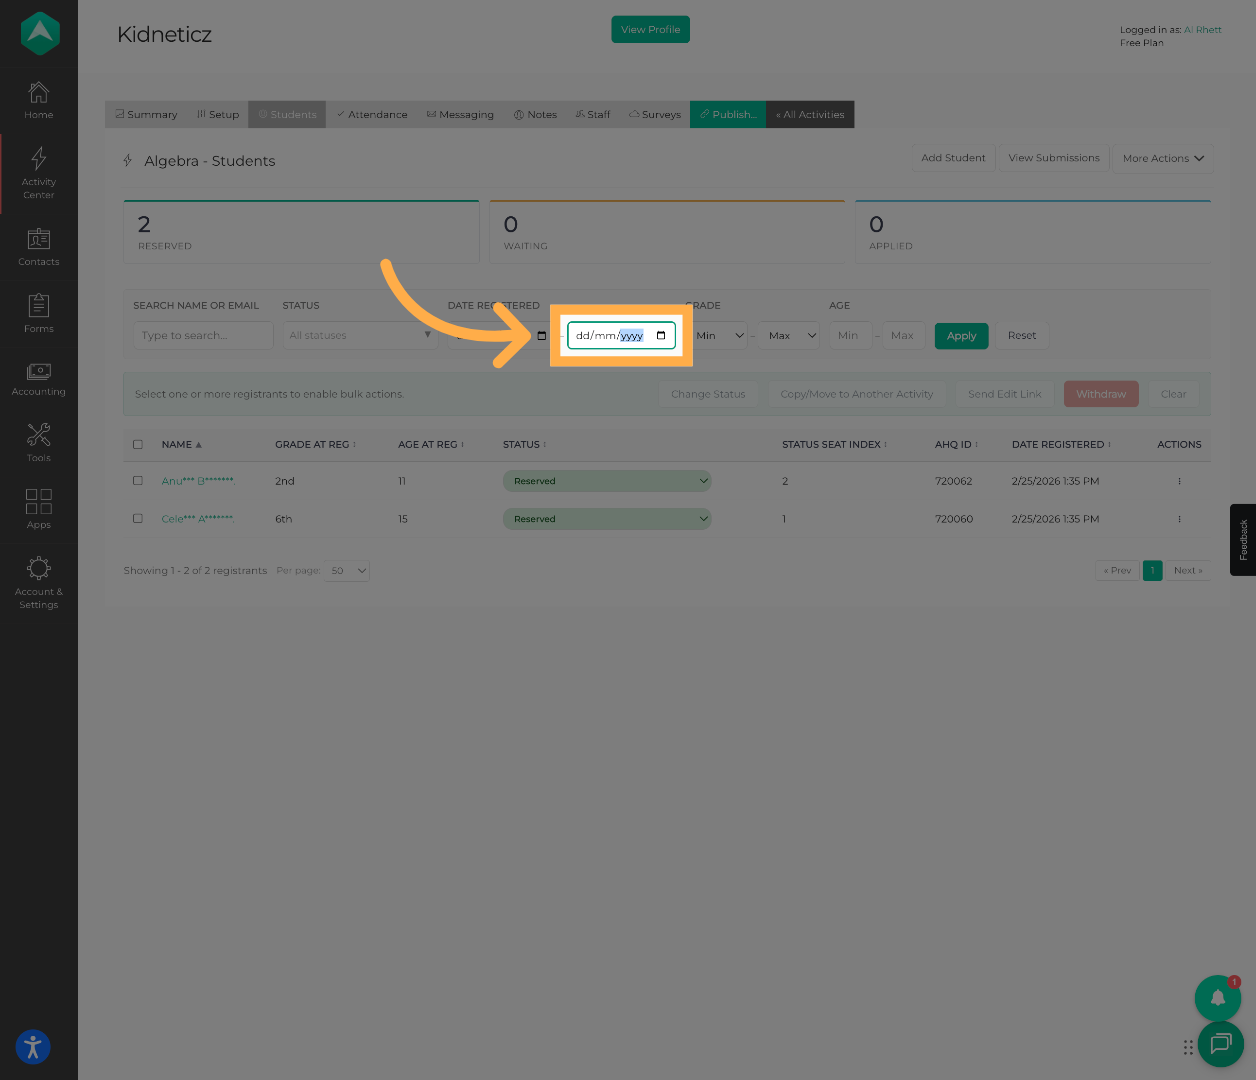
8. Filter by Registration Date
You can also filter students based on their registration date.
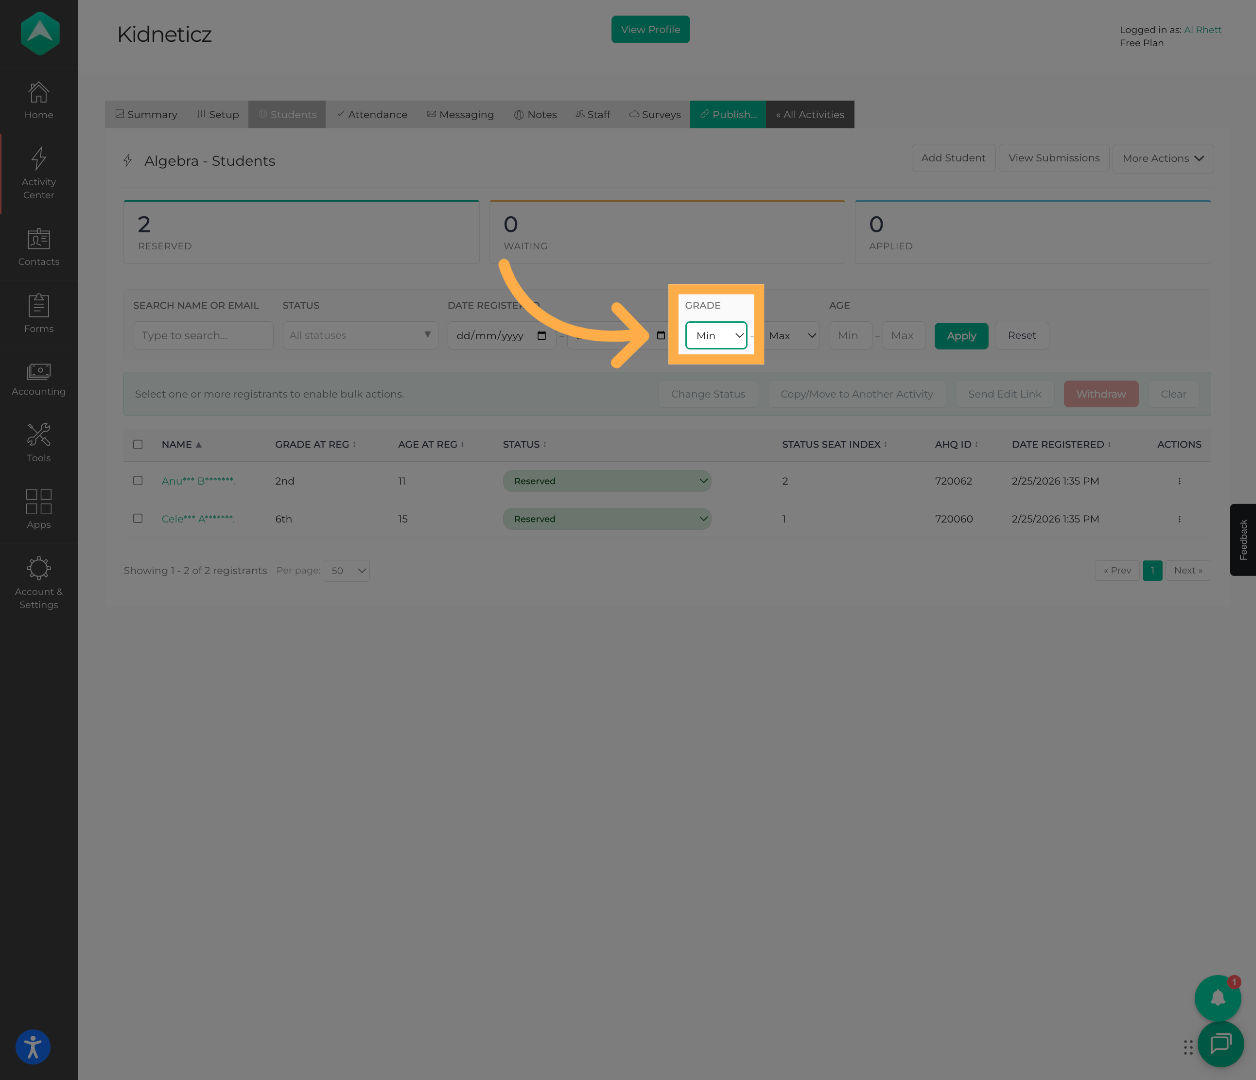
9. Set the Minimum Grade Filter
Select the minimum grade level you would like included in the filtered results.
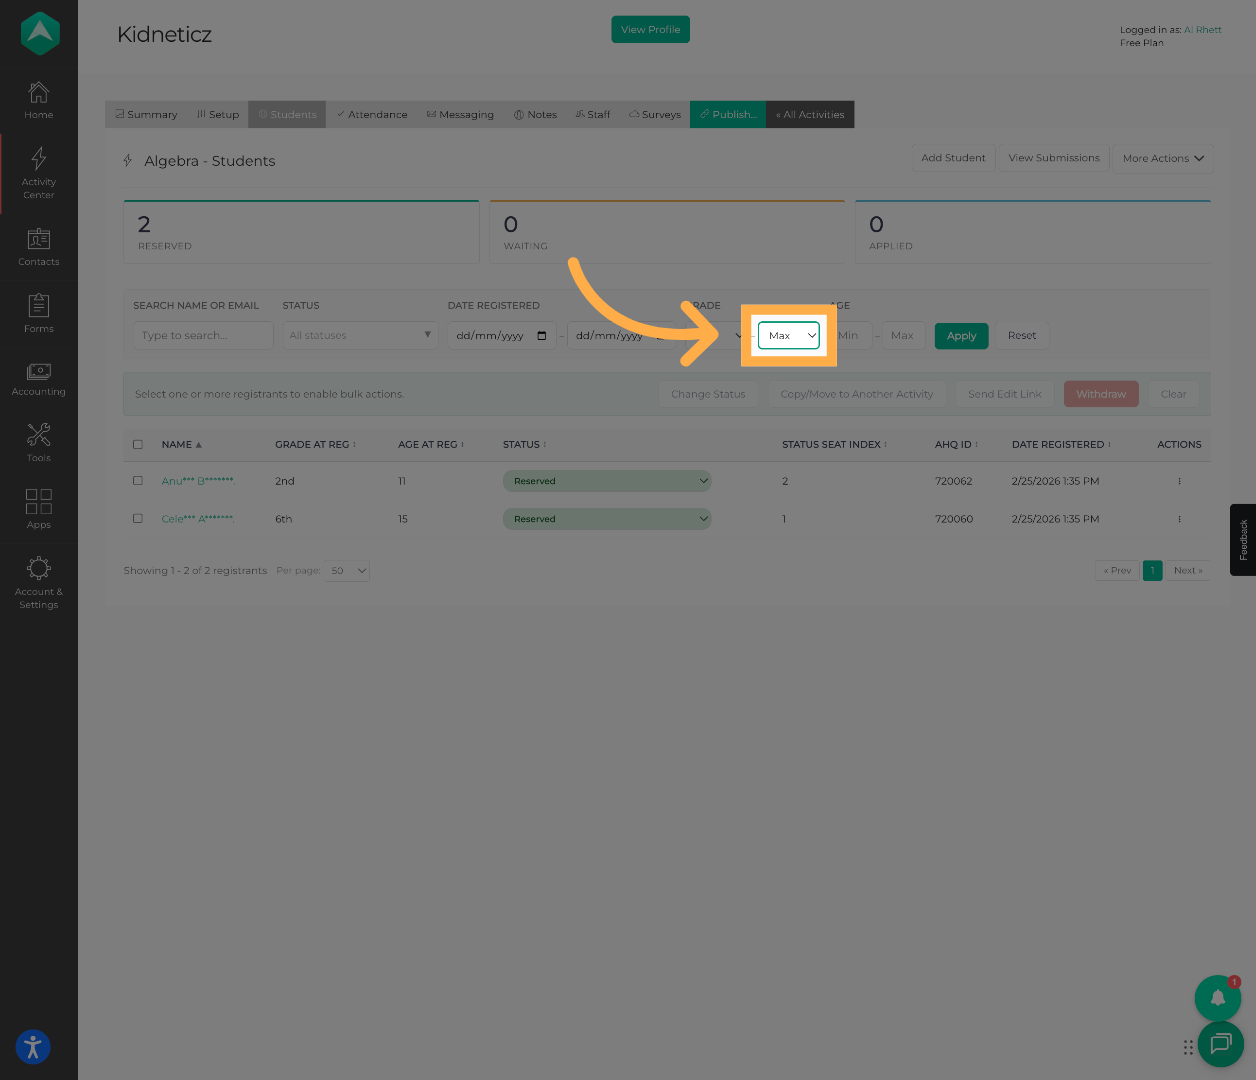
Select the maximum grade level you would like included in the filtered results.
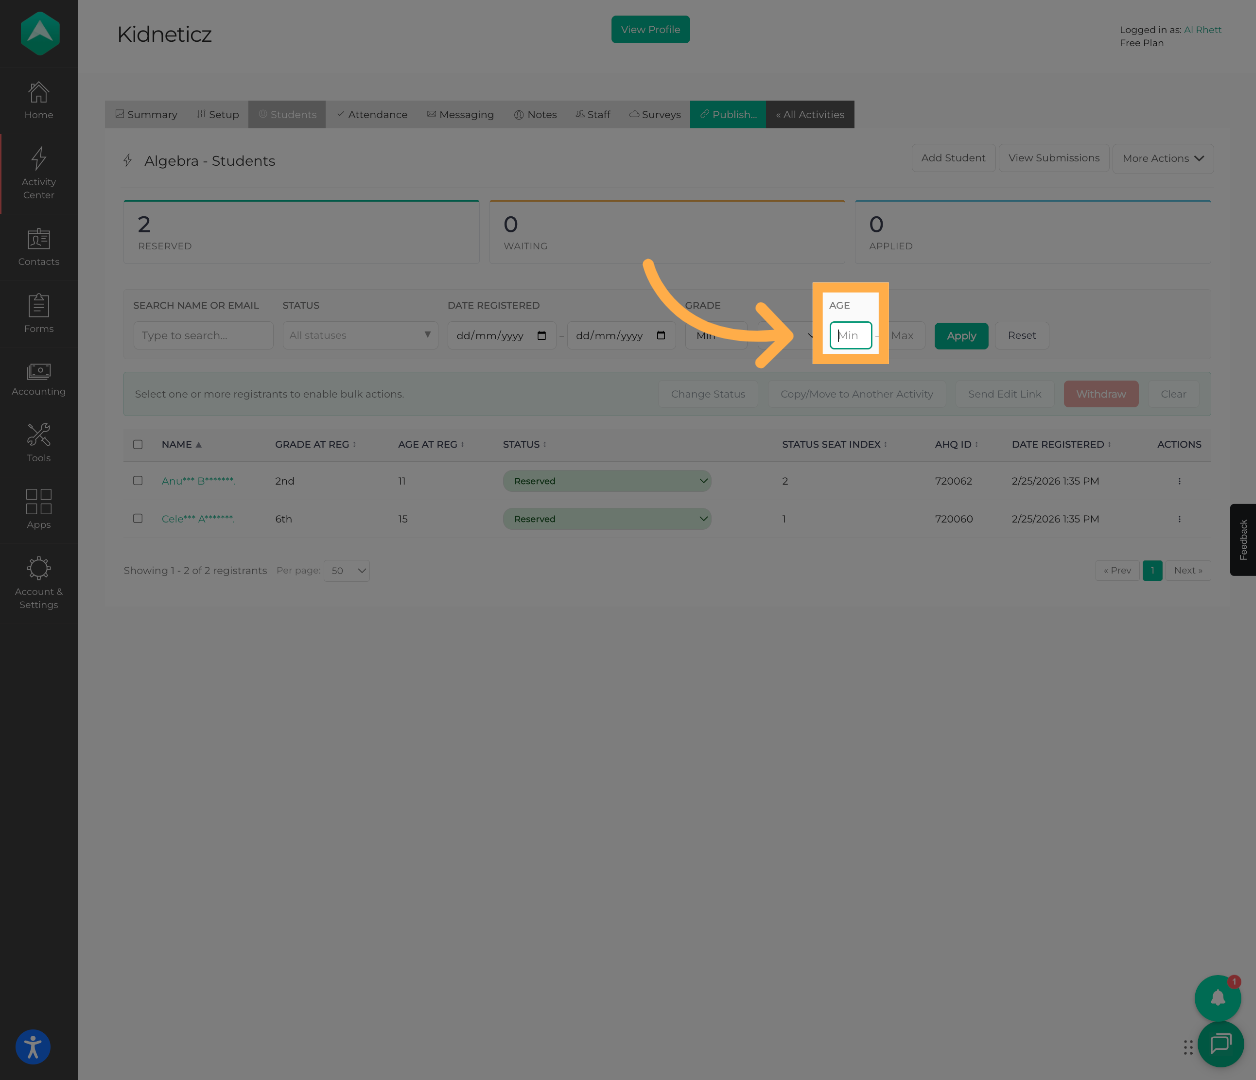
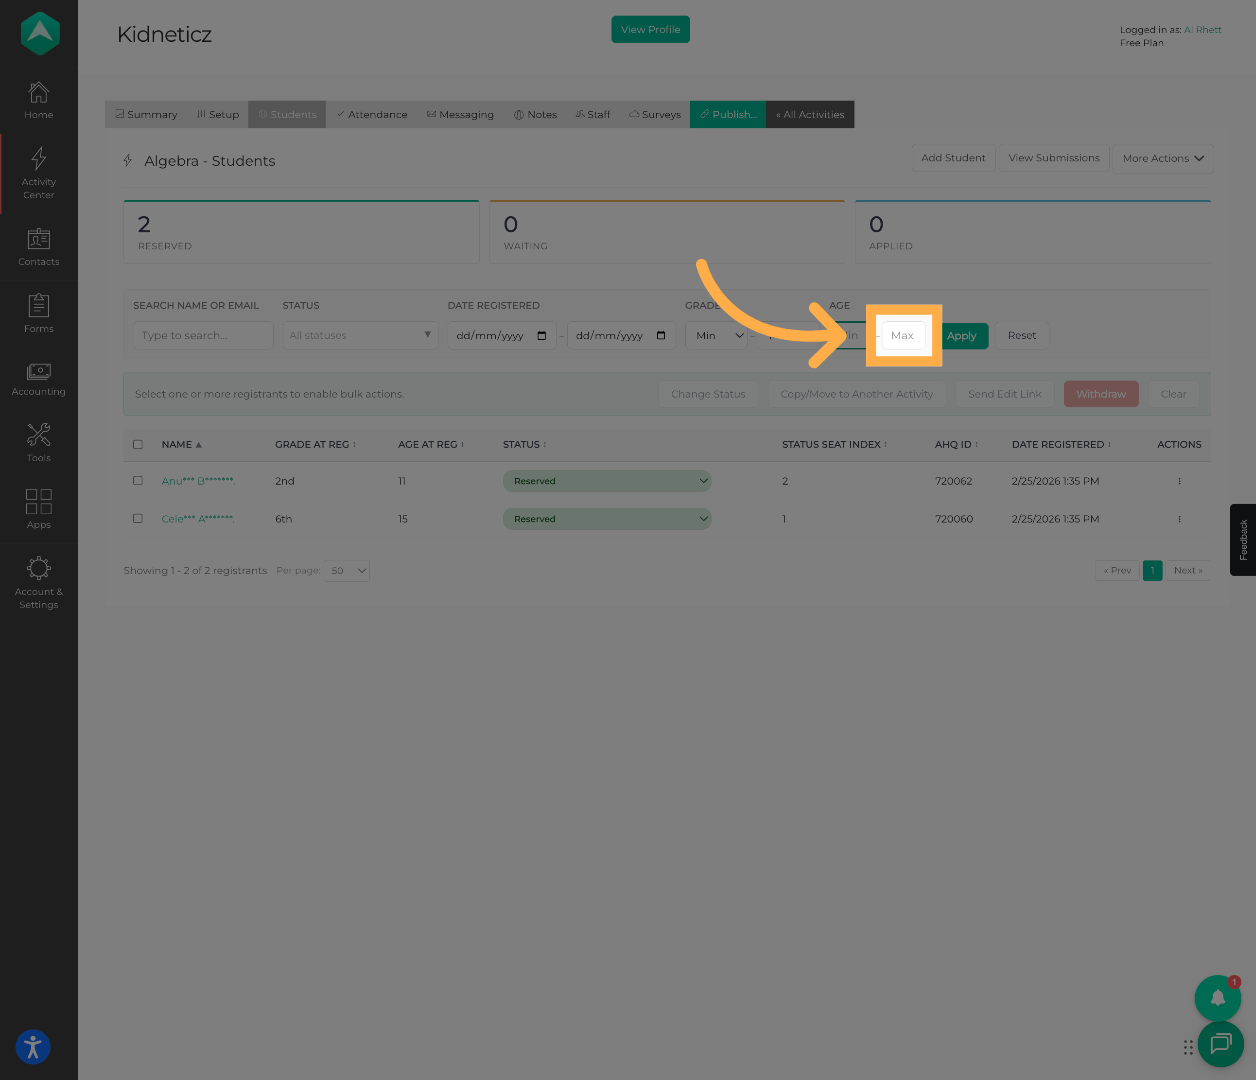
10. Set the Minimum Age Filter
Enter the minimum age requirement for the current filter criteria.
Enter the maximum age requirement for the current filter criteria.
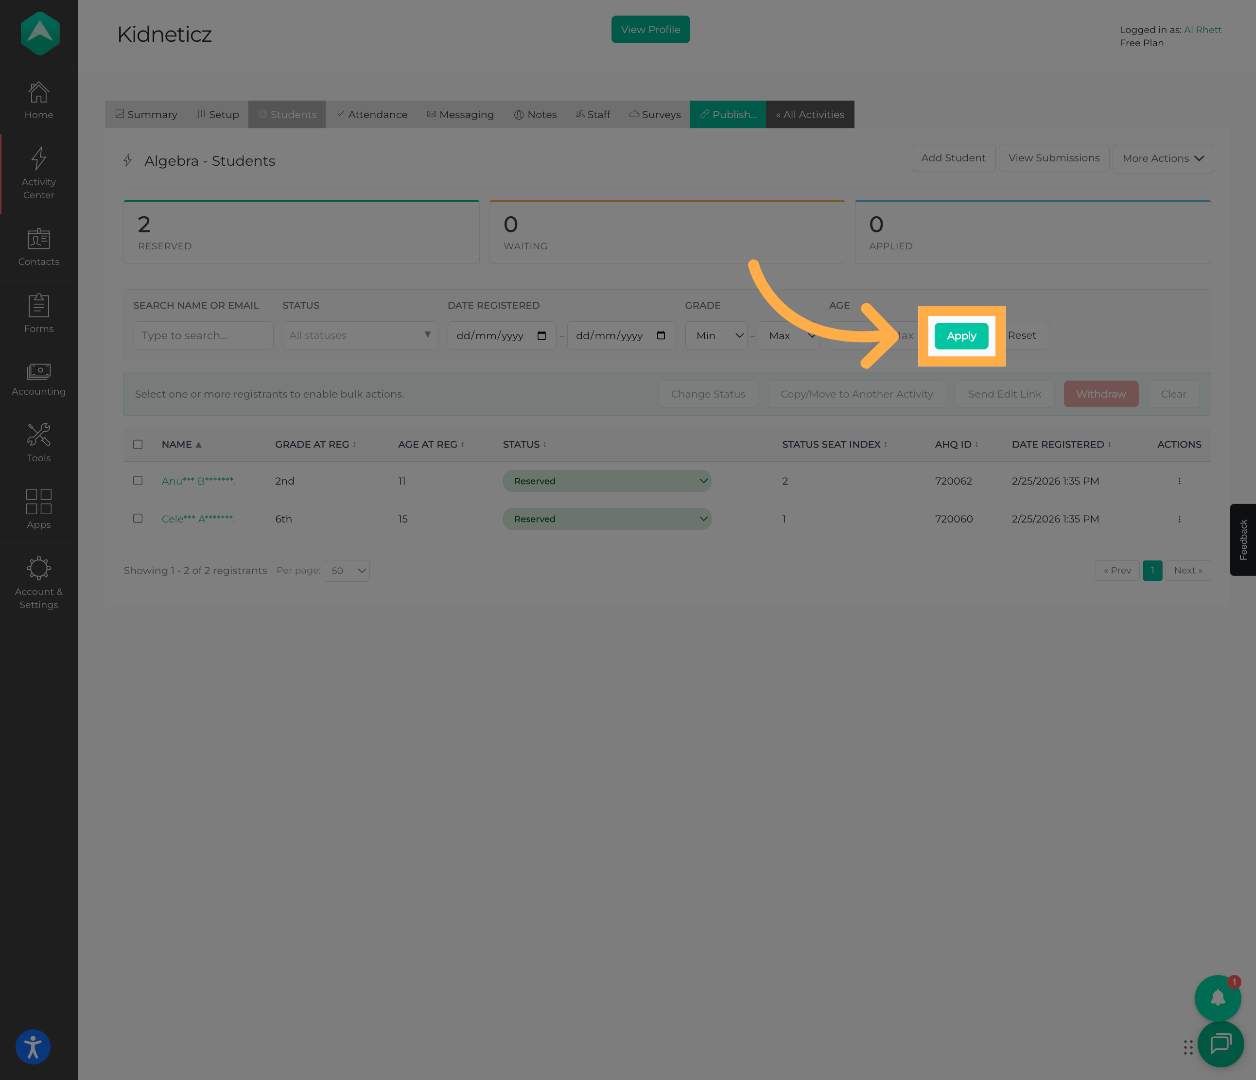
11. Apply the Filters
Click “Apply” to update the student list using the selected filters..
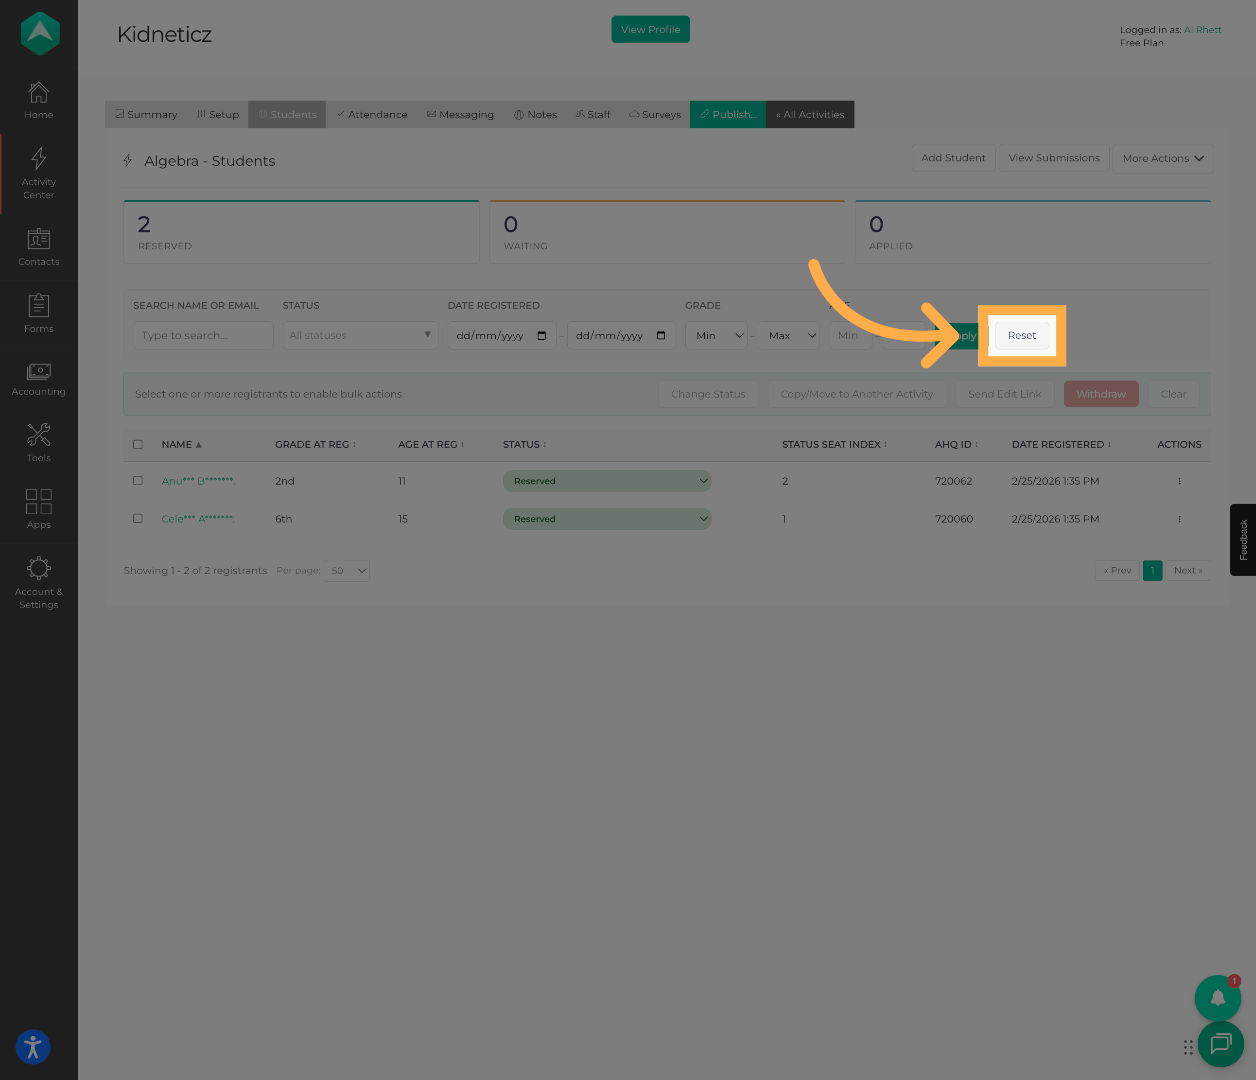
12. Reset the Filters (Optional)
Click “Reset” to clear all active filters and return to the default student list view.
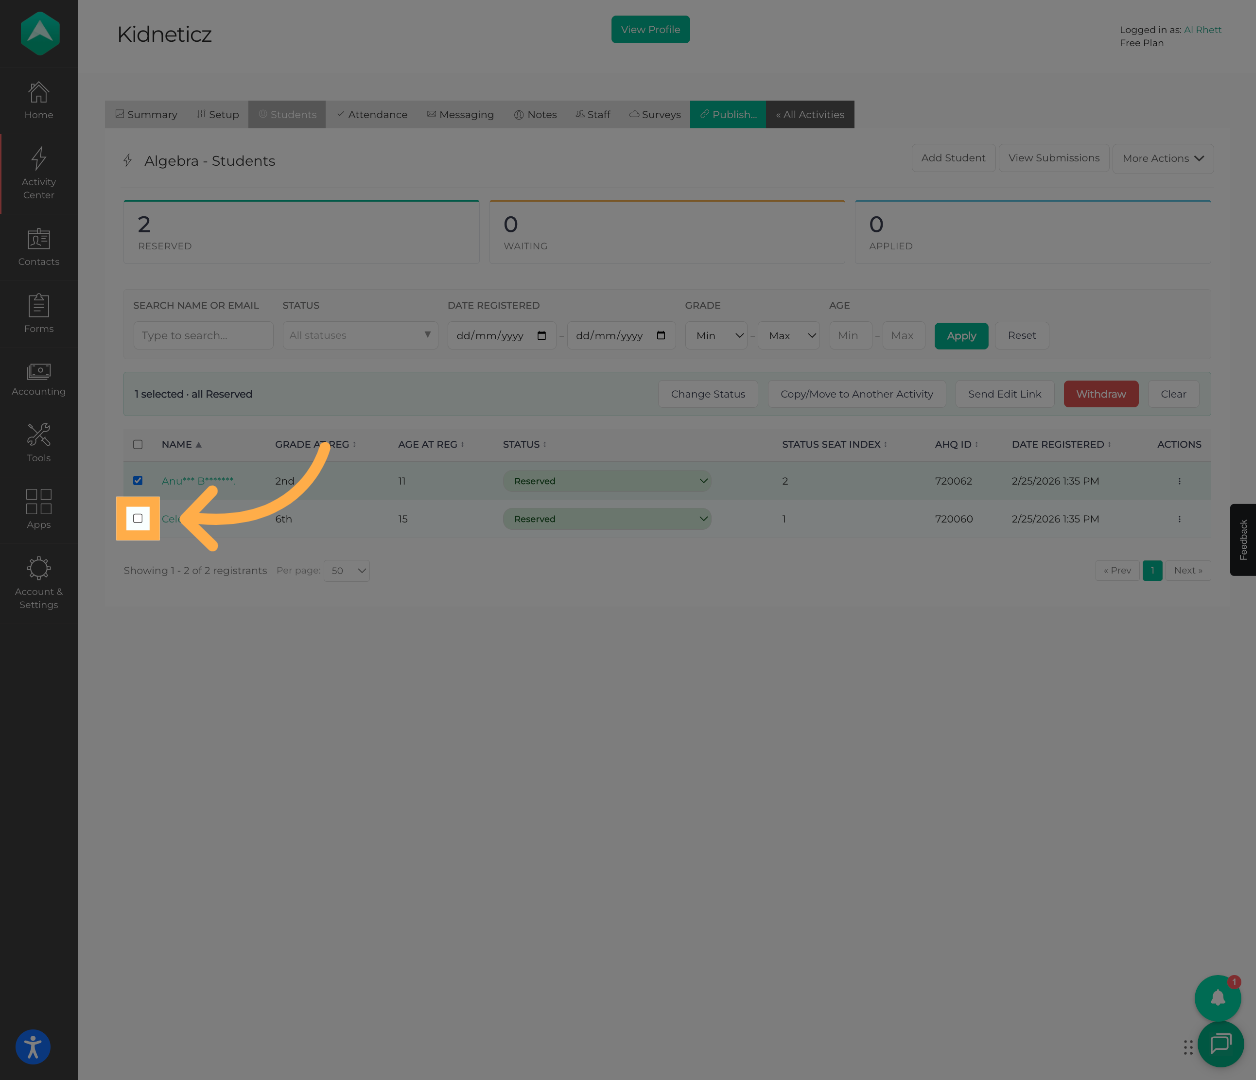
13. Select Individual Students
You can manually select individual students from the participant list.
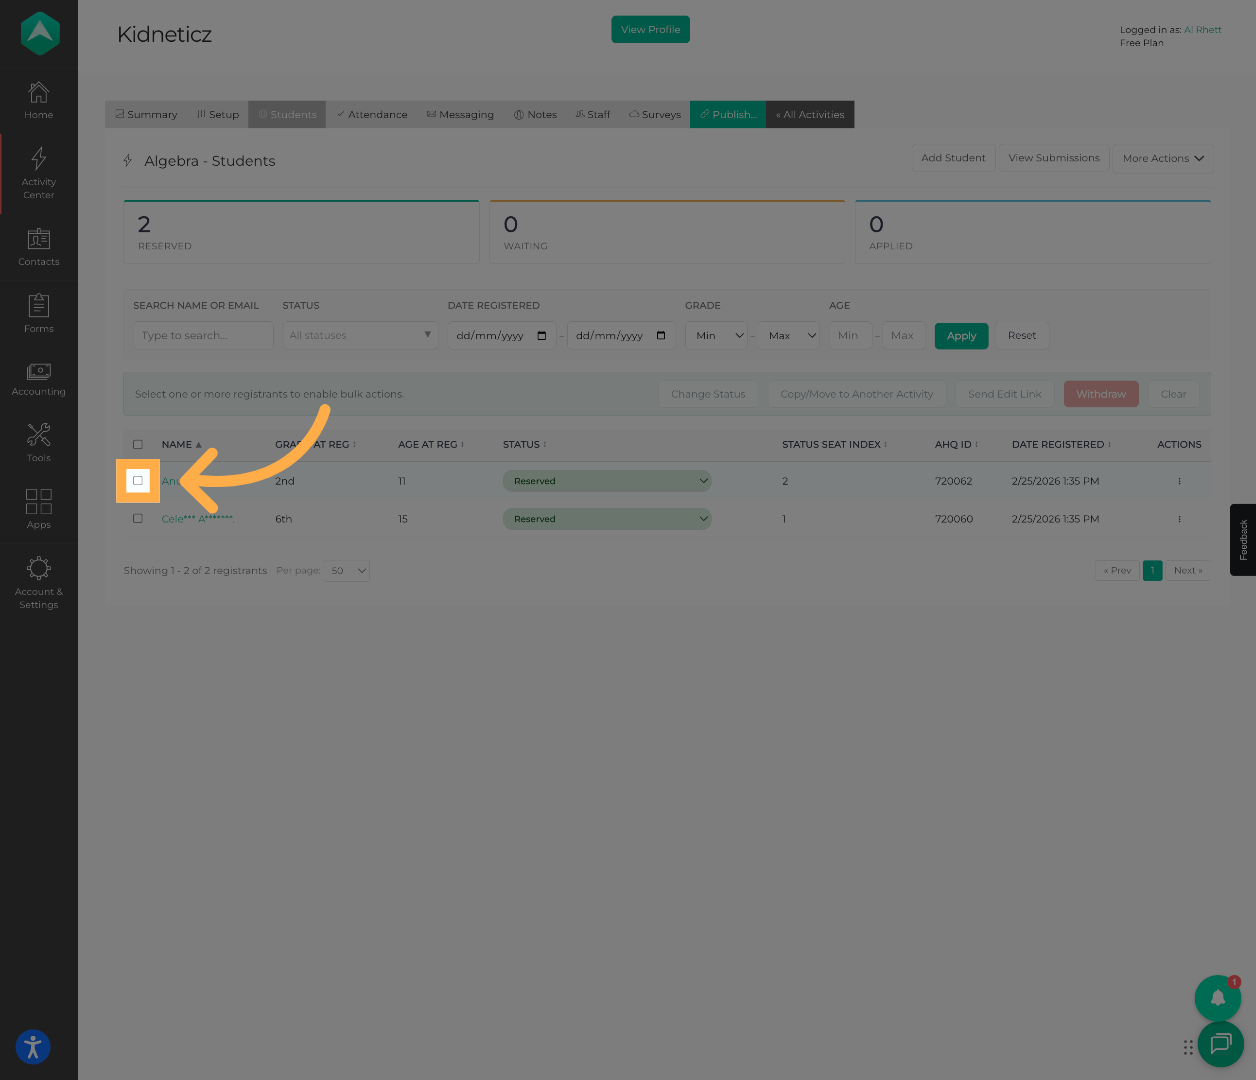
Continue selecting multiple students if you would like to perform bulk actions.
14. Select All Students
Use this option to quickly select all students currently displayed in the filtered list.
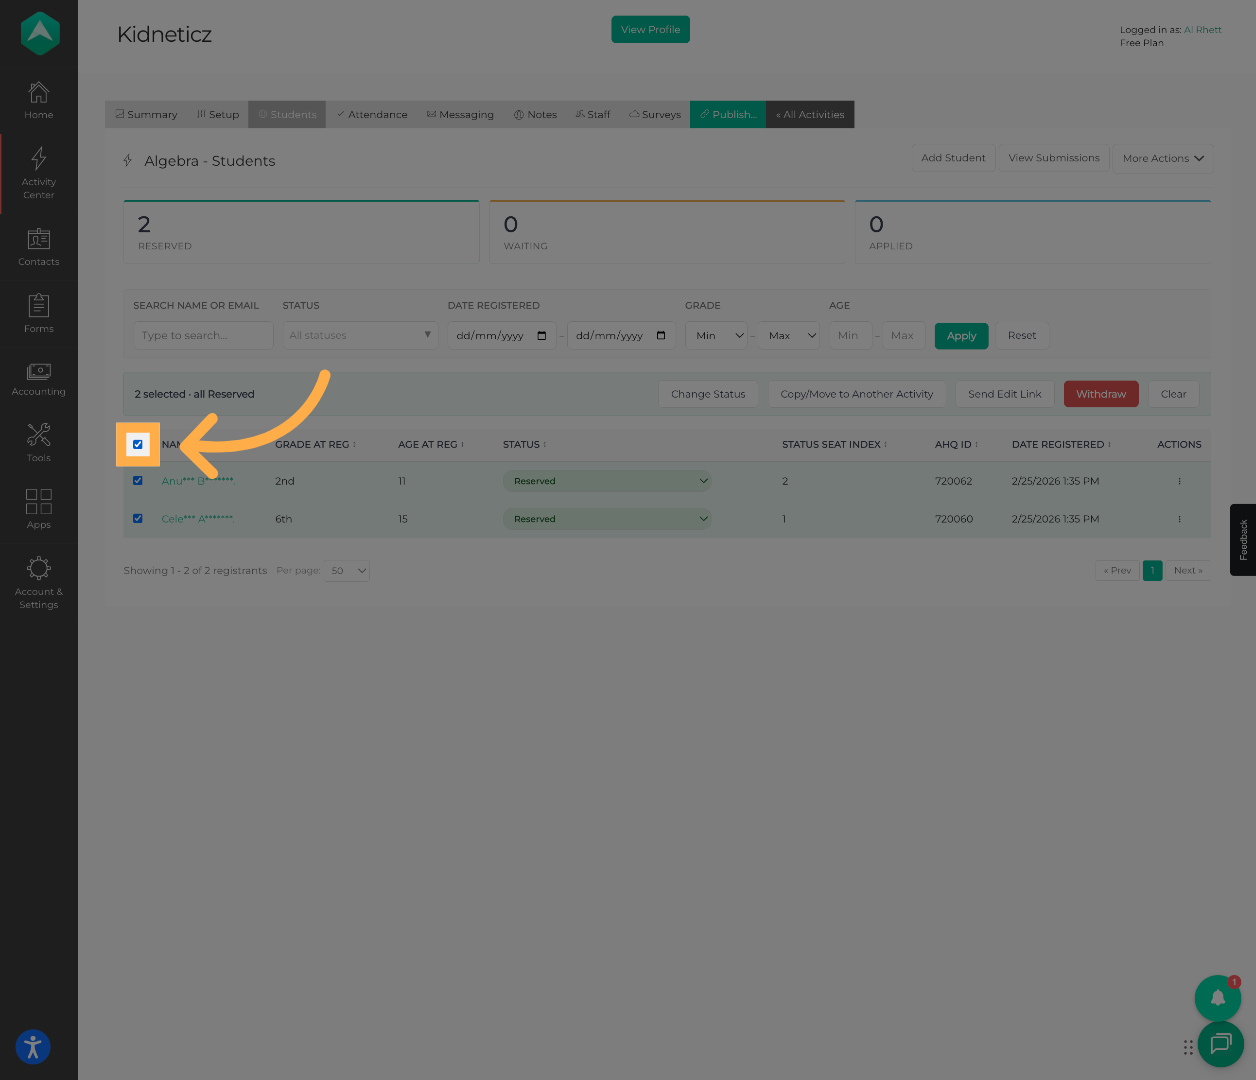
💡 Tip: Multiple students can be selected for bulk actions like status updates or edit links.
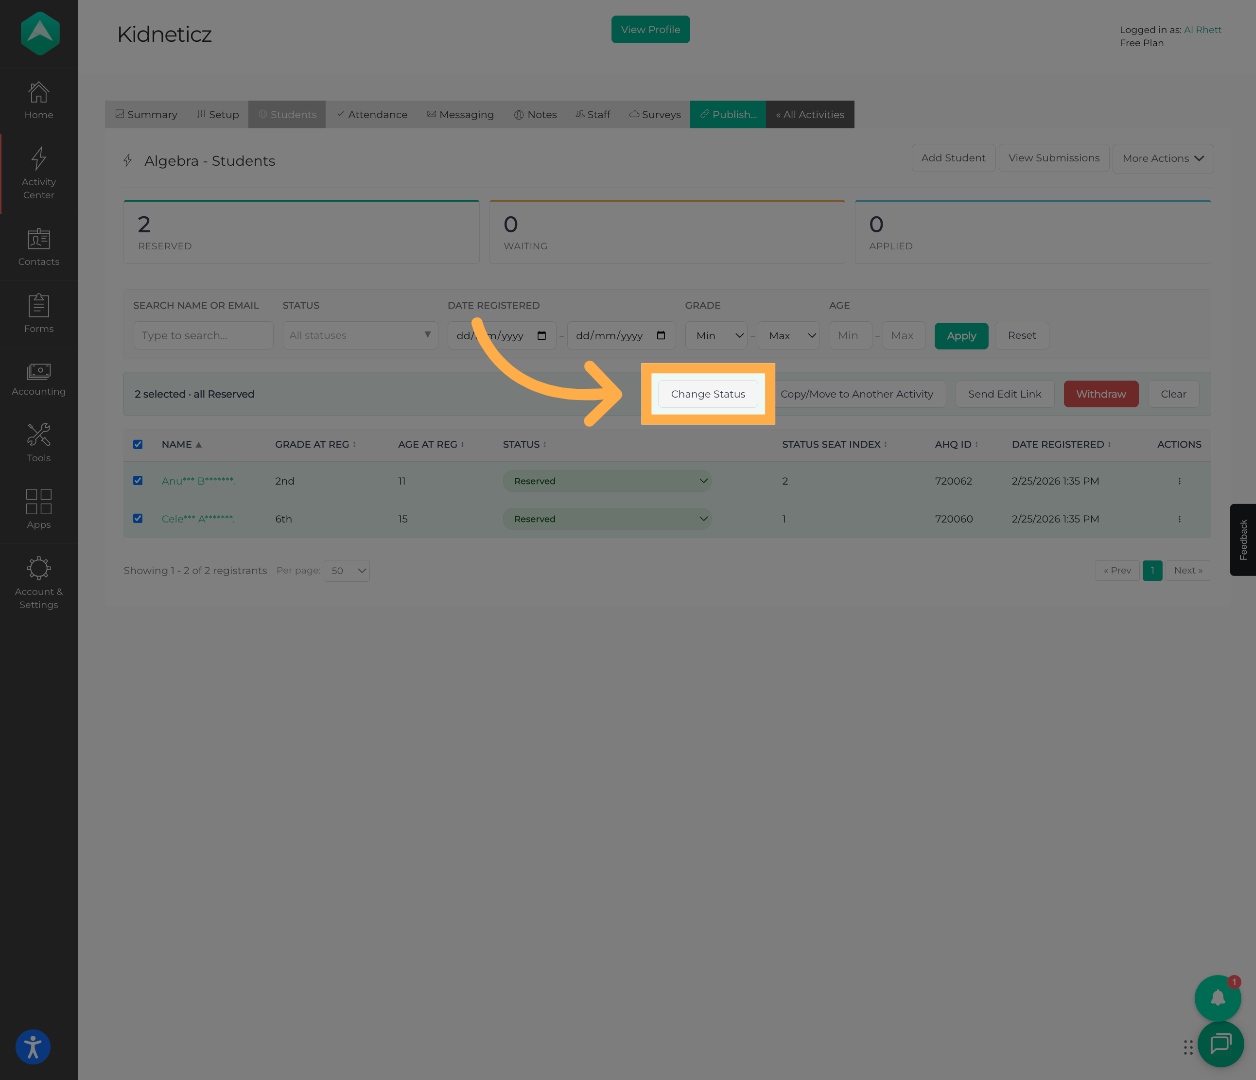
15. Open the Status Change Menu
Click “Change Status” to update the status of the selected students.
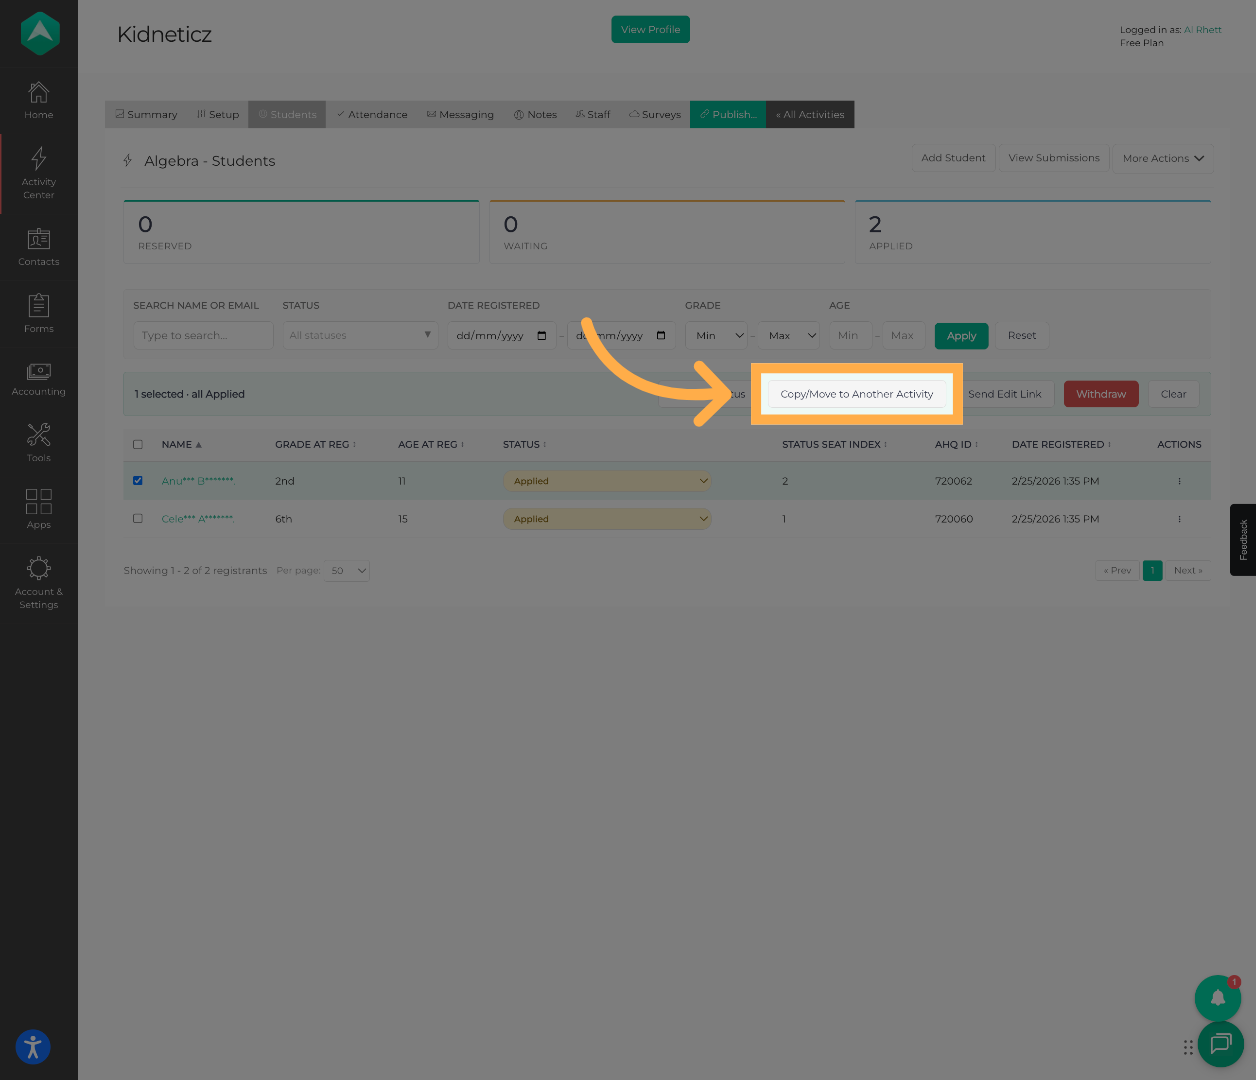
16. Transfer Students Between Activities
You can also use “Copy/Move to Another Activity” to transfer selected students between activities.
17. Send Edit Links in Bulk
Use “Send Edit Link” to send registration edit links to selected participants in bulk. This is enabled when participants are in ''Reserved'' status.
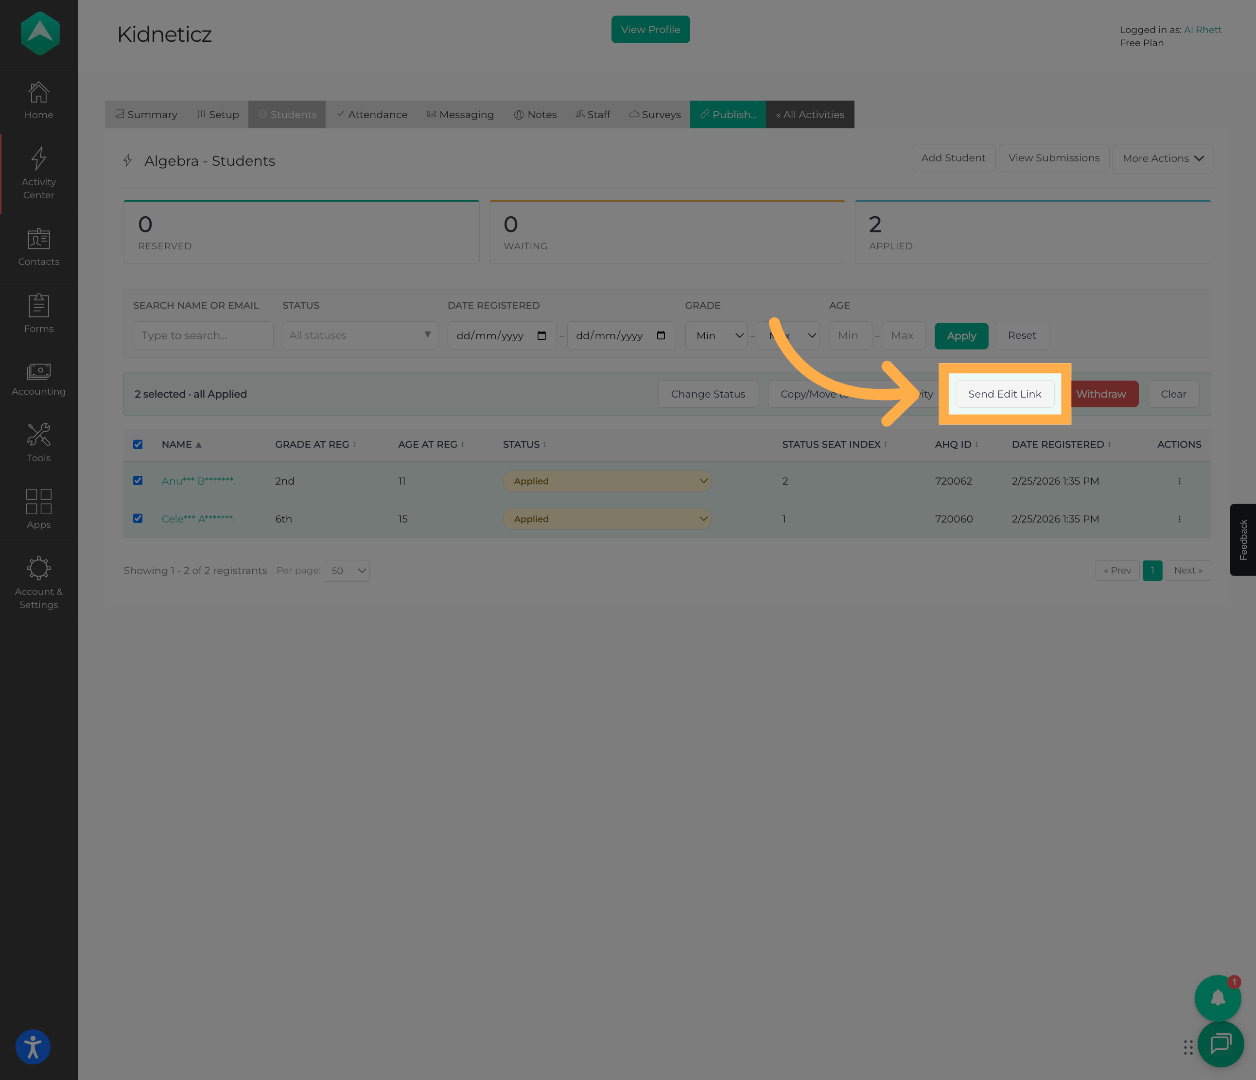
💡 Tip: Edit links allow families to update registration information without creating a new registration.
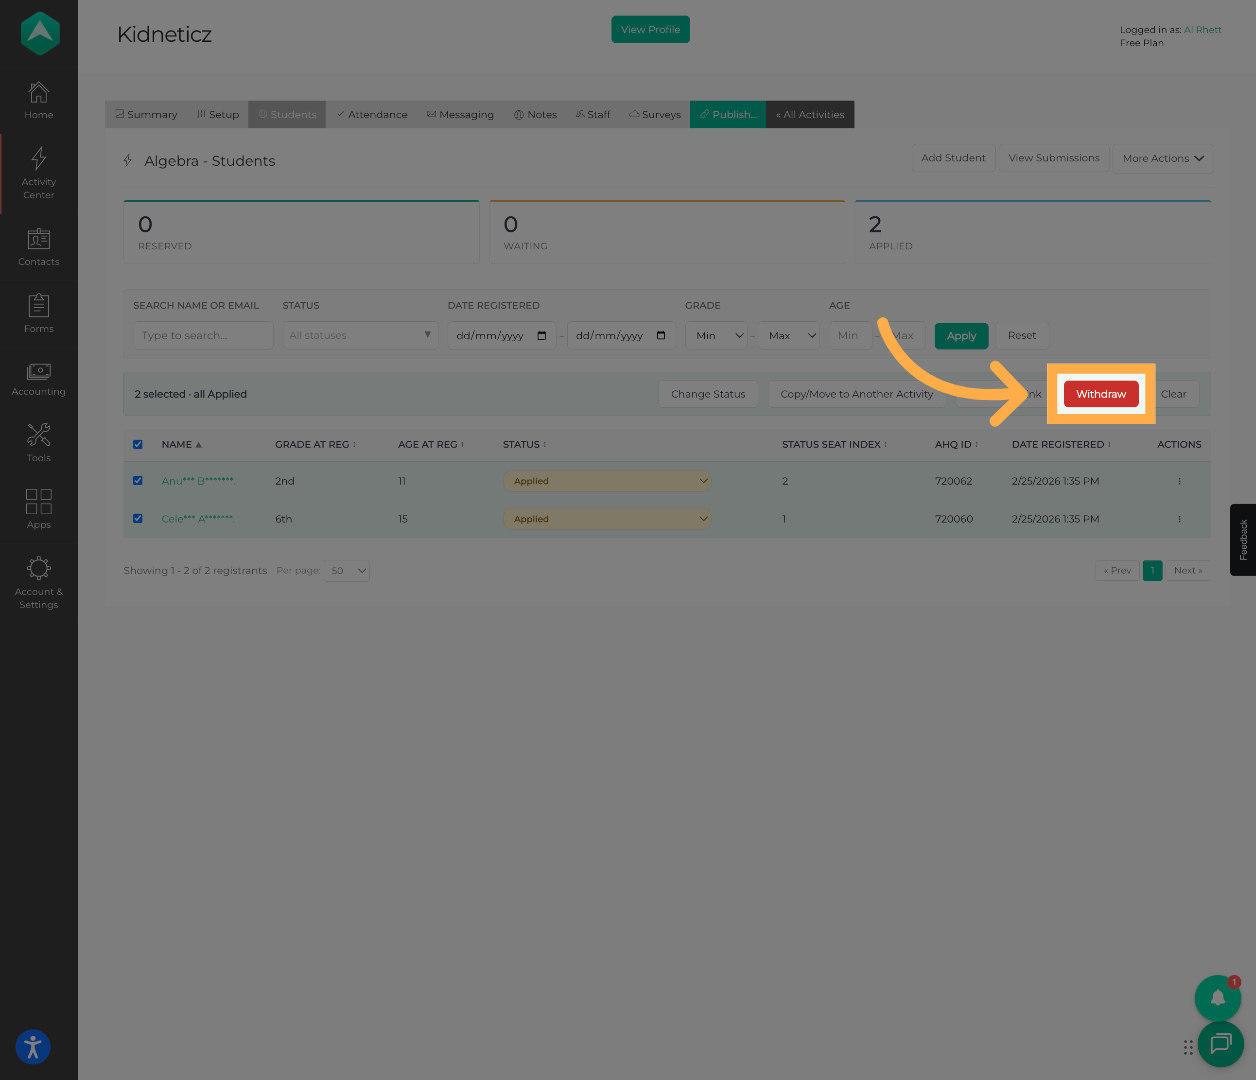
18. Withdraw Selected Students
Click “Withdraw” to begin withdrawing selected students from the activity.
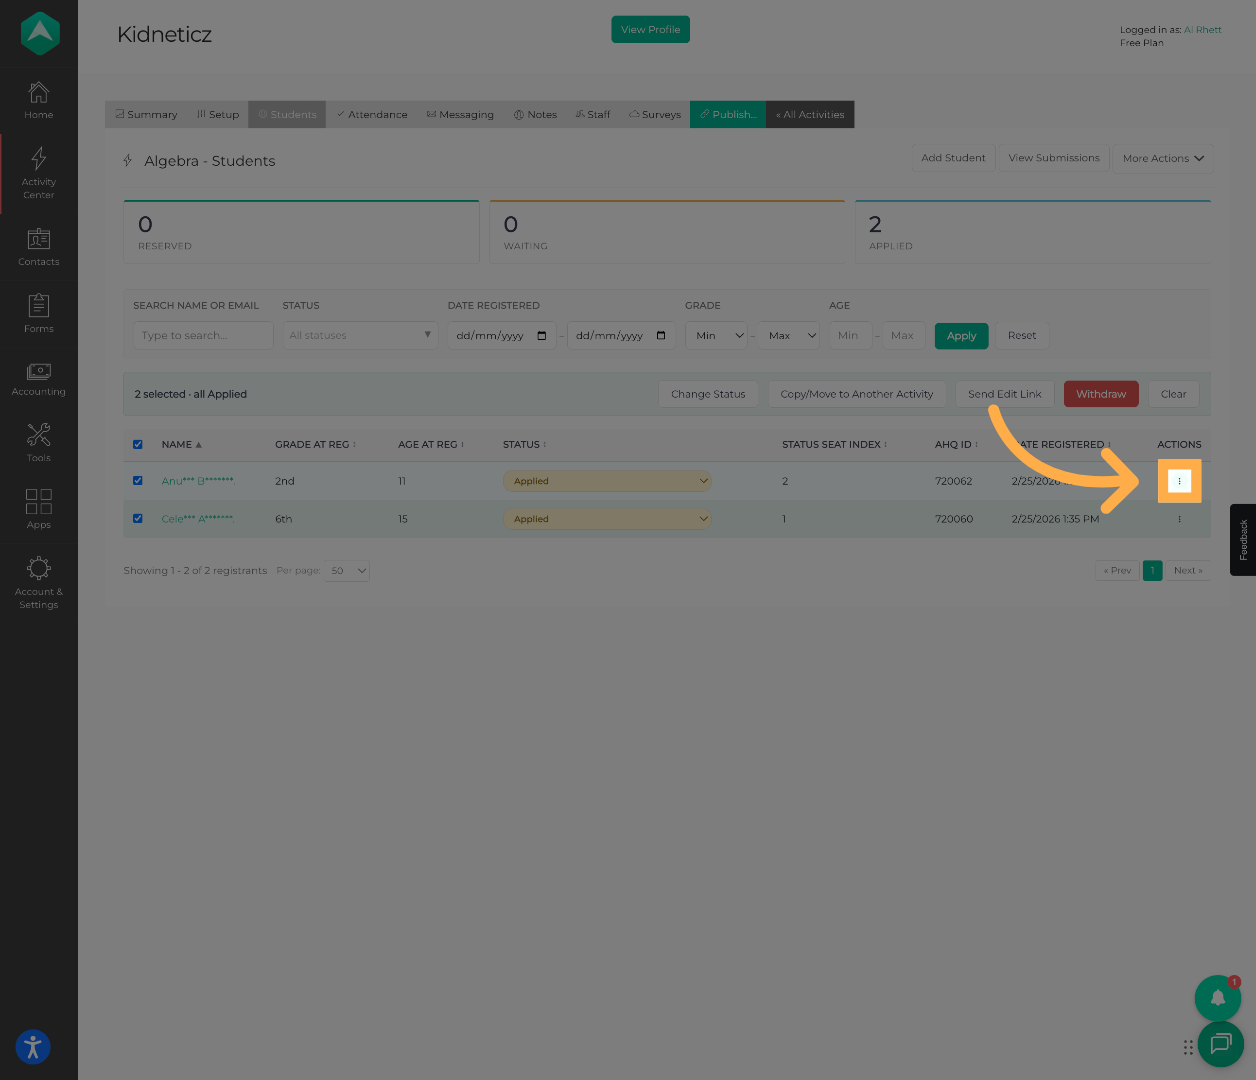
19. Open Additional Student Management Options
Click on the three dots to access additional student management and registration tools.
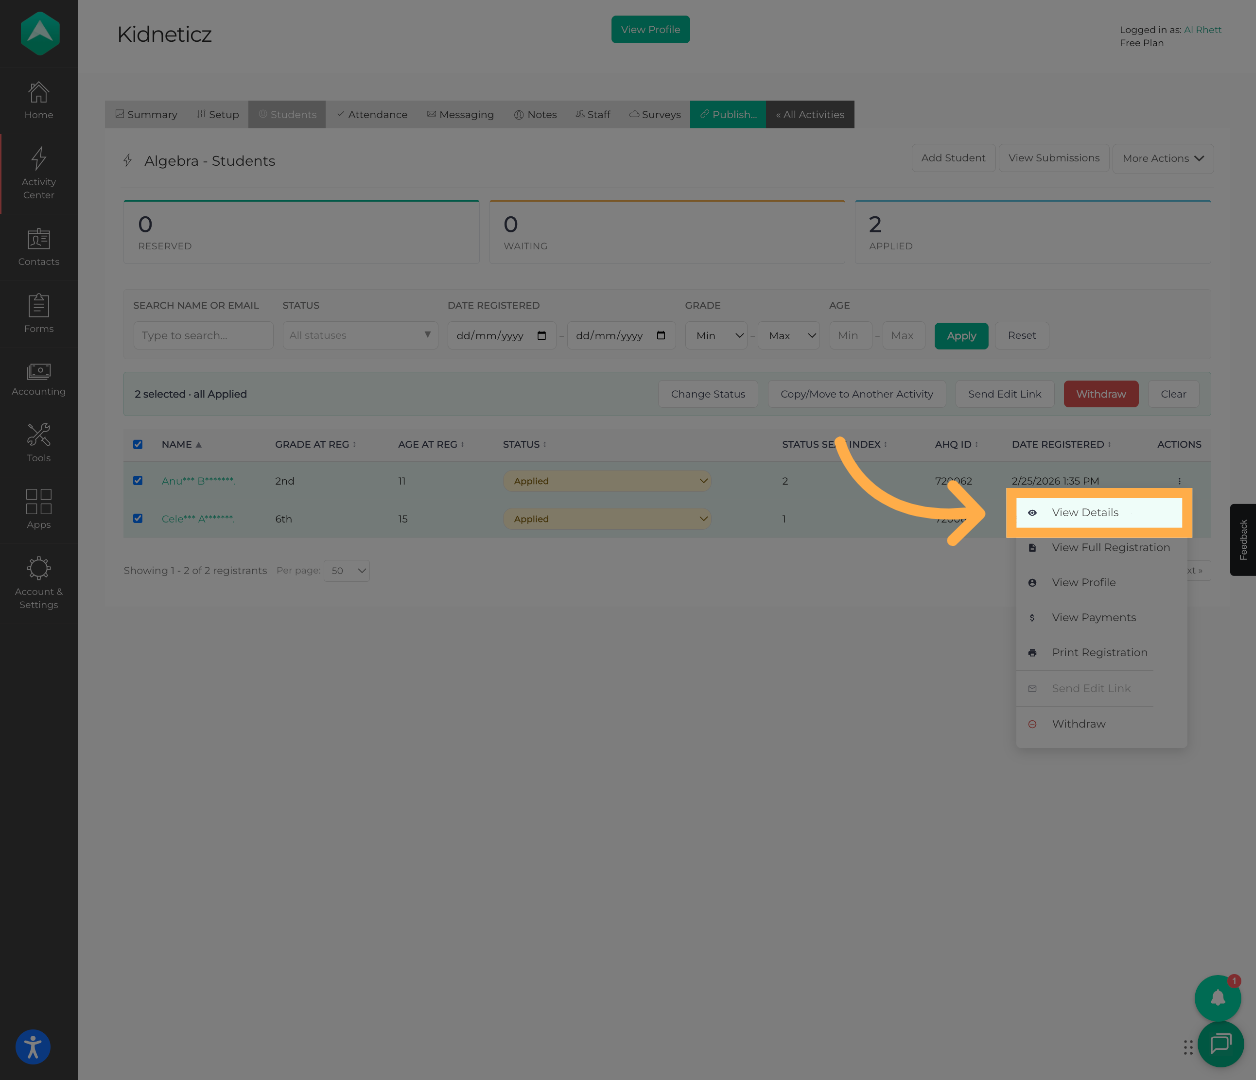
20. View Registration Details
Click “View Details” to review detailed information about a student’s registration.
21. View the Full Registration
Click “View Full Registration” to open the participant’s complete registration form and responses.
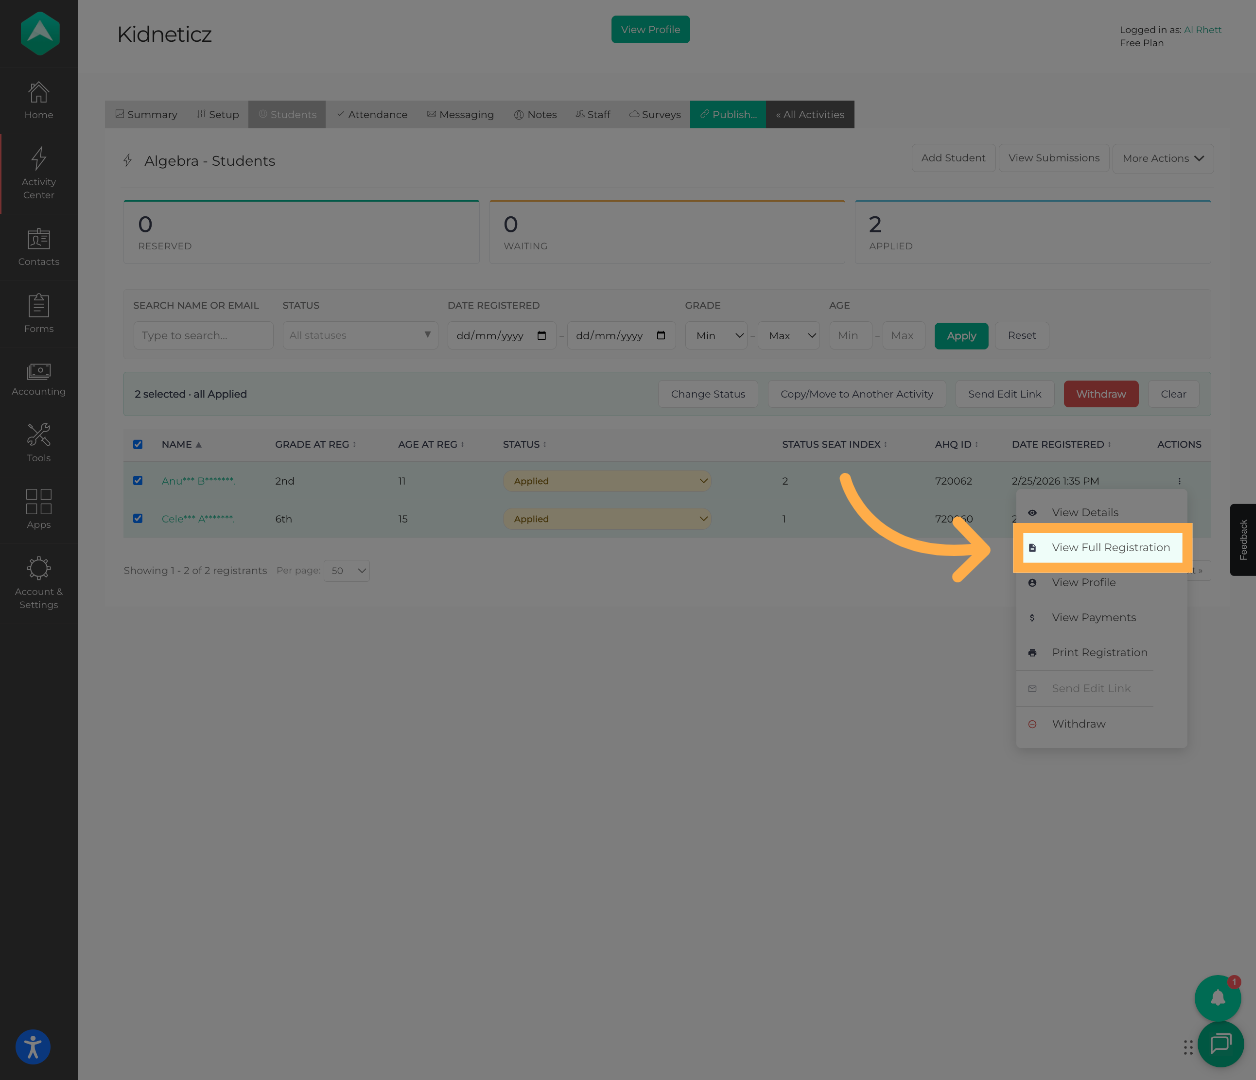
💡 Tip: Full registration records include all submitted forms, responses, and registration information.
22. Open the Student Profile
Click “View Profile” to access the detailed student profile.
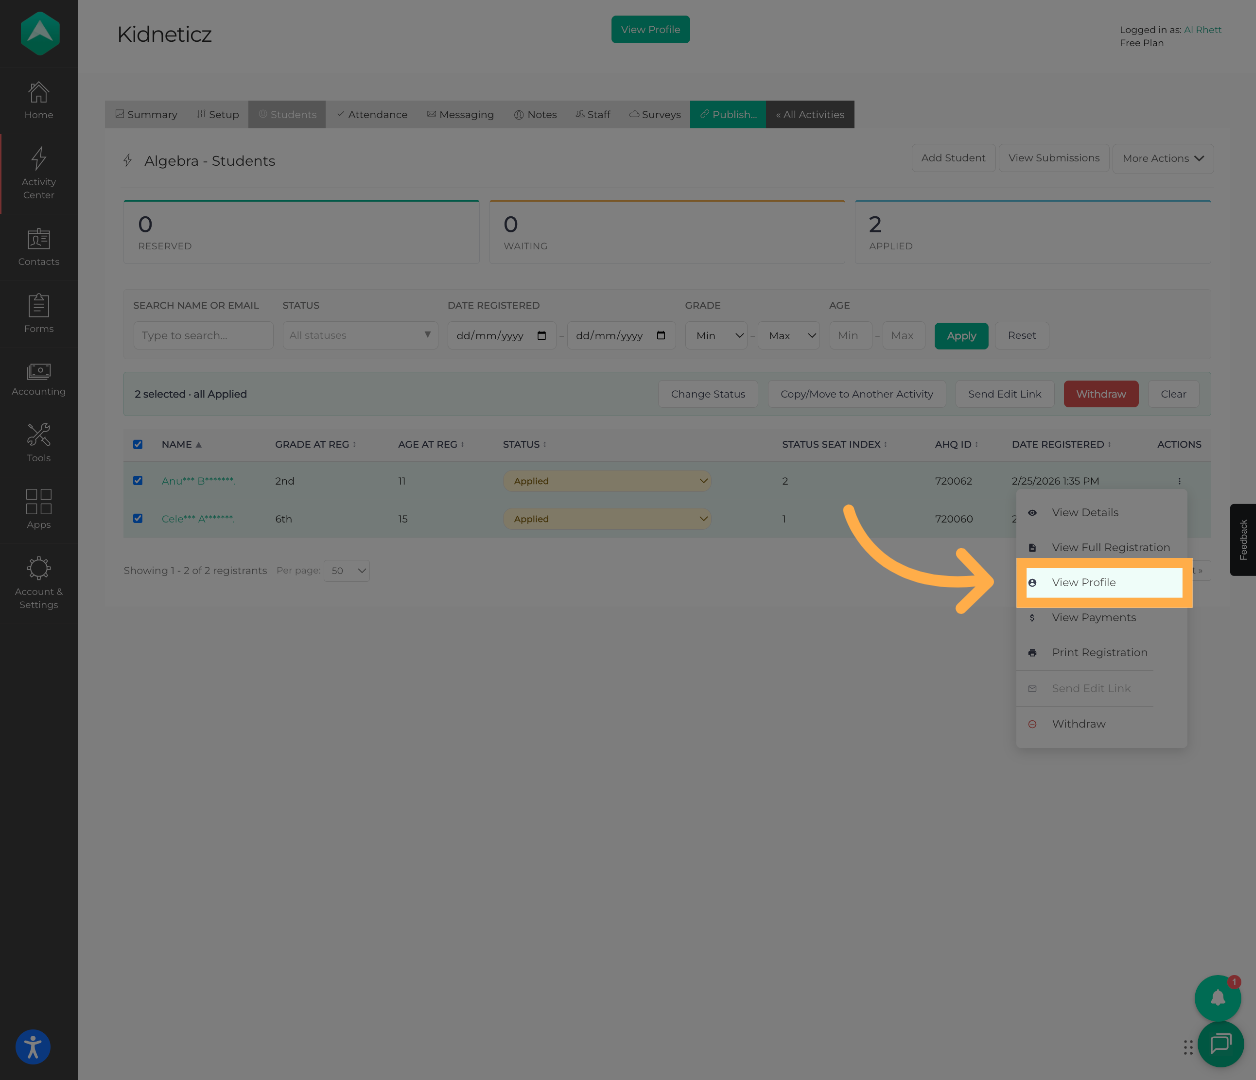
💡Tip: Student profiles may include contact information, guardians, medical details, and registration history.
23. Review Payment Records
Click “View Payments” to review payment history and billing information for the selected student.
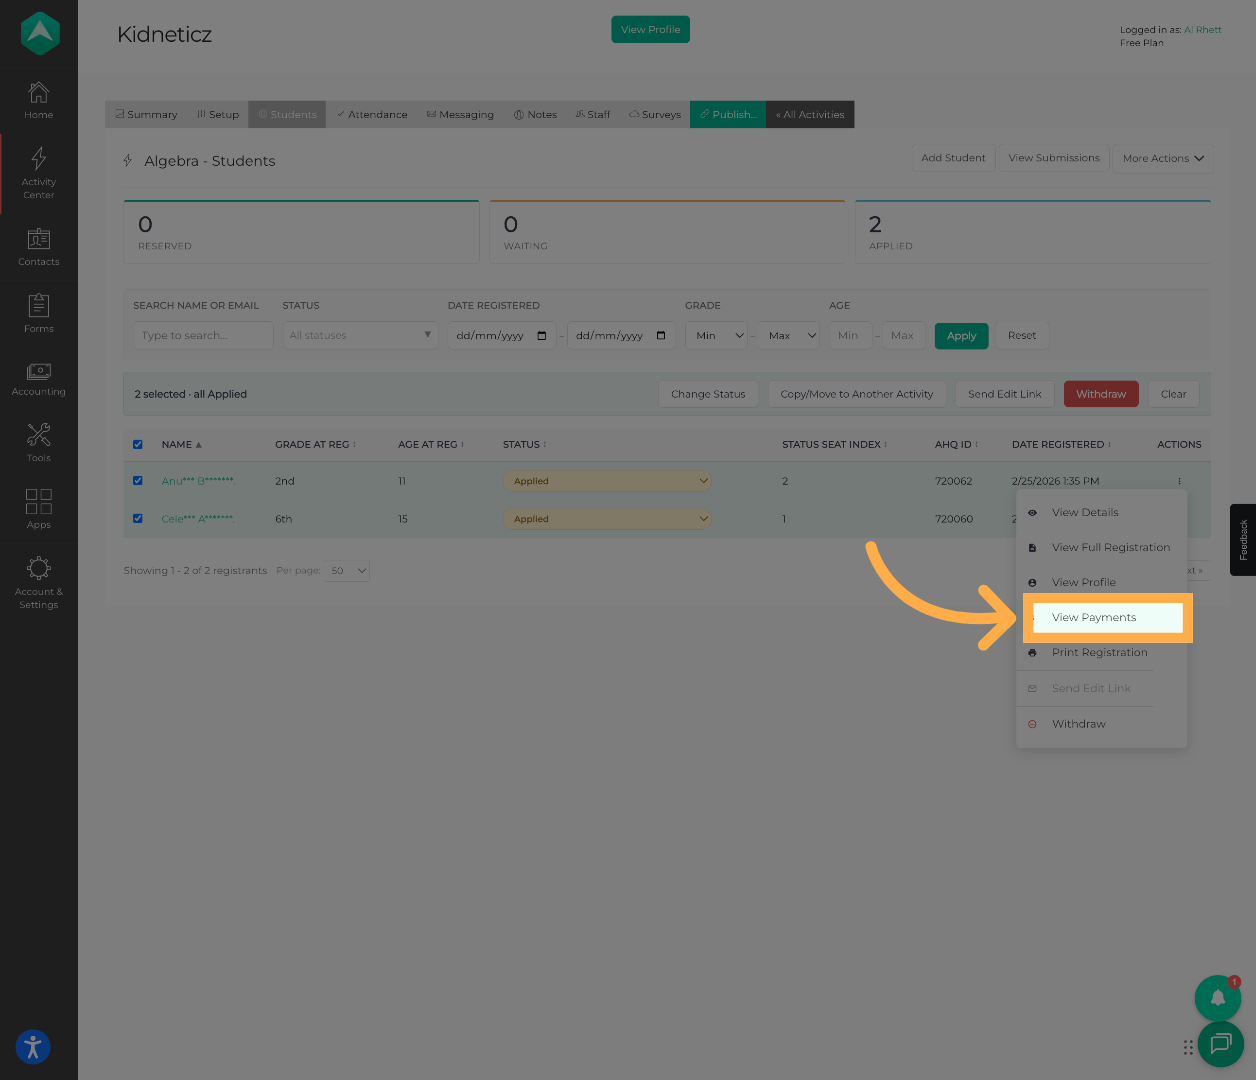
💡Tip: Payment history helps track balances, payment dates, and offline payment records.
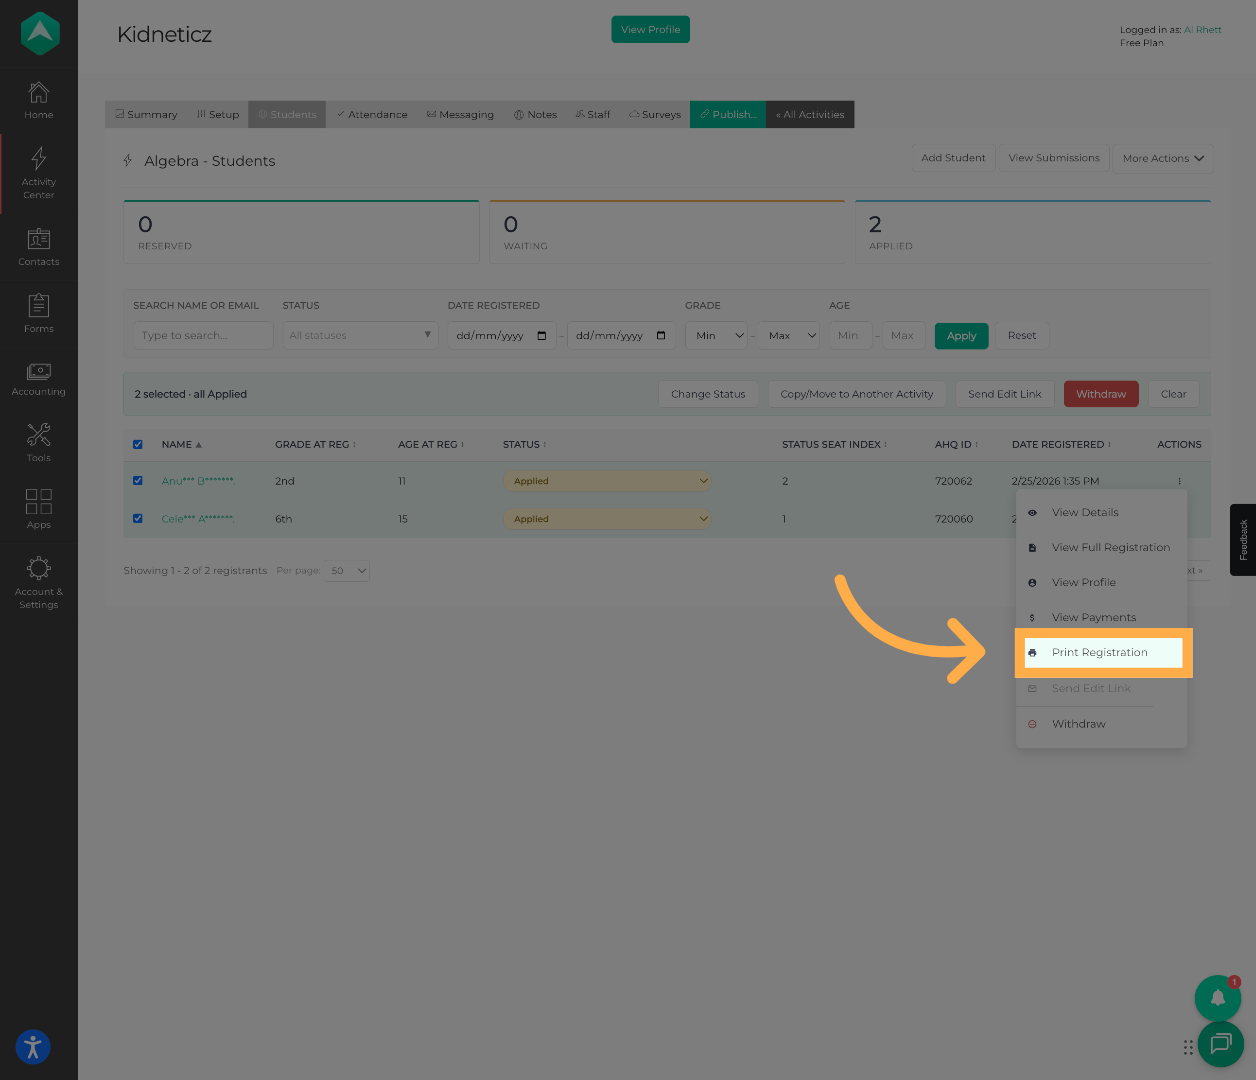
24. Print Registration Information
Click “Print Registration” to generate a printable version of the student’s registration details.
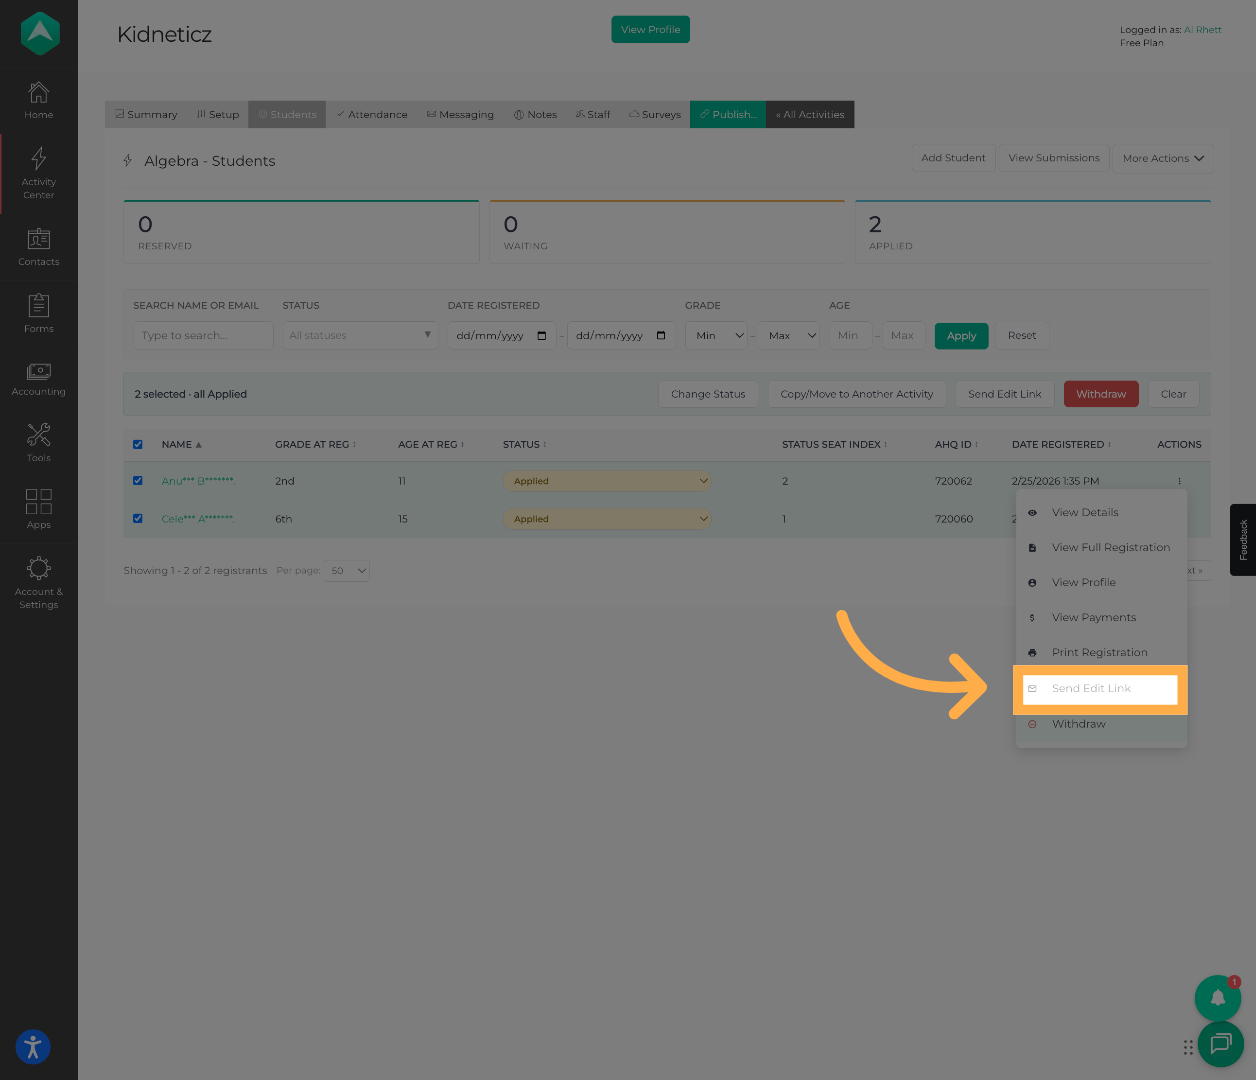
25. Send Edit Link
Click “Send Edit Link” to send a registration edit link.
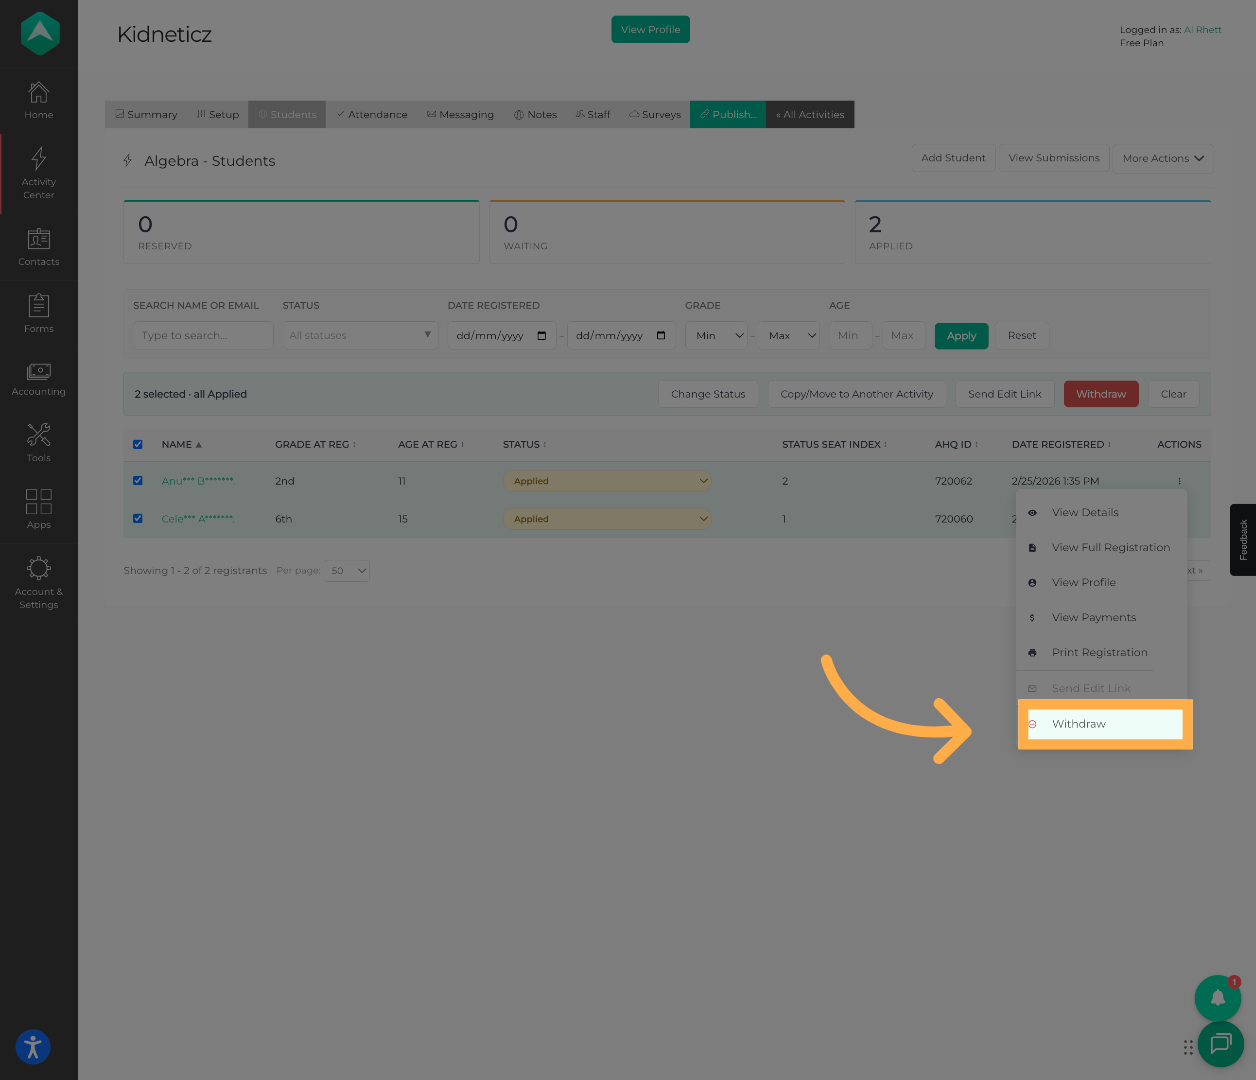
26. Withdraw an Individual Student
Click “Withdraw” to remove the selected student from the activity.
Frequently Asked Questions
Q: Can I filter students by multiple criteria at the same time?
A: Yes. You can combine filters such as status, registration date, grade, age, name, and email to narrow down results.
Q: Can I update multiple student statuses at once?
A: Yes. After selecting multiple students, you can use the “Change Status” option to apply bulk updates.
Q: Can I move students between activities?
A: Yes. Use the “Copy/Move to Another Activity” option to transfer selected students between activities.
Q: Can I send edit links to multiple families at once?
A: Yes. The “Send Edit Link” feature allows you to send registration edit links in bulk to selected participants.
Q: What happens when I withdraw a student?
A: Withdrawing a student removes them from the activity roster and updates their registration status accordingly.
Q: Can I review payment information for students?
A: Yes. You can access payment history and billing information through the “View Payments” option.
Q: Can I print student registration records?
A: Yes. Use the “Print Registration” option to generate a printable version of the registration details.
Q: Why can’t I find a student in the list?
A: Check whether filters or search criteria are currently applied, as they may be limiting the visible results.
Q: Can I review full registration responses submitted by families?
A: Yes. The “View Full Registration” option allows you to review the participant’s complete registration form and submitted responses.
💡If you experience any issues or have further questions with “How to View and Manage Student Registrations Within an Activity”, don't hesitate to get in touch with our support team at support@afterschoolhq.com.