Creating activities in AfterSchool HQ helps you organize your programs and make them available for registration.
You’ll learn how to create and publish a new activity, including setting schedules, enrollment options, and activity details.
1. Go to AfterSchool HQ
Navigate to AfterSchool HQ and log in to your provider account.
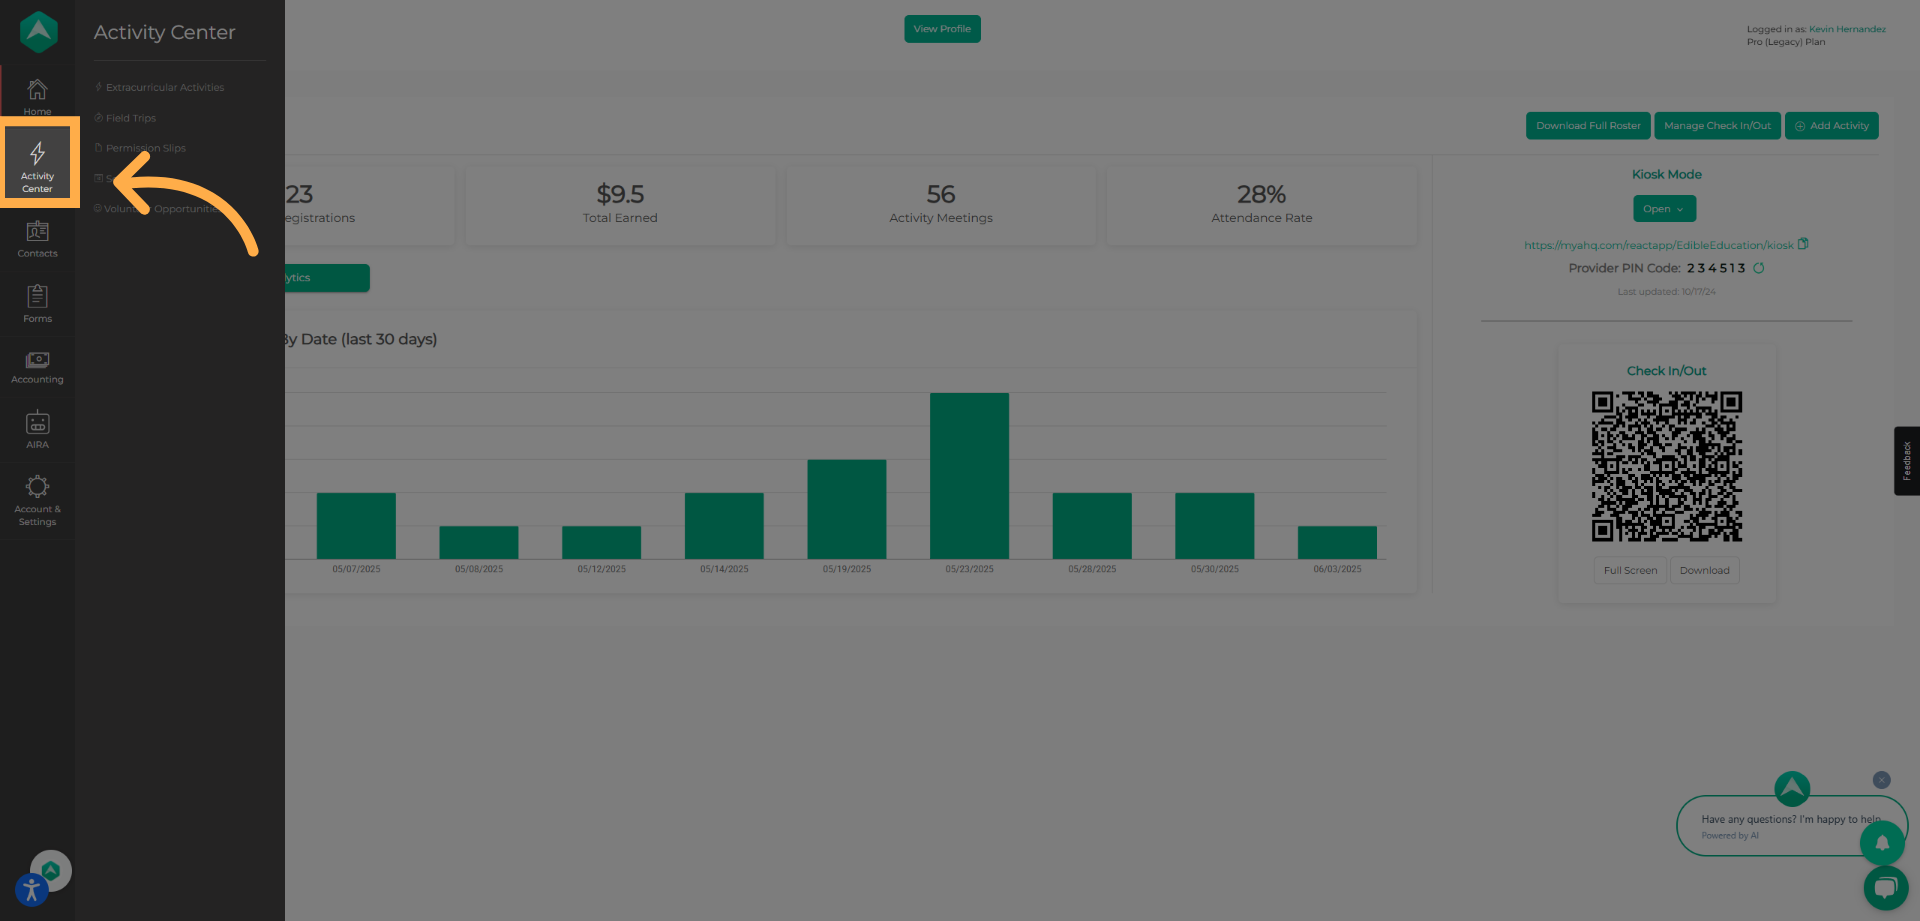
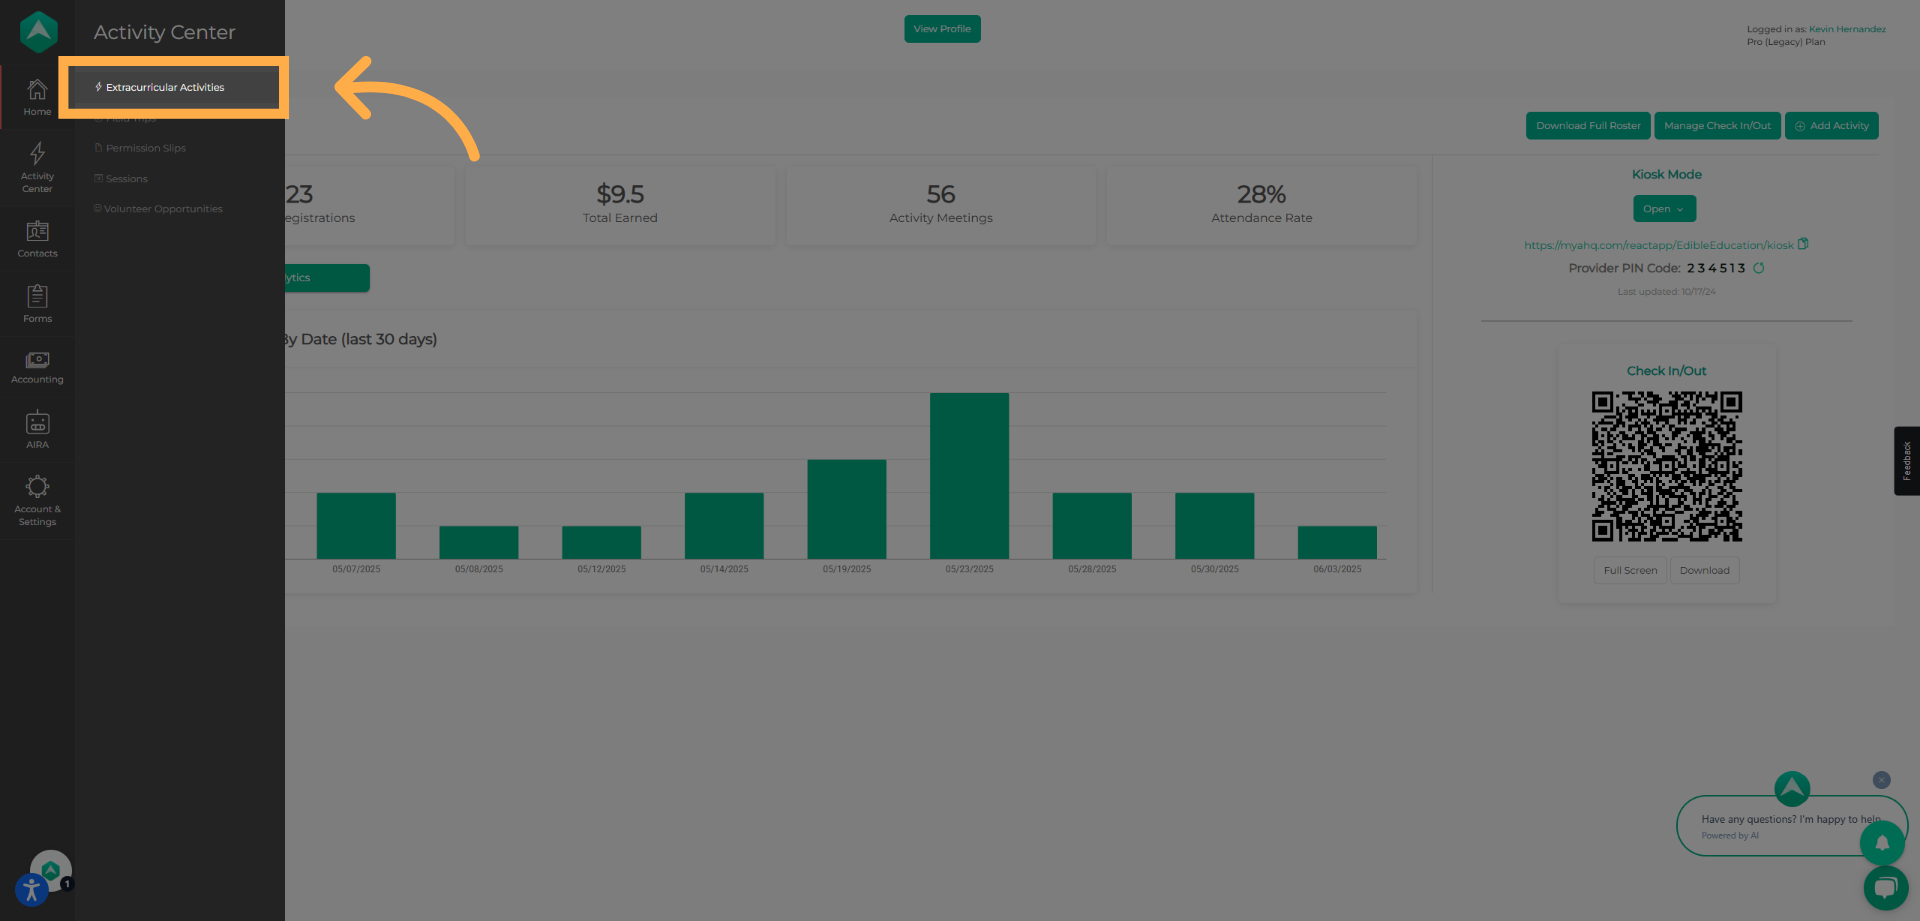
2. Open the Activity Center
From your dashboard, click “Activity Center”, then select Extracurricular Activities to view your existing activities.
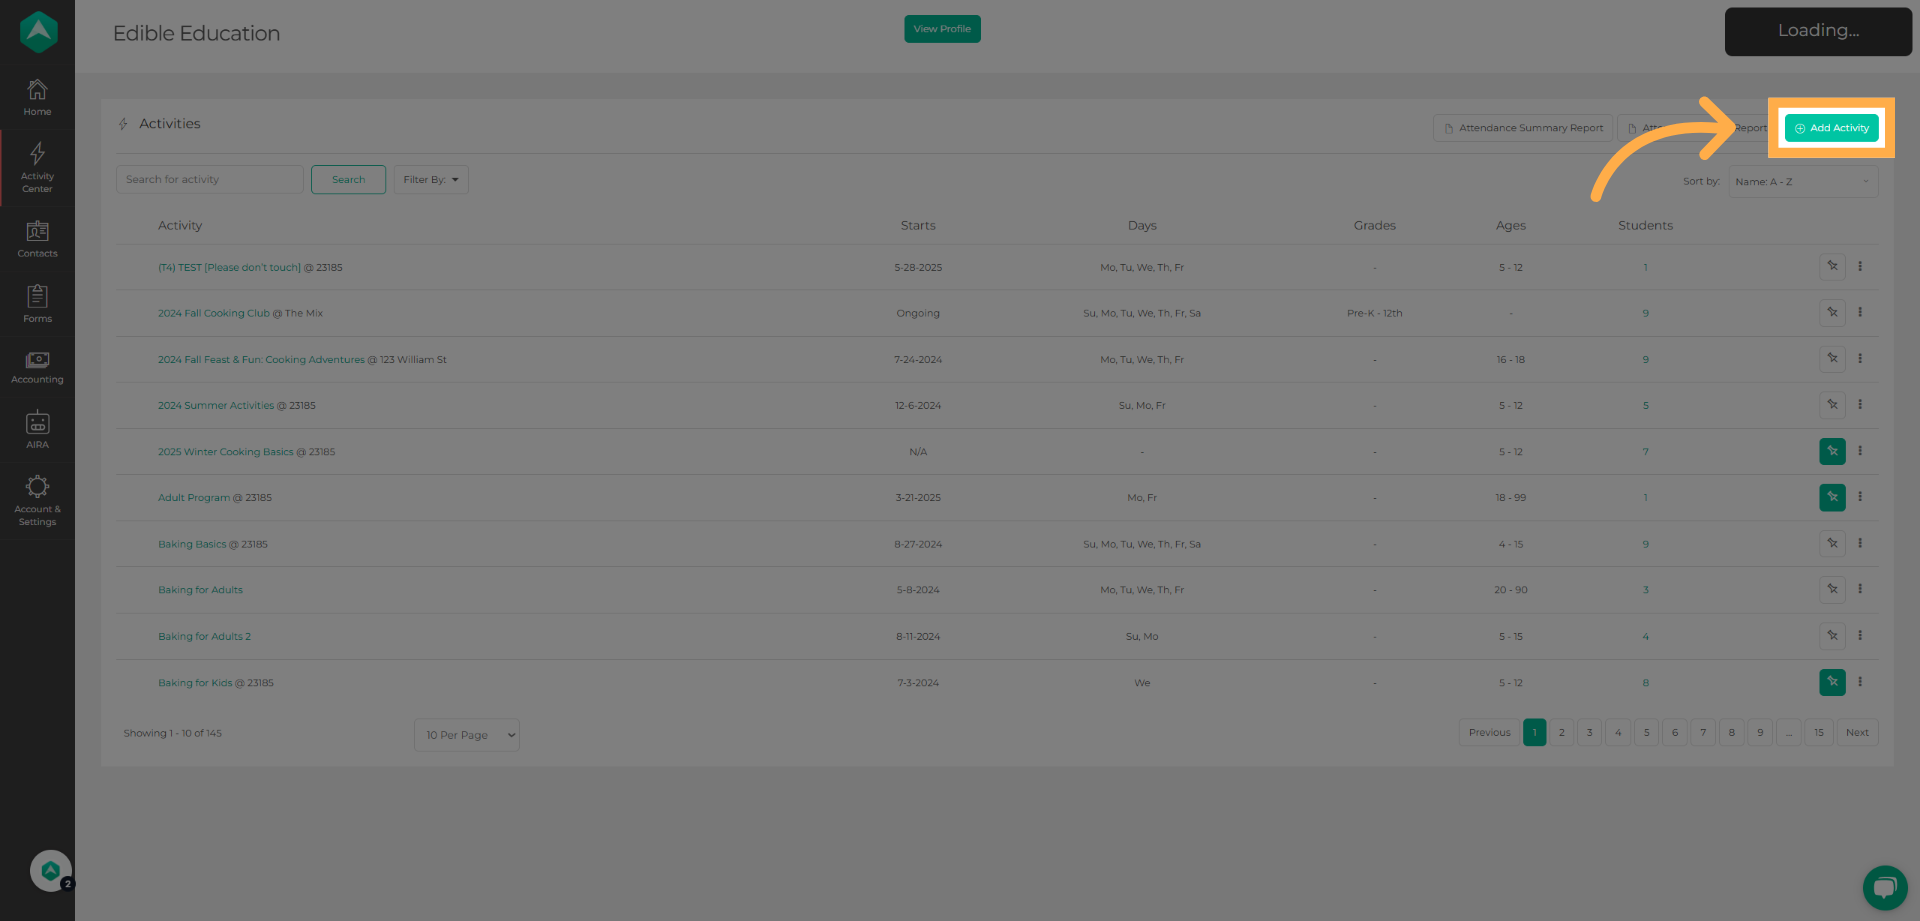
3. Add a New Activity
Click “Add Activity” to begin.
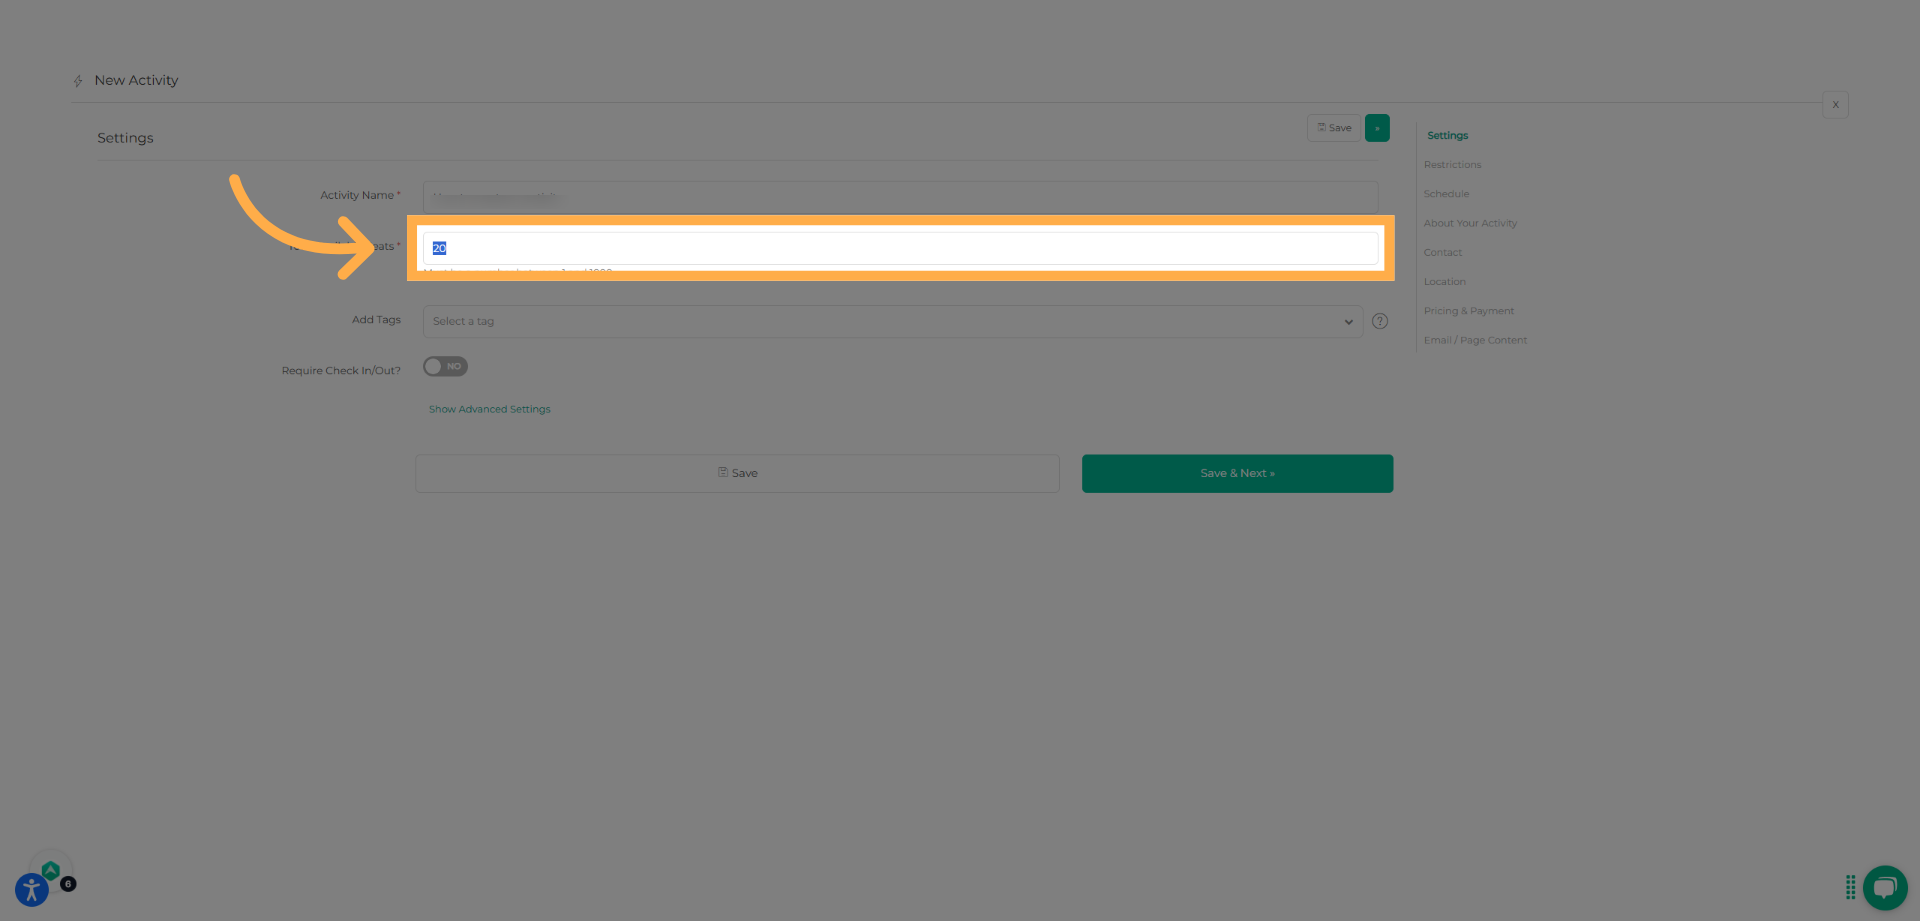
5. Enter Activity Details
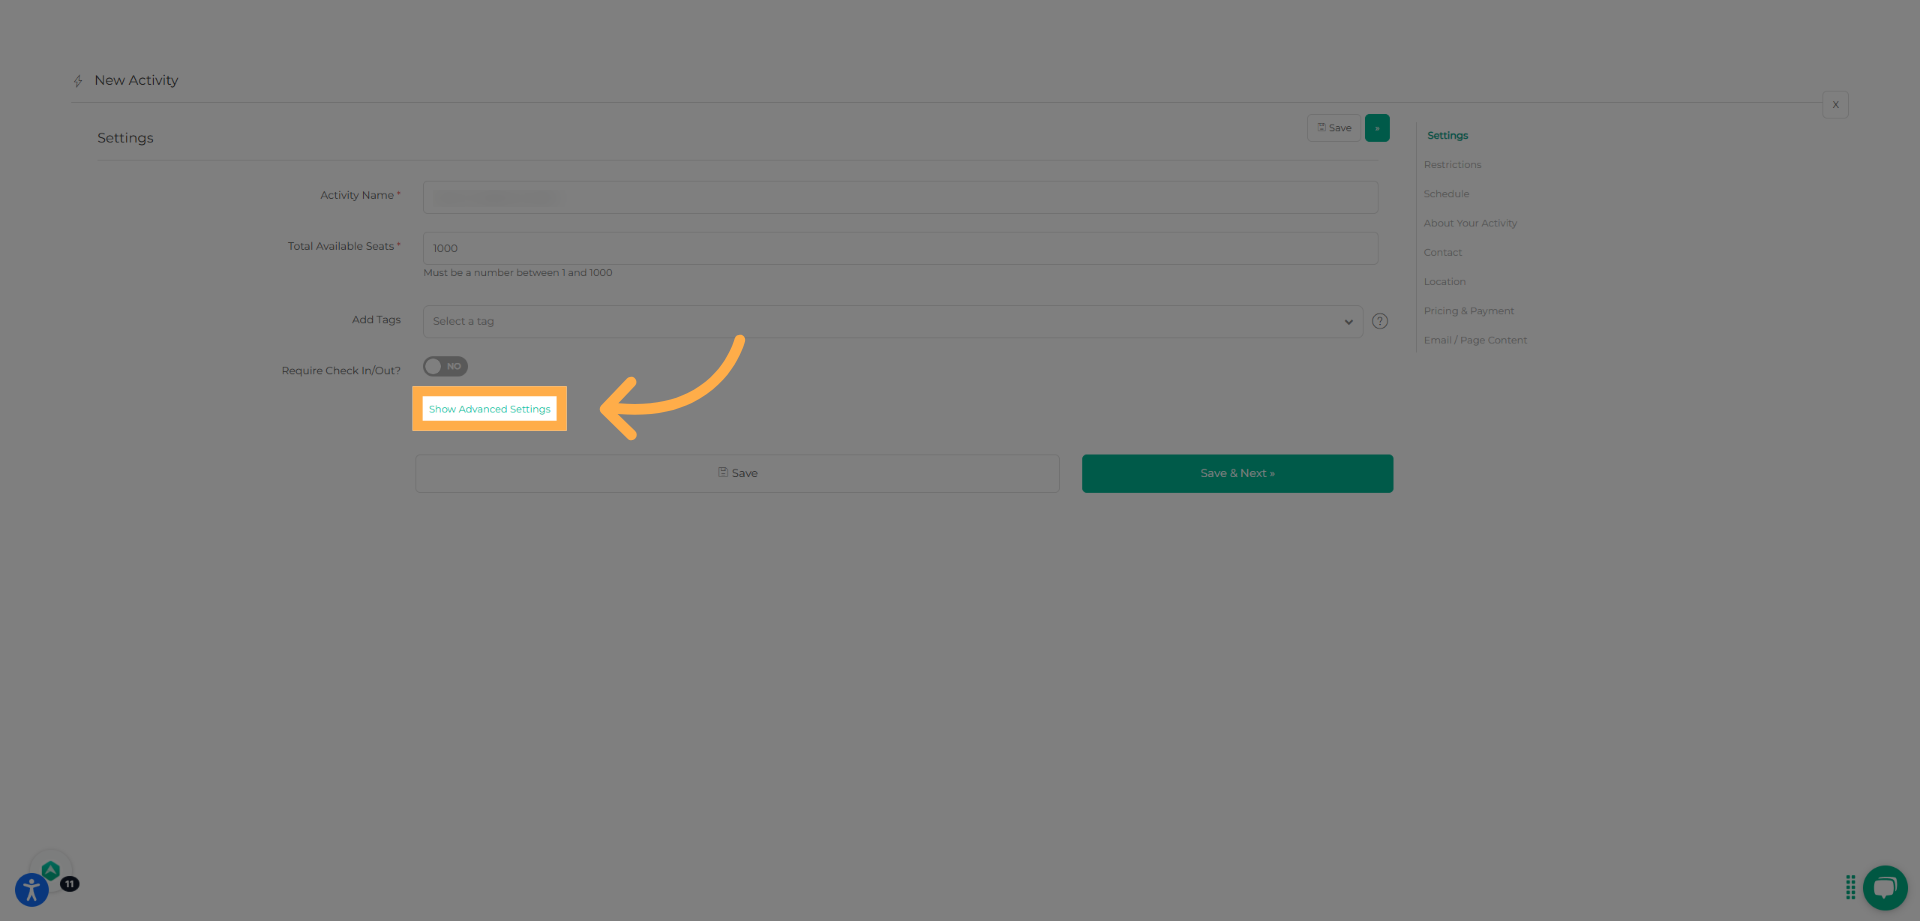
Type the name or title of your activity and enter the number of available seats. If needed, click “Show Advanced Settings” to review additional options, then click “Save & Next”.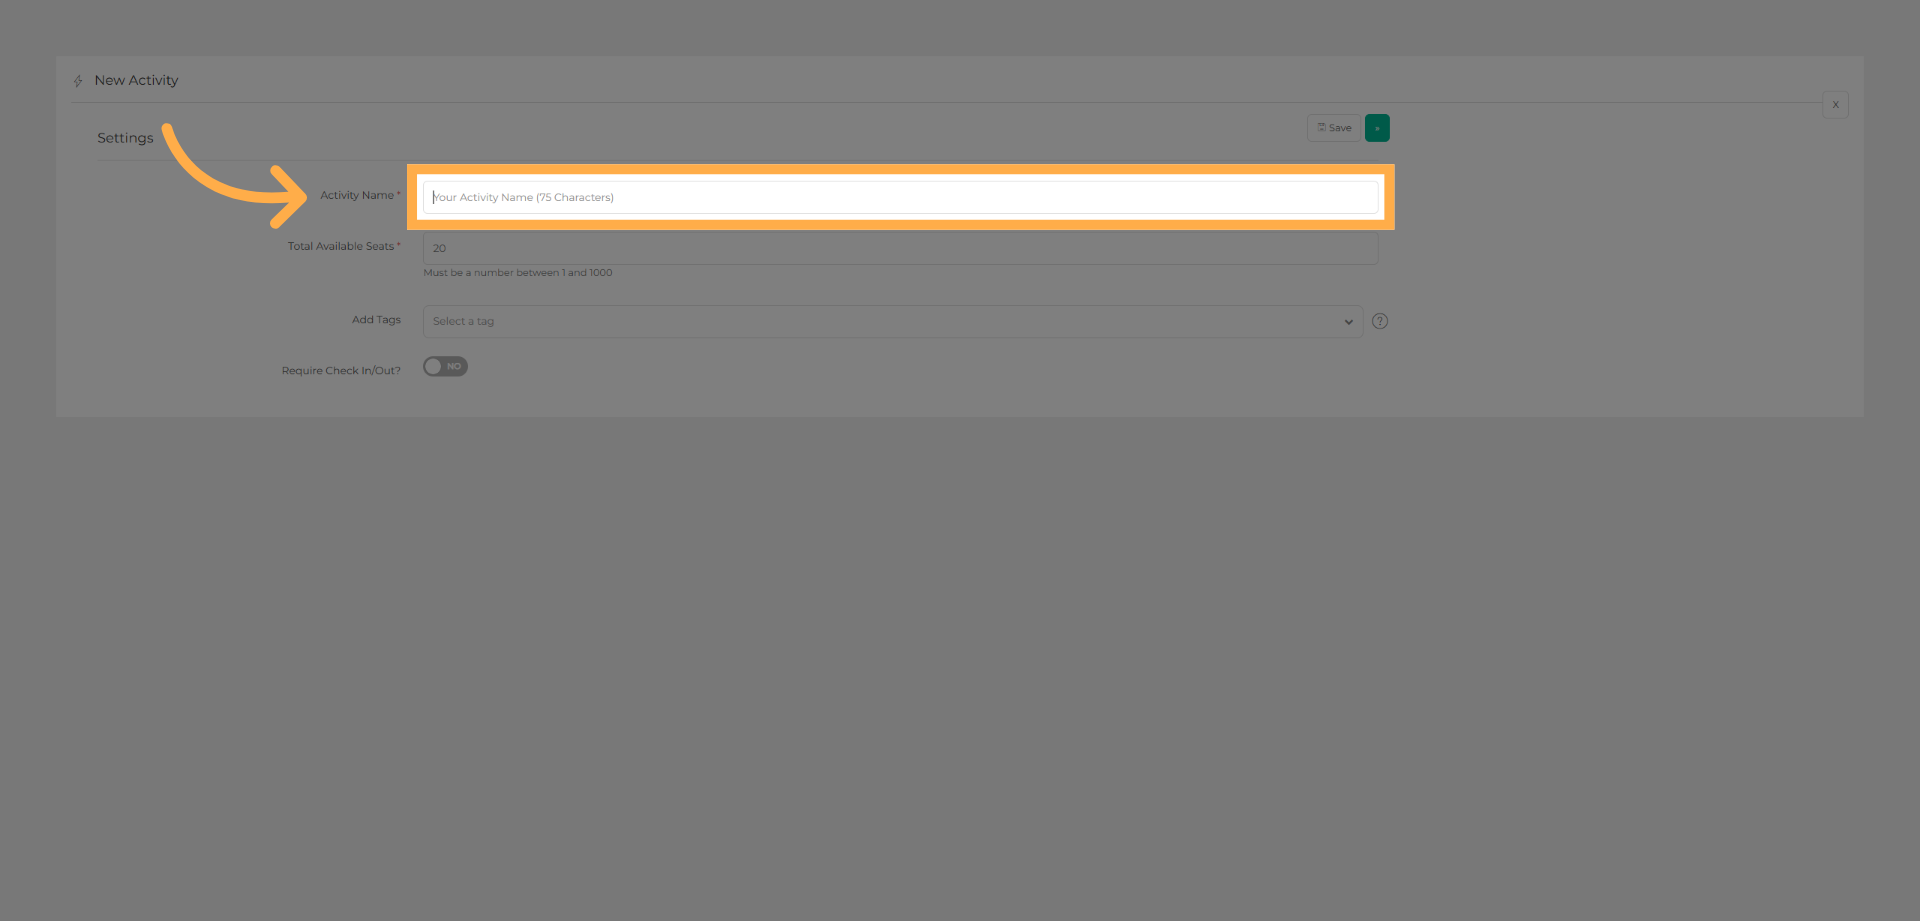
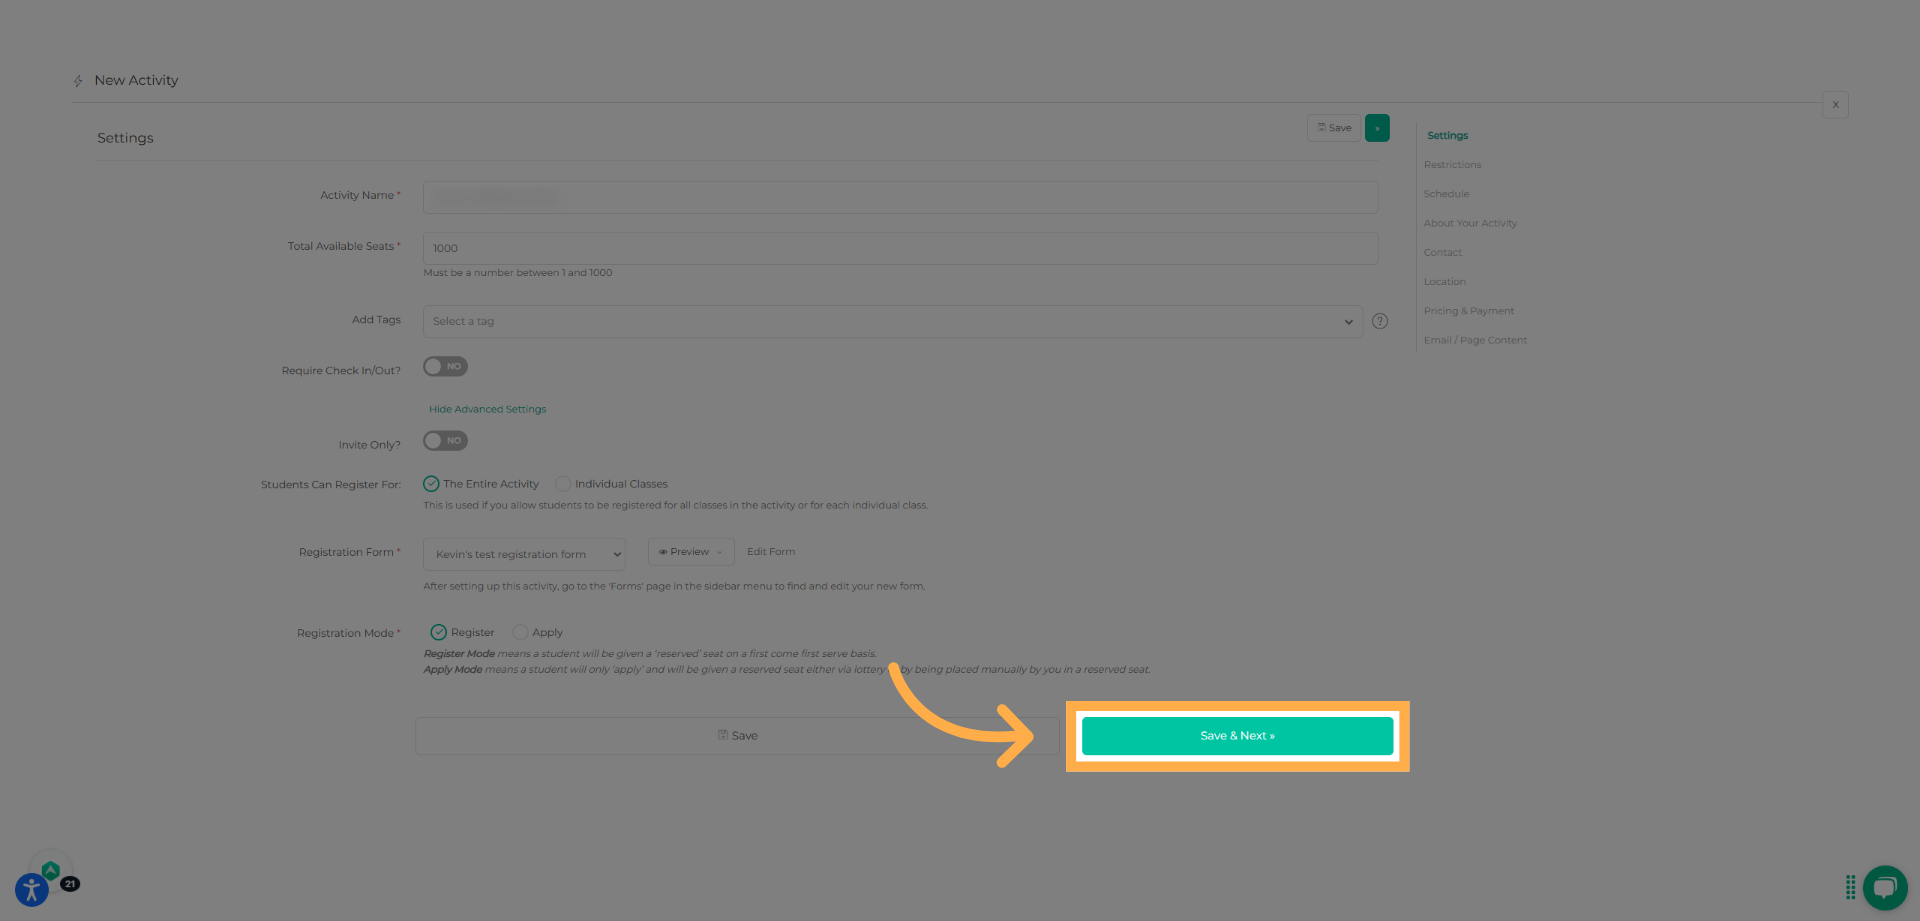
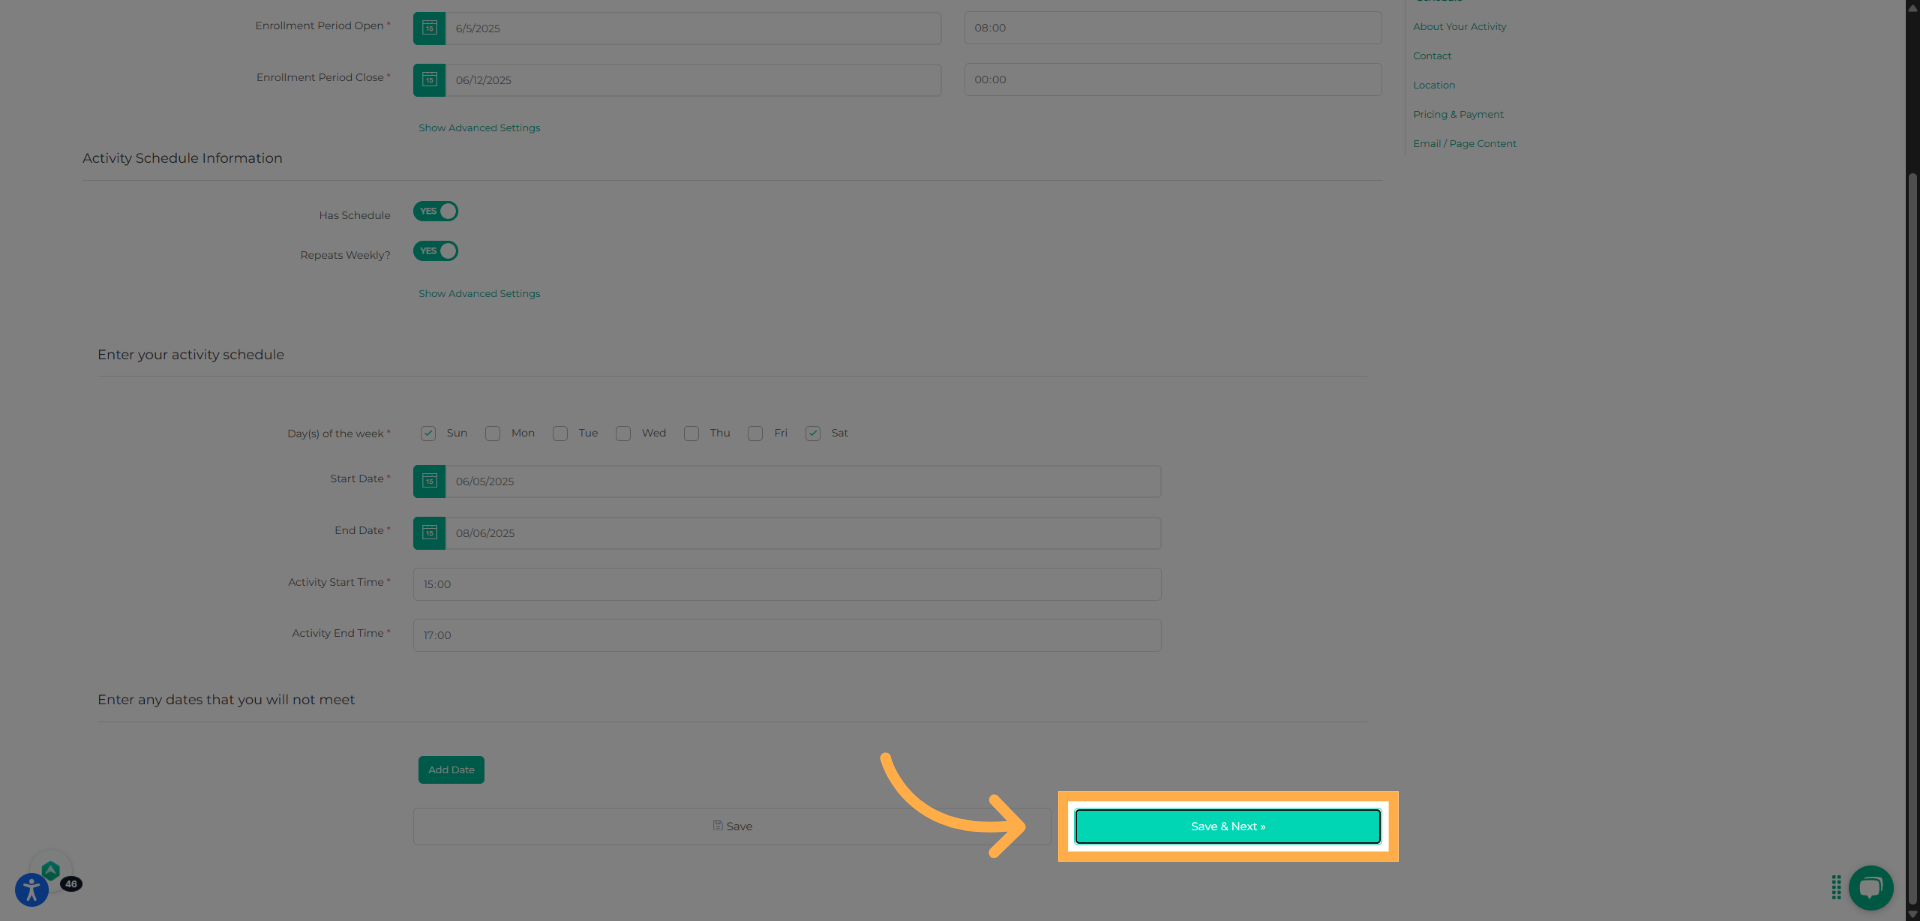
💡 Tip: Always click “Save & Next” after completing each section to avoid losing your progress.
Choose an activity name that includes the grade level, session, or subject to help parents quickly understand what they’re registering for.
8. Set Activity Restrictions
Review the available restriction options to limit your activity by grade level, age group, or gender, if applicable. When finished, click “Save & Next”.
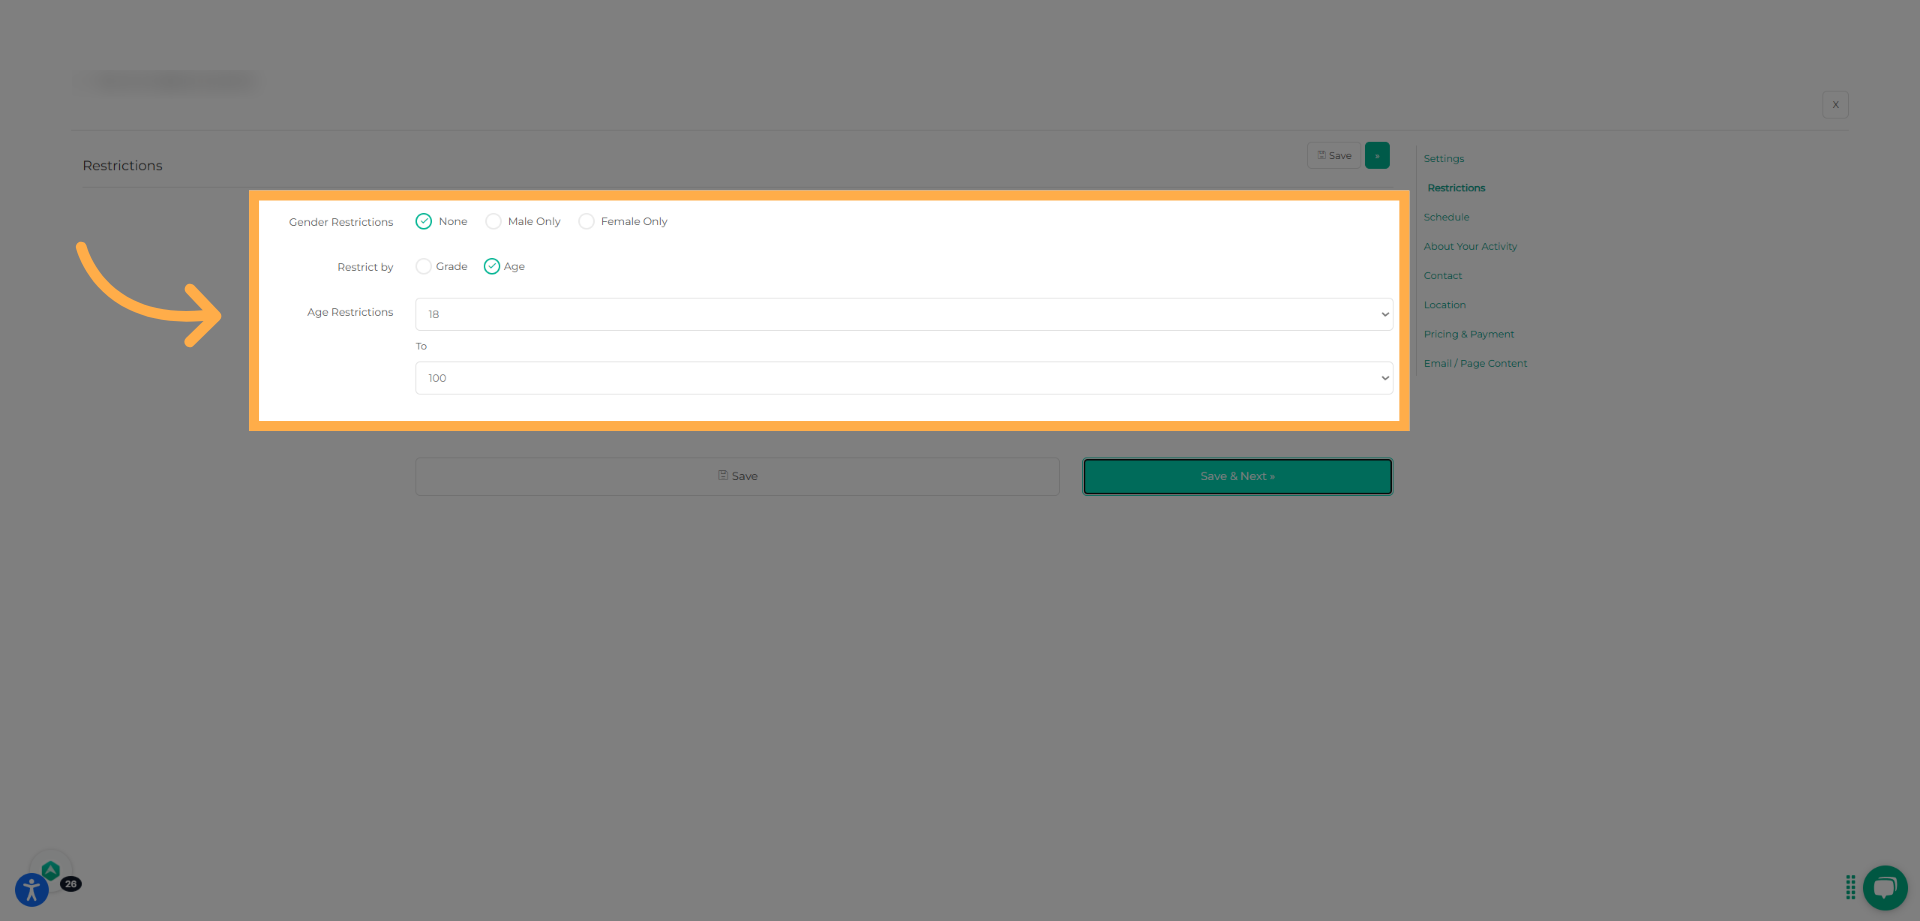
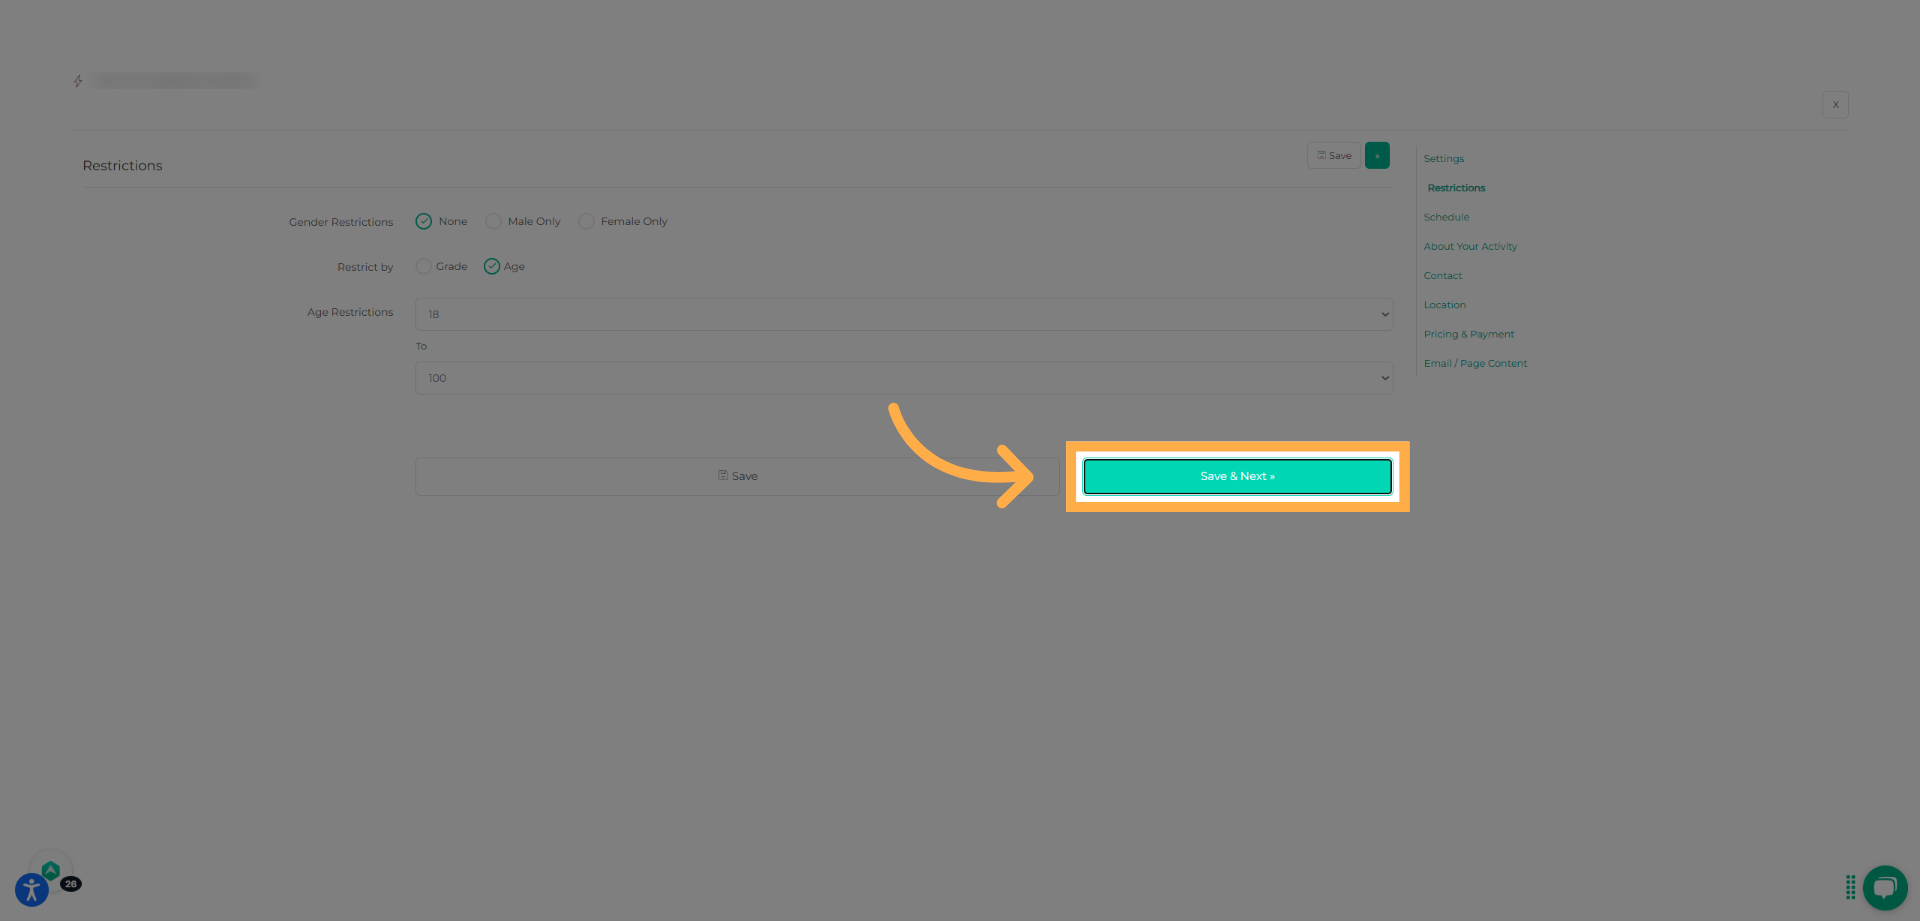
💡 Tip: Grade, age, and gender restrictions help ensure students are placed in the correct activity and prevent registration errors.
9. Set Enrollment Period
Select the start and end dates for when families can register for the activity, then click “Save & Next.”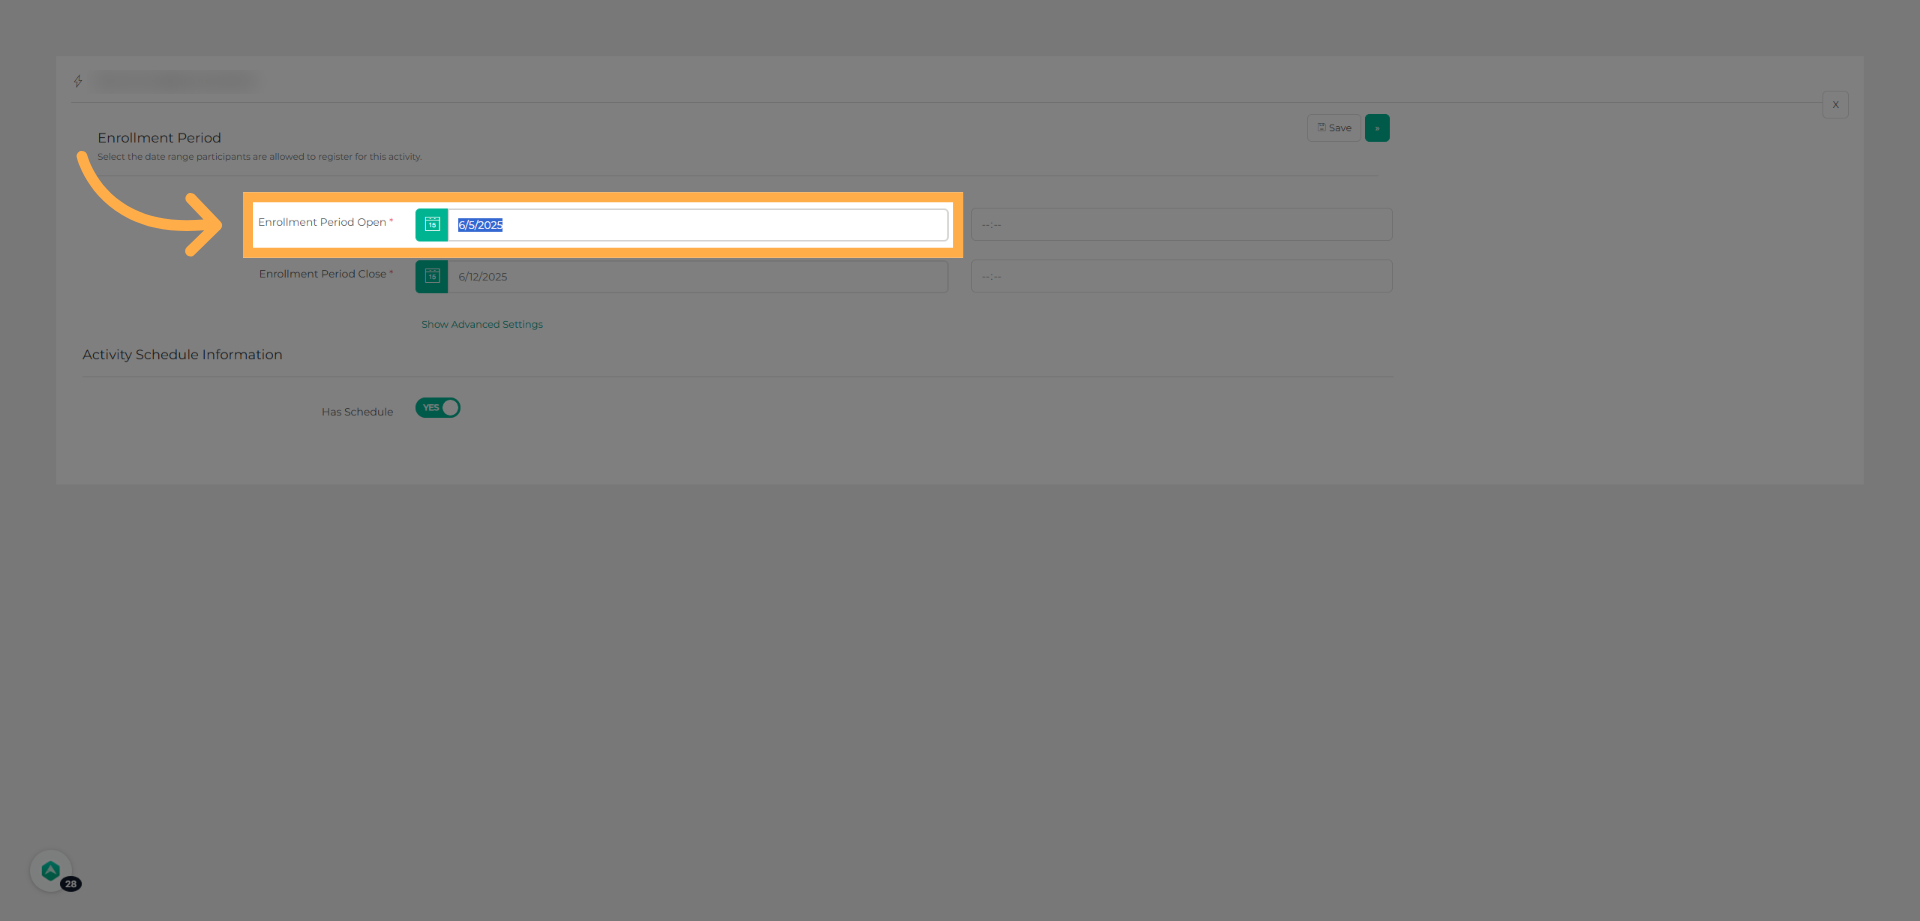

💡 Tip: If the enrollment period has ended or hasn’t started yet, parents won’t be able to register.
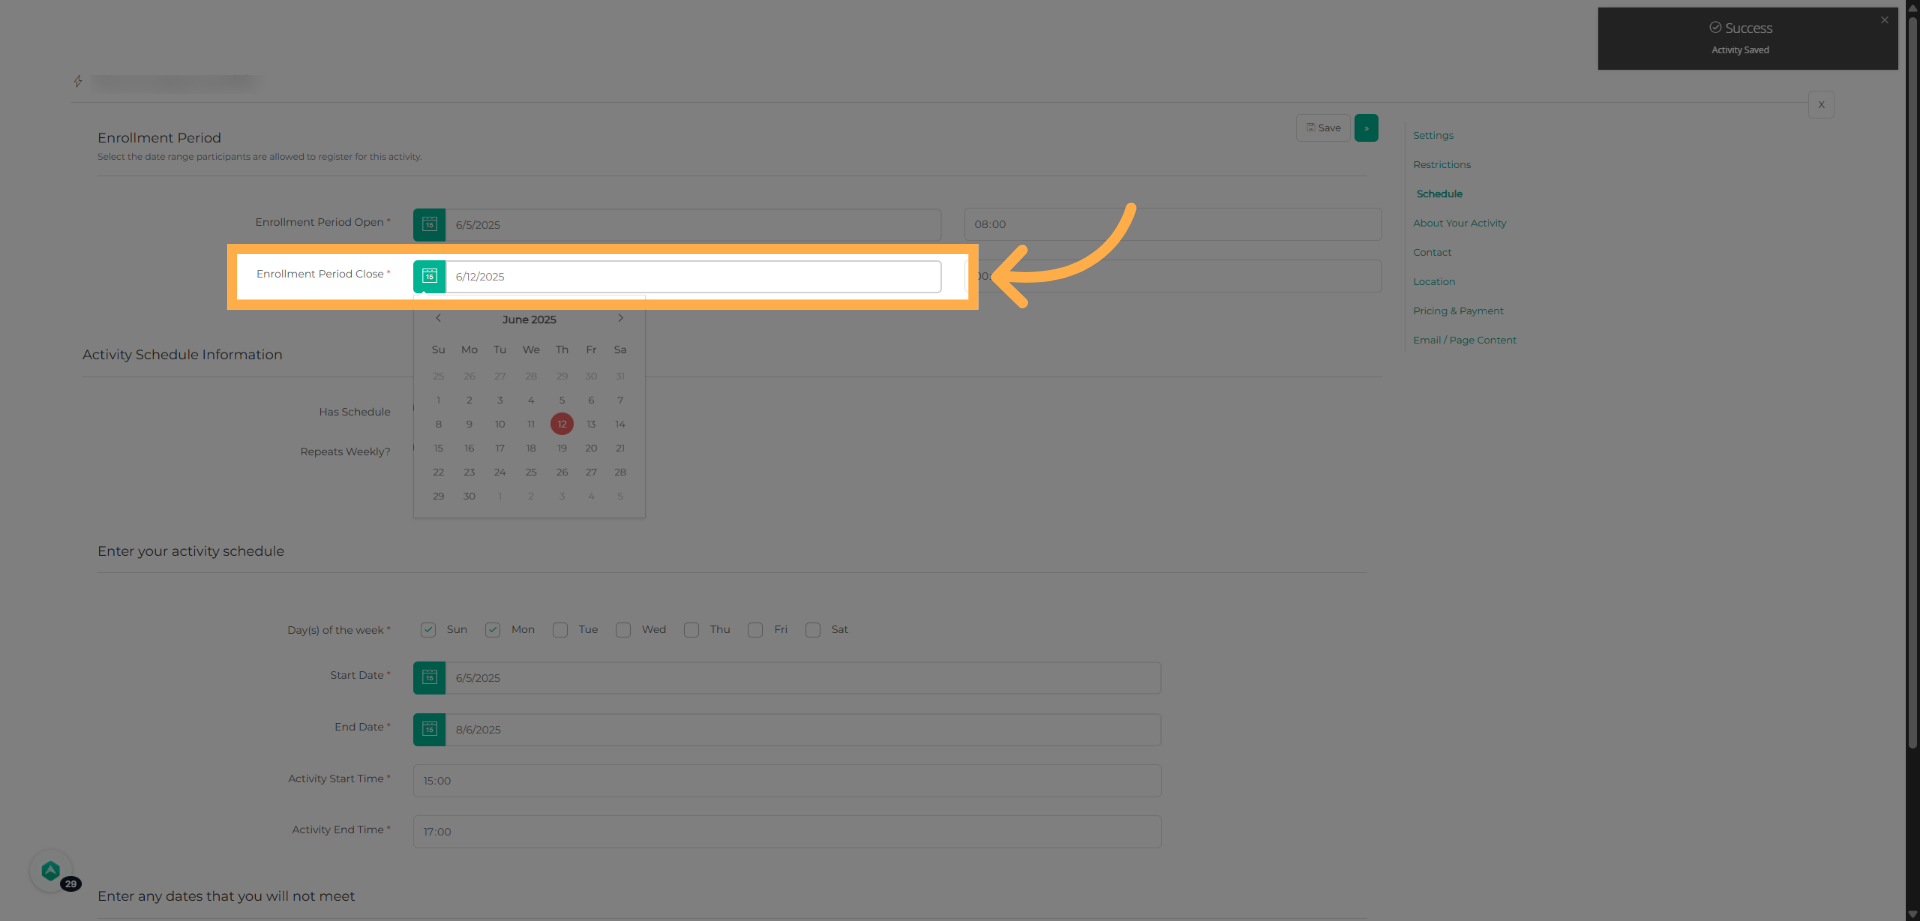
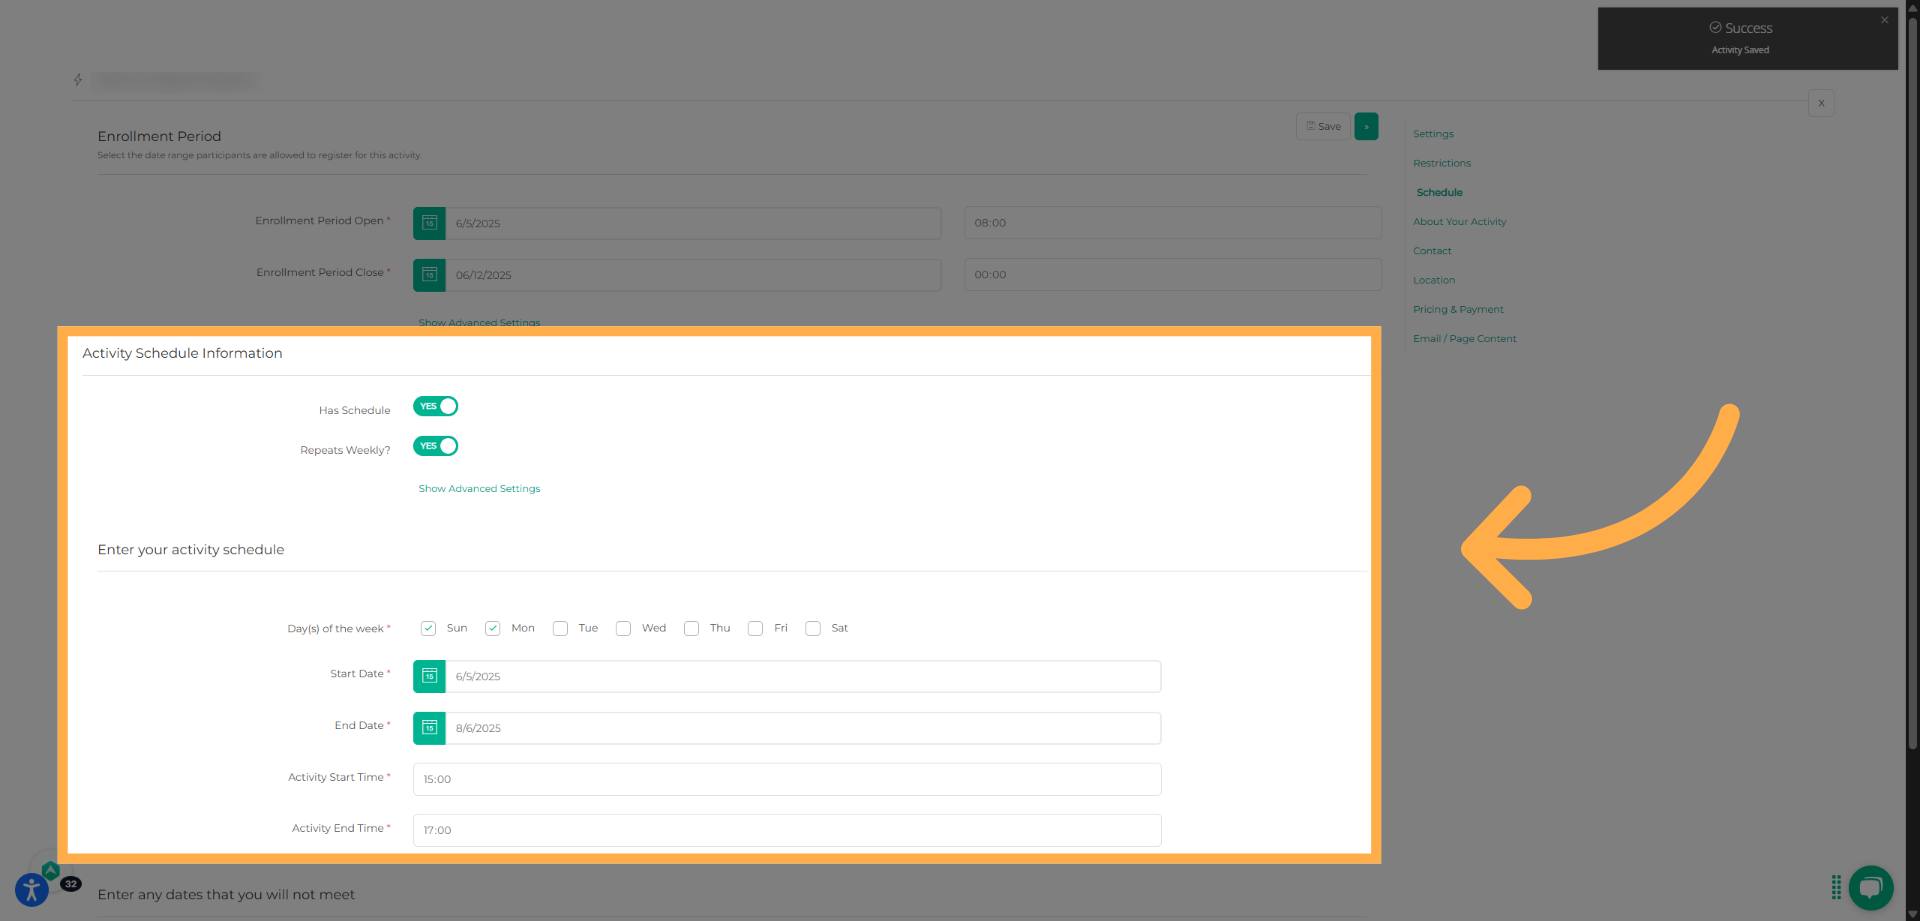
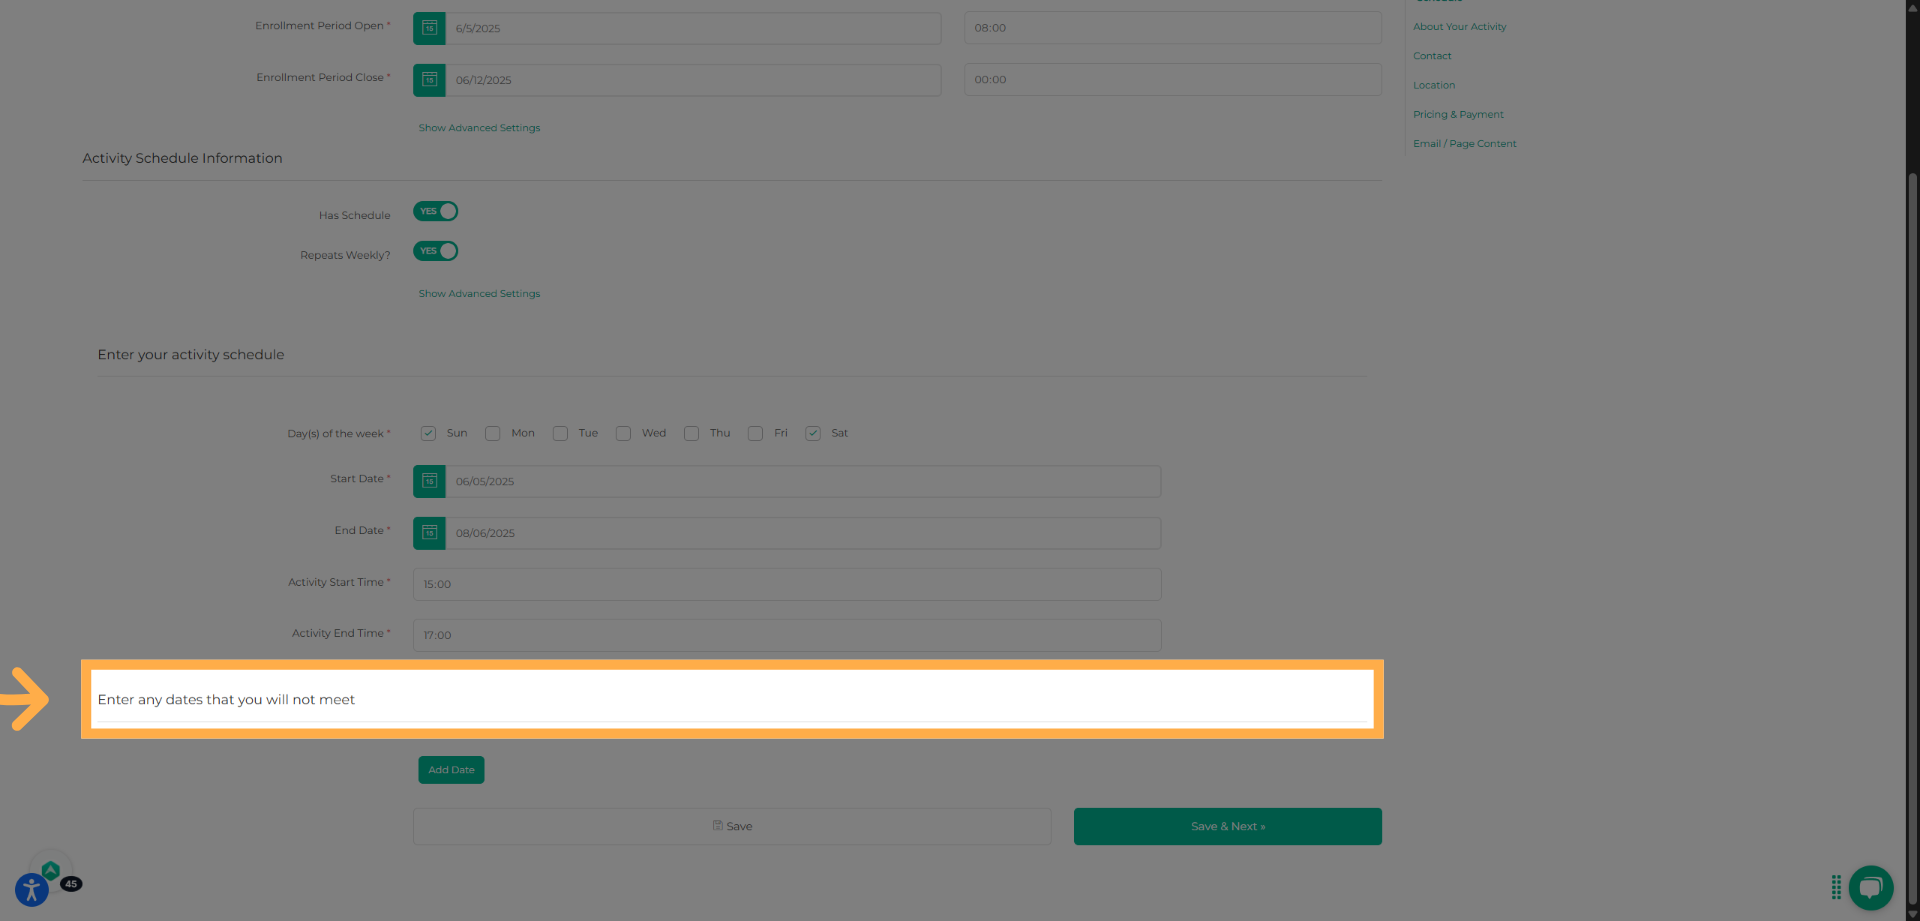
10. Add Activity Schedule
Enter the schedule details for your activity, including meeting days and times. If there are dates when the activity will not meet, add them to keep families informed. Click “Save & Next” when finished.
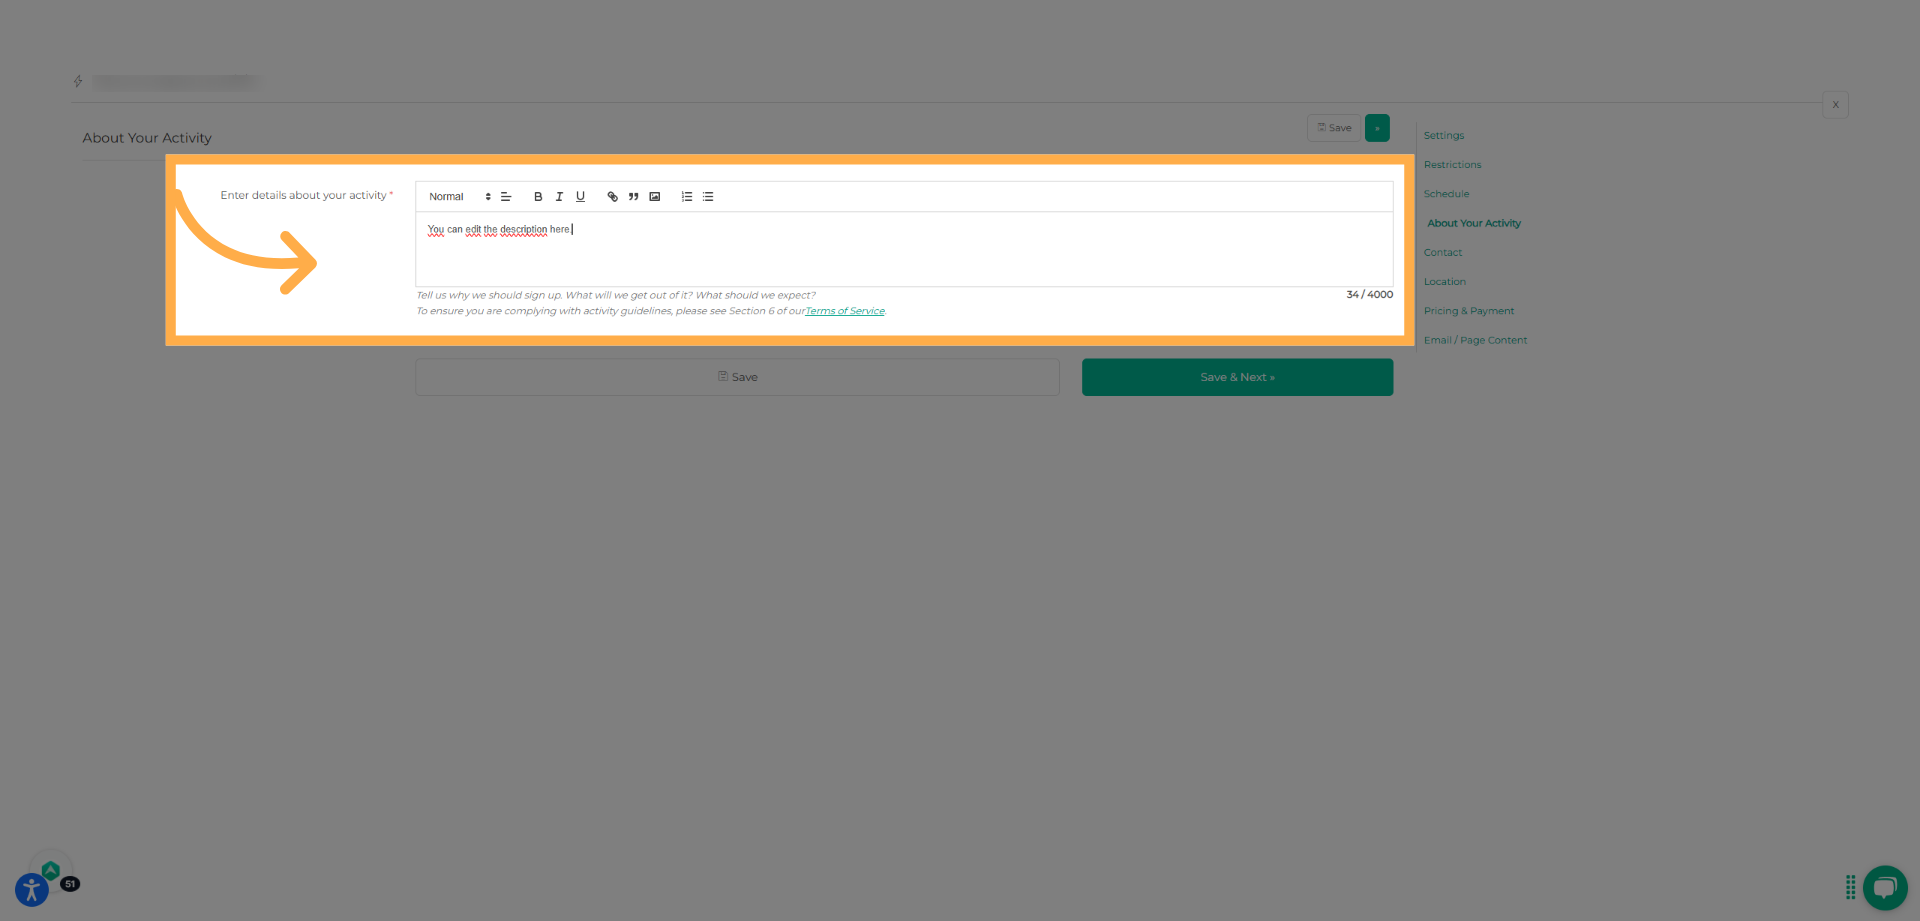
11. Add Activity Description
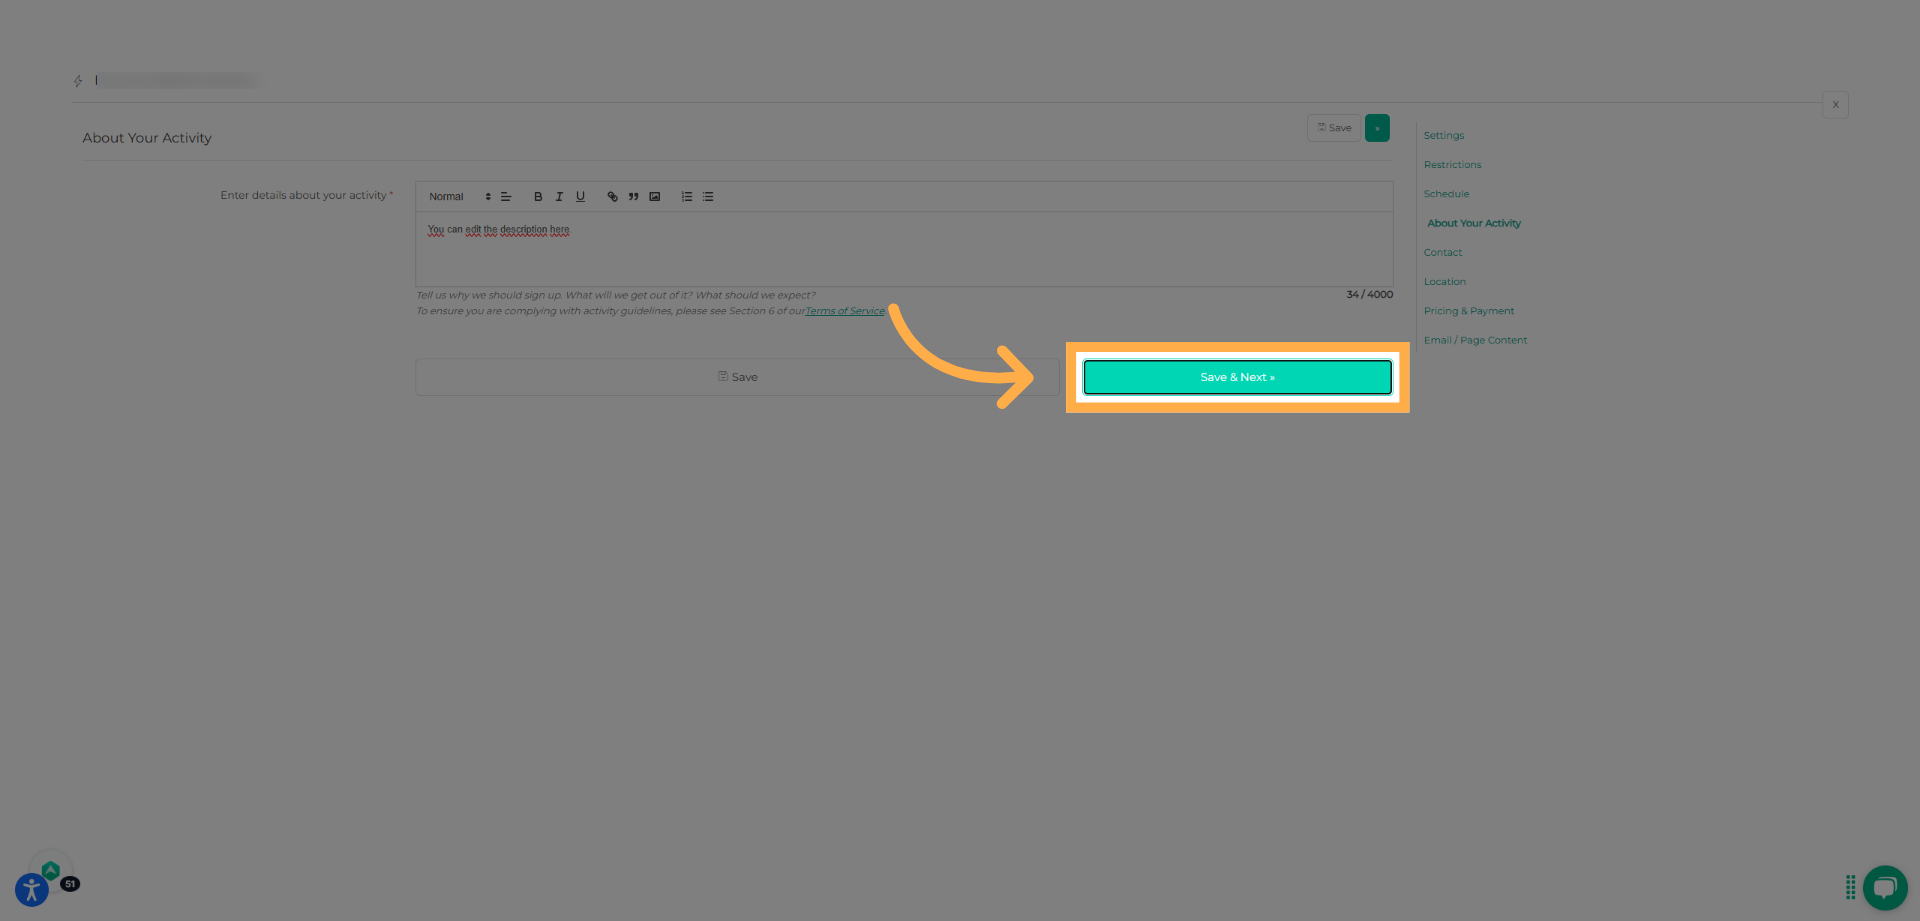
Write a description of your activity. You can format the text or upload an image, such as a flyer, to provide additional details. Click “Save & Next”.
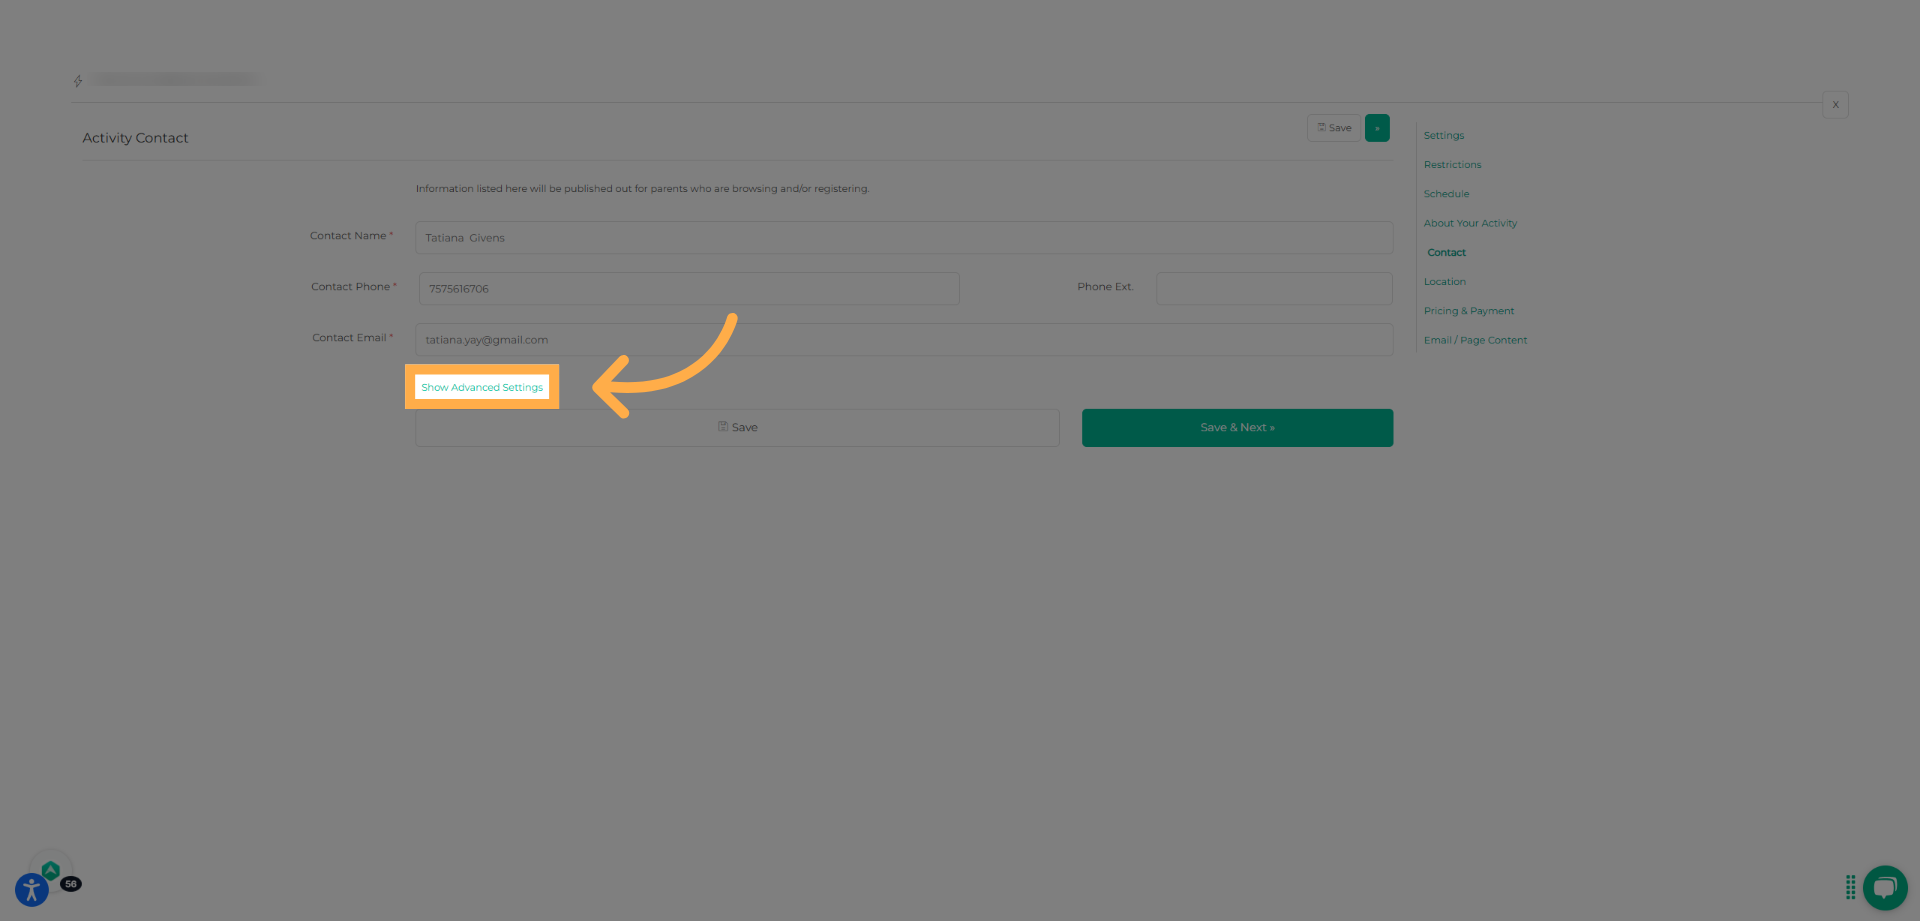
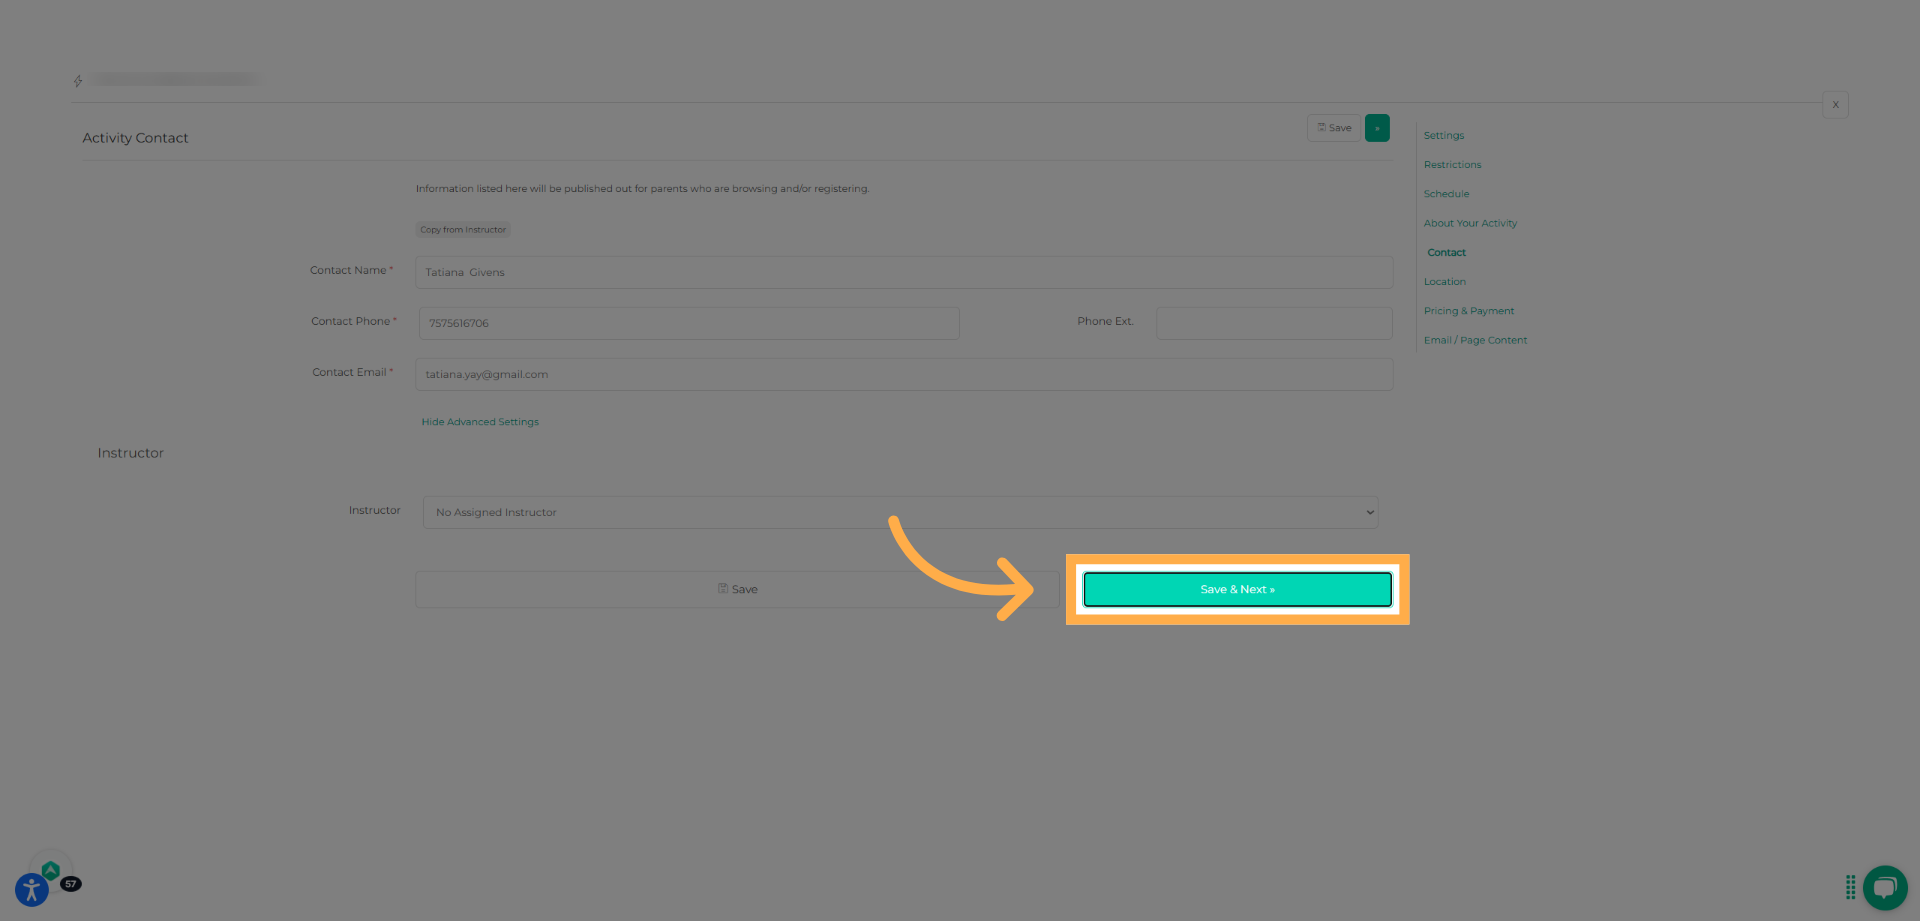
12. Add Contact Information
Enter the contact details for the person managing the activity. This information will be visible on your public activity page. Click “Save & Next” to continue.
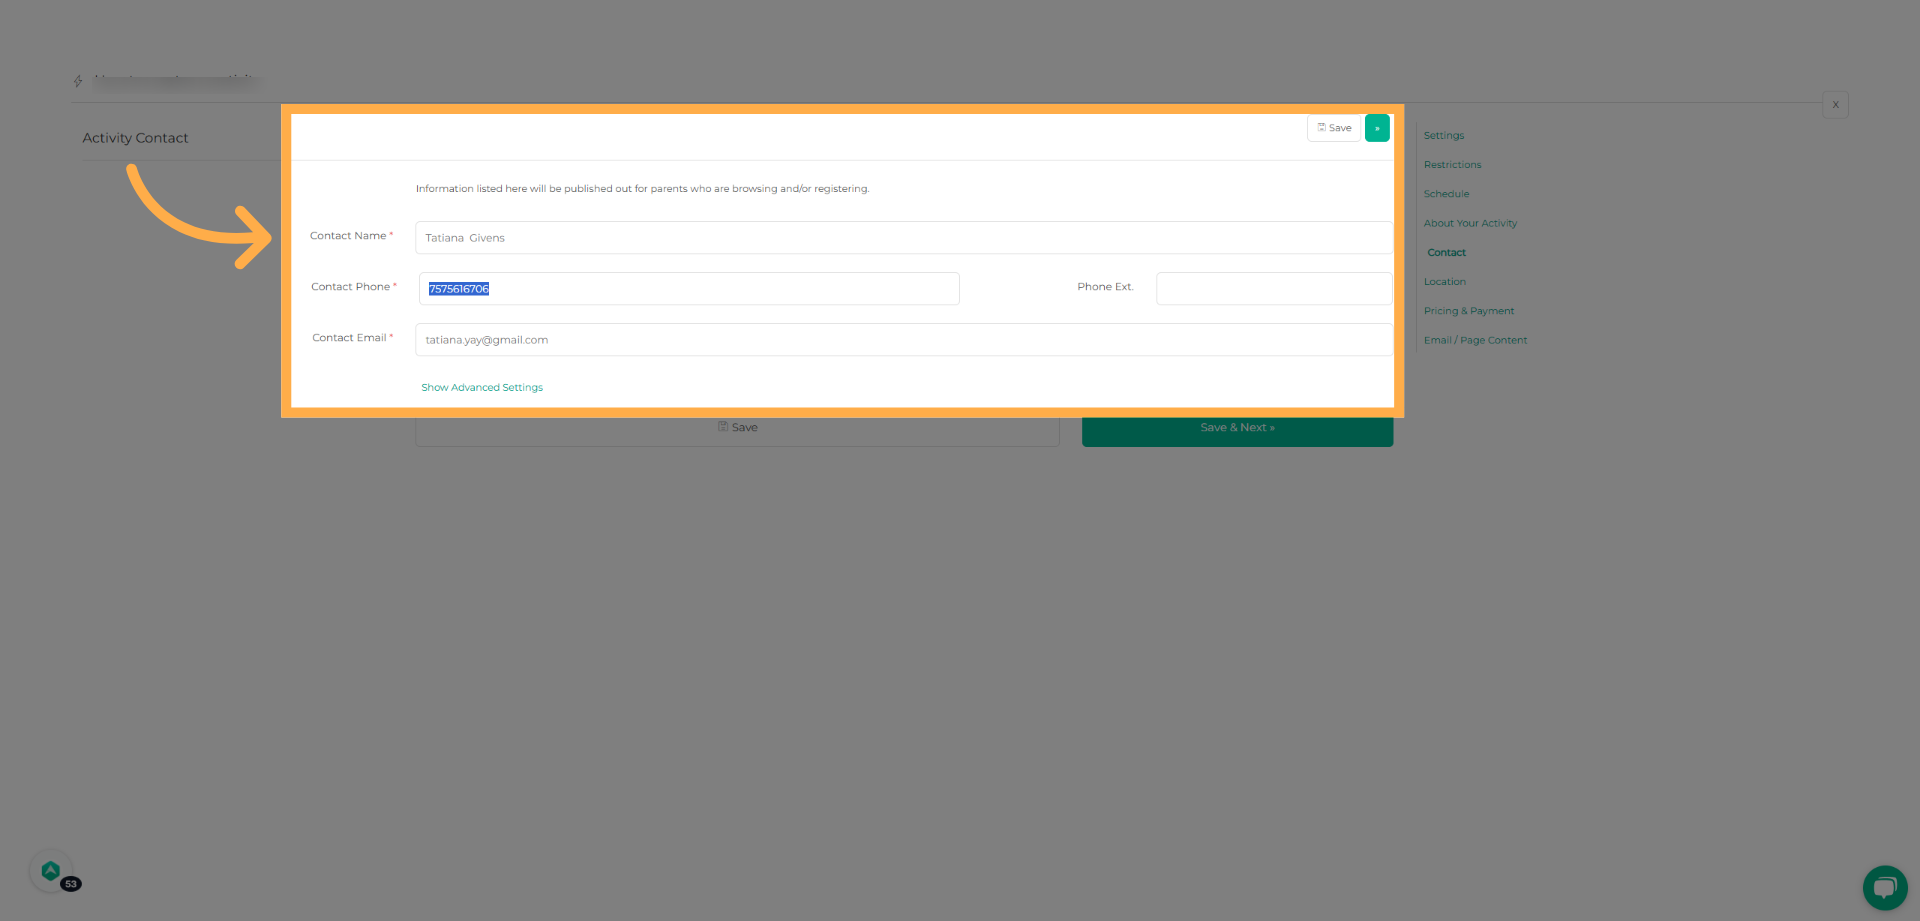
💡 Tip: The contact details you enter are visible to parents, so make sure they point to the best person for questions.
Use “Save & Review” to confirm schedules, pricing, and descriptions before publishing your activity.
13. Review Advanced Settings (Optional)
Click “Show Advanced Settings” if additional details apply. Click “Save & Next” to continue.
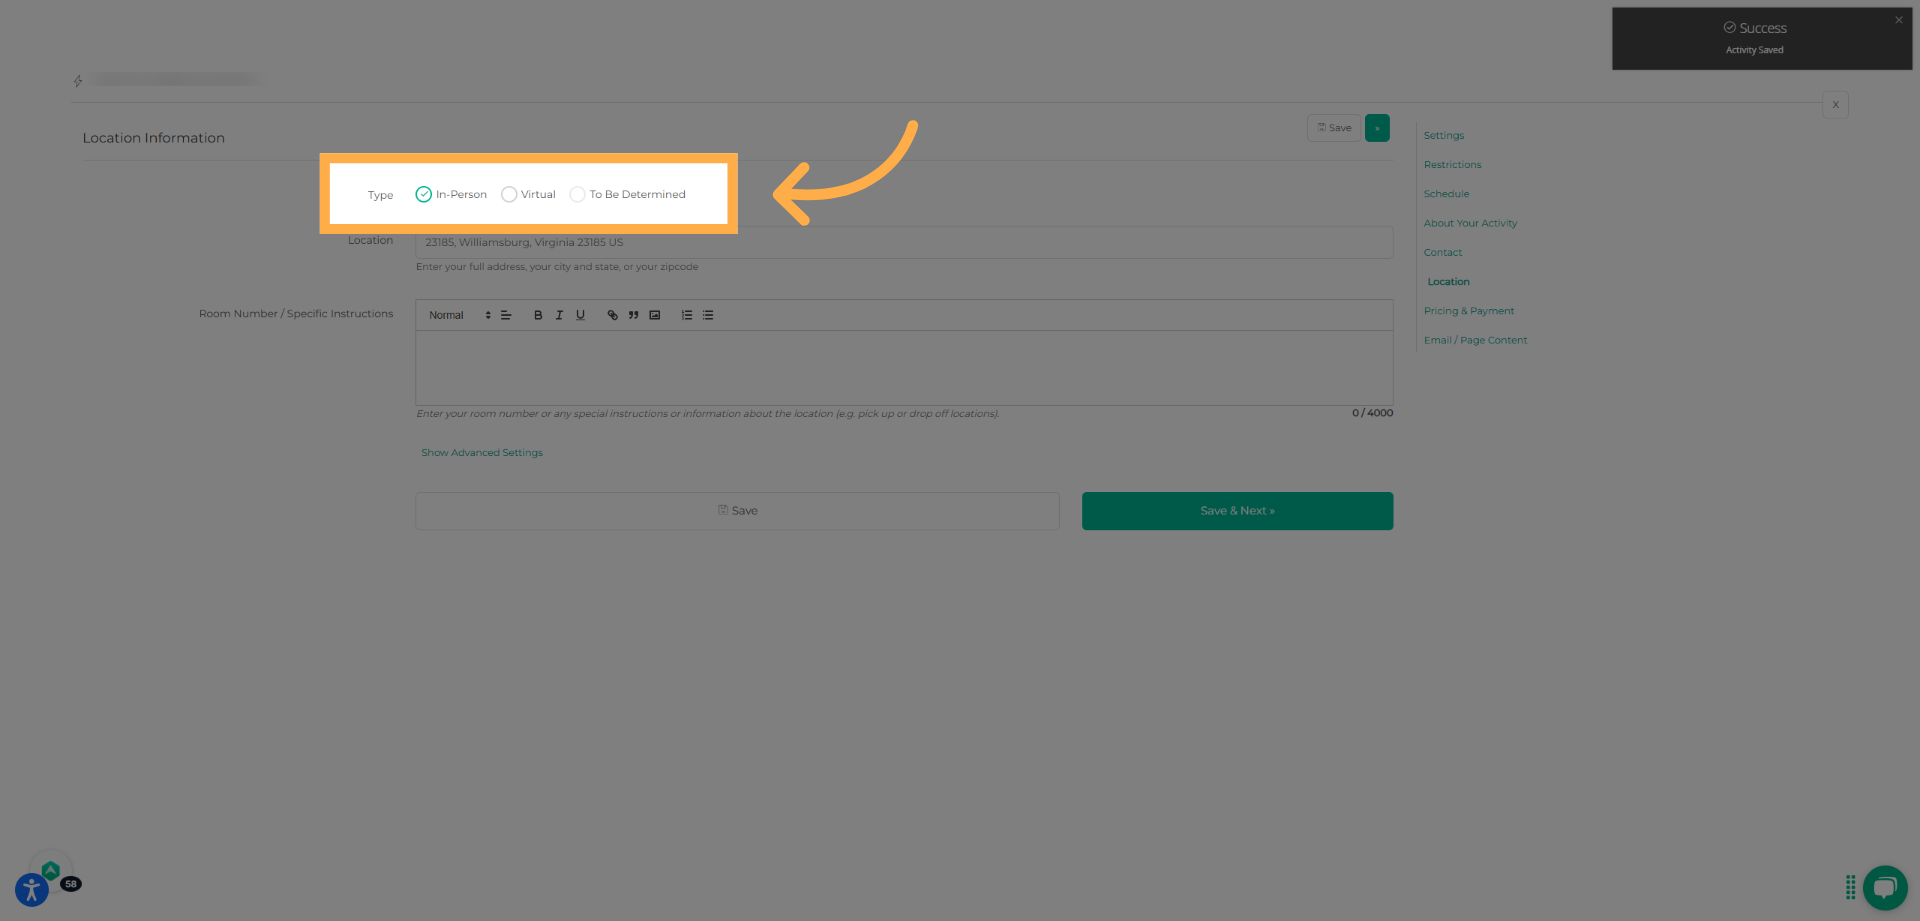
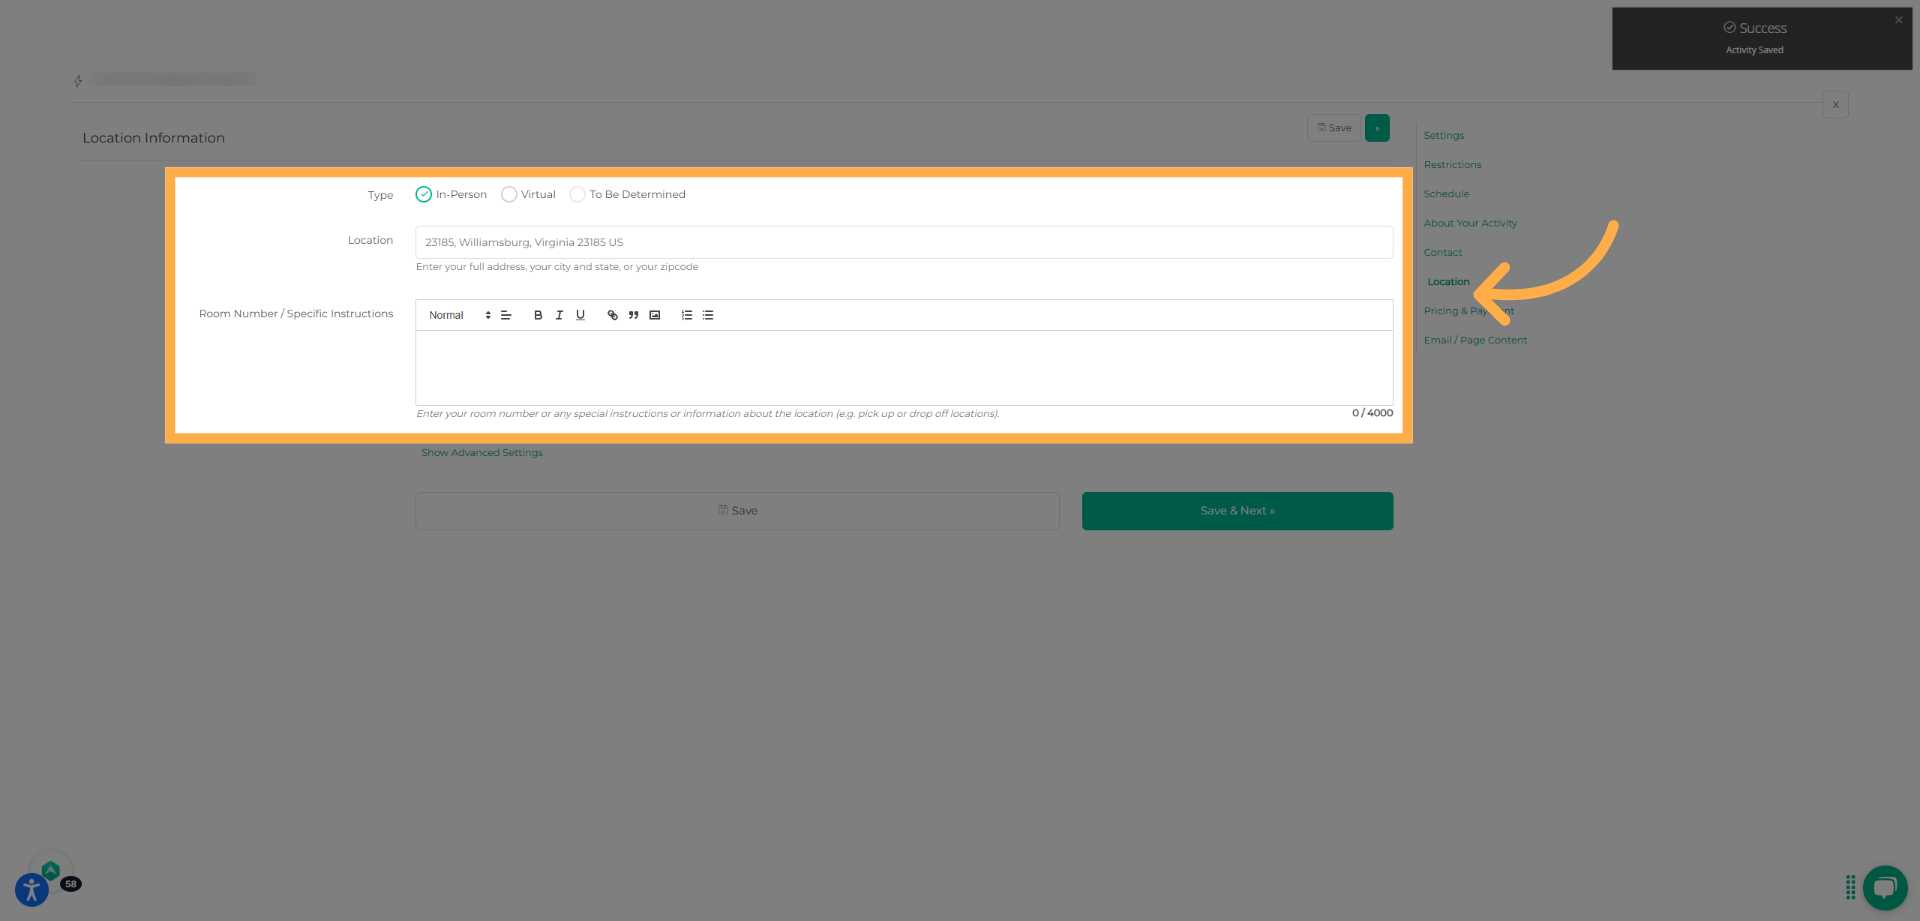
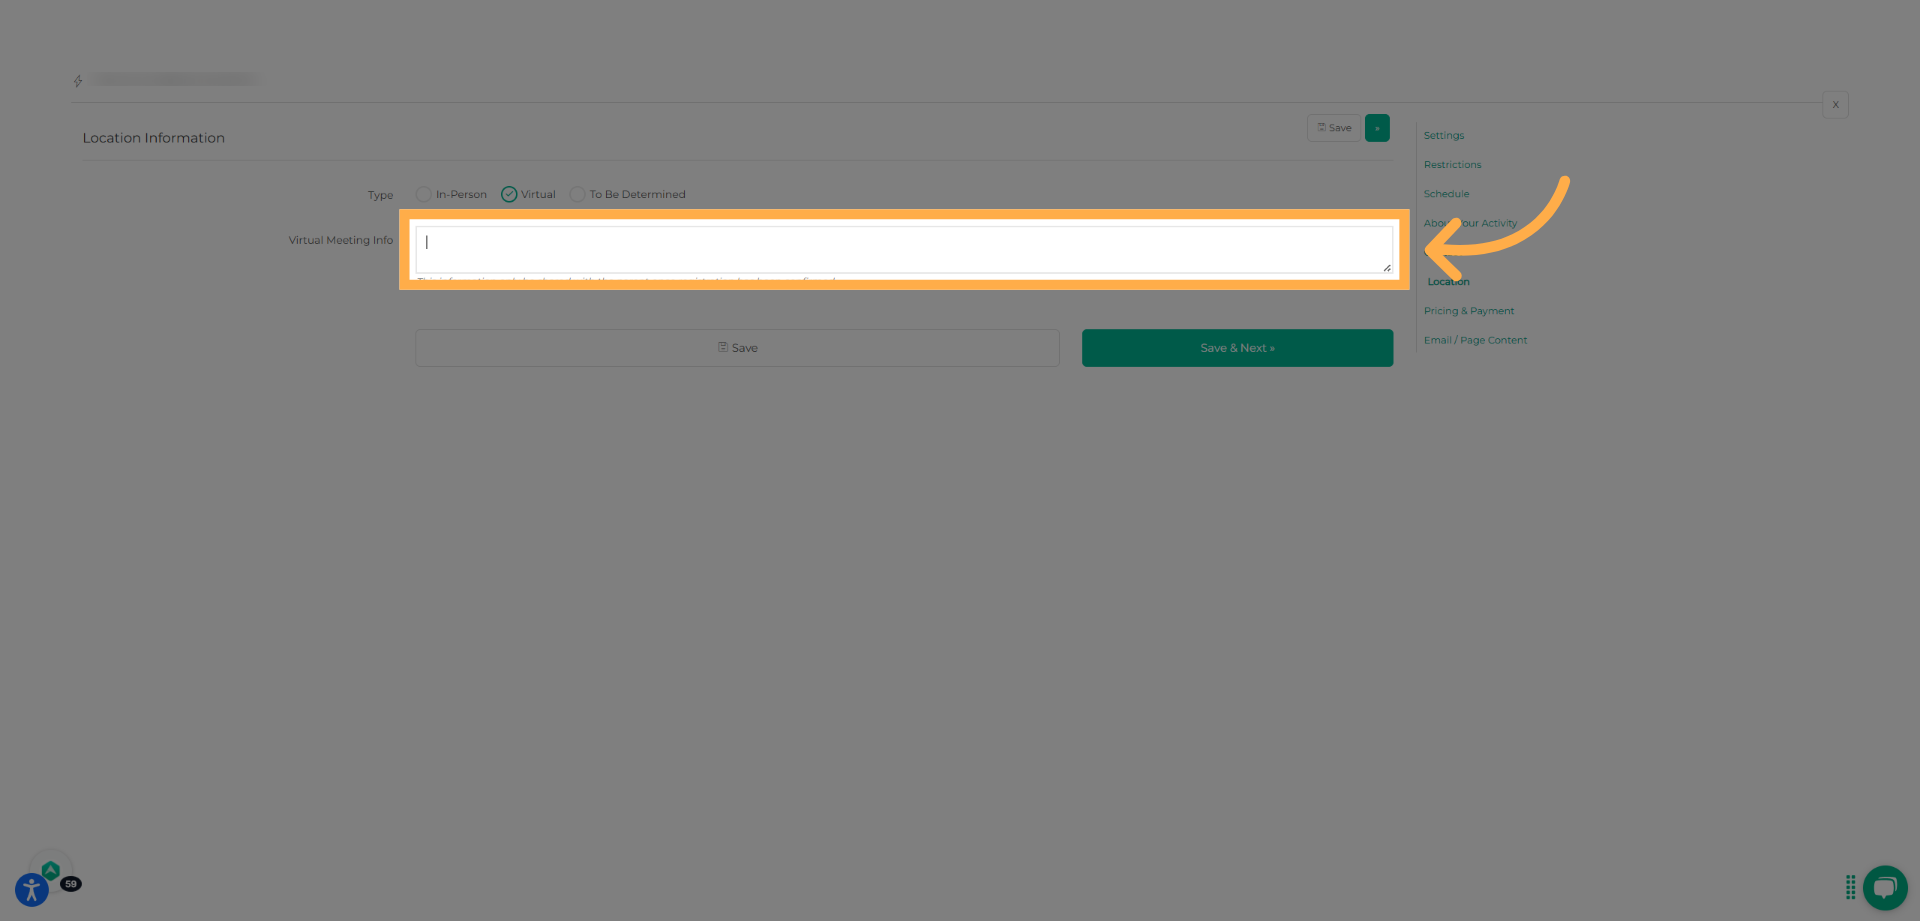
14. Choose Location Type
Select whether the activity is in-person or virtual.

15. Add Location Details
For in-person activities, enter the address and any special instructions. For virtual activities, add the meeting link or access details. Click “Save & Next” when done.
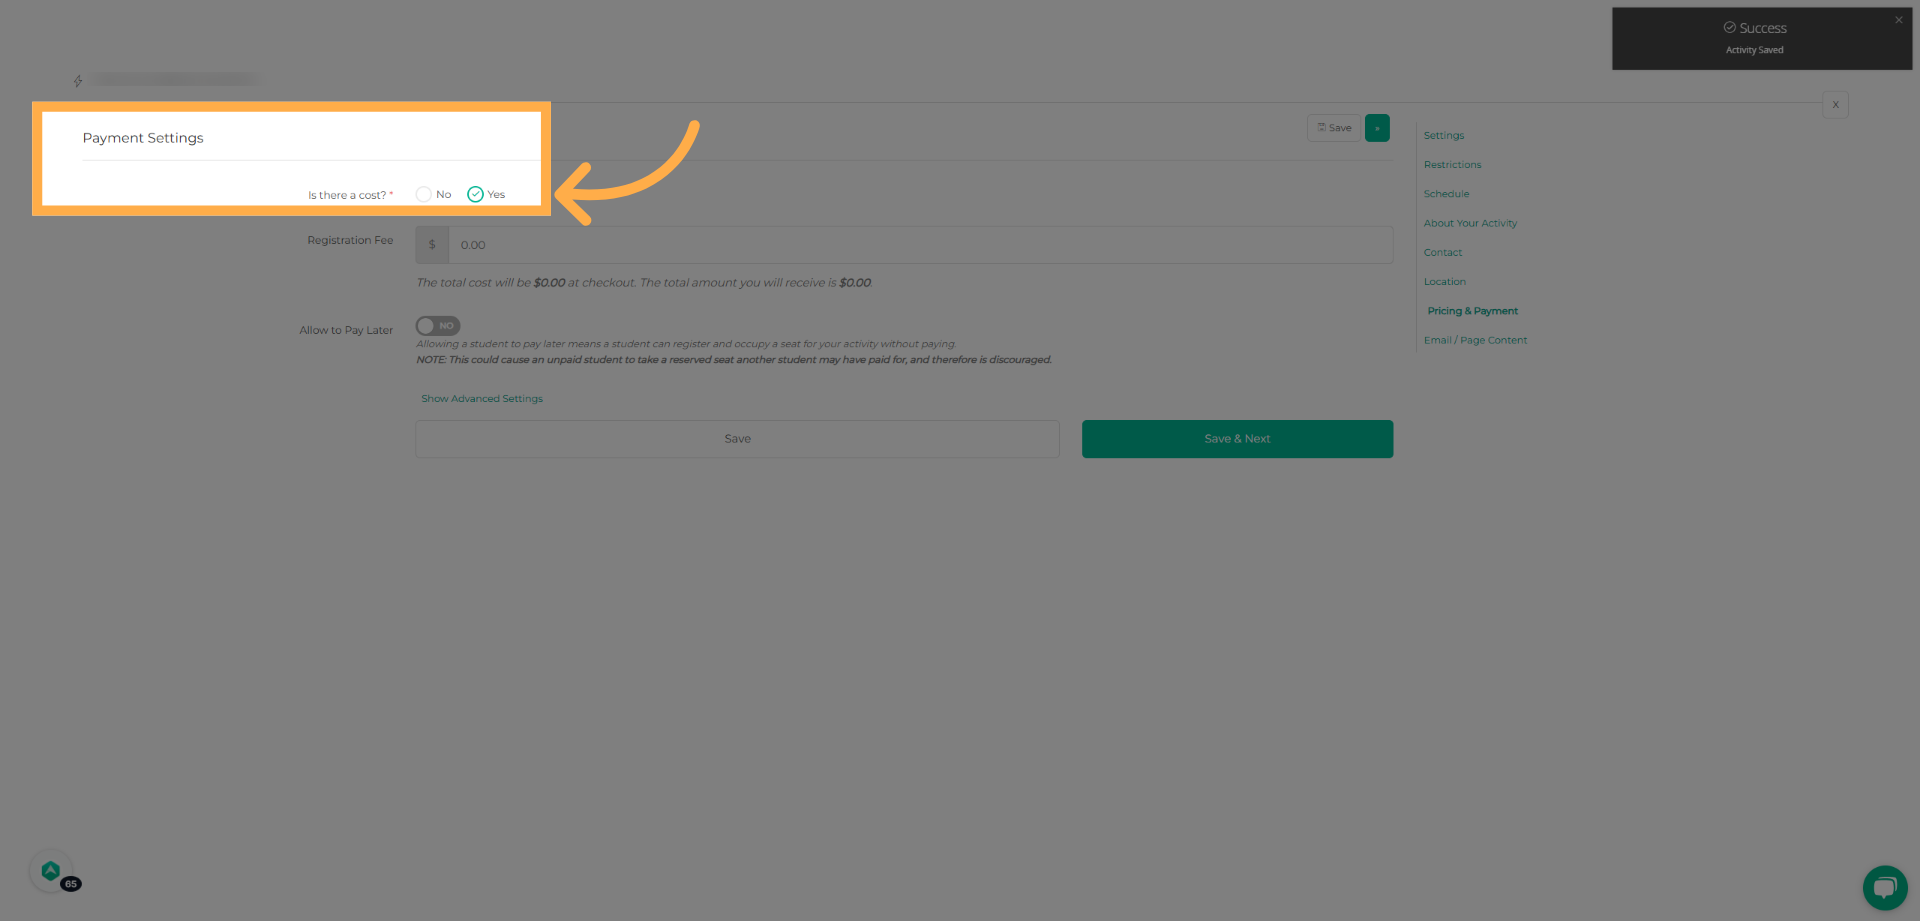
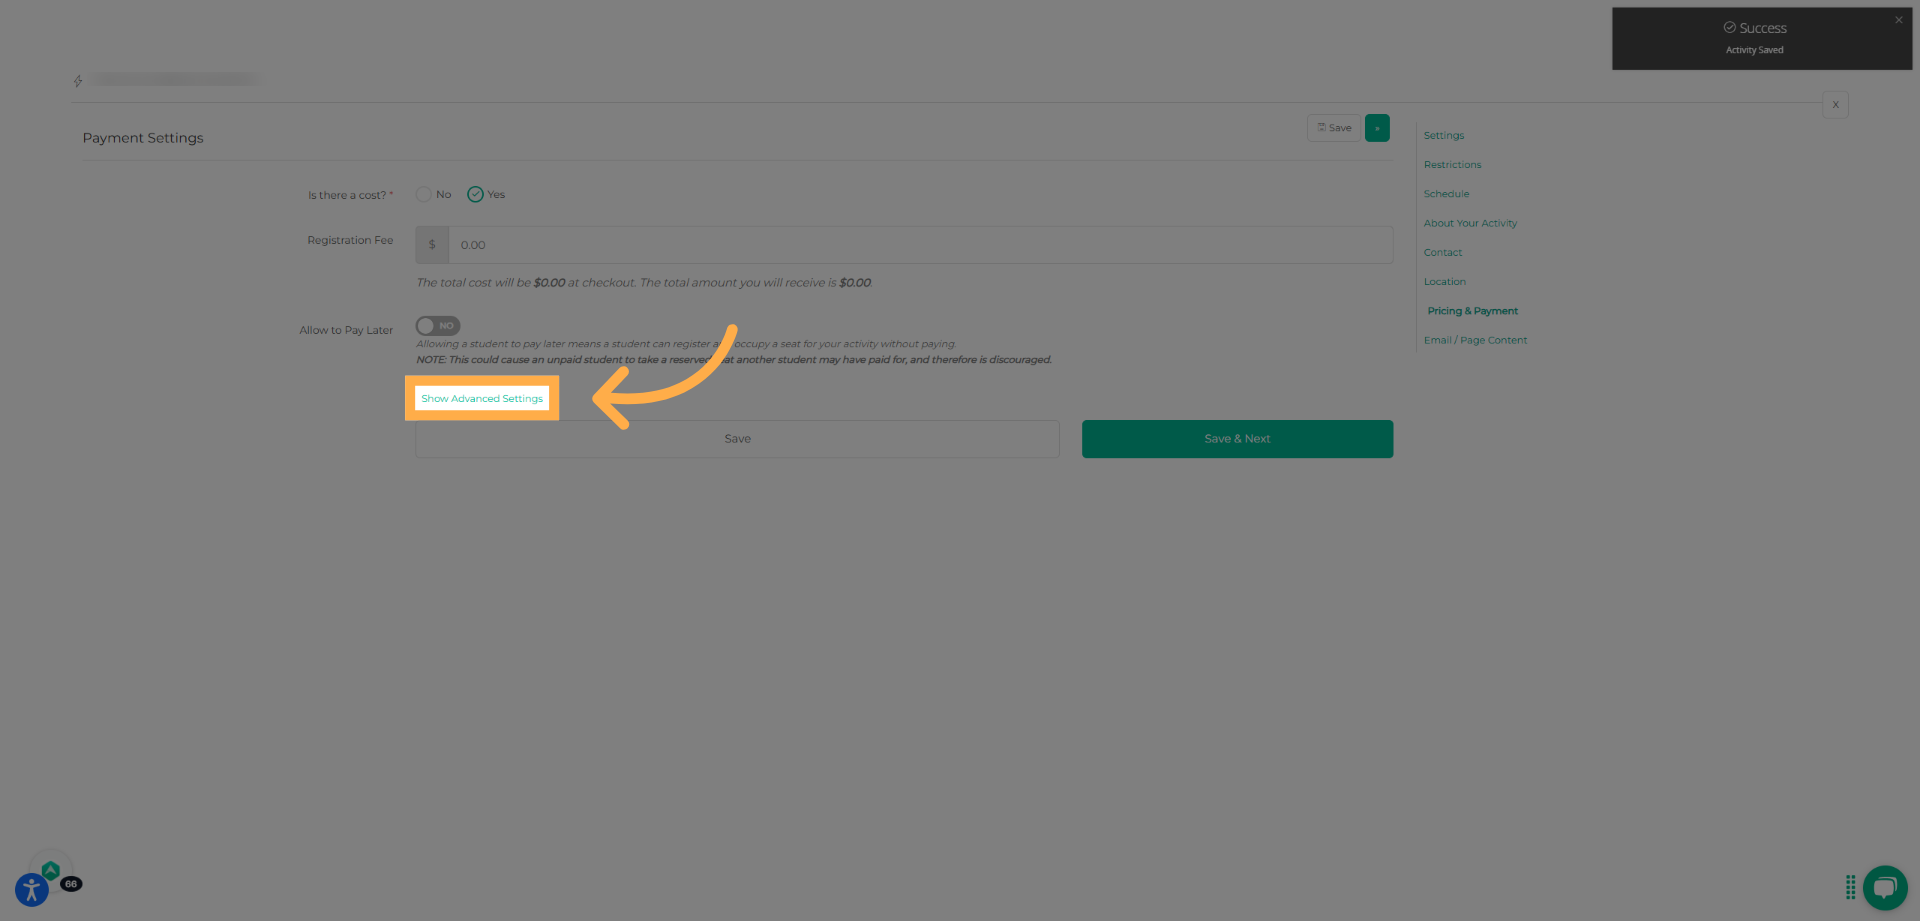
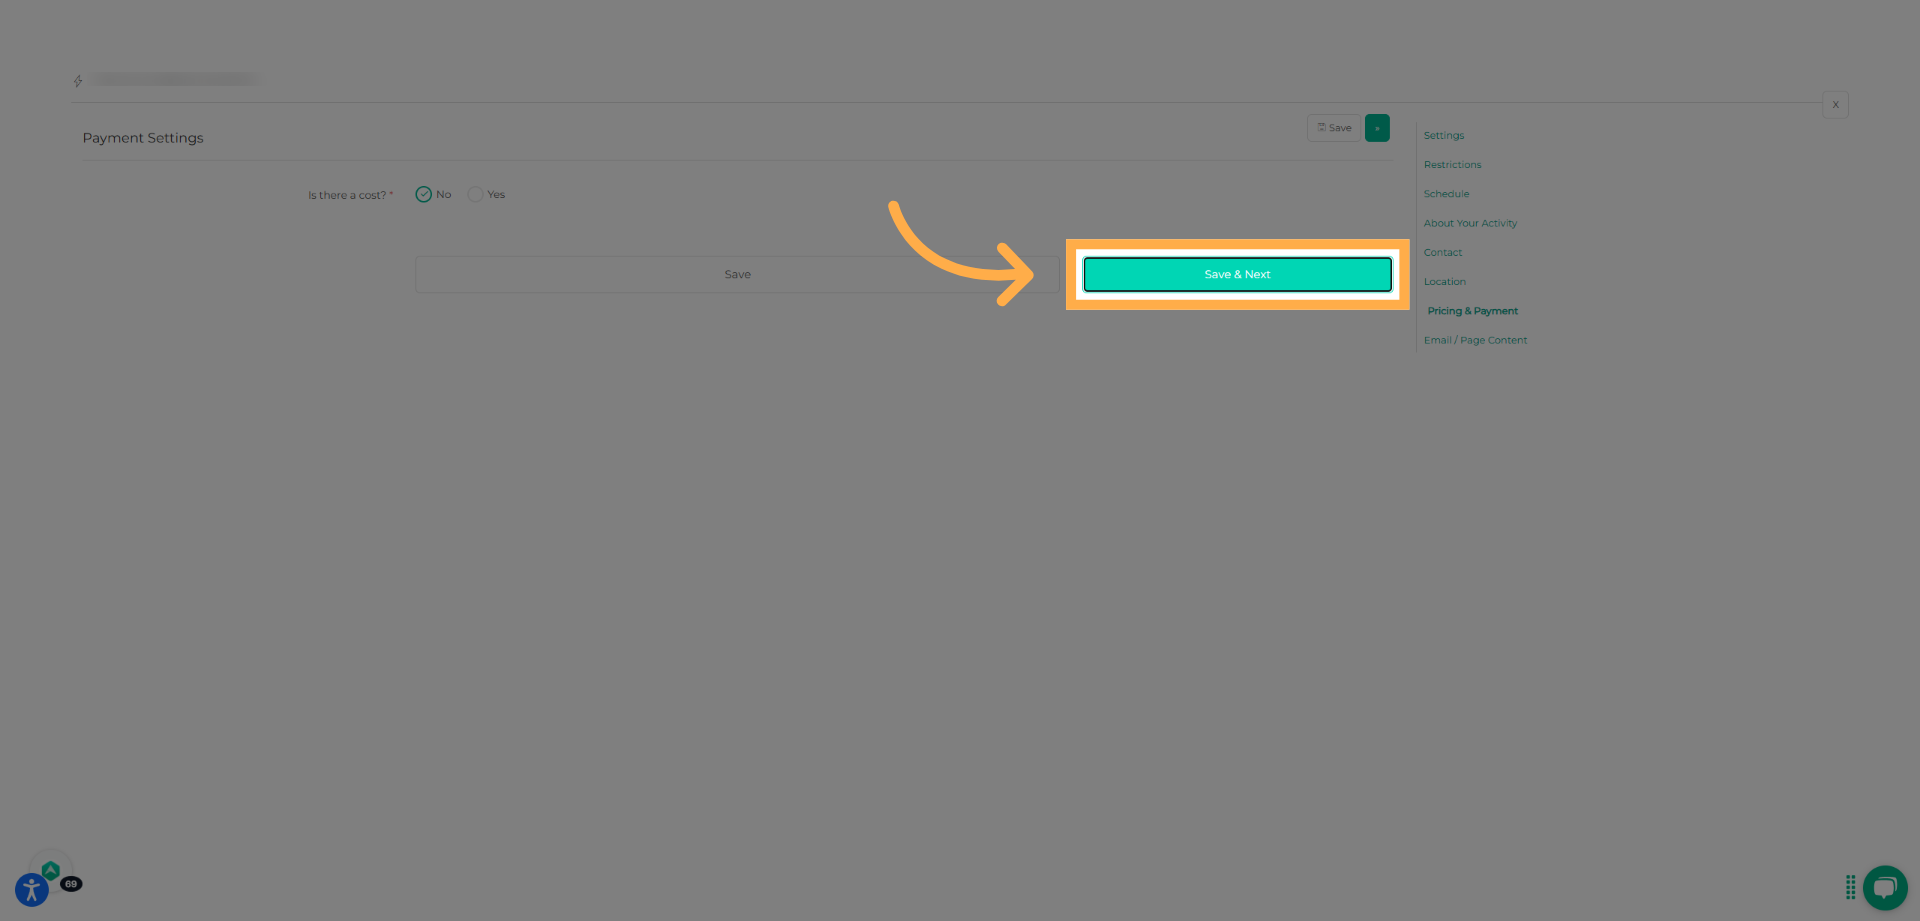
16. Set Pricing
Indicate whether the activity has a cost. If applicable, review pricing, payment plans, and any advanced payment settings. Click “Save & Next” to continue.
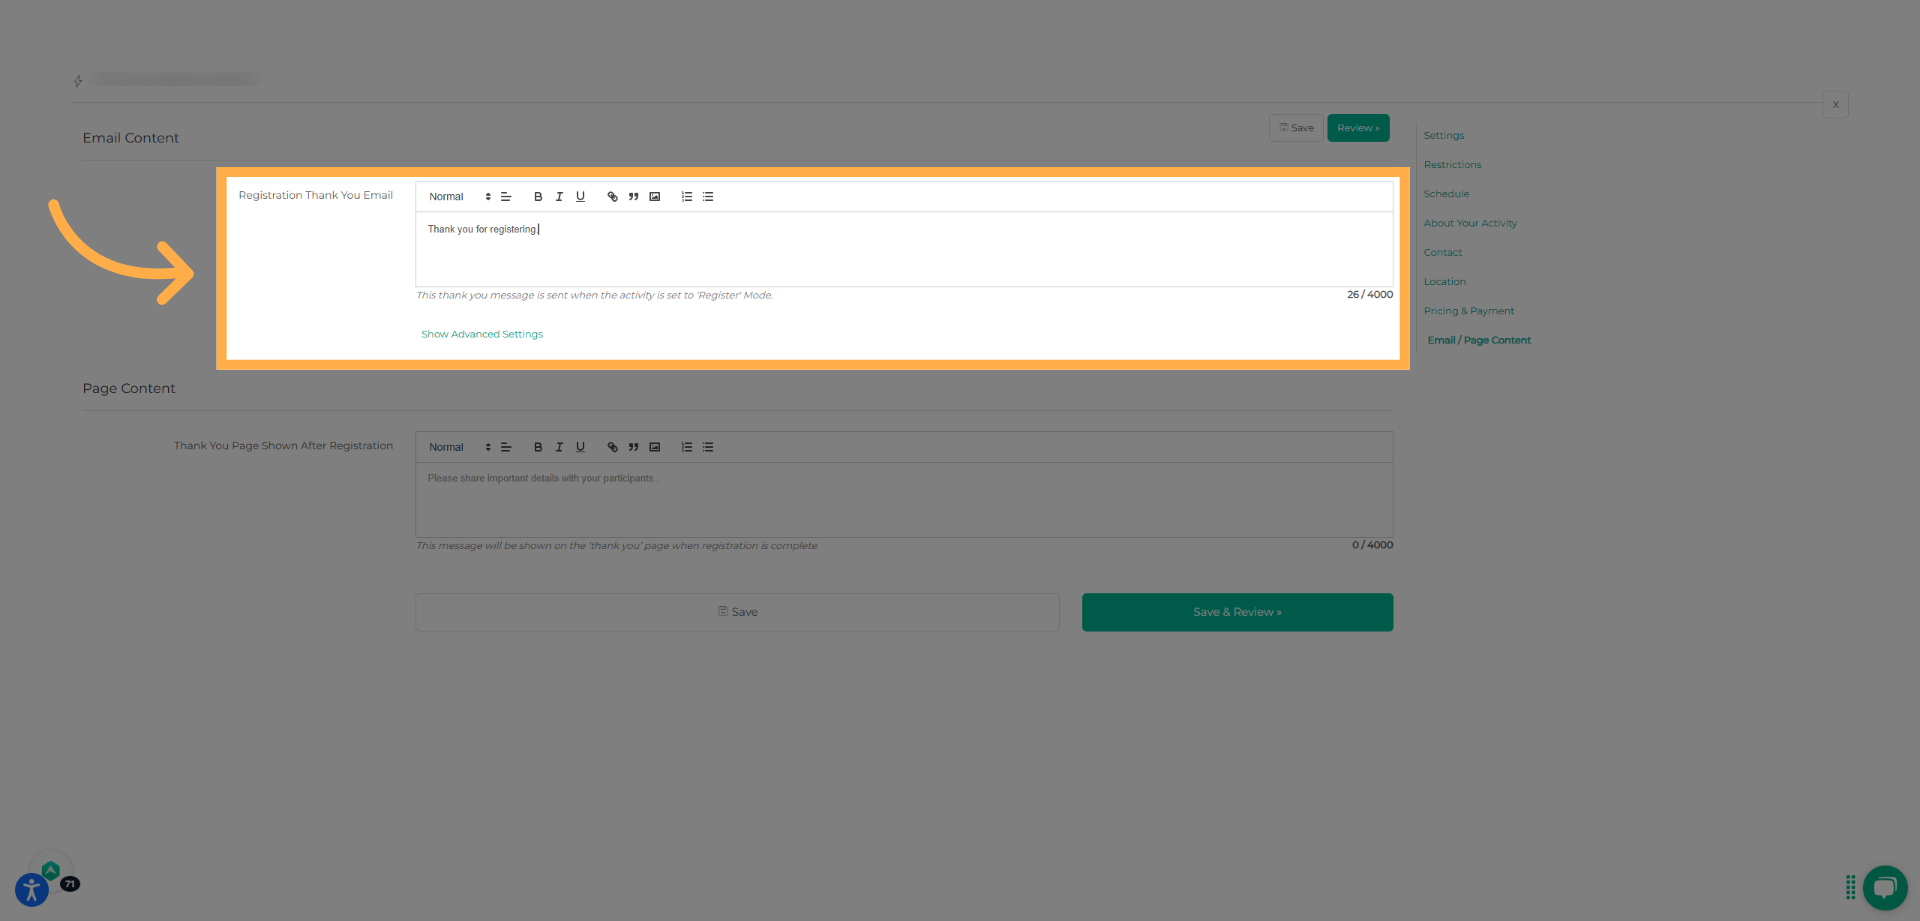
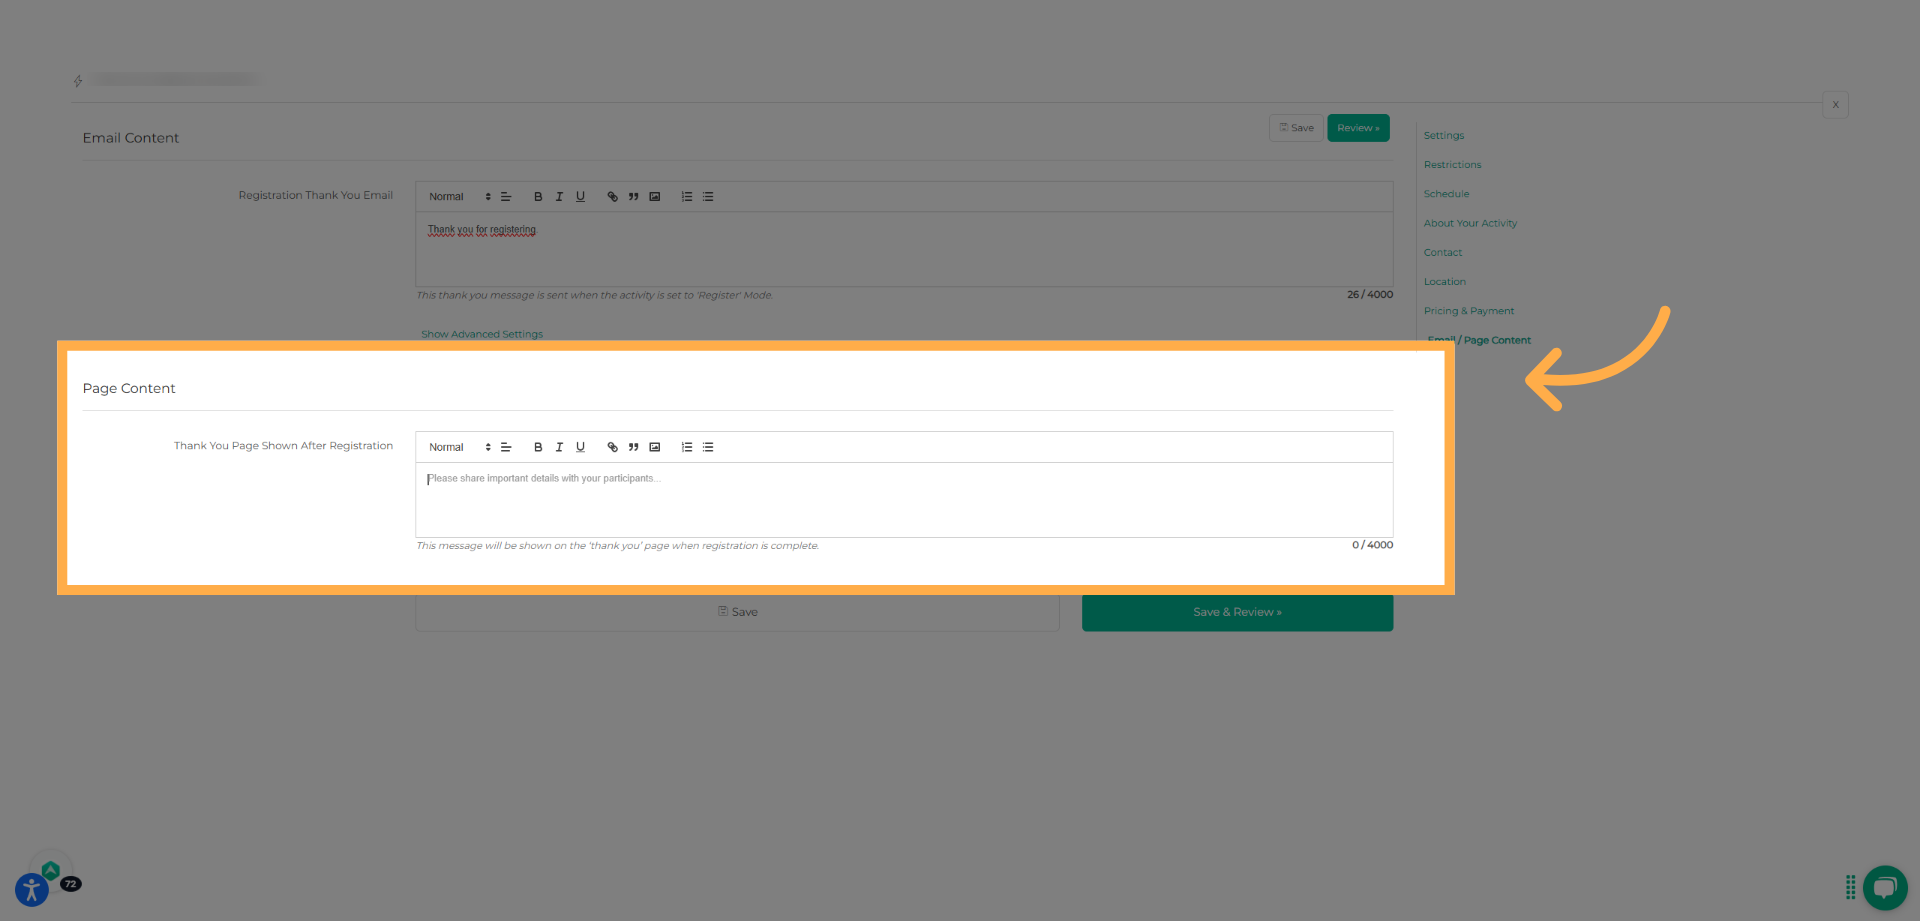
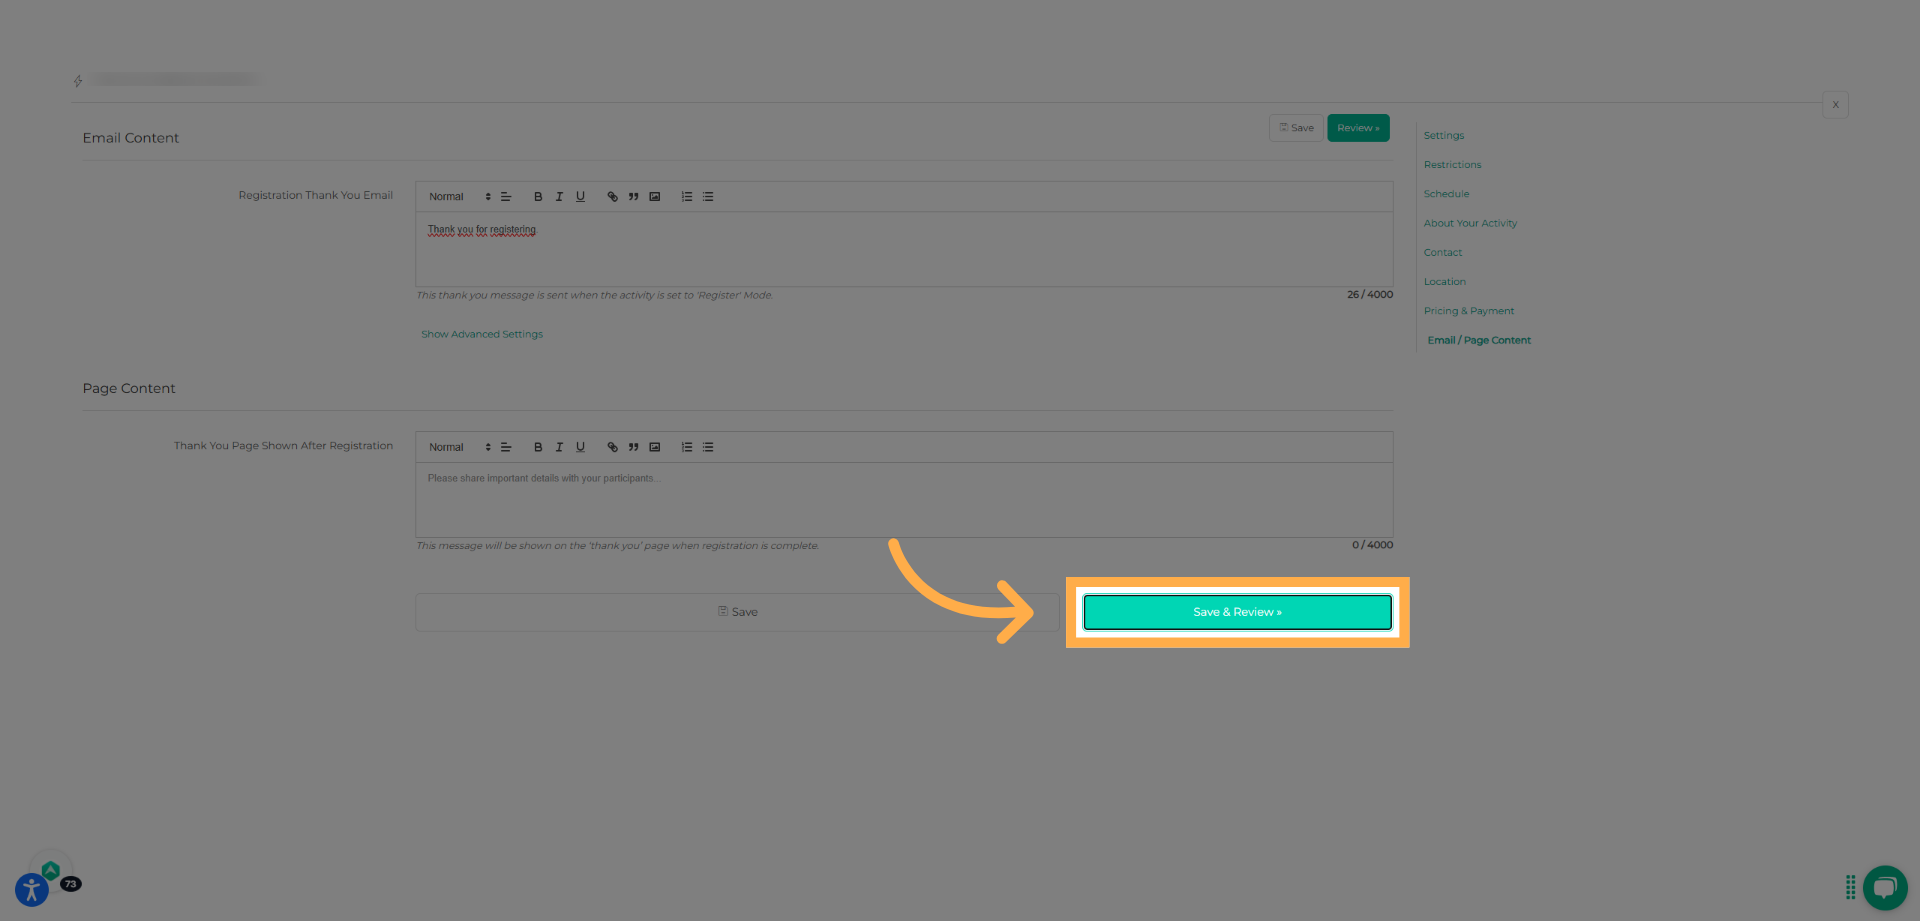
17. Customize the Registration Thank You Email
Add a Thank You email message and customize the content participants will see after completing registration. Click “Save & Review” once finished.
27. Publish the Activity
Review all activity details, then click “Publish Activity” to make your activity visible and available for registration.
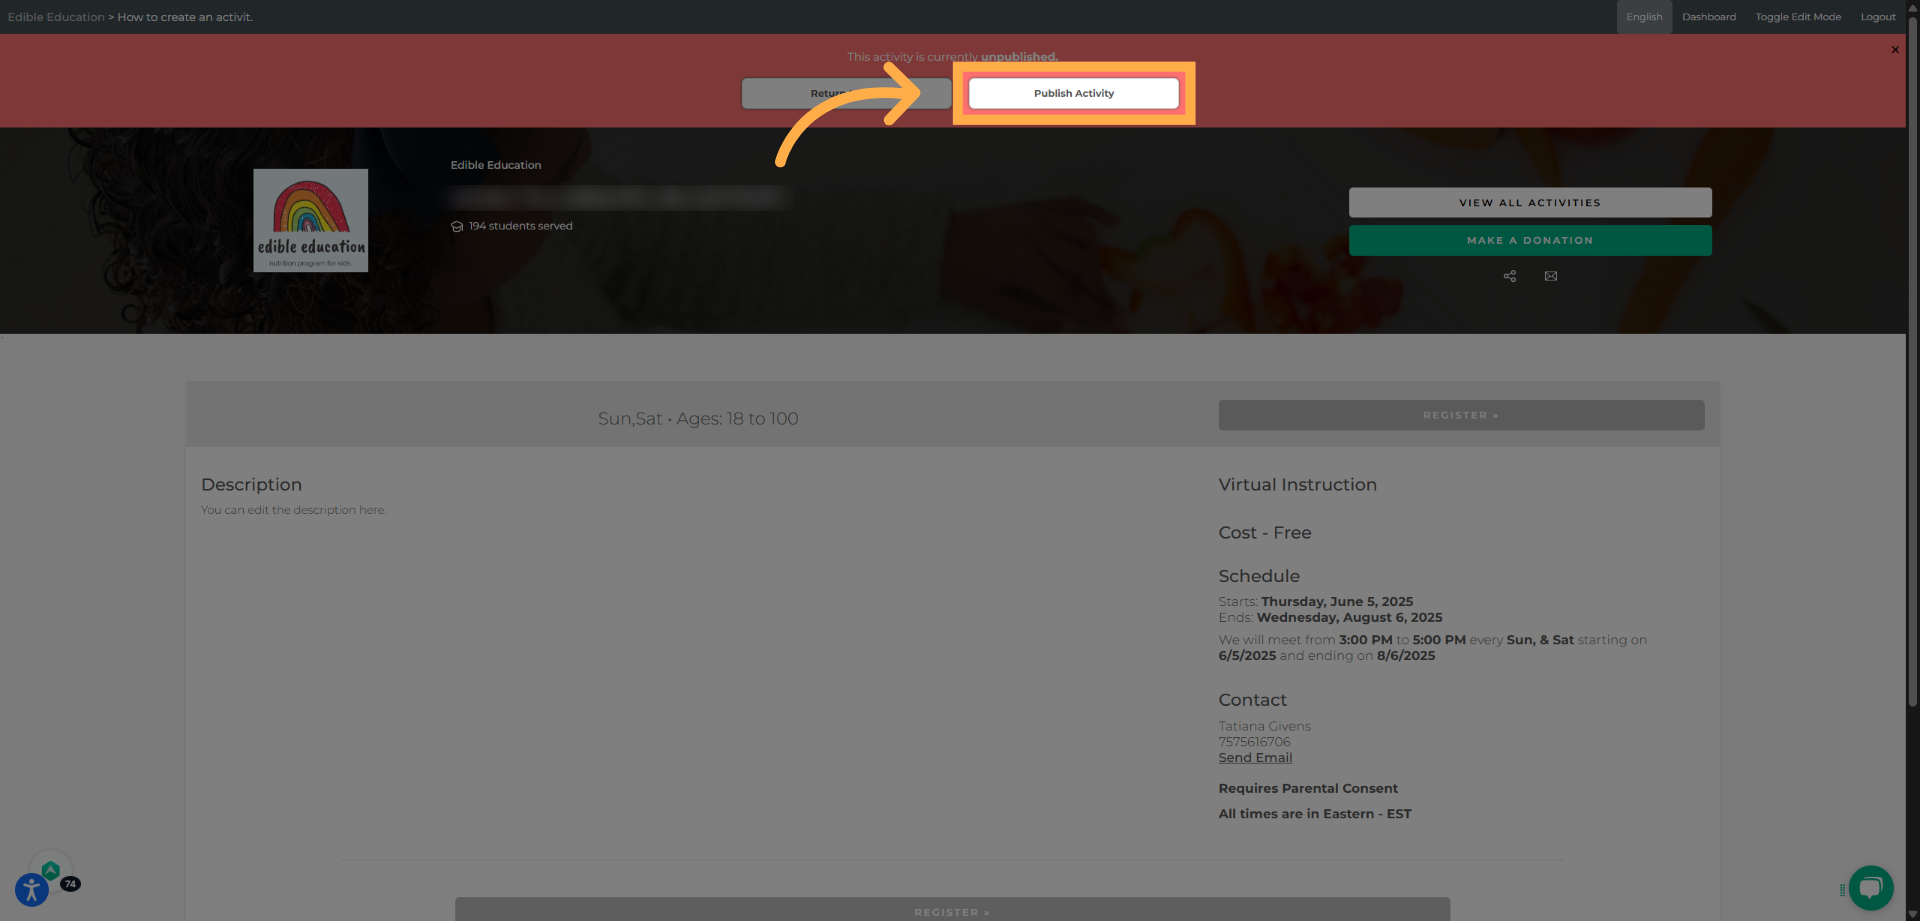
Tip: Use Save & Review to confirm schedules, pricing, and descriptions before publishing your activity.
Frequently Asked Questions
Q: Can I edit an activity after publishing it?
A: Yes. You can edit most activity details at any time, even after publishing. Changes will apply moving forward.
Q: Can I unpublish or archive an activity?
A: Yes. You can archive an activity if it’s no longer accepting registrations and restore it later if needed.
Q: What’s the difference between “Register” and “Apply”?
A: Register allows families to enroll immediately, while Apply requires provider approval before the registration is finalized.
Q: Why can’t parents register for my activity?
A: This usually happens if the enrollment period hasn’t started or has ended, the activity has reached capacity, or required settings such as pricing, schedule, or location are incomplete.
Q: Can I create activities with no cost?
A: Yes. When setting pricing, simply select No cost to allow free registration.
Q: Can I reuse an activity instead of creating a new one?
A: Yes. You can copy an existing activity to save time and update details for a new session.
Q: Will parents receive a confirmation after registering?
A: Yes. Families receive a confirmation email and see a confirmation page after completing registration.
Q: How can people apply or register for my activity?
A: You can invite people by sharing the link to your activity. To invite parents, visit How to Find Your Activity URL Link or Send an Invitation for Your Activity.
💡If you experience any issues or have further questions with “How to Create an Activity”, don't hesitate to get in touch with our support team at support@afterschoolhq.com.