- AHQ Help Center
- Activity Providers
- Activity Settings
Activity Restrictions
In this guide, we will walk you through the steps to How to set activity restrictions using the AfterschoolHQ platform.
Go to afterschoolhq.com
1. Introduction
We will go to a created activity and review the restrictions.

2. Hover over "Activity Center"
Hover over "Activity Center"

3. Click "Extracurricular Activities"
Click on "Extracurricular Activities"

4. Click "Search for activity"
Navigate to "Search for activity" or select the activity directly

5. Write the name of the activity.
Fill in with the name of the activity

6. Click on the activity
Select the correct activity

7. Click "Setup"
Choose the "Setup" option

8. Click "Restrictions"
Click on "Restrictions"

9. Restriction setup:
In the Restrictions part of your setup, you will be able to: Allow Students to Register by changing the toggle from No to Yes. Decide if the Gender Restrictions are None, Male only, or Female only. Restrict your activity by Grade or Age. If your activity is restricted by grade, you can select from Pre-K - 12th grade. If your activity is restricted by age, you can select from 0 - 100 years of age

10. Review the advanced settings
You can allow minors to register, but please note that they will be able to do so without an adult knowing.

11. Click "Save"
Remember to hit save

FREQUENTLY ASKED QUESTIONS
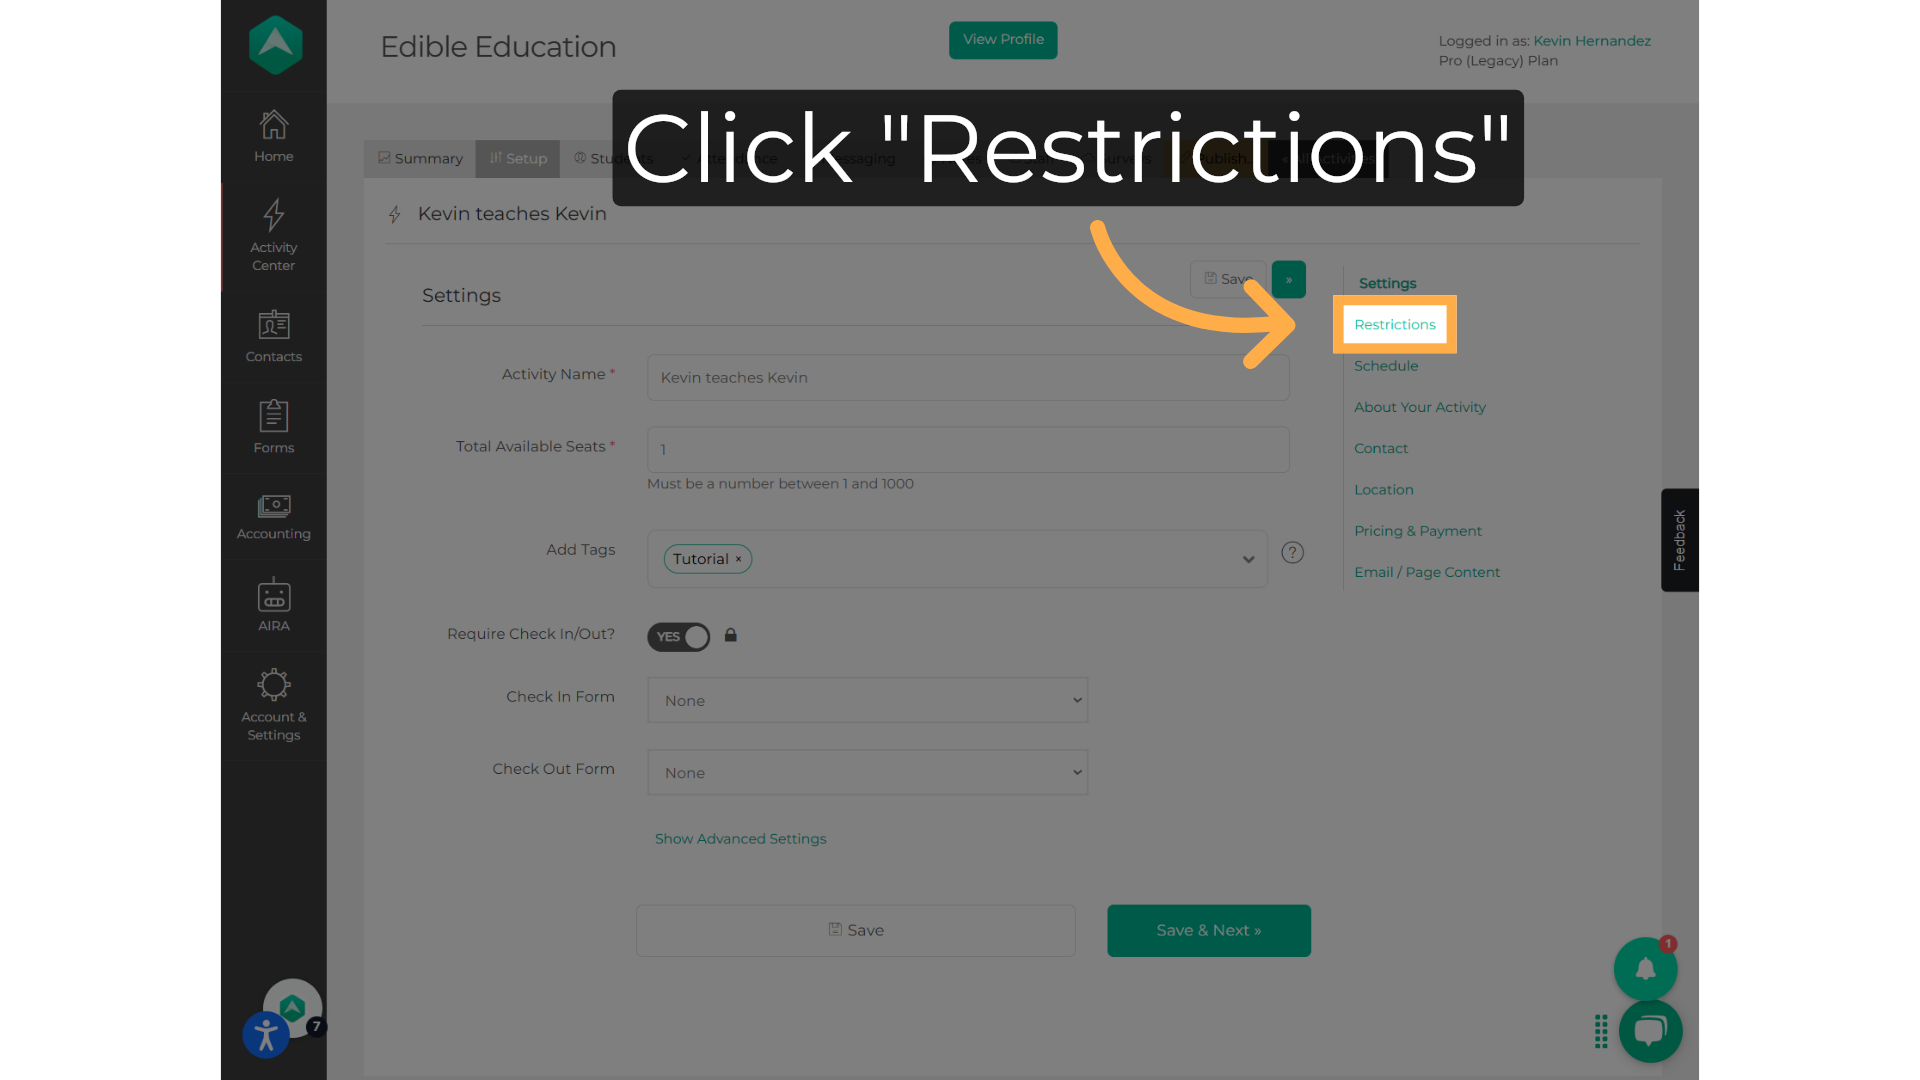
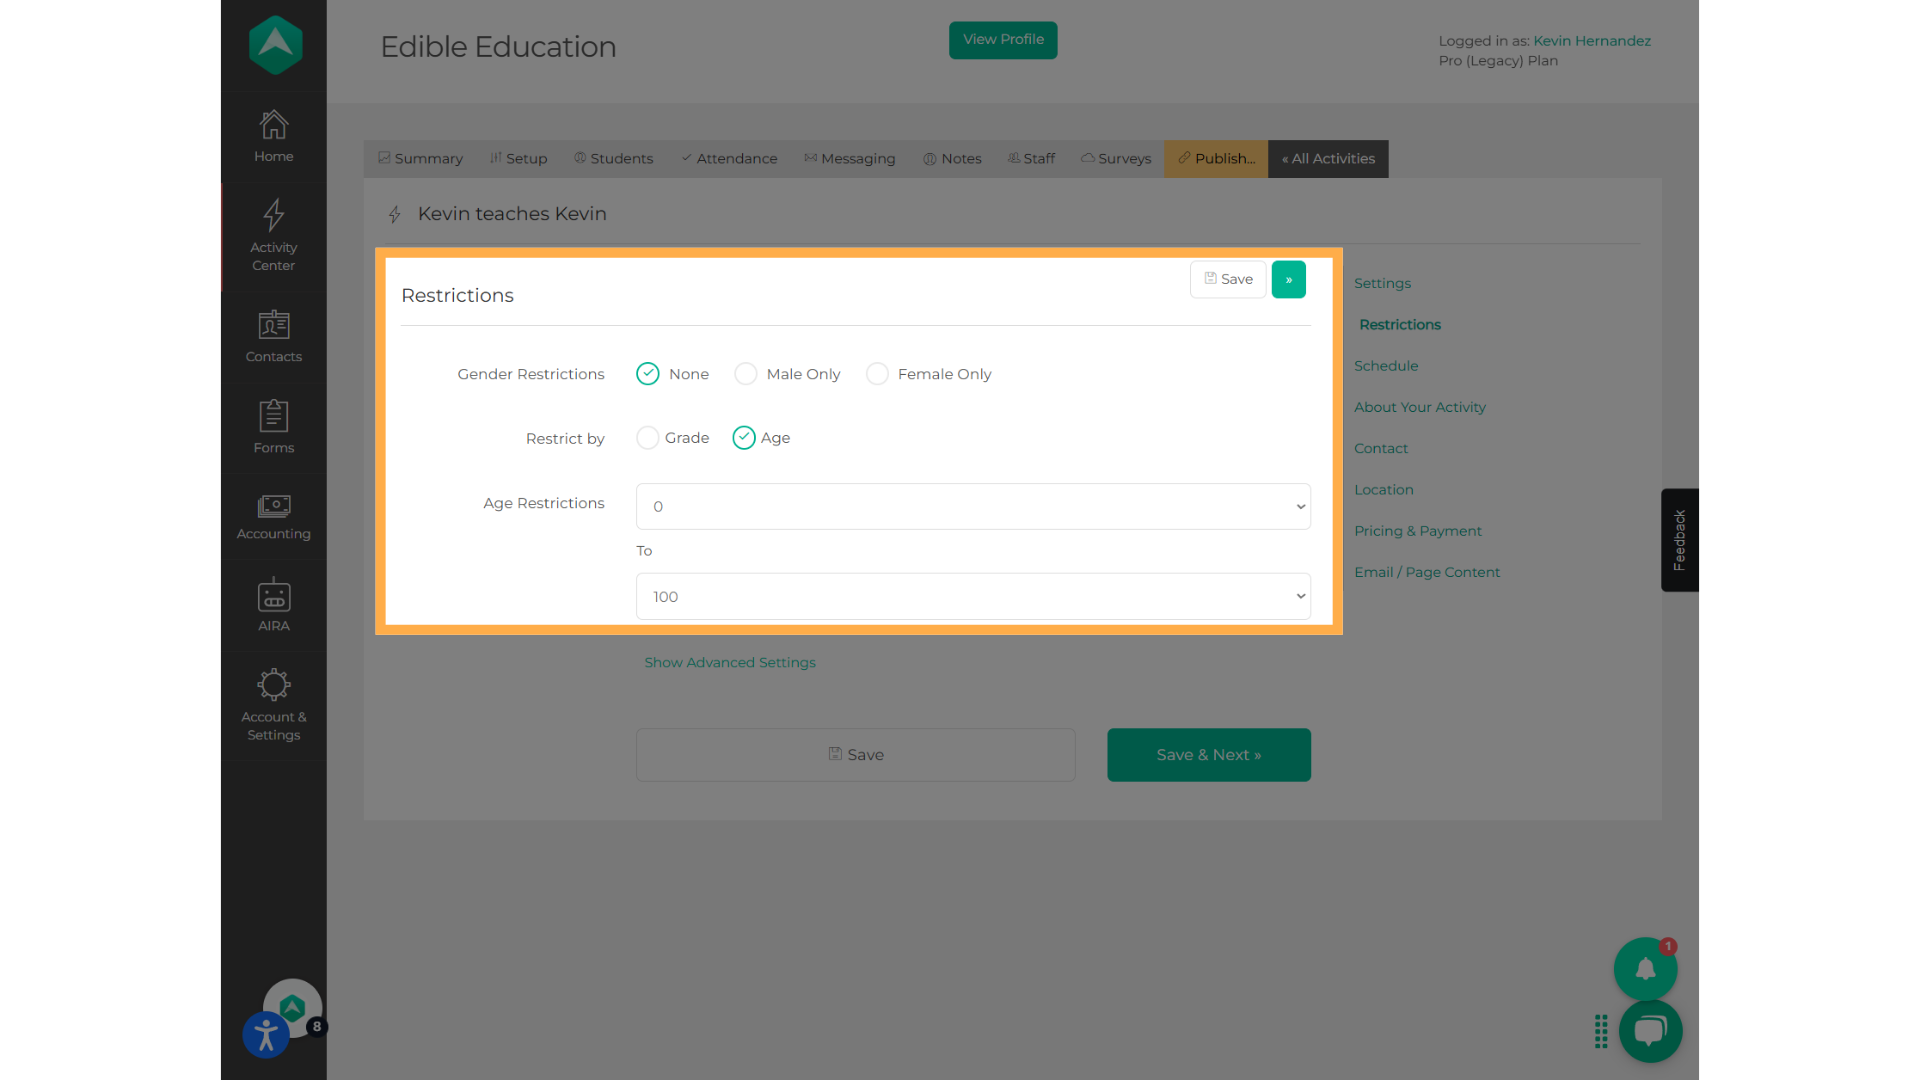
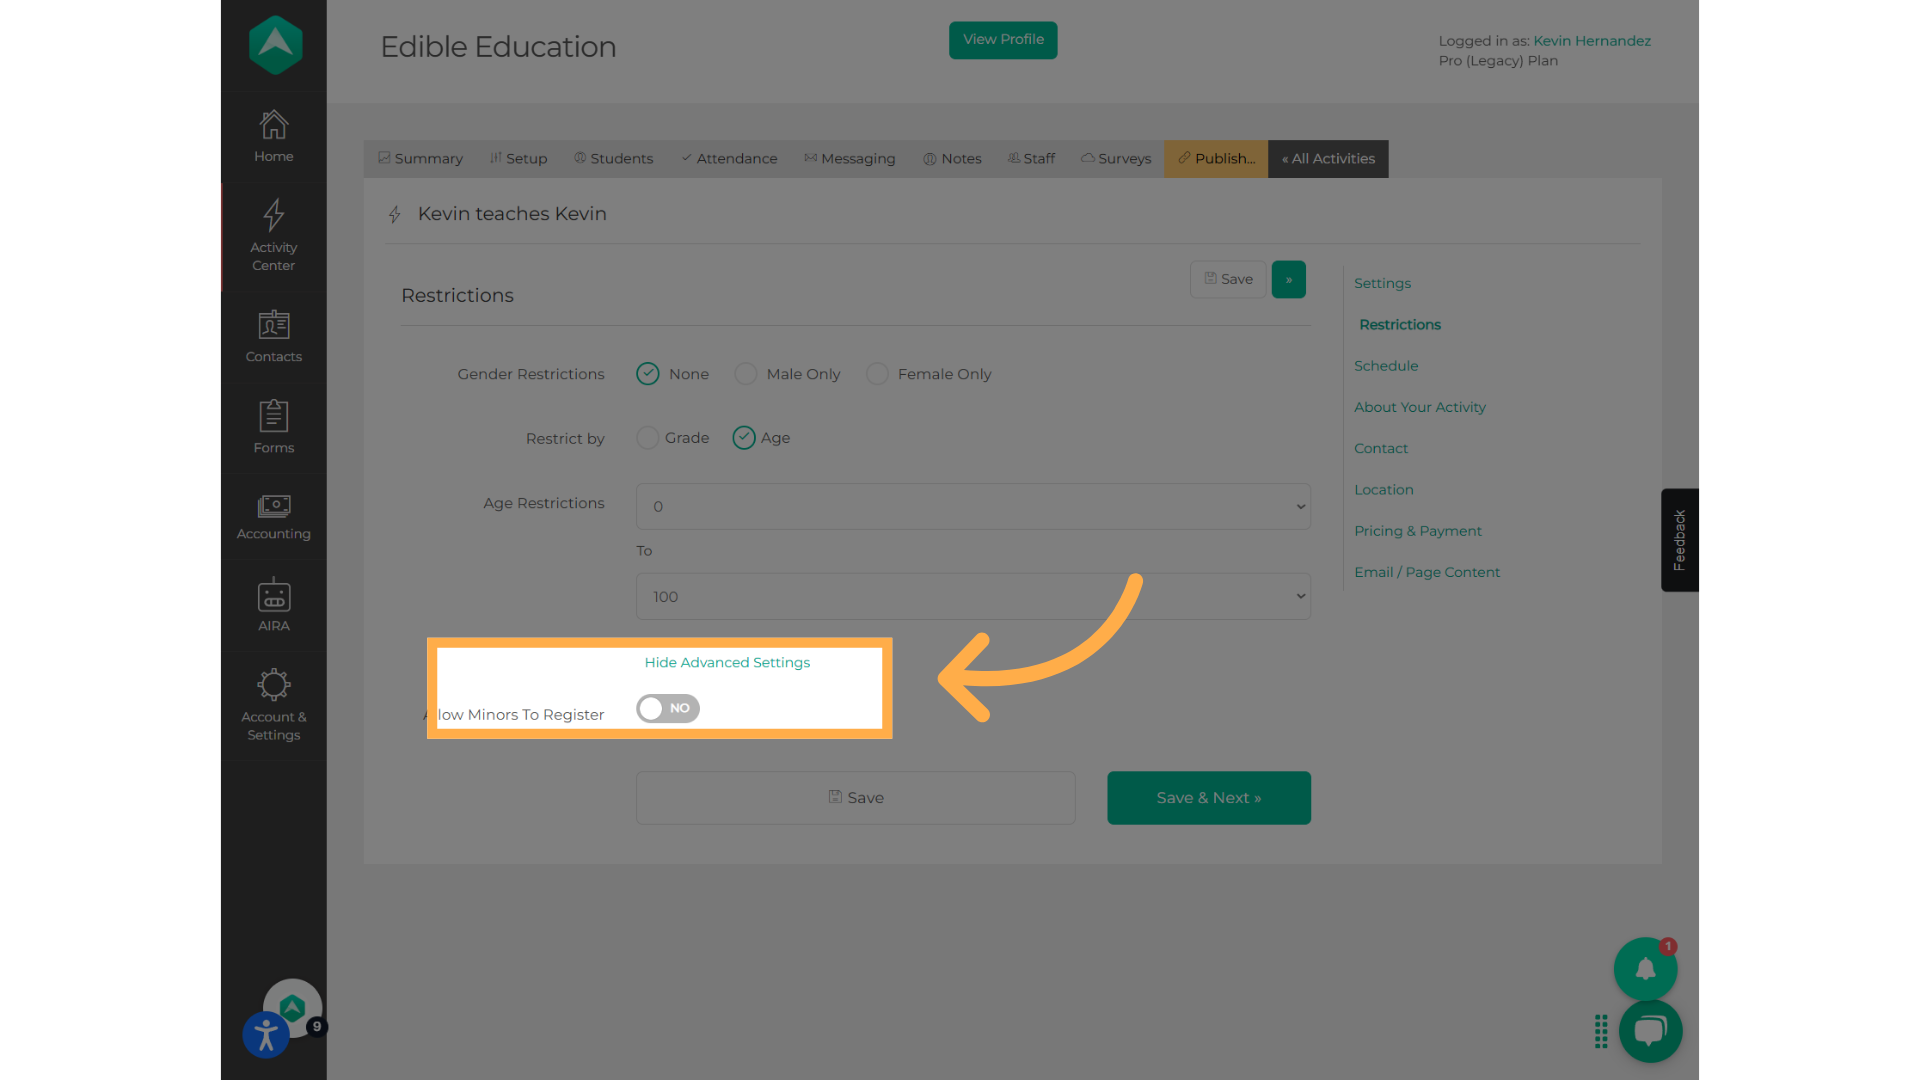
1. Why would I want to have restrictions on my activity?
If you have activities that are not set as "Invite only", everyone will be able to see the activities on your profile. Restrictions are important to make sure only people who meet the criteria can join.
2. Do you consider the age when the activity will take place or when someone will register?
We calculate the age the participant will have when the activity starts, not their current age.
💡If you have any questions or experience any technical difficulties with Activity Restrictions, don't hesitate to get in touch with our support team at support@afterschoolhq.com.