Customizing and Utilizing the Email Content Page and Thank You Message
Do you need to send a notification as soon as someone signs up for your activity? This guide will assist you in setting up an automatic email and a message on the registrant's device right after enrollment.
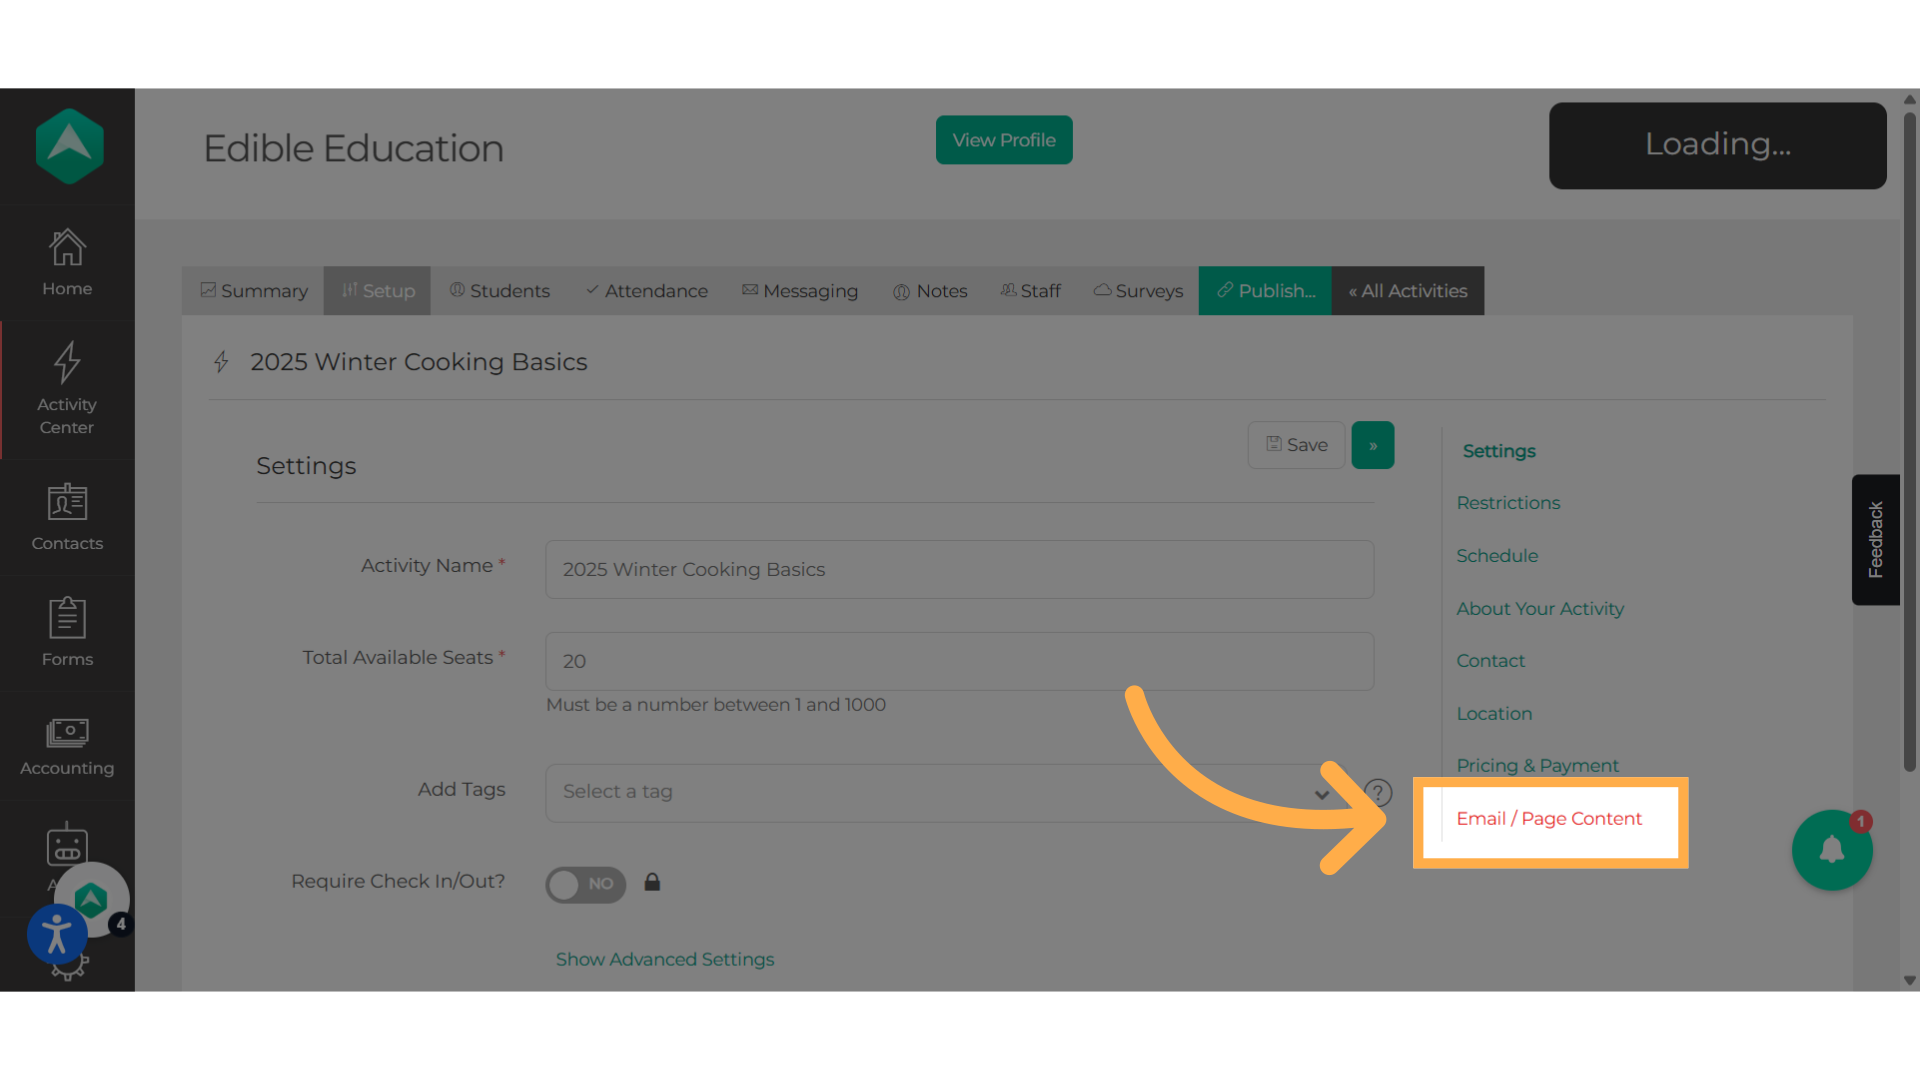
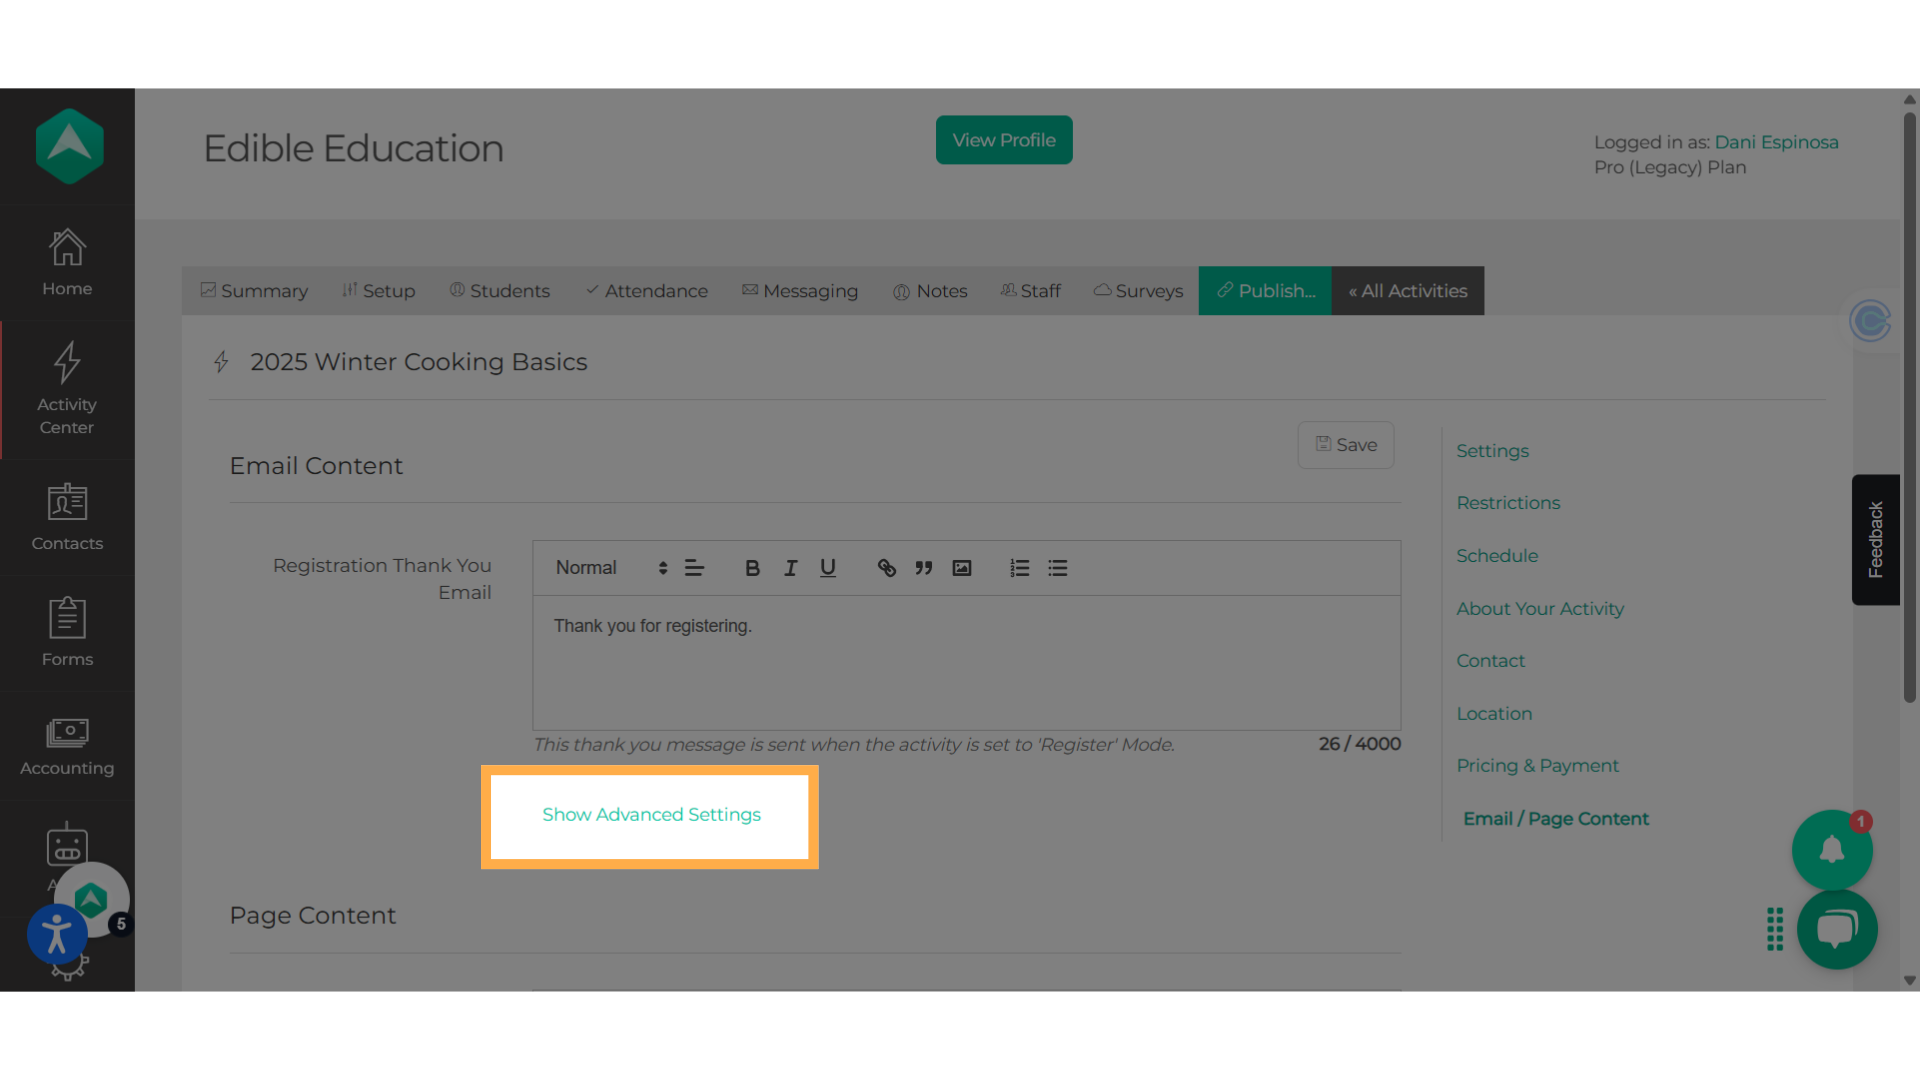
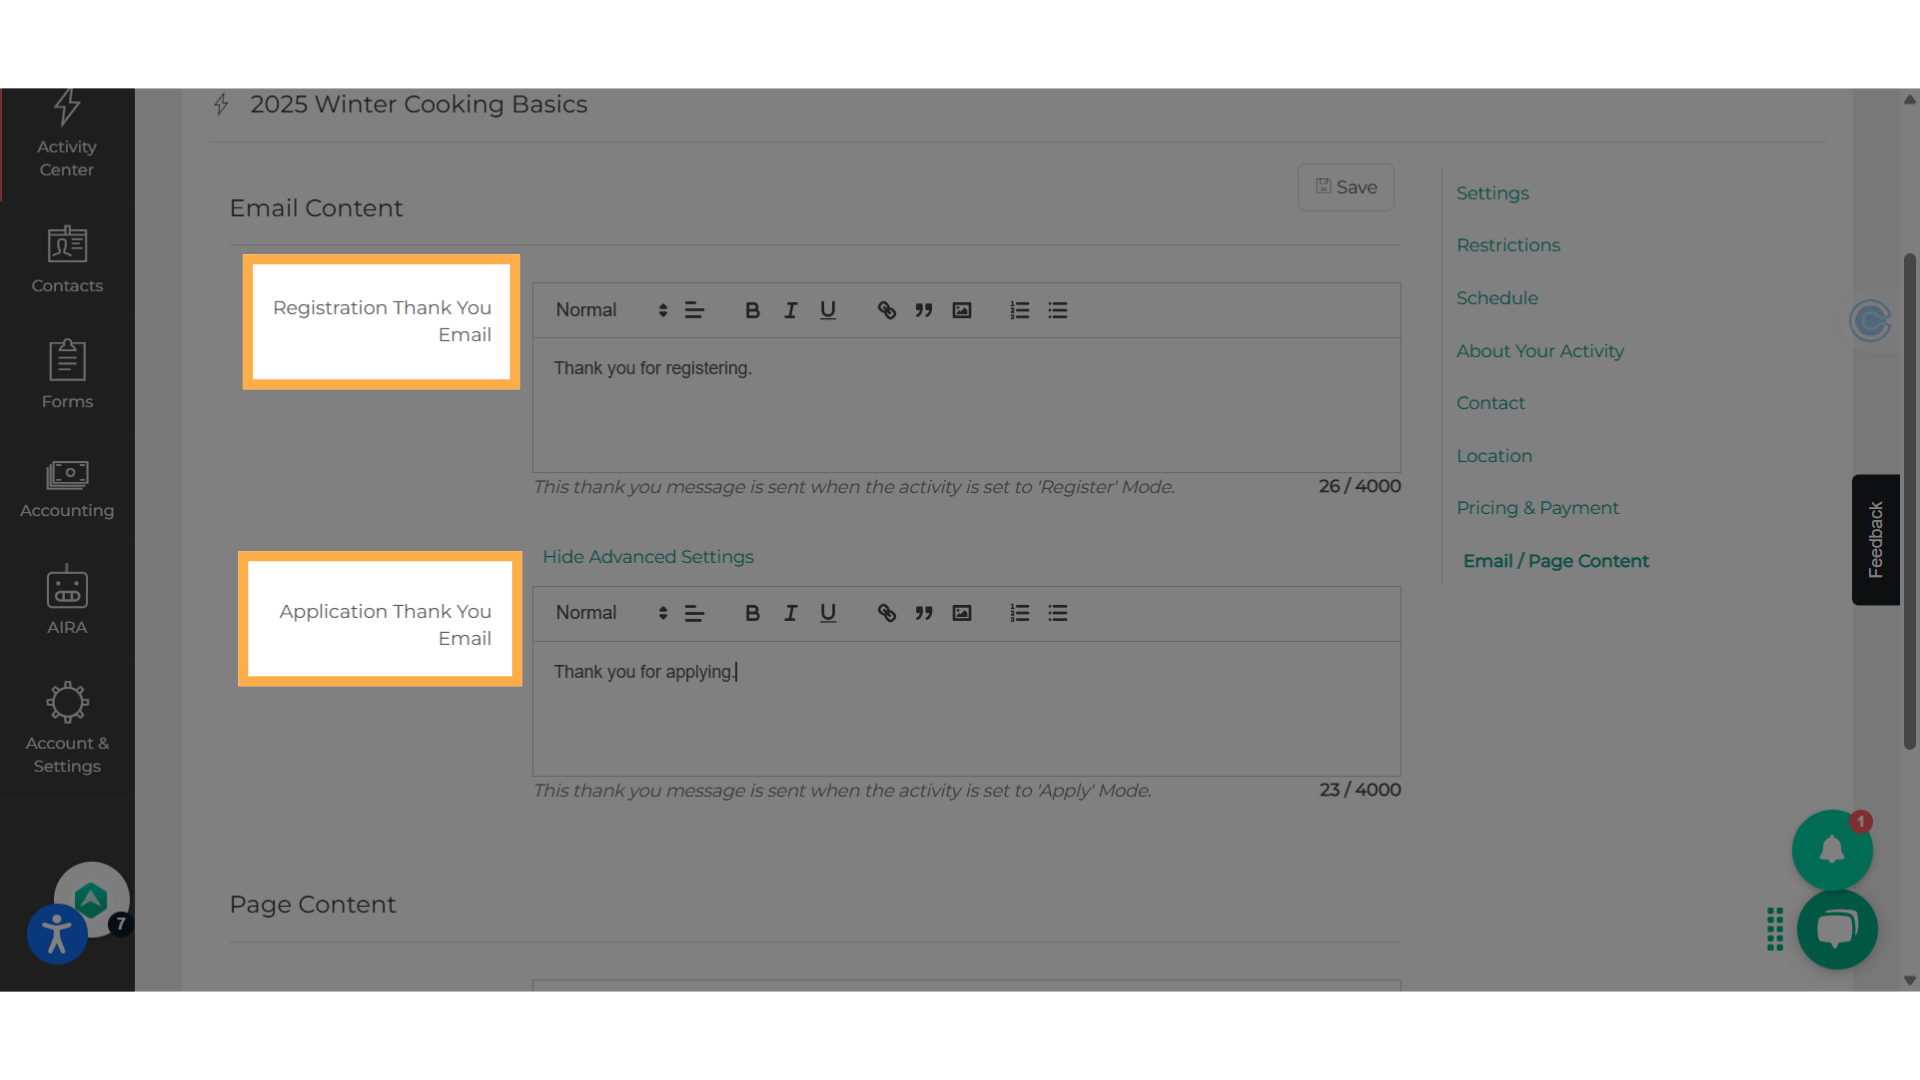
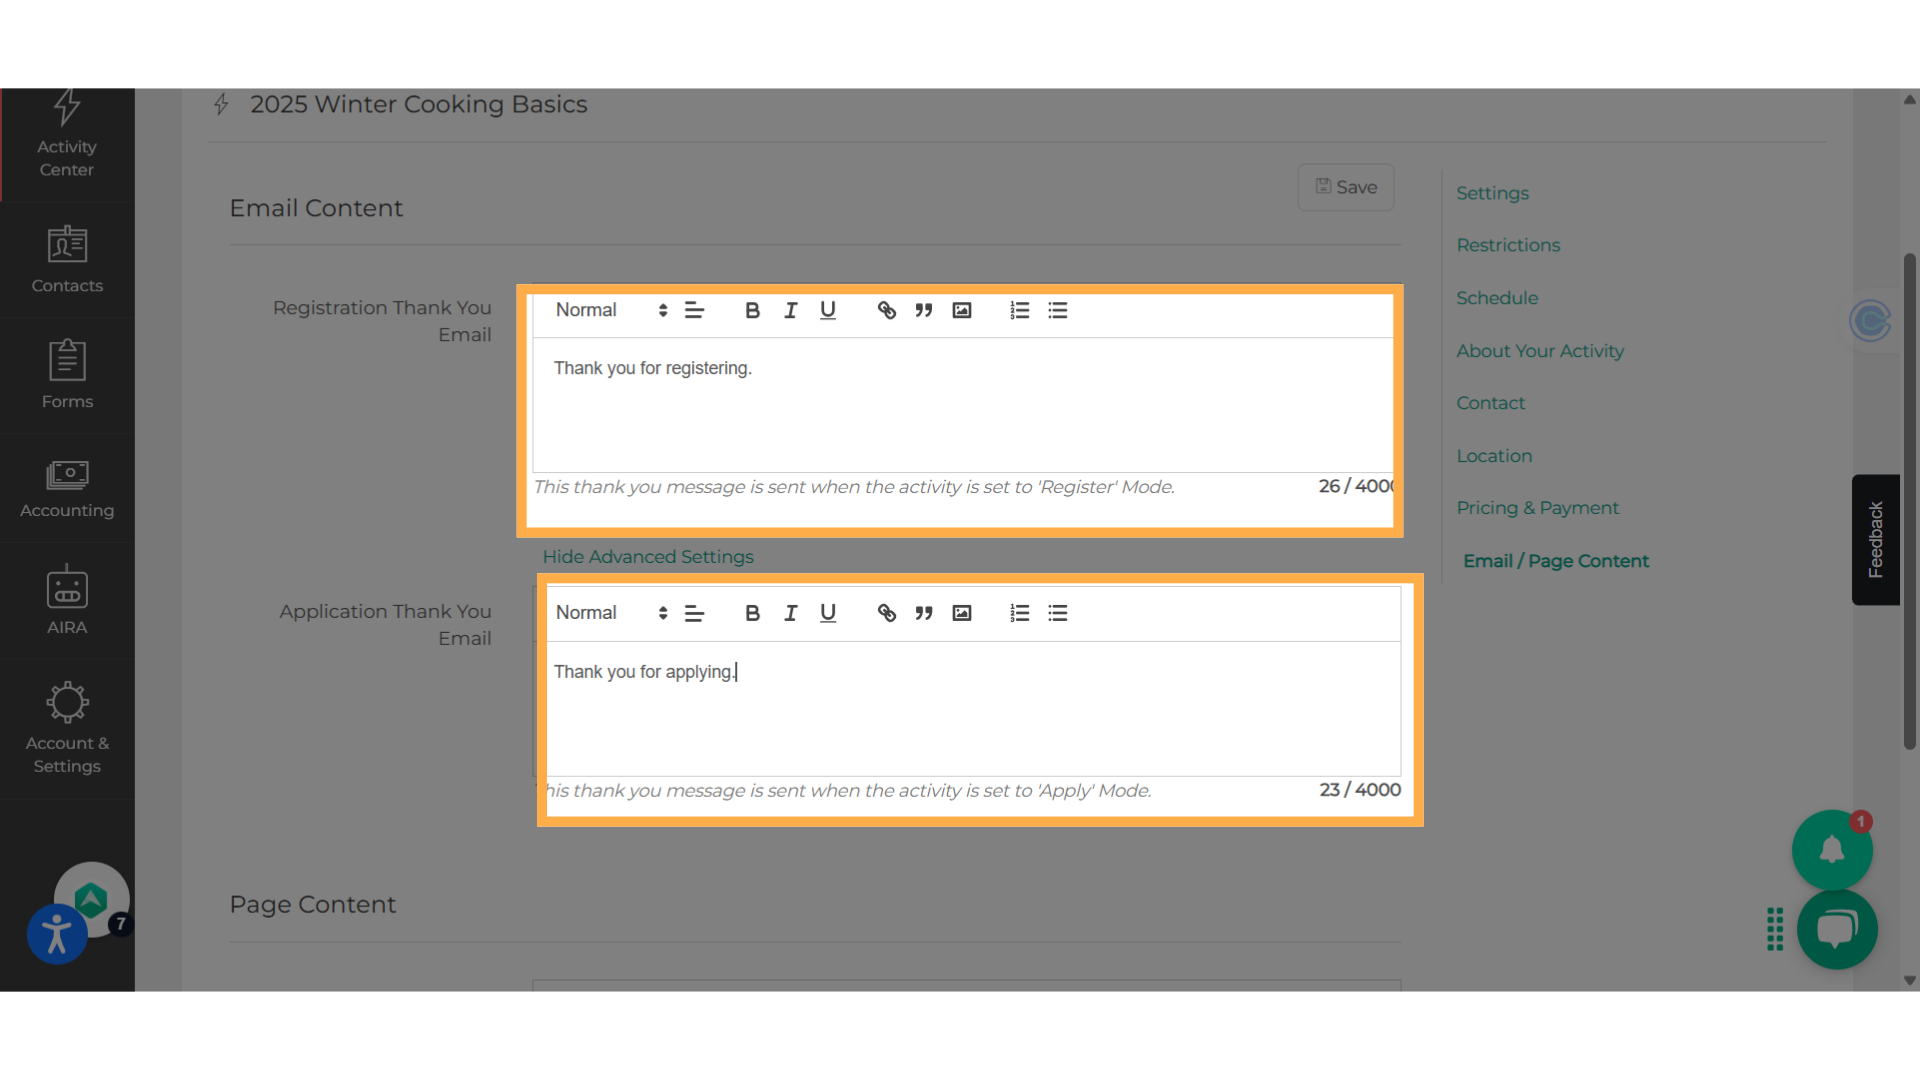
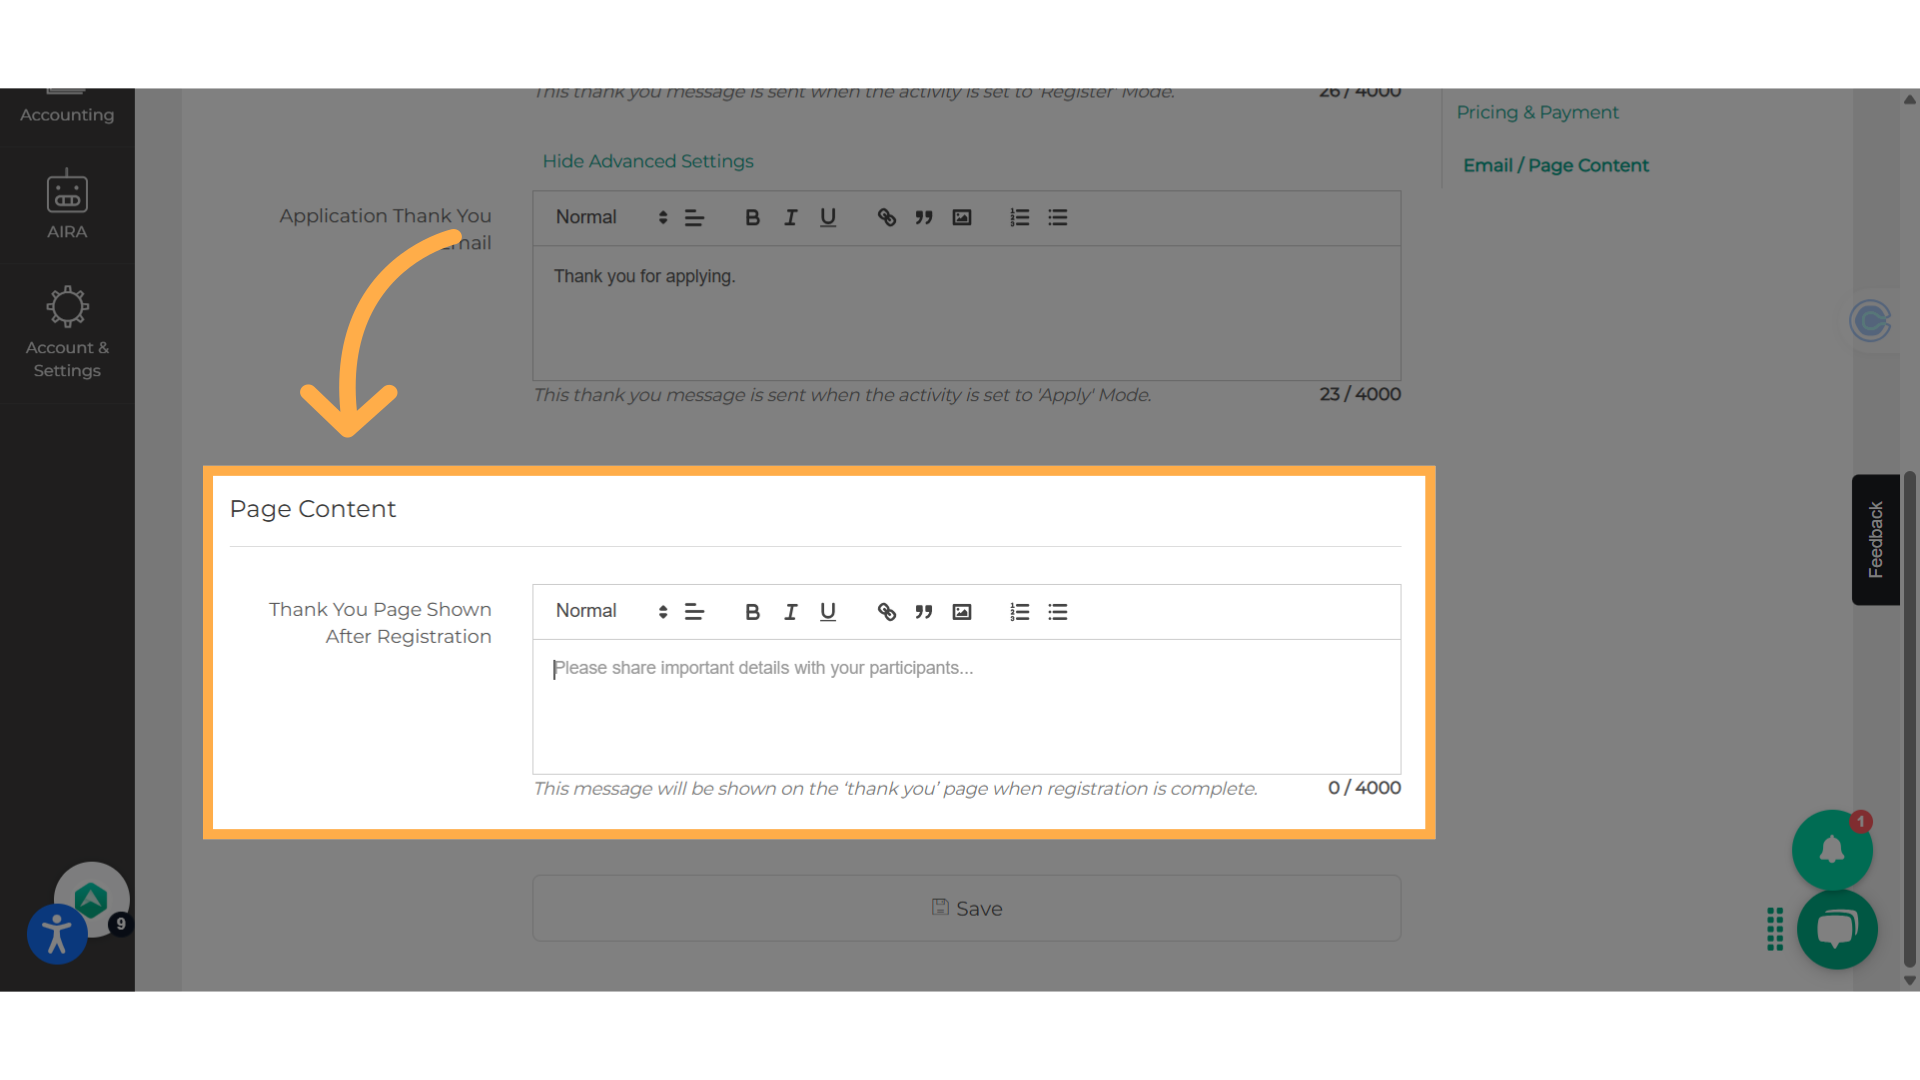
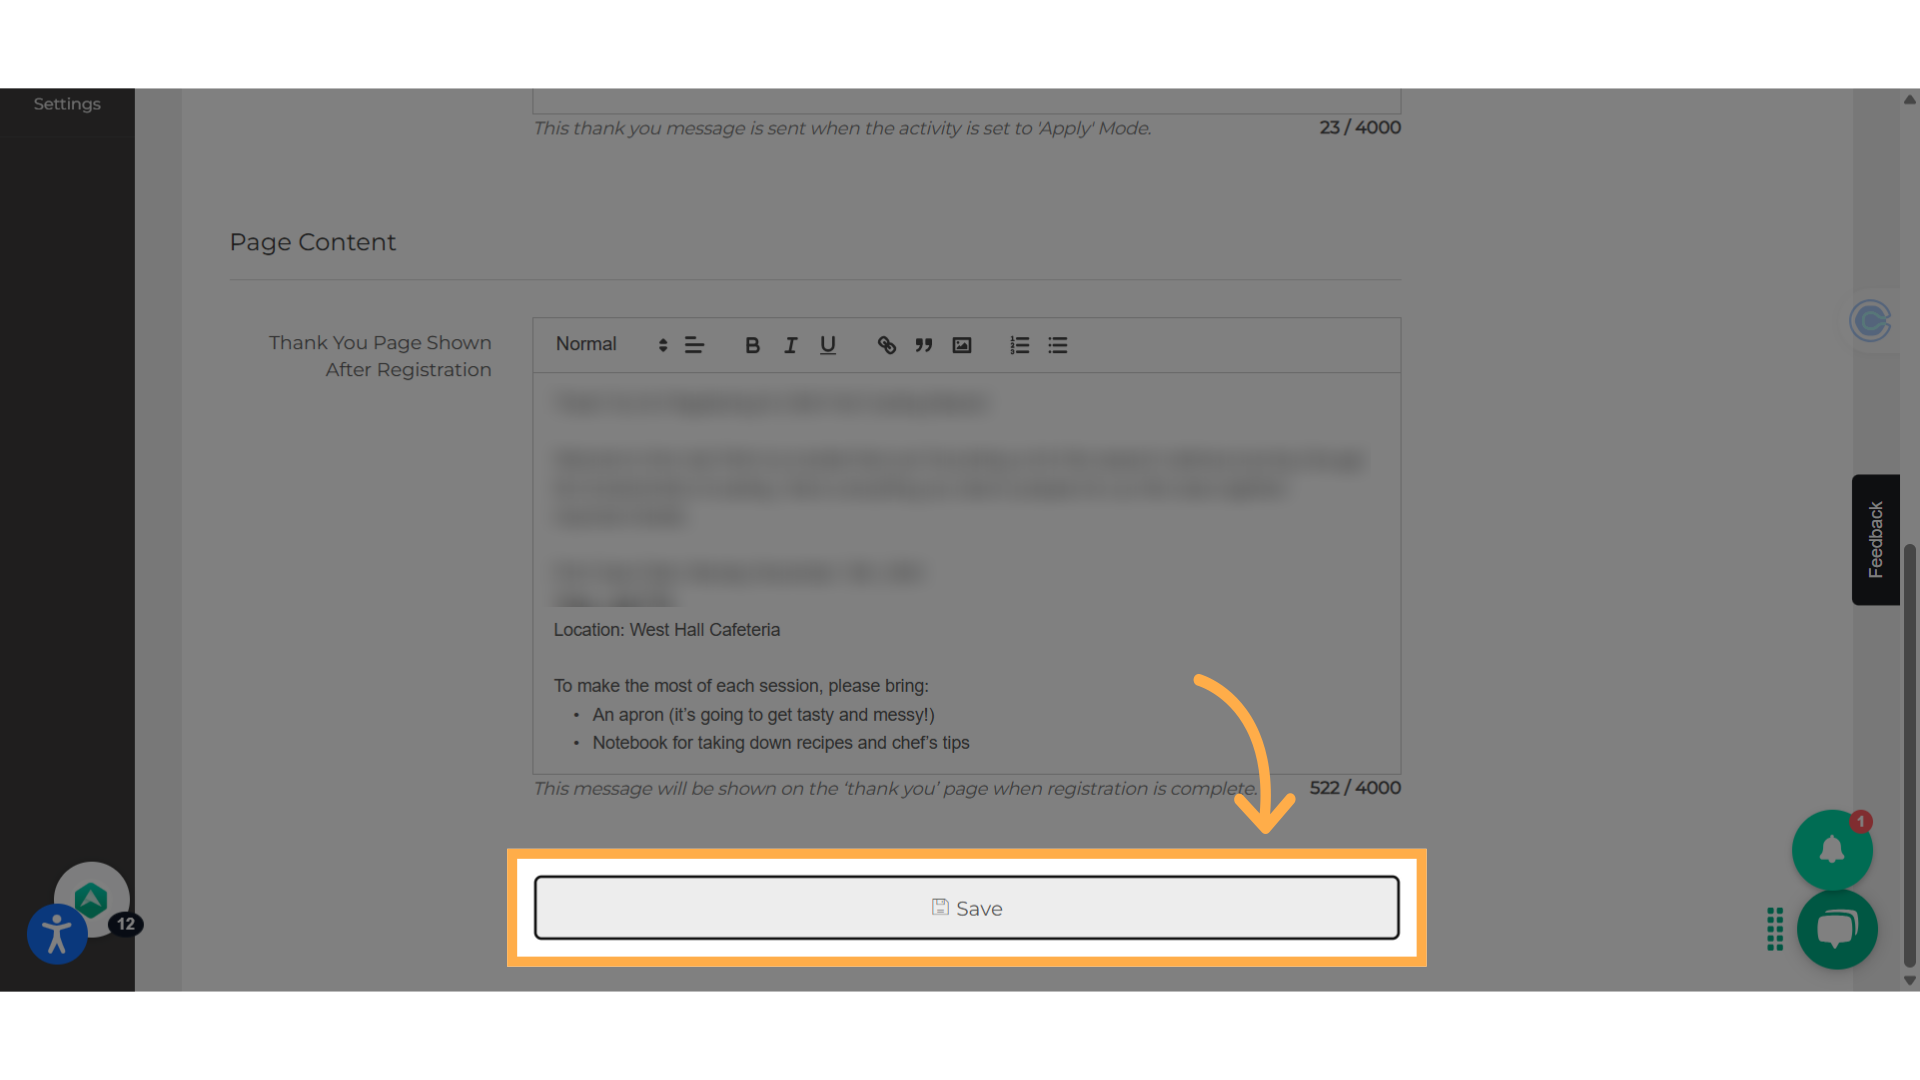
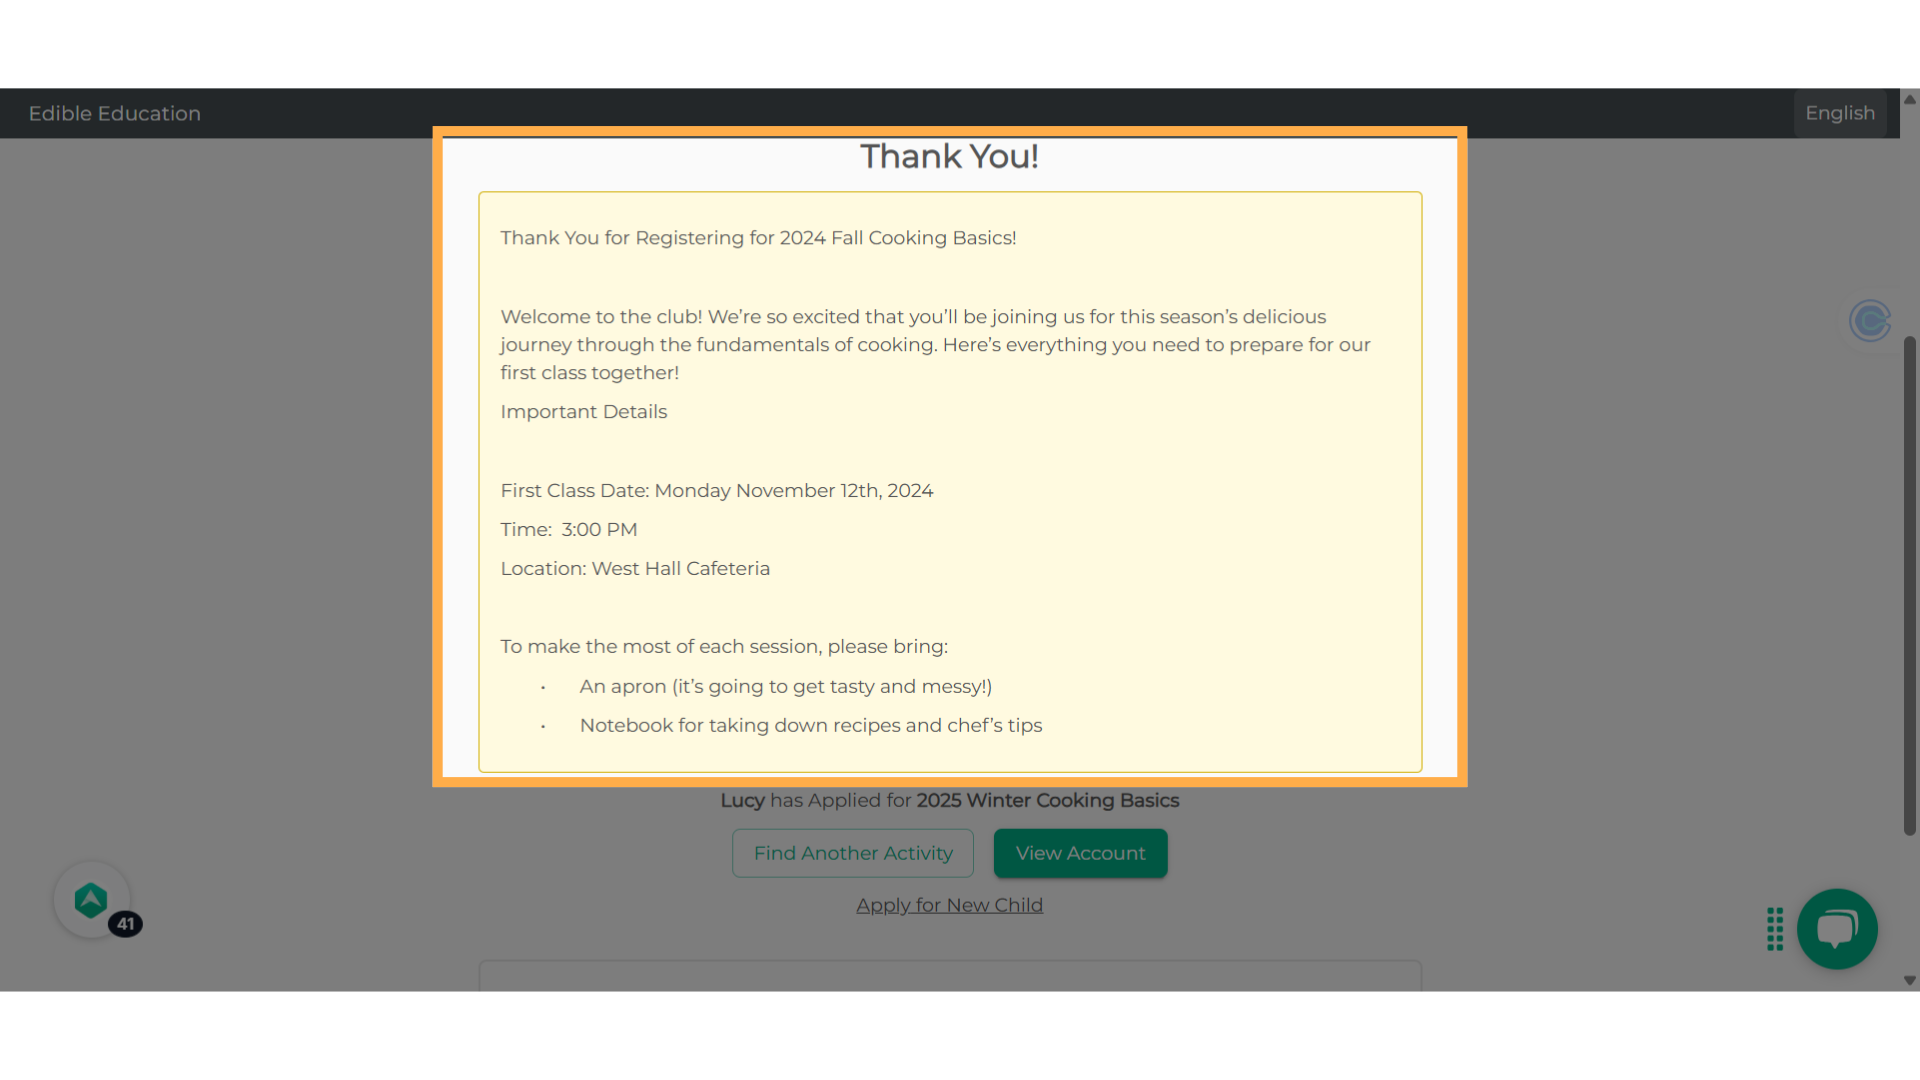
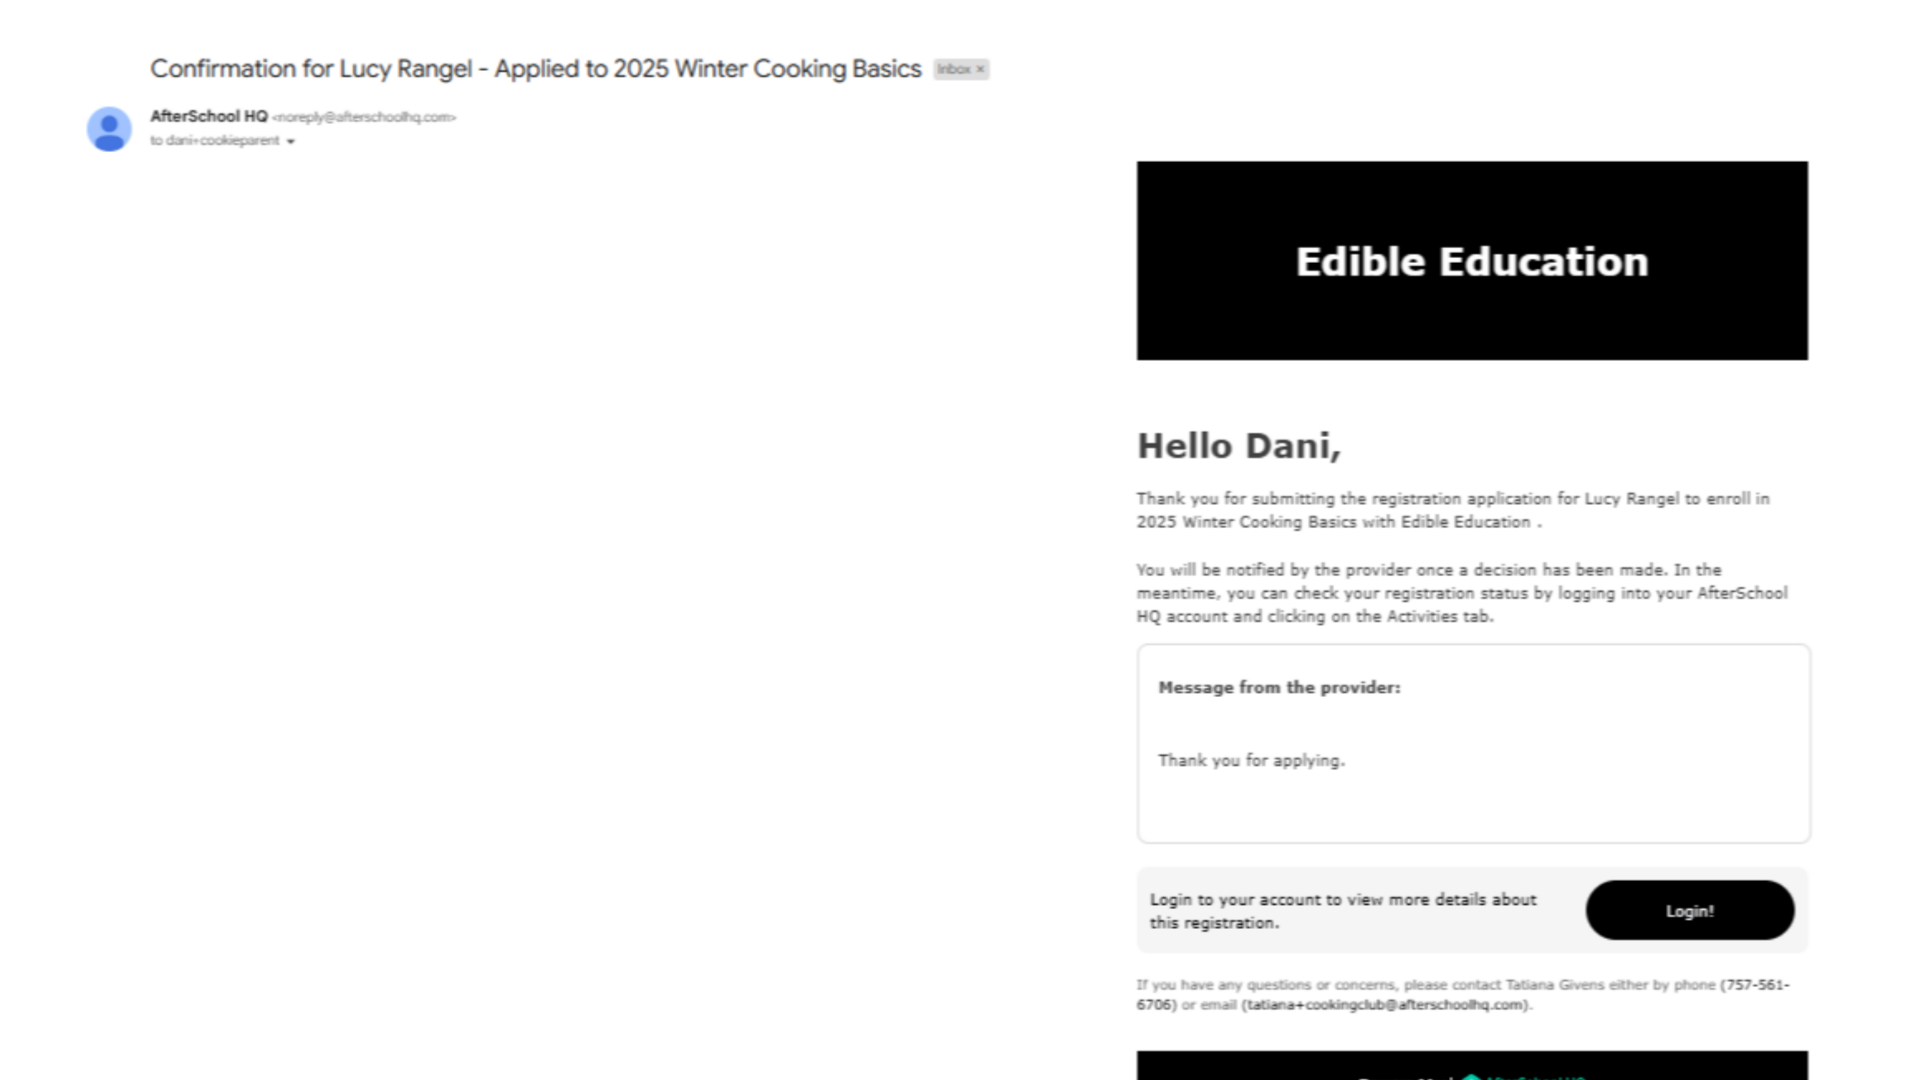
This automated email currently represents the sole automatic communication within the platform; however, we are actively engaged in enhancing the automatic notification system. Additionally, the message displayed on the device during enrollment is also complimentary, and the "Email/Page Content" section within the activity settings can be modified at any time.
This guide offers comprehensive steps for including your own custom message to registrants, both through email and on their devices.
1. Introduction
Find out how to customize your automated email that gets sent after someone successfully registers or applies. Also, explore the thank you page that registrants see on their device when they sign up using AfterSchool HQ.
2. Select "Extracurricular Activities"
From your home dashboard, navigate to your activity list by hovering over "Activity Center" and selecting "Extracurricular Activities."
3. Click on the
activity name
Select the activity by clicking on the activity name.
4. Navigate to the "Setup"
Click on the "Setup" tab
5. Click "Email / Page Content"
From your settings page, click on the "Email and Page Content" section.
6. Click "Show Advanced Settings"
Click on the "Show Advanced Settings" button to view both email options.
7. Select from the 2 email options
Use any of the 2 email options based on what you selected as the registration or applied mode in the first settings page during the set up of the activity.
8. Edit either the "Registration or Application Thank You Email"
Enter your personalized message in the Registration or Application Thank You Email. You have up to 4,000 characters available.
9. The "Page Content"
Craft a custom message that your registrant will see on their device. If you decide not to include anything, no need to worry, a "Thank you" will still show up on the registrant's screen.
10. Click "Save"
Don't forget to "Save."
11. The Page Content example
Here is an example of a personalized section for the "Page Content".
12. Automatic Email example
This is an example of what the Automatic Email will look like.
13. Continued Options for Parents
The registrant will have the option to Find Another Activity, View Account, and Apply for New Child.
This guide walked you through Customizing and Utilizing the Email Content Page and Thank You Message on AfterSchool HQ. Thanks for watching!
Best Practice
Enhance the Enrollment Experience
By automating a warm and personalized message that incorporates dynamic fields such as your name, your contact information, or guides on how to use Check In and Out, can help you foster a stronger relationship with parents and enhance their overall experience.
Increased Productivity
Personalized emails and messages upon enrollment also allow employees to concentrate on other tasks, instead of individually sending messages to each registrant at a later time.
Save Both Your Time and Money
The automatic email and message sent to the registrant's device come at no cost. However, if you choose to delay sending a message through the messaging system, you will begin to use up the monthly message allowance you have. Therefore, it's wise to save both your time and money, and save your messages for another matter like "Late Arrivals" or "Cancelation".
💡 If you experience any issues or have further questions with Customizing and Utilizing the Email Content Page and Thank You Message, don't hesitate to get in touch with our support team at support@afterschoolhq.com.