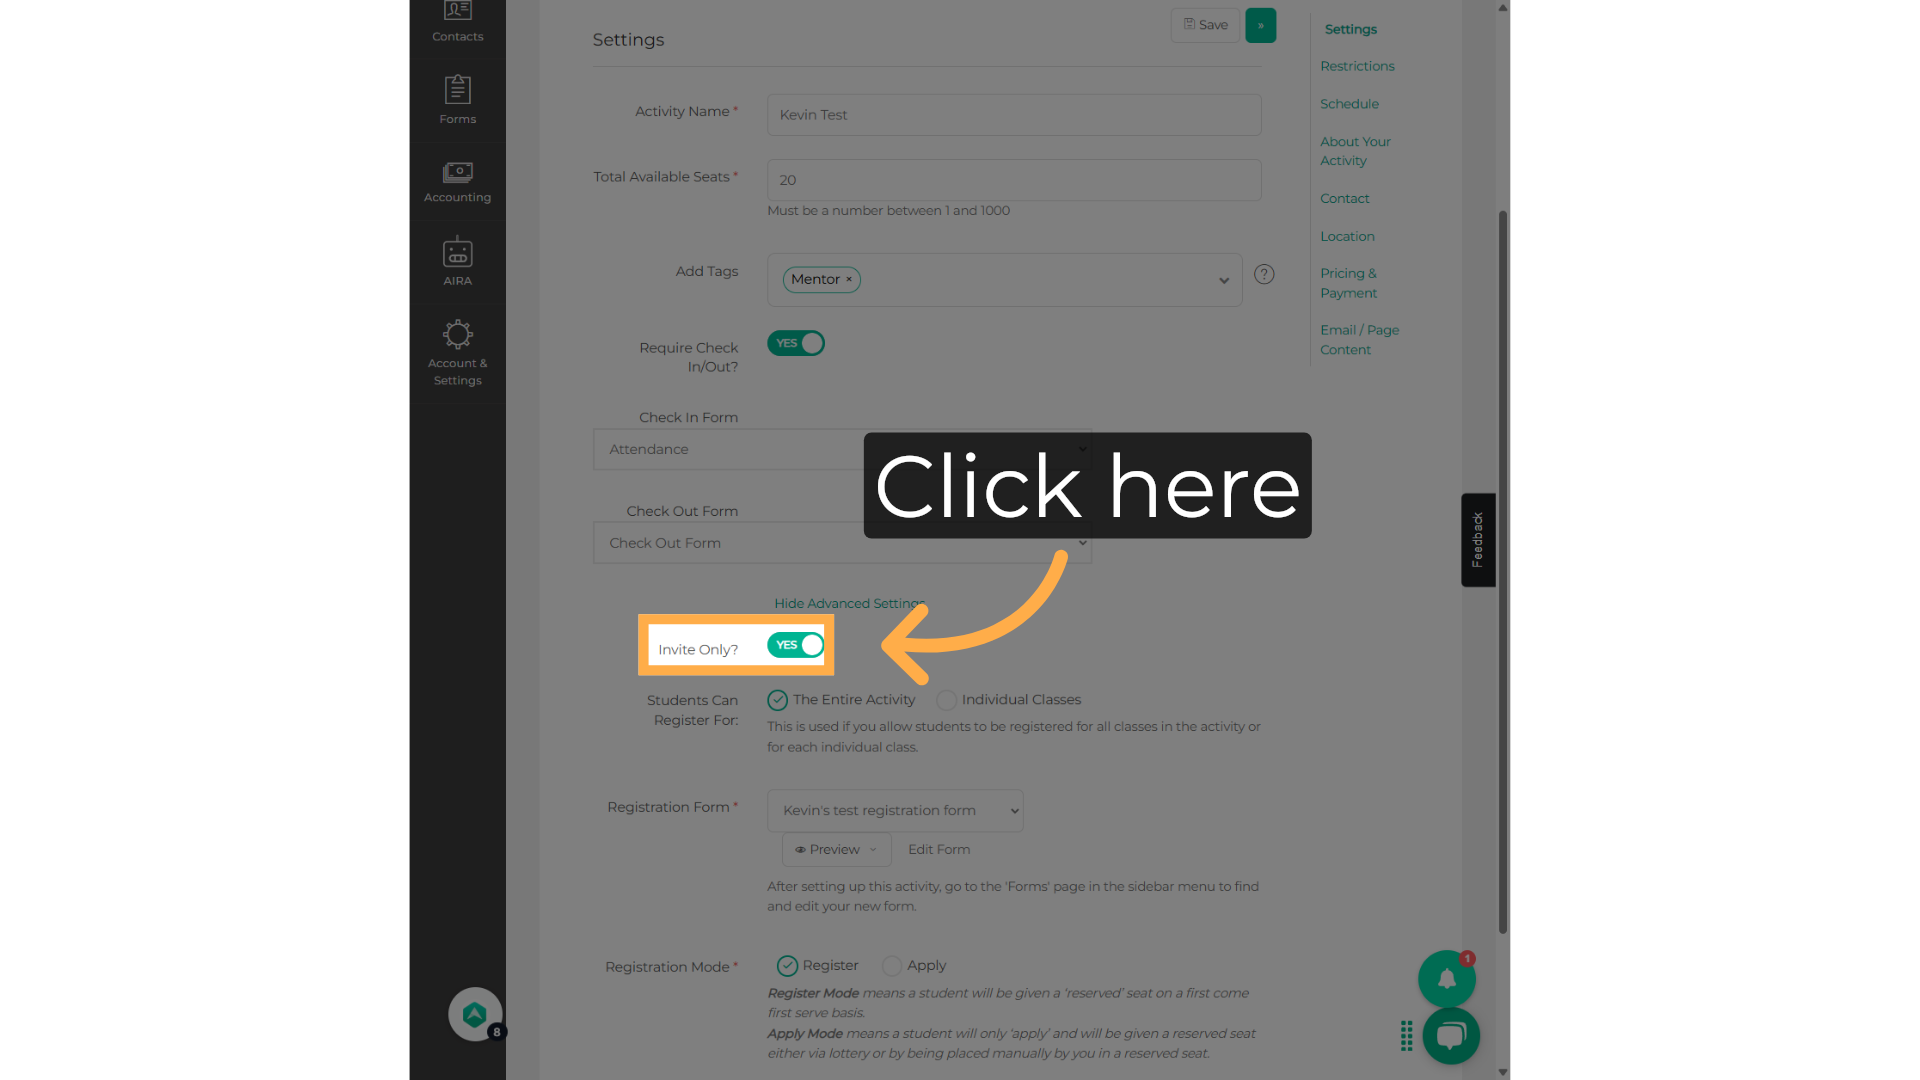
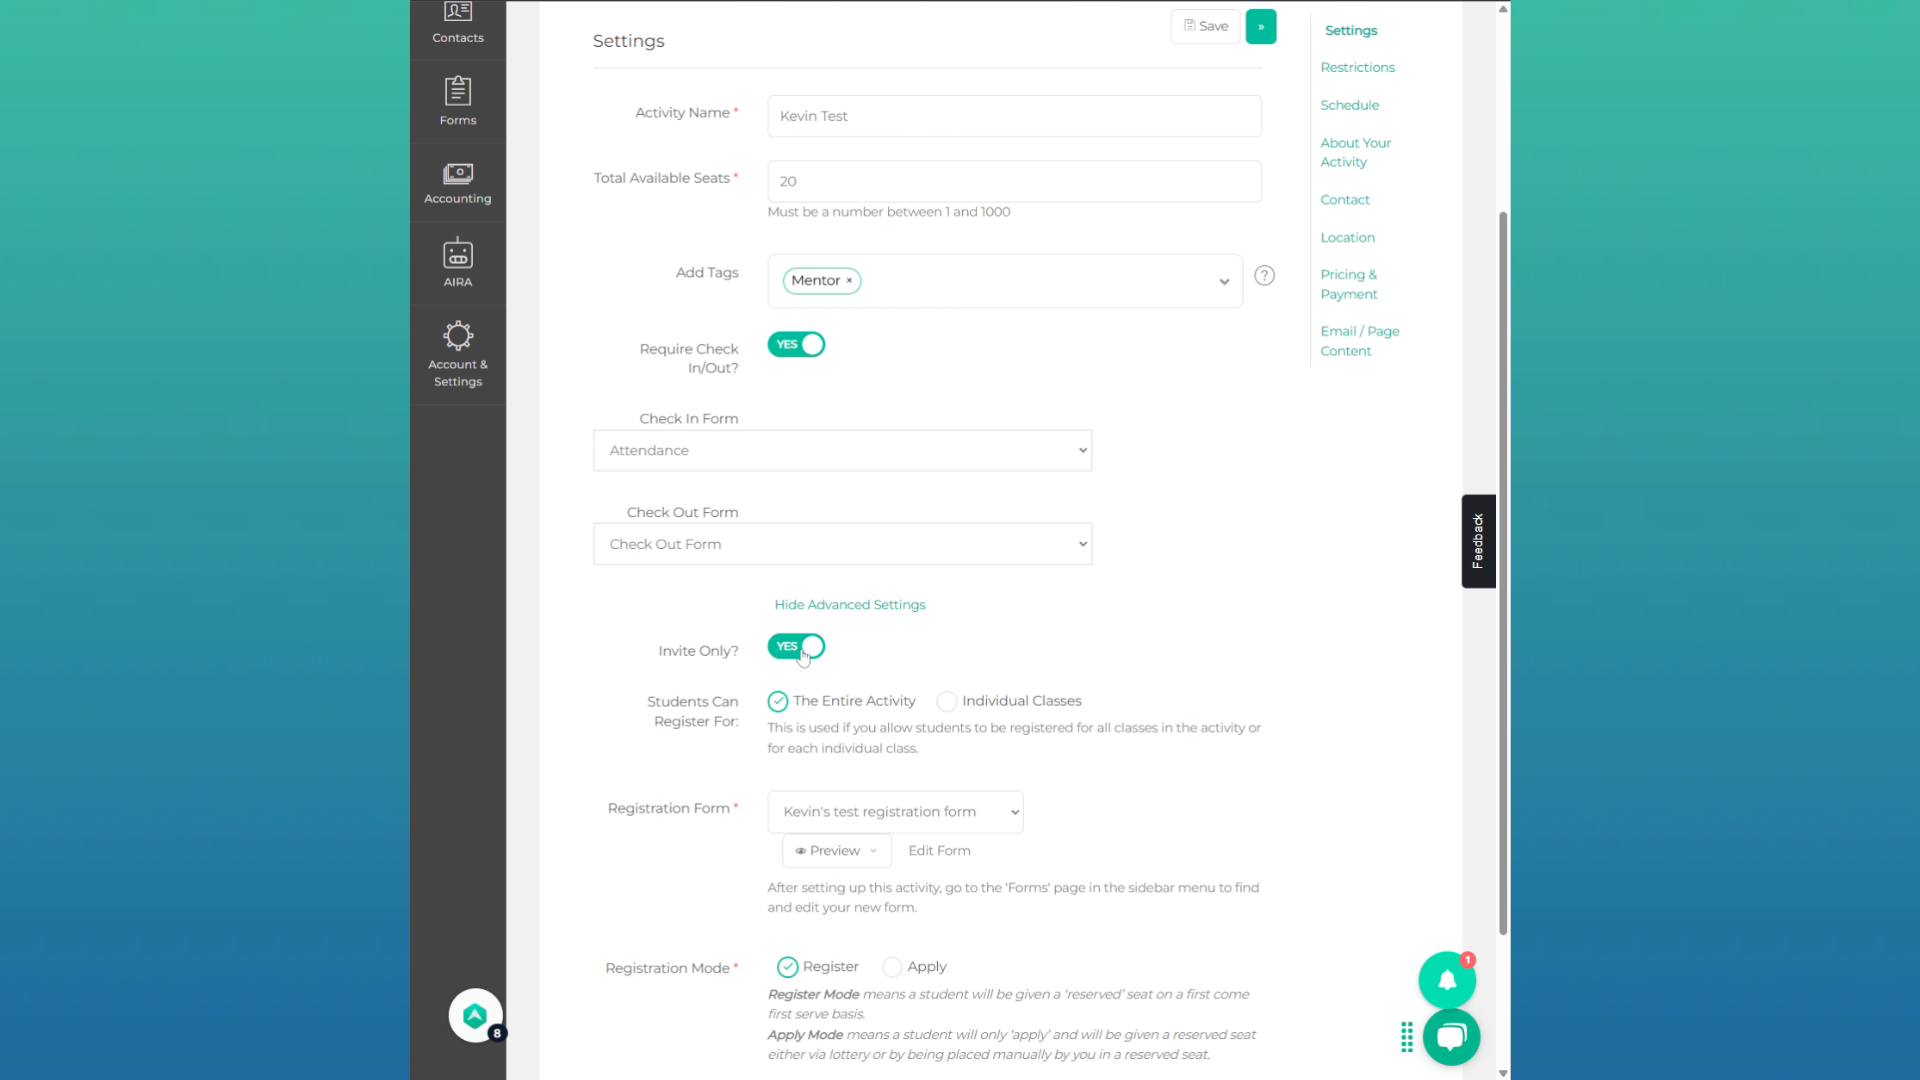
- AHQ Help Center
- Activity Providers
- Activity Settings
How to Set an Activity to Invite Only
The Invite-only functionality is a more secure joining process where you can send personal invites to your attendees. This way, you will have more control over who can join your activity.
In this article:
- You will learn how to change your activity to "Invite Only".
Go to afterschoolhq.com
1. Introduction
You will learn how to navigate through different sections and change settings to ensure that only invited individuals can access the activity.

2. Hover over "Activity Center"
Access the Activity Center.

3. Click "Extracurricular Activities"
Navigate to the "Extracurricular Activities" section.

4. Click "Search for activity"
Search for a specific activity.

5. Type to find the activity
Fill in "test"

6. Click "Kevin Test"
Select the "Kevin Test" option.

7. Click here to create a new activity
If you haven't created the activity you want to set as "invite only", click here to create a new activity

8. Click "Setup"
Proceed to the "Setup" section.

9. Click "Show Advanced Settings"
Open the "Show Advanced Settings" tab.

10. Click "Invite only"
Click "Invite only" to toggle between on and off.

11. Select Yes or No
Enter "1" in the provided field

12. Click "Save & Next"
Click on "Save and Next" to proceed.

13. Click "Publish..."
Everything is ready to publish your activity if you haven't done so yet.

FREQUENTLY ASKED QUESTIONS
I have switched my activity into "Invite Only". How do I invite people to join the activity?
You need to share the URL. Check out How to Find Your Activity URL Link or Send an Invitation for Your Activity!
💡 If you experience any issues or have further questions on How to Set an Activity to Invite Only, don't hesitate to get in touch with our support team at support@afterschoolhq.com .