
Student Notes are a versatile way to add information about a student that isn't captured anywhere else. For instance, some providers like to track a student's progress across the semester. This allows all staff members with access to that student the ability to gain context and see important notes that might otherwise be lost in communication.
In this article, we will cover where Student Notes are located on the AfterSchool HQ platform and how to create, edit & delete notes.
Locating Student Notes
This section of the article will go over the two ways to locate Student Notes.
Step 1. Log in to your AfterSchool HQ account.
Step 2. Locate the student you want to add a note to. There are two ways of completing this step:
Activity Center
Here we will go over how to locate a student through the Activity Center section.
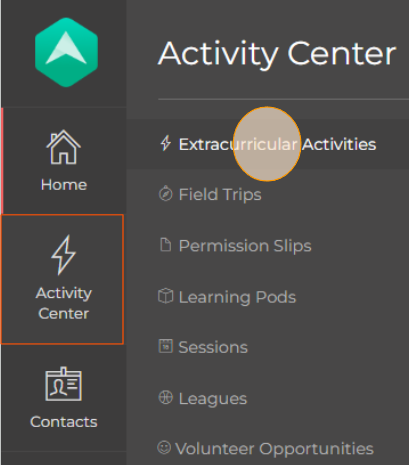
- Hover your mouse over Activity Center and click Extracurricular Activities.
- Locate the activity the student is in and click Manage.

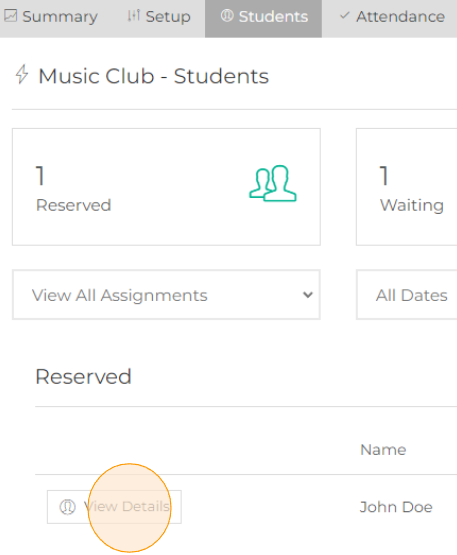
- Click on the Students tab located at the top.

- Locate the student and click View Details.
- Click View Full Registration.

Scroll down to Step 3. to continue
Contacts
Here we will go through how to locate a student through the Contacts section.
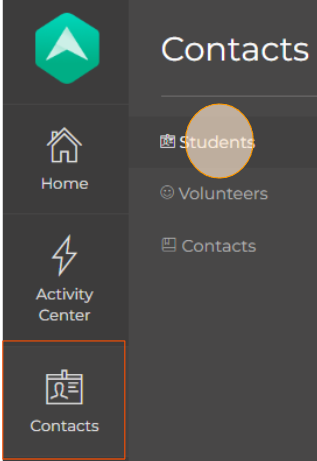
- Hover your mouse over Contacts and click Students.
- Once you've located the student, click View Details.

Tip: You can utilize the filtering options to more effectively locate the student.
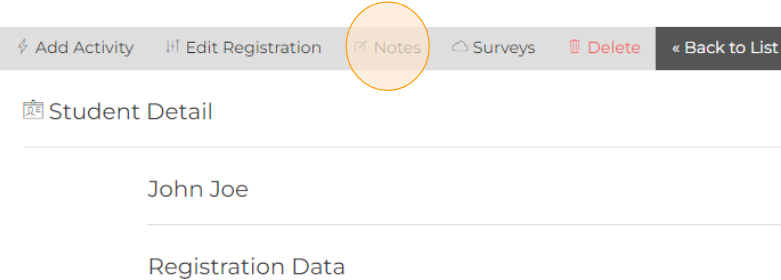
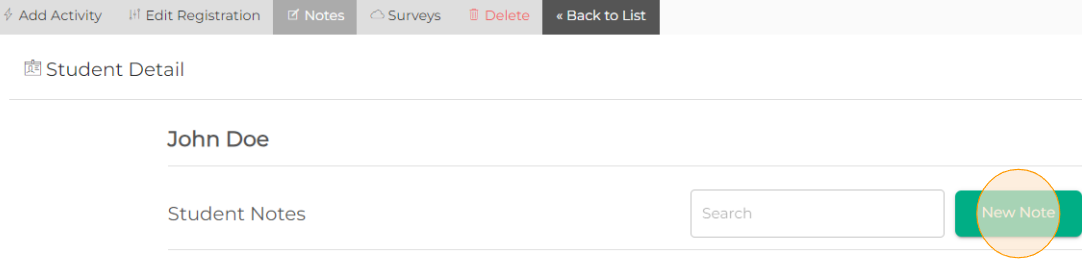
Step 3. Click on Notes located at the top.
Creating, Editing & Deleting Notes
This section of the article will go over how to create a new student note as well as how to edit and delete existing notes.
Creating a New Note
Step 1. Click New Note.
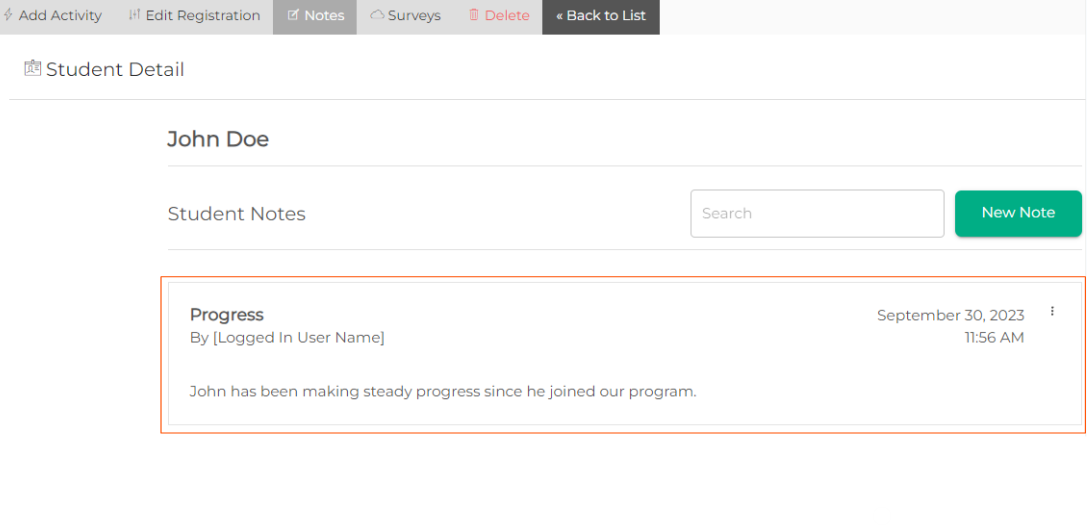
Step 2. Here you will need to add a Title, the Date and the Note for the student. Once you've finished, click Save.

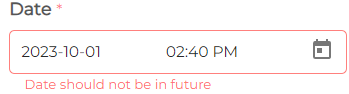
Please Note: Although you are able to add notes for past dates, adding notes for future dates is not allowed. If you select a date in the future, you will not be allowed to save and receive this message:
• After saving, the note will appear with all of the information you entered as well as who created the note.
 Editing & Deleting Notes
Step 1. Click the 3 Vertical Dots located at the top right-hand side of the note.

Step 2. Here you can select to Edit the note or Delete it.

Editing a Note
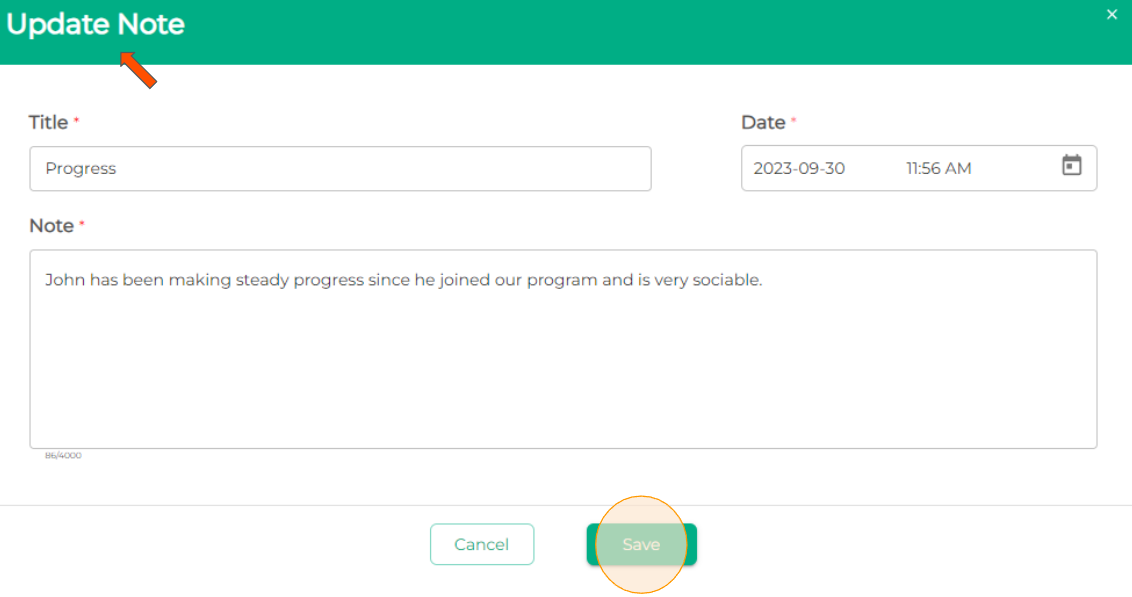
If you edit a note, the exact same window will appear as if you were creating a new note. However, at the top, it will now say Update Note. Once you've finished editing the note, click Save.
Deleting a Note
If you delete a note, a window will first appear asking if you are sure that you want to delete the note and state that this action is irreversible.
Click Yes to delete the note.

• After you have deleted the note, a confirmation message will appear at the top.

Additional Information About Student Notes
- Notes will be shown in chronological order.
- You can search for a note using the search bar in the top right of the screen.
- If you need to make a note longer than 4,000 characters, you can create another note and title it "[Note Title], Continued"
- Account Administrators can edit or delete any note. Any other account type can only edit or delete notes they created.
💡If you have any questions or experience any technical difficulties with Student Notes, don't hesitate to get in touch with our support team at support@afterschoolhq.com.