Have more interest than you have seats? Hosting tryouts or auditions? Congratulations! You have a really popular activity, and you may need the flexibility of Registration Modes.
This article will explain the different Registration Modes and how and when to use them.
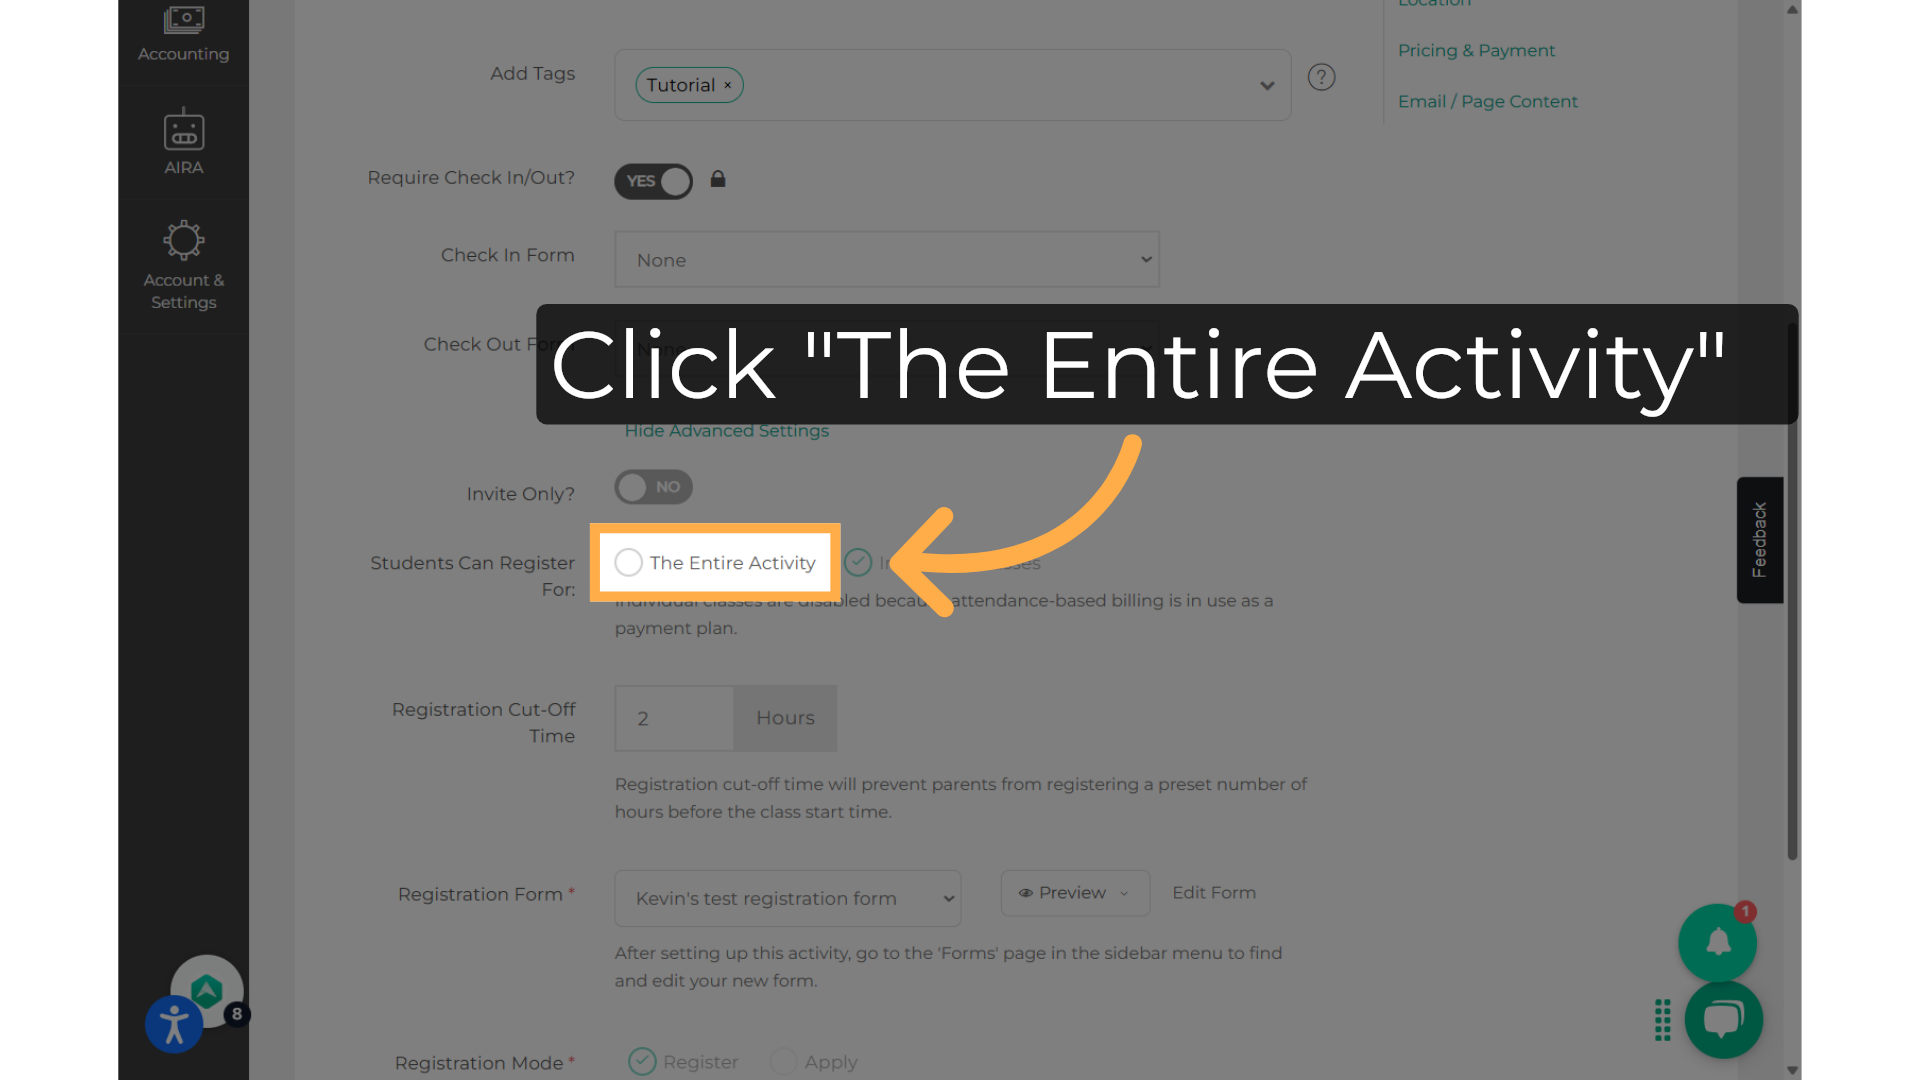
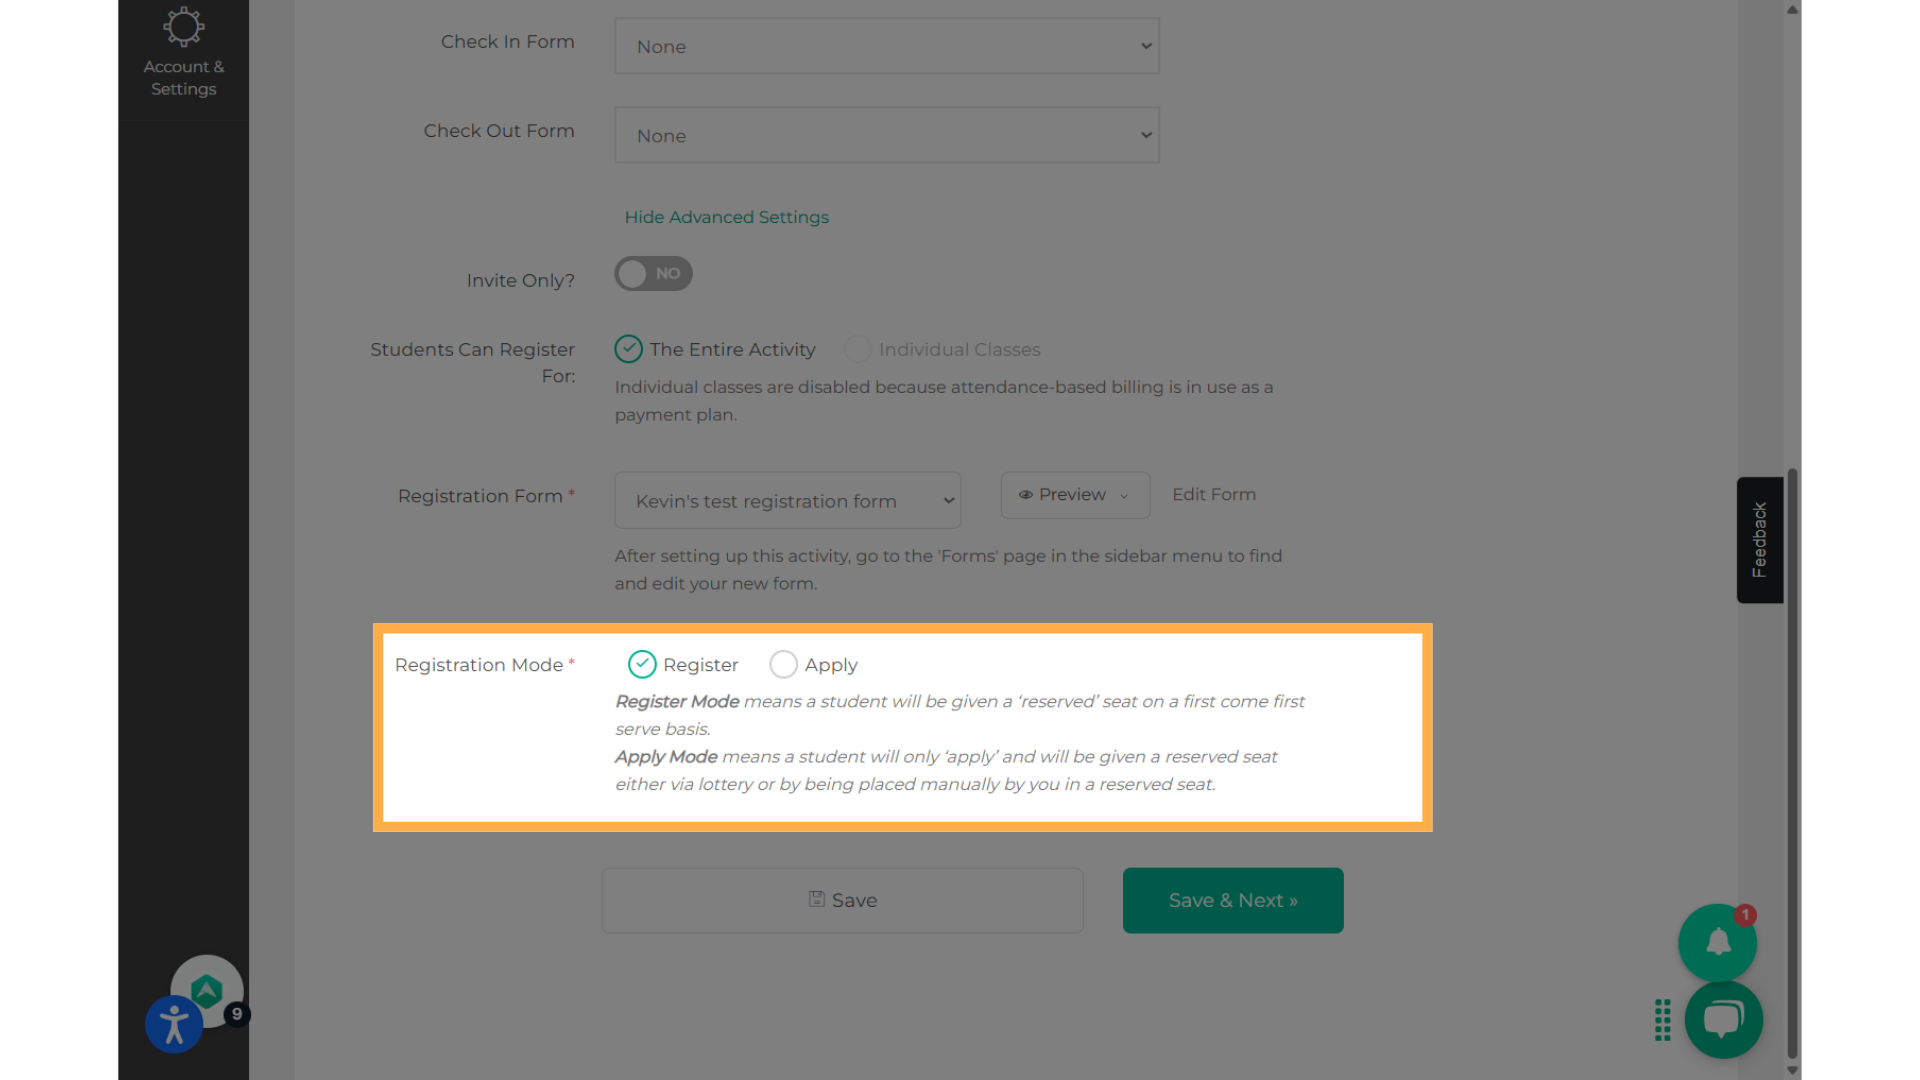
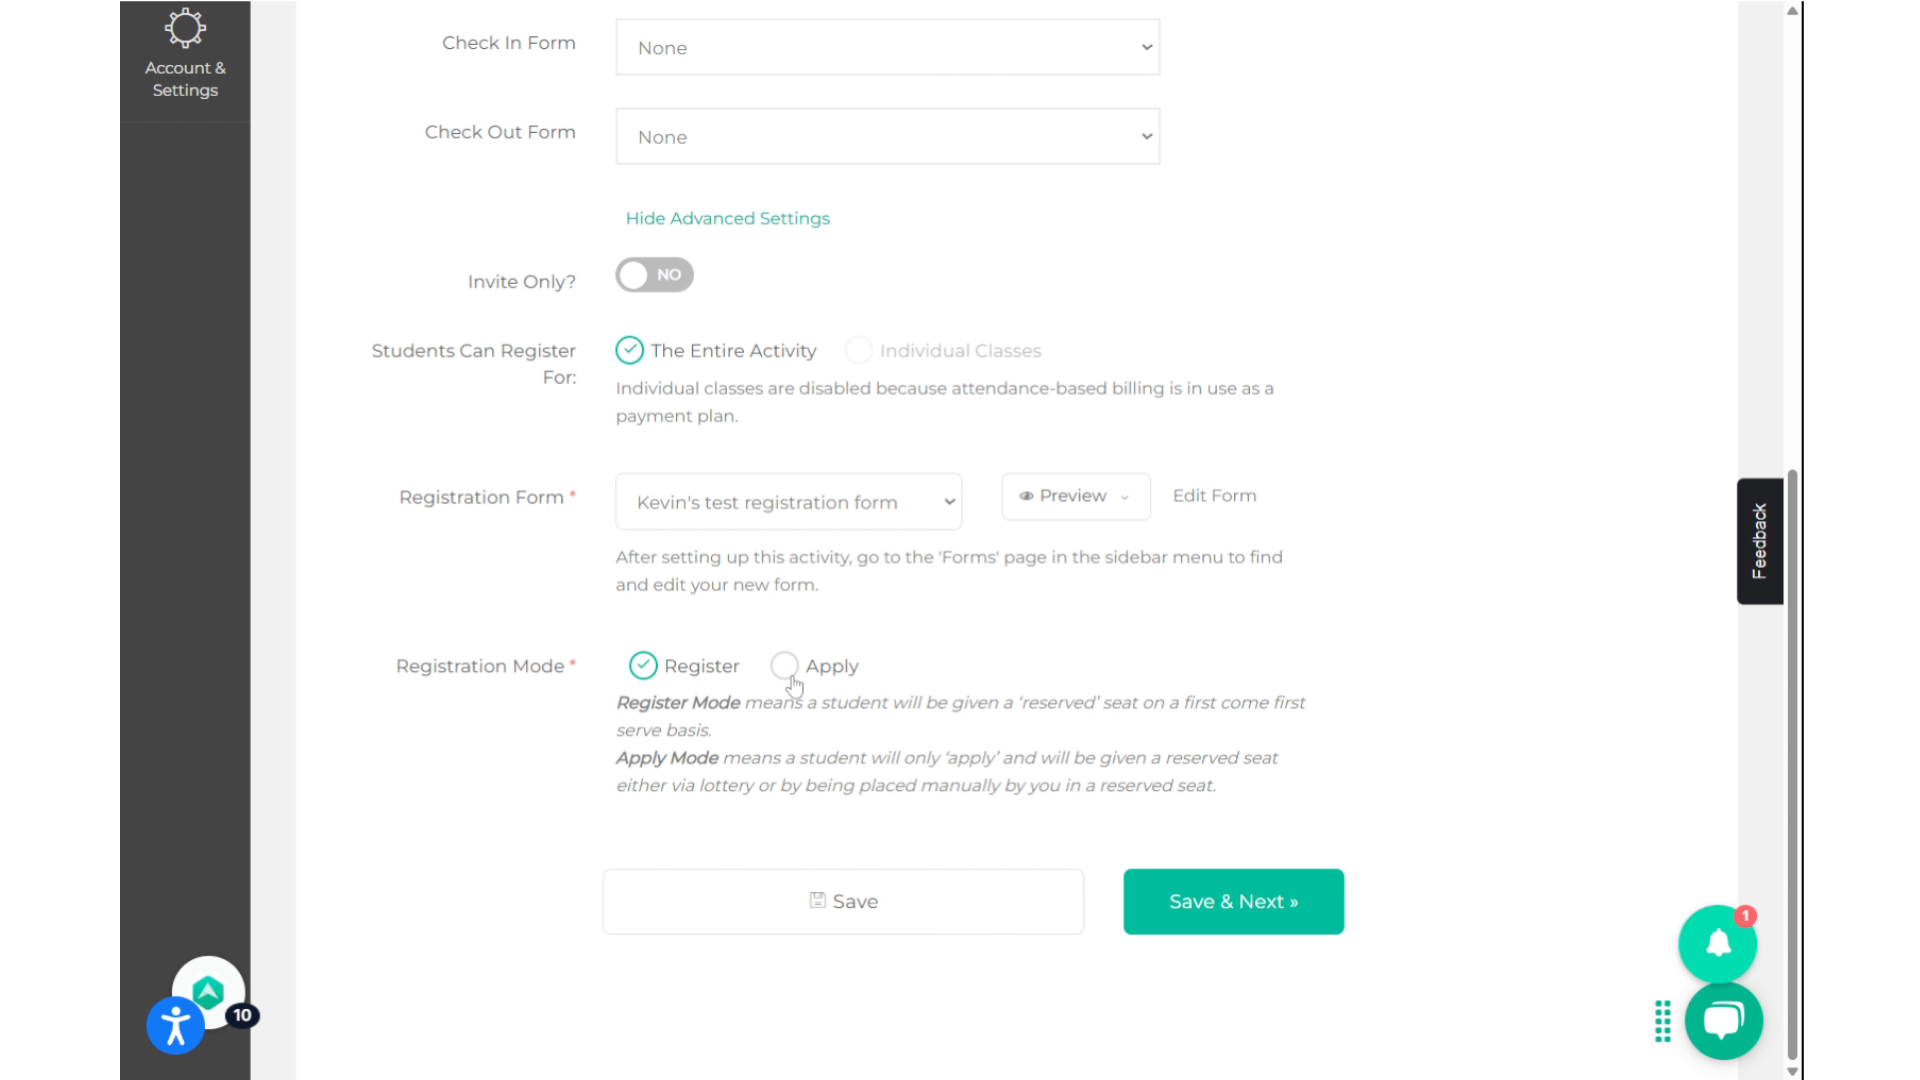
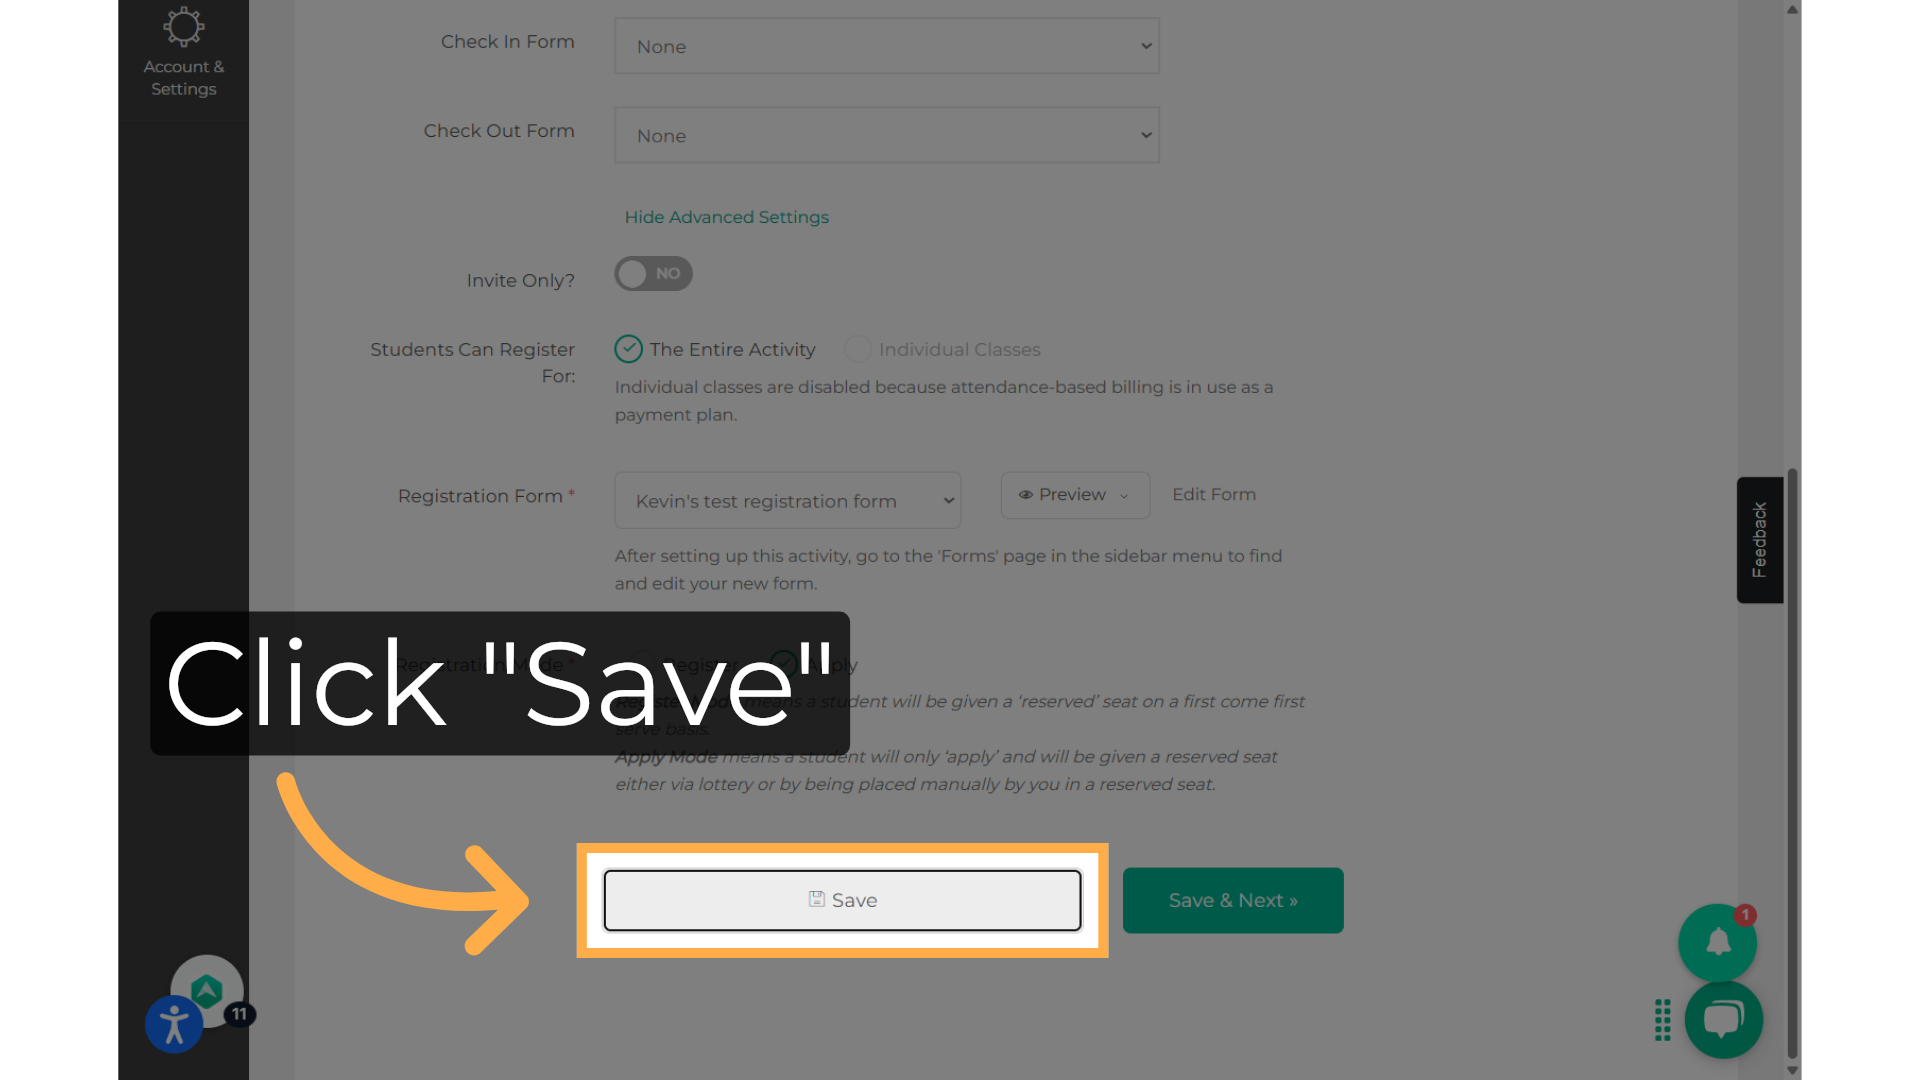
When you are setting up your activity, you can select from two Registration Modes:
Register or Apply.
When set to Register Mode, students are reserved a seat in an activity immediately after registering (as long as there are still available seats left).
When set to Apply Mode, students can only apply for registration and are only reserved a seat either by random selection or by being manually placed in a seat by a platform admin.
Using AfterSchool HQ Registration Apply Mode is the perfect way to run a lottery randomization selection process, so all students have an equal chance of being admitted into your program.

Important!
How to receive payments if you set your activity on Apply mode.
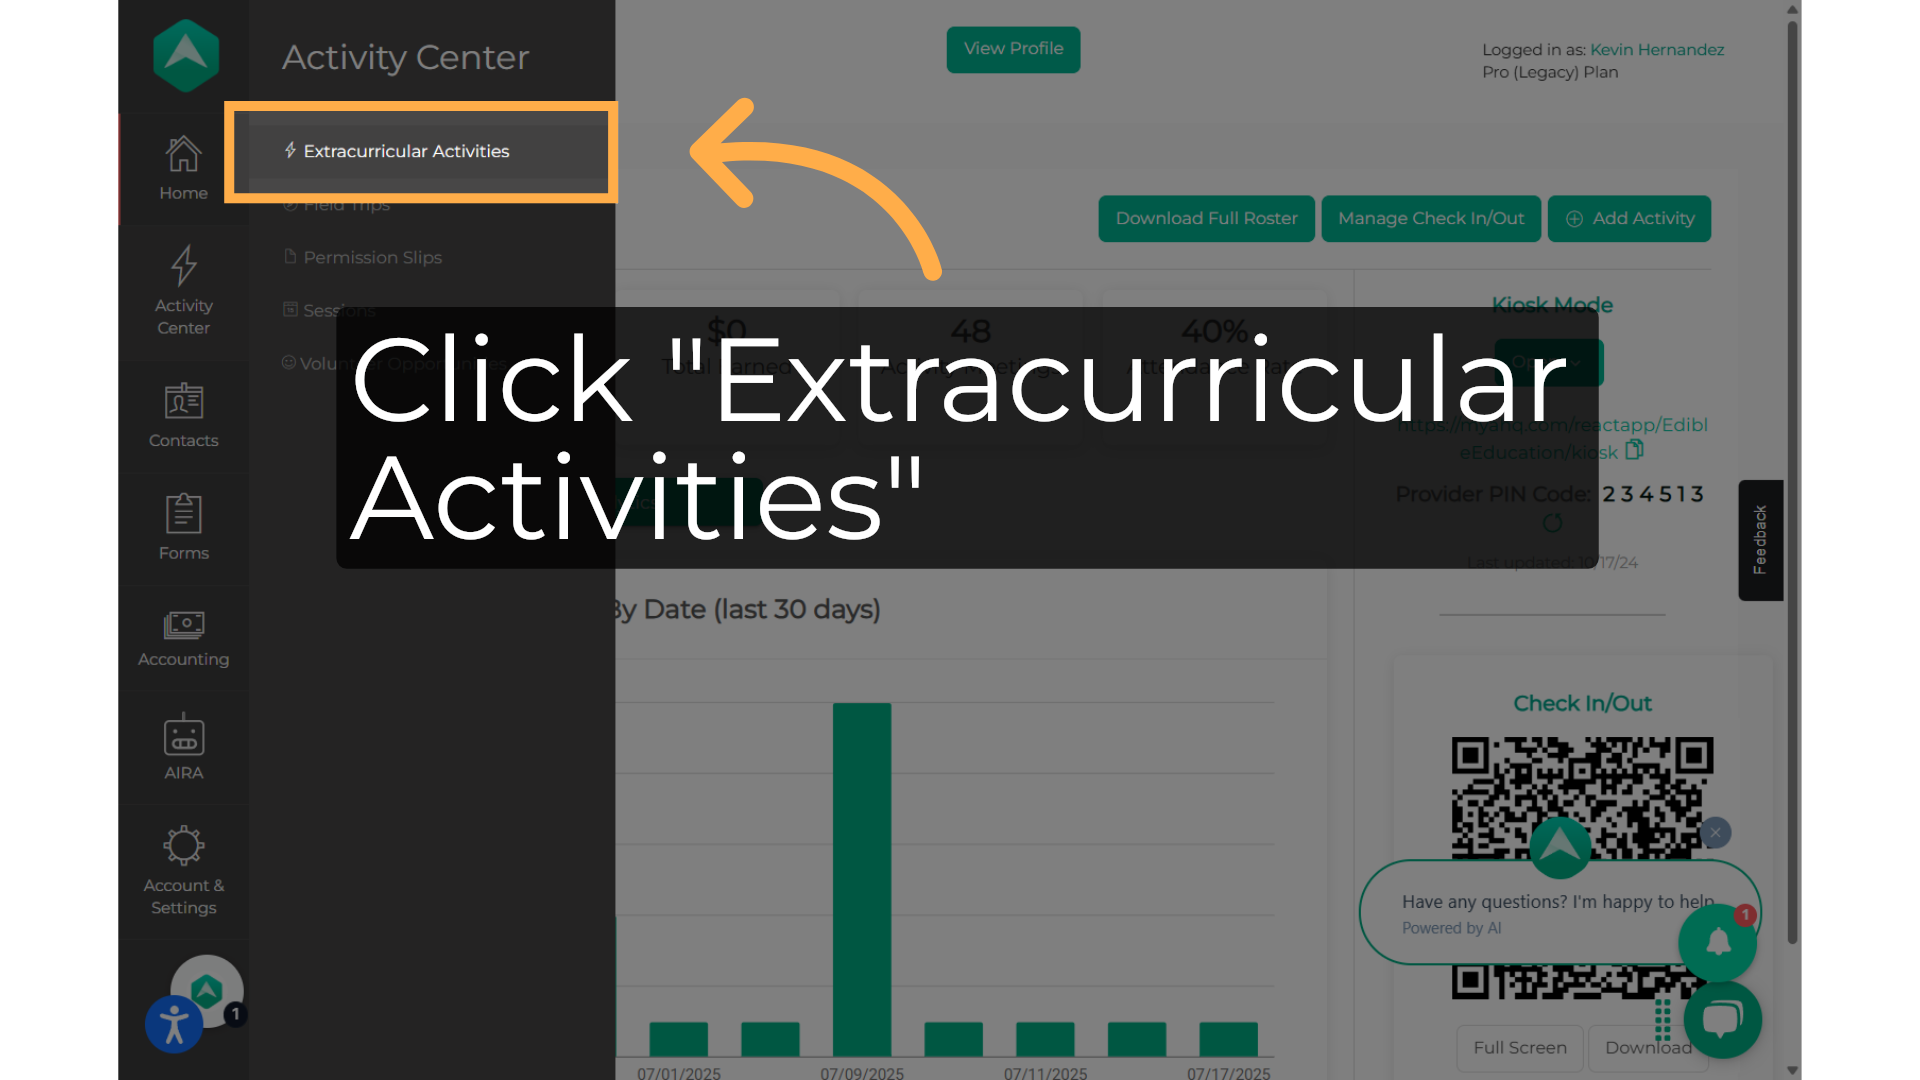
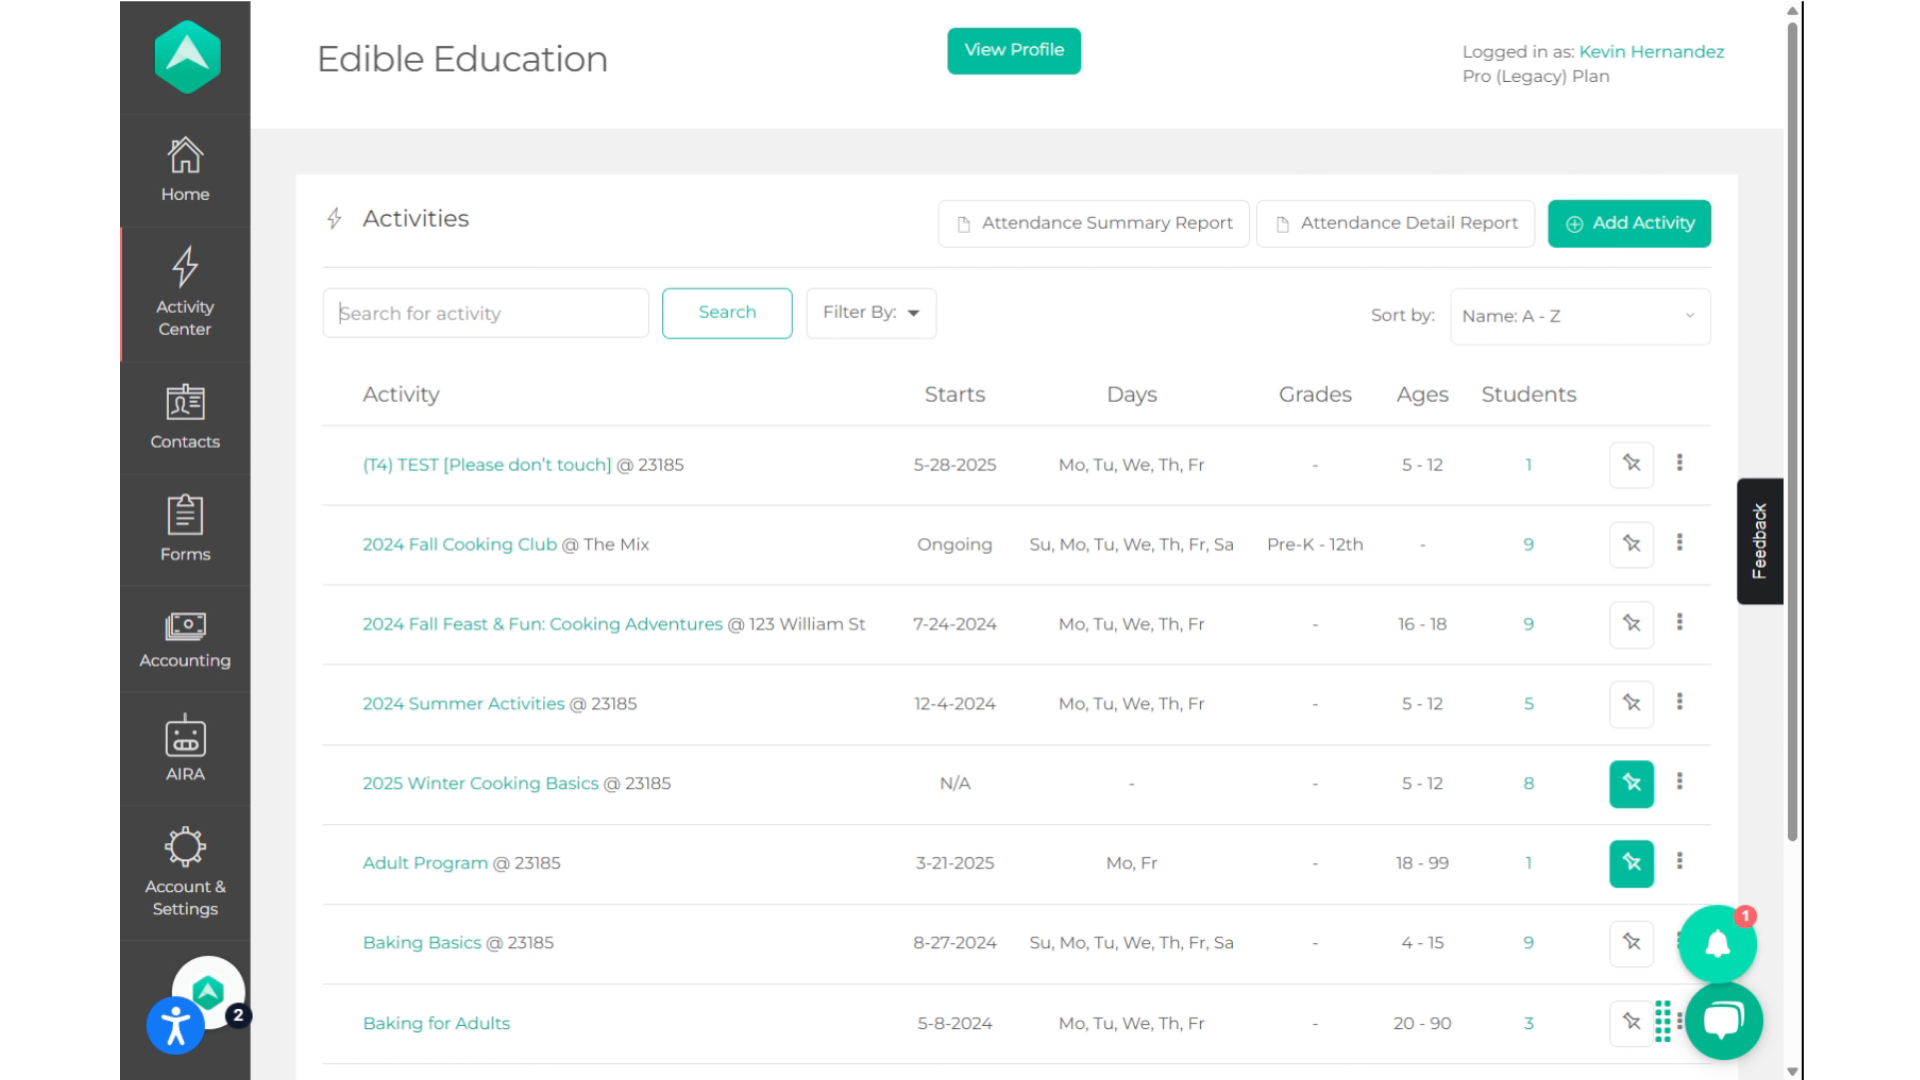
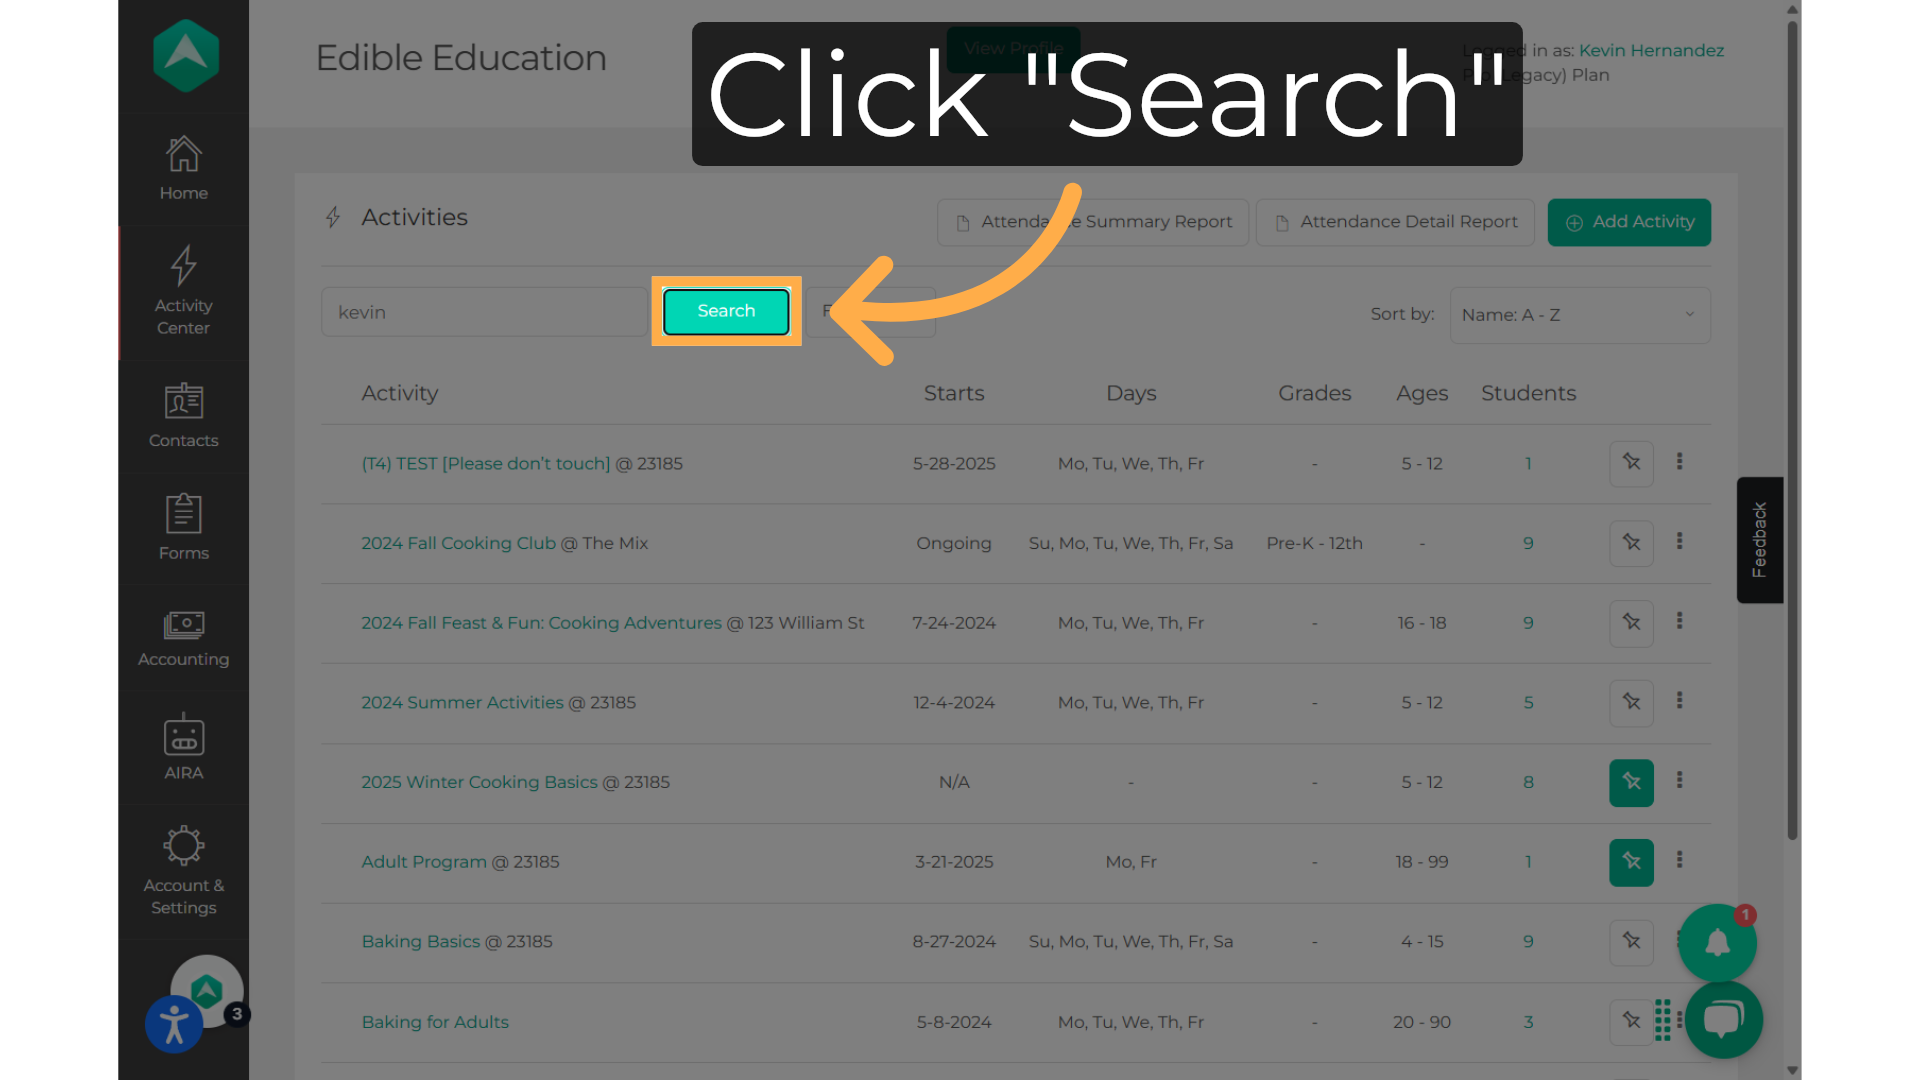
- Go to "Activities".
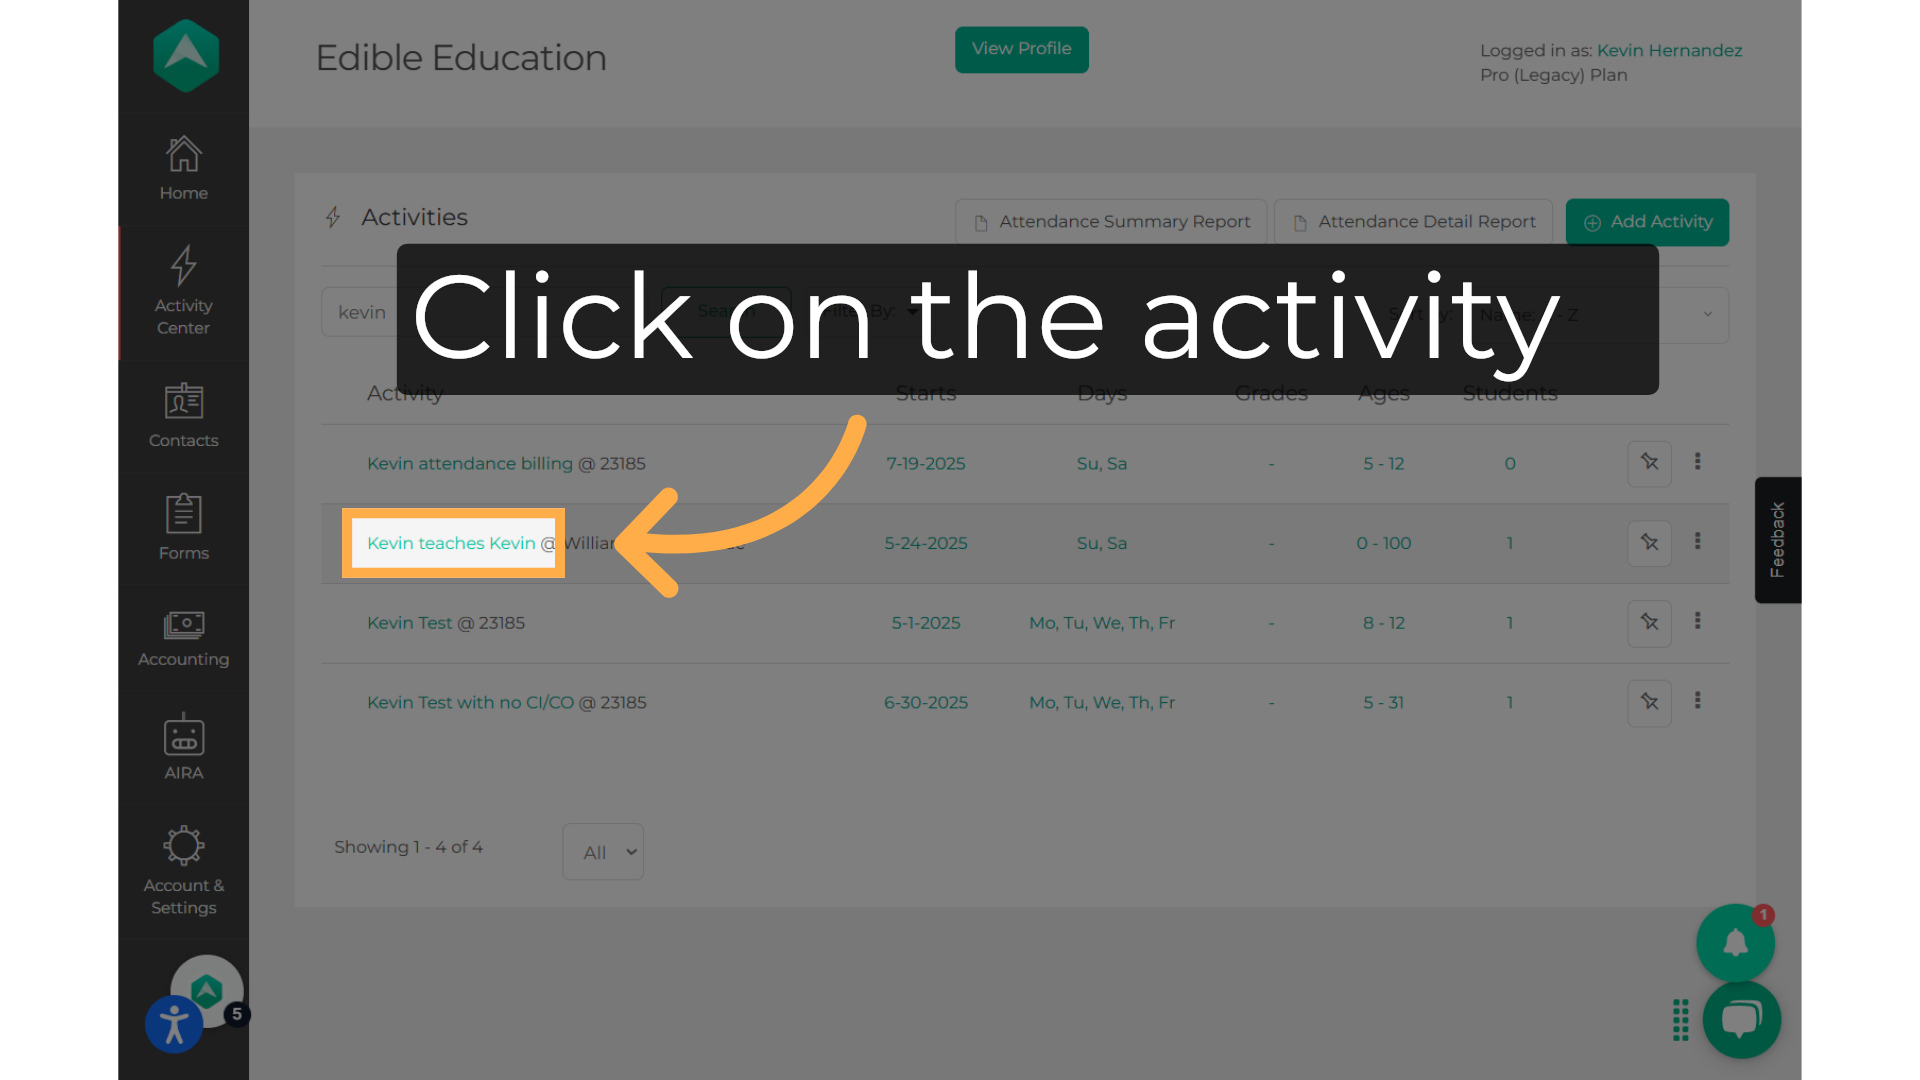
- Click on the "Manage" button next to the activity.
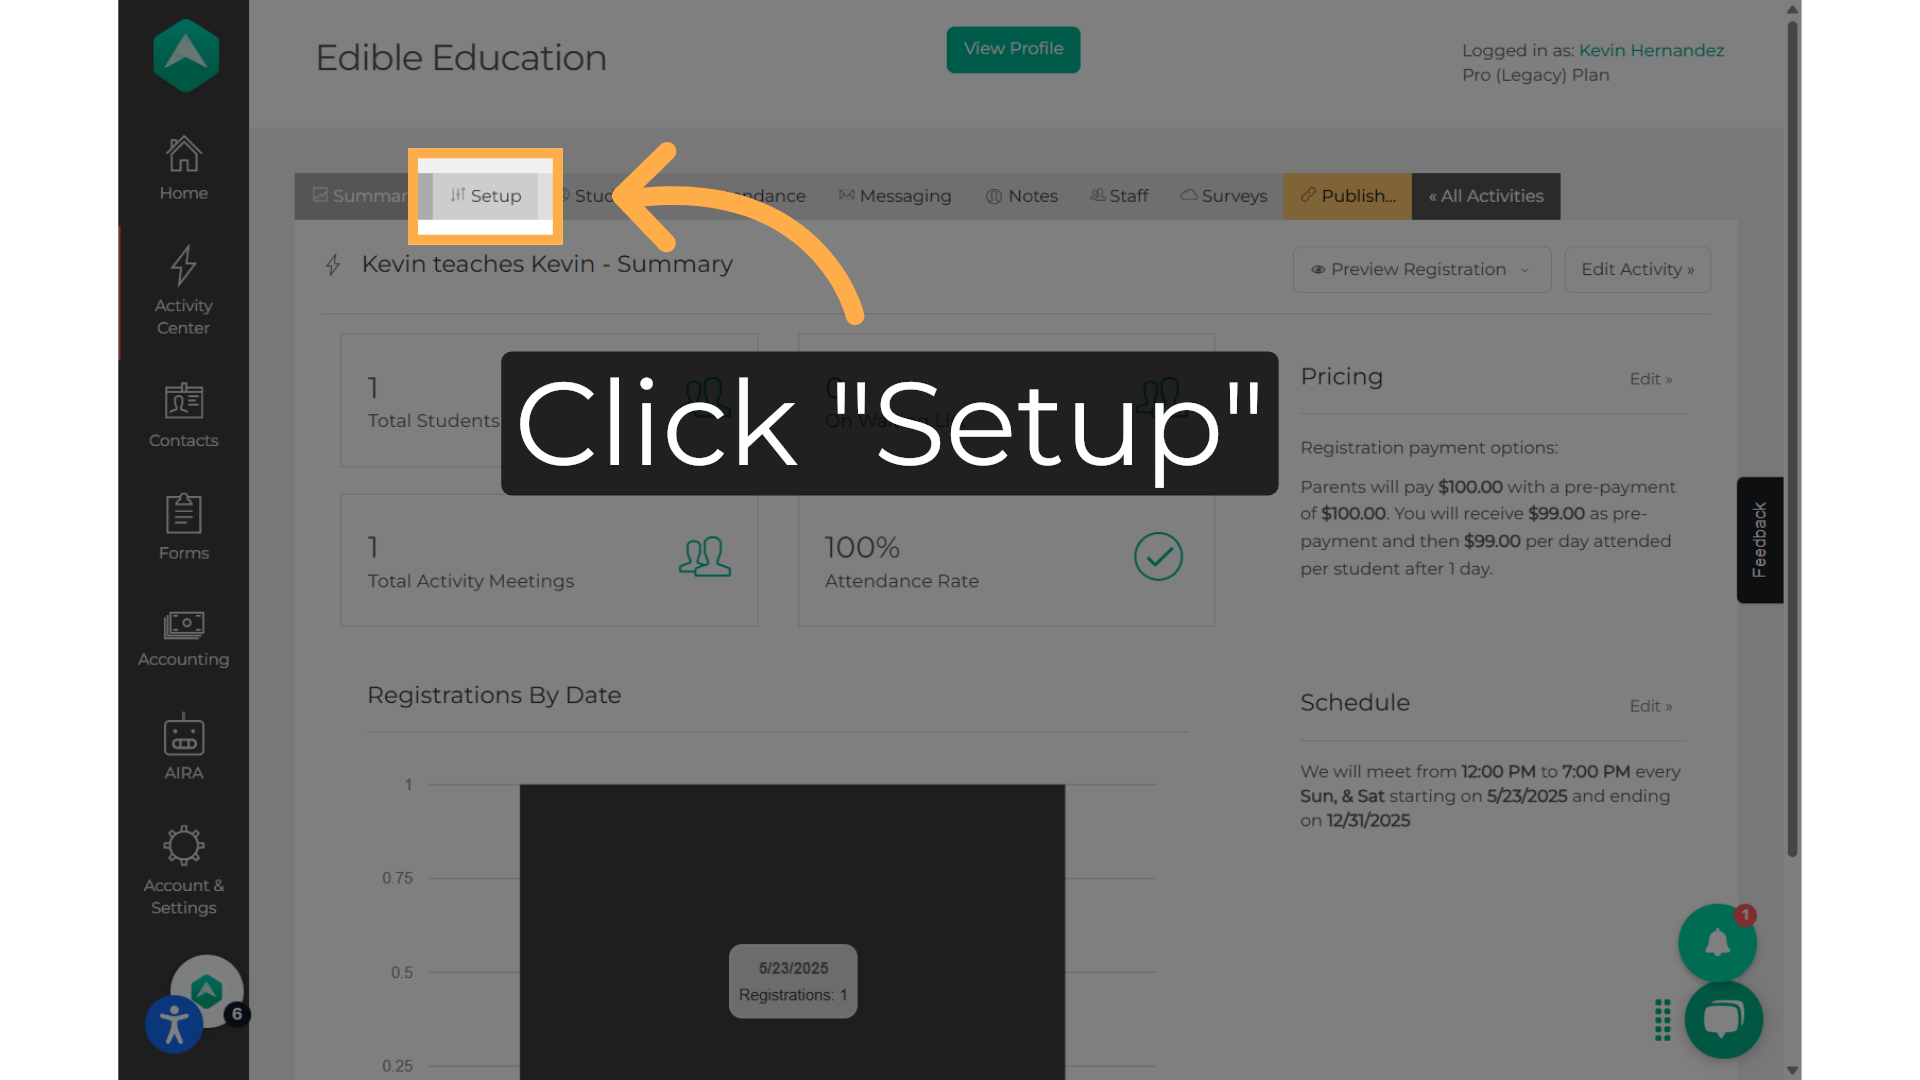
- Click on the "Student" tab.
- Click "Send Invoice" to the students who are going to be in the club.
- This action will set students on "Reserved" and will now only be pending for payment to be made.
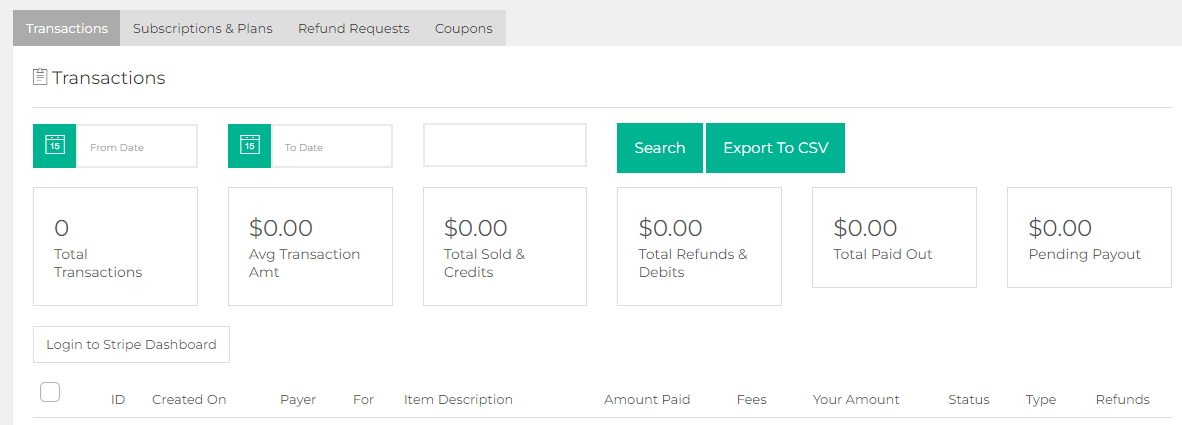
To view your payments, click on  Here you will be able to view Transactions, Subscription Plans, Refund Requests, and Coupons.
Click here to learn how to navigate through Accounting!
💡For additional assistance on how to use the Apply Mode feature, contact support@afterschoolhq.com