At AfterSchool HQ, we know that collecting information about your students is crucial for managing your activities effectively. That's why we've made it easy for you to create customizable Forms to gather all the information you need in one place.
- Accessing the Forms Feature in AfterSchool HQ
- Creating a New Form and Customizing Its fields
- Previewing Your Form as a Registrant
- Setting Required and Optional Fields
- Saving and Attaching Your Form to Your Activity
- Previewing Your Form as a Registrant
- Viewing and Downloading Form Responses
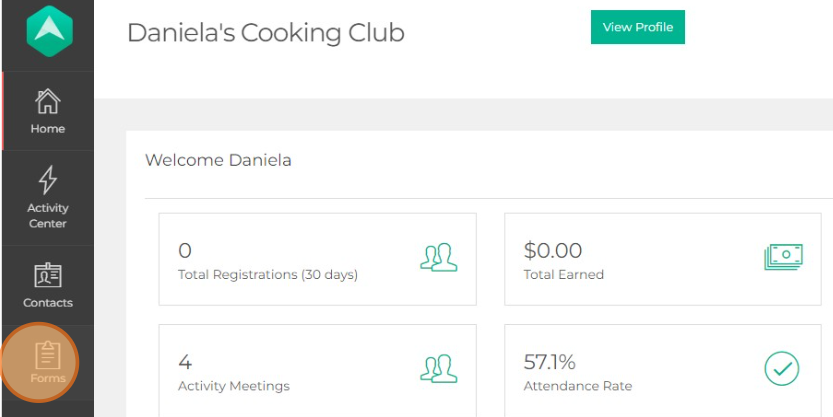
1. Accessing the Forms Feature in AfterSchool HQ Forms
2. Creating a New Form and Customizing Its Fields
then click the Create Form icon.

Now you’ll need to name the form and choose the type of form you want to create.
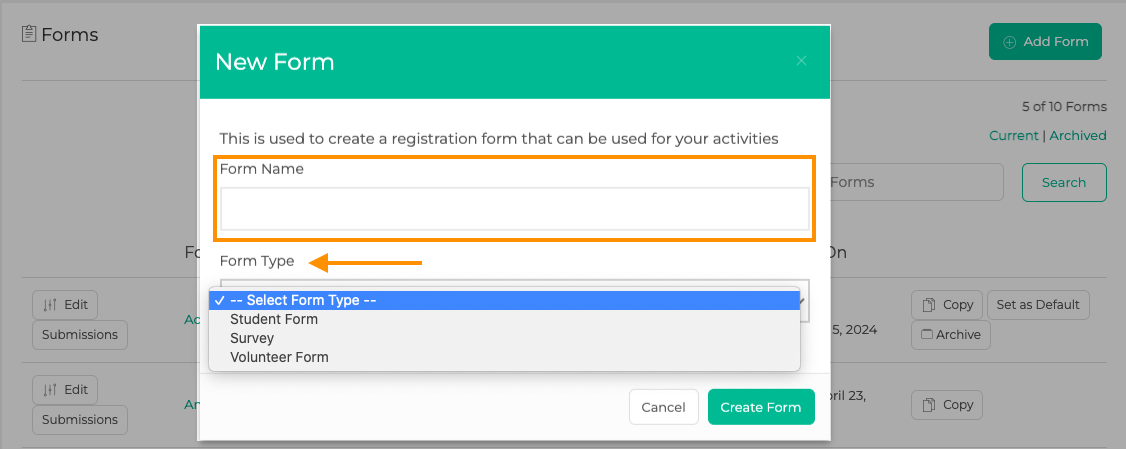
When you select Create Form, you will be redirected to this screen. Here you can name your form and add a description.
 Q: Can the parents see the name and description of the form?A: No. This is solely for you, the activity provider, to help organize your forms more easily.
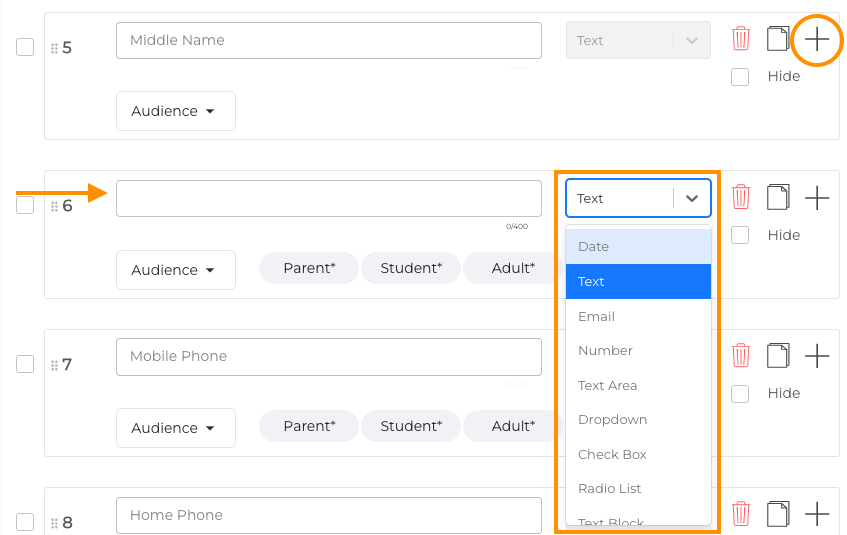
AfterSchool HQ offers several pre-built questions. You can choose to use these or create custom fields. Custom fields can be anything you need to collect information about, such as allergies, medications, or specific medical conditions.
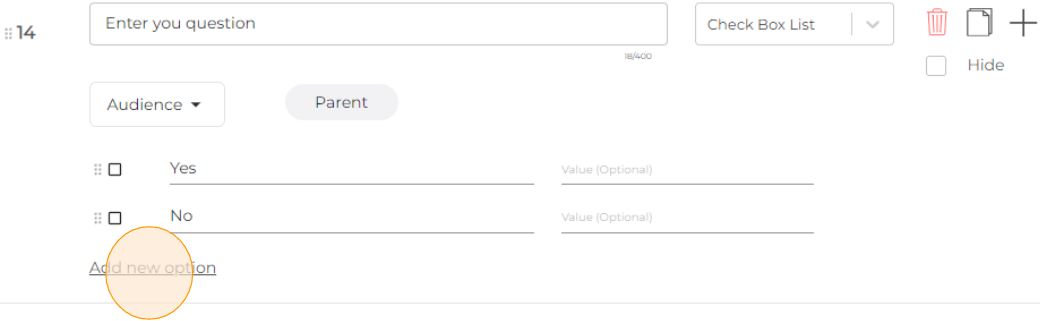
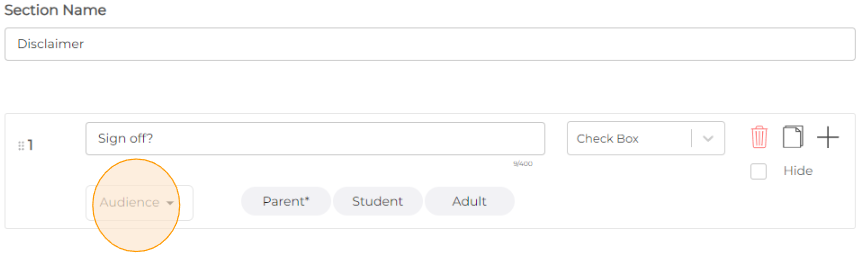
Enter your custom question and select from the drop-down list the format you would like the parents to answer, in this example, we will use a "Checkbox list" to let parents answer the question with a Yes or No response.
After selecting the Checkbox list, you will see "Add new options" where you can add custom values.
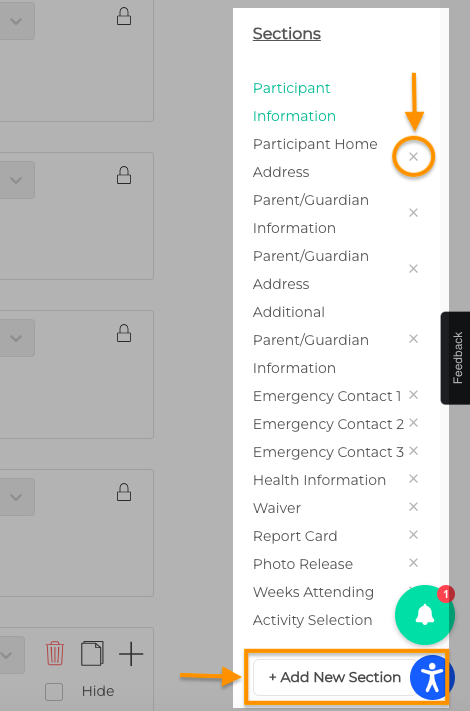
There are several sections of questions to choose from or create your own from the menu on the right side of the screen. You can click around on these to add questions in different sections.
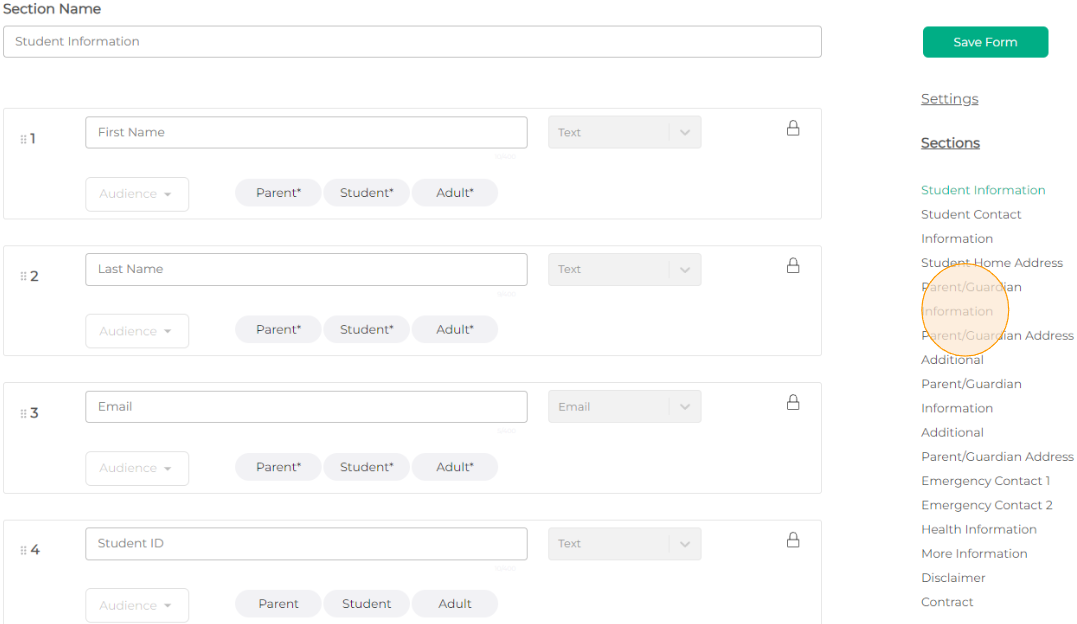
Make sure you "Save" at the bottom of the form section or "Save Form" on the right-hand side as you move between sections.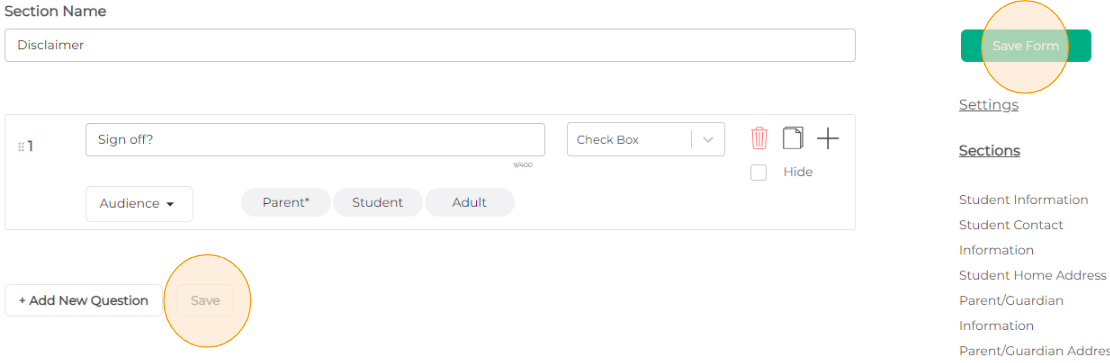
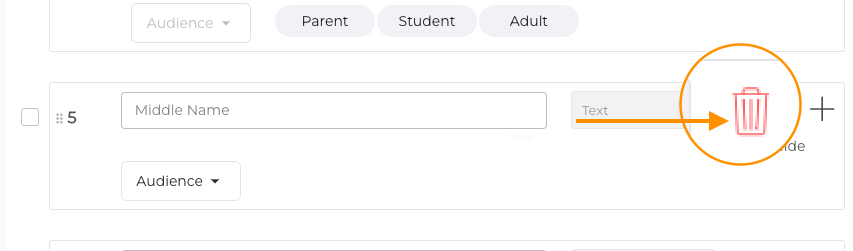
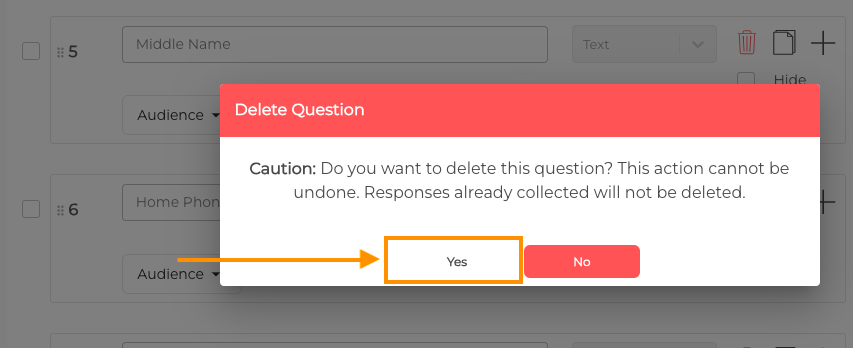
3. Delete AfterSchool HQ pre-built questions.
4. You can also delete entire sections or add new ones here:
5. Setting Required and Optional Fields
Once you've added all the fields you need to your Form, you can set whether they are required or optional. You can also choose the targeted audience. Required fields must be completed by the parent/guardian or student during the registration process, while optional fields can be left blank.
3a. Click on "Audience.
3b. You can select who will be seeing this question under "Show" and also who is required to answer the question. If you want a question to be optional, leave the Required field(s) blank.
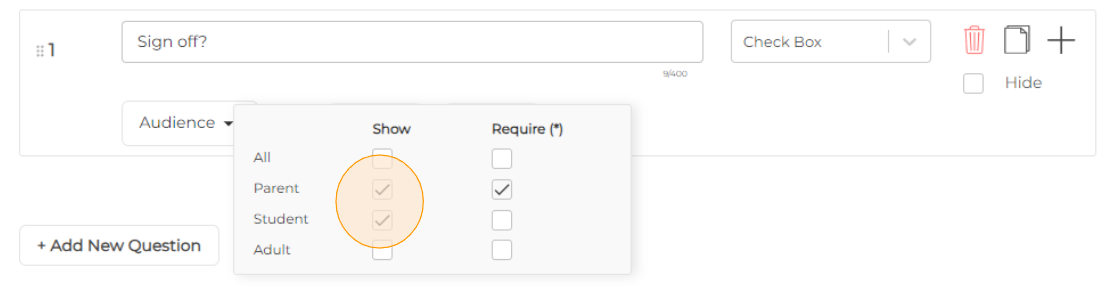
Note: Required questions will have an asterisk * next to the targeted audience. You can also set up questions to be required by one audience member and not required by another.

If you want to hide a question from being seen on your registration form, click on "Hide".
 Q: If there is a required question and I click "Hide", will the question still show up?A: No. The "Hide" function will override any question selected as required. 5. Saving and Attaching Your Form to Your ActivitySaveSave Form
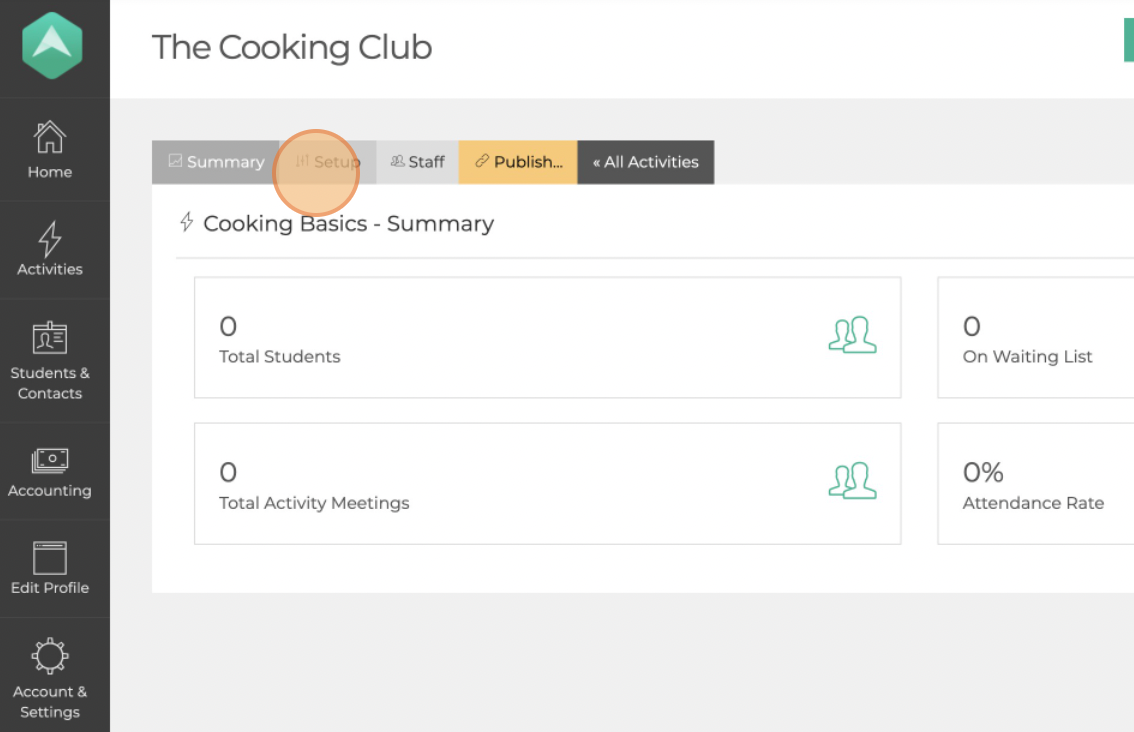
To associate your new form with your activity, you will navigate back to your Activities Screen. From there, click the Manage button on the desired activity. Next, you will click Set Up in the activity.
 Show Advanced Settings
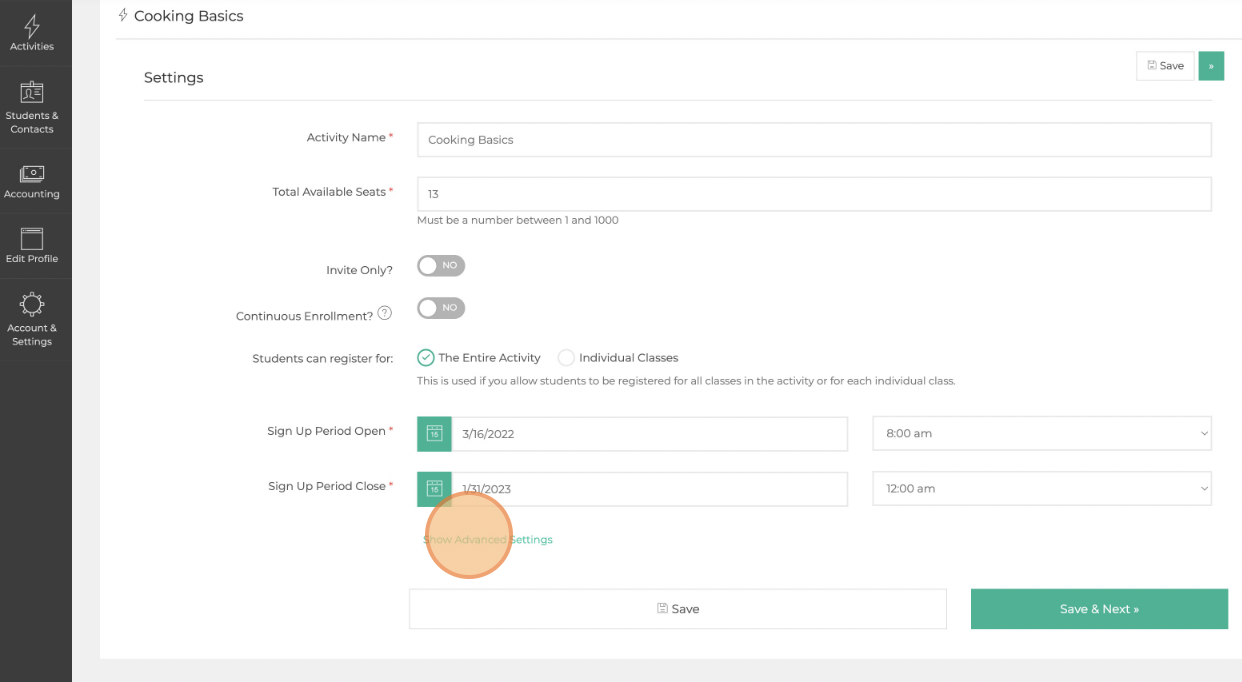
Under "Registration Form" you should see a drop-down to select your new form and replace the Standard Reg Form.
Once you have successfully selected your new form, don't forget to Save it!
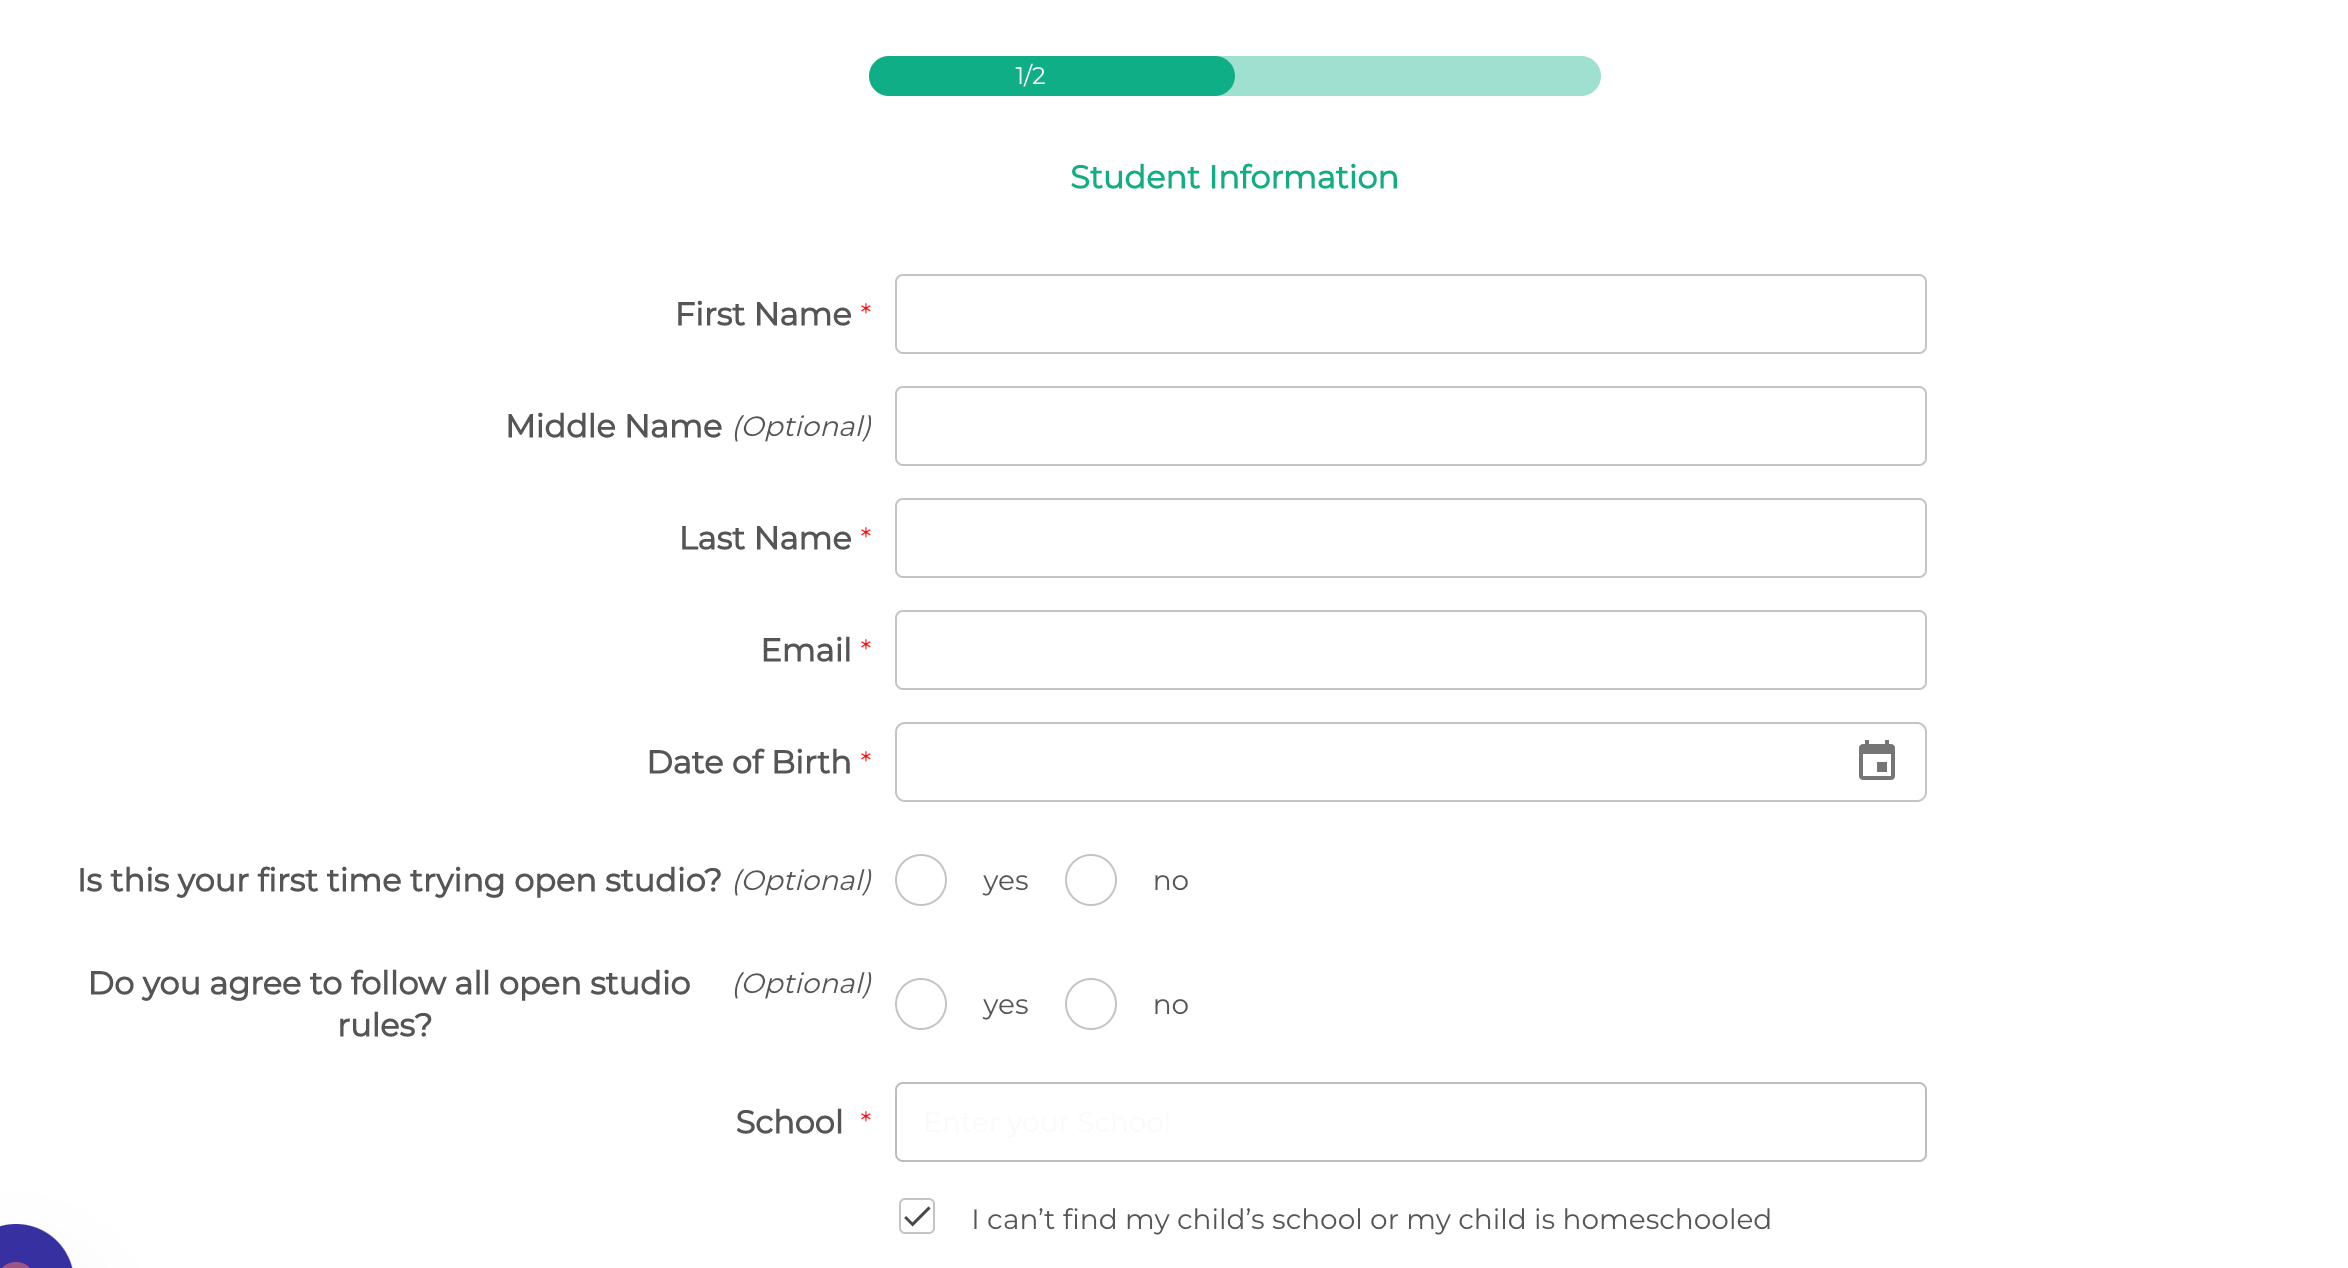
6. Previewing Your Form as a Registrant
During the registration process, parents and guardians will be prompted to fill out the Form before submitting their child's registration.
Are you wondering what parents will see when registering for your activity? While there is currently no built-in preview feature for Forms in AfterSchool HQ, you always have the option to test the registration process yourself to see how the form will appear to registrants.
If you have any concerns about how your form will appear to registrants, our support team is here to help. We can provide guidance on how to make your Form more user-friendly and ensure that you're collecting all the necessary information from your registrants.
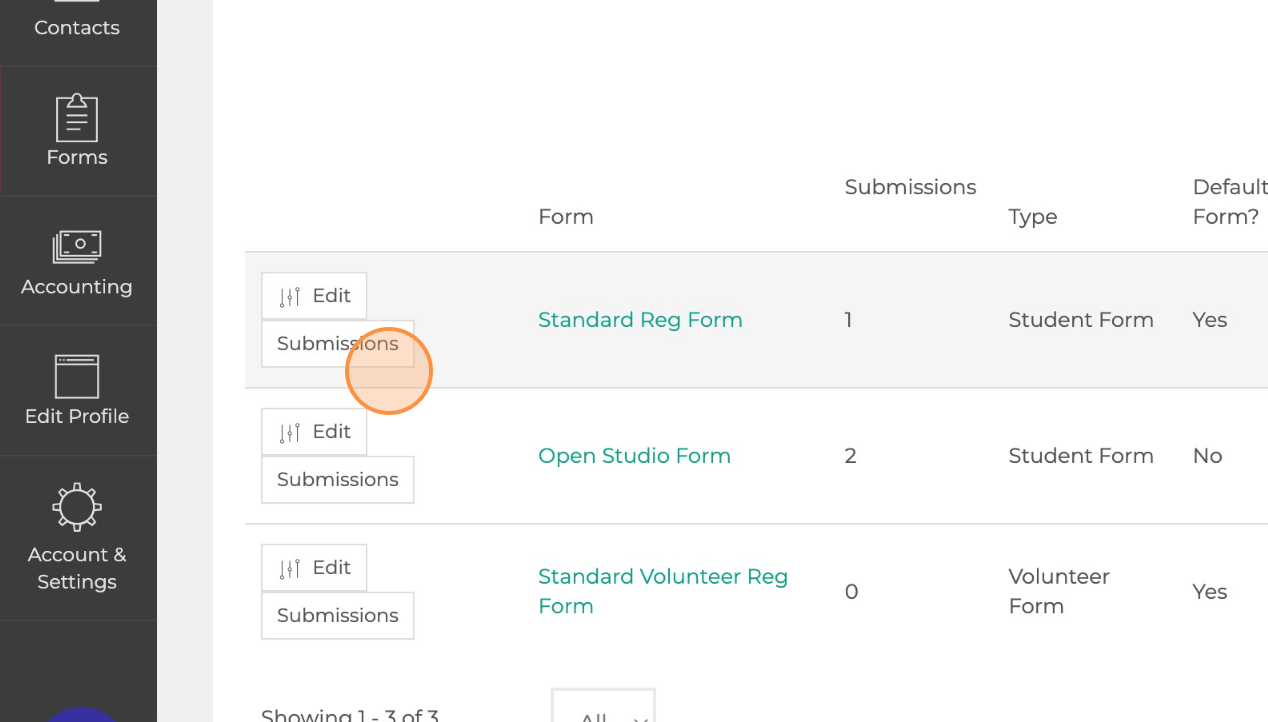
7. Viewing and Downloading Form Responses
Once parents have completed the Form as part of the registration process, you can easily view and download the completed Forms for your records. This can be done by navigating to the Forms tab and selecting the Submissions button on the desired form. You can review this data as is, or use filters to customize the data shown in several different ways!
Learn more about downloading your submissions here: Advanced Reports.
To view the Student Registration and their responses by activity:
1. Log in to your AHQ Provider Account
2. Navigate to Activities
3. Select the Manage button next to the desired activity
4. Select the Students tab at the top of the page.
 View Details 6. Here you will see the complete Student Registration form as completed by the parents including, Student, Parent, Emergency Contact, and Health Information. Most importantly, you will see the answers to the custom questions that you created in Forms.
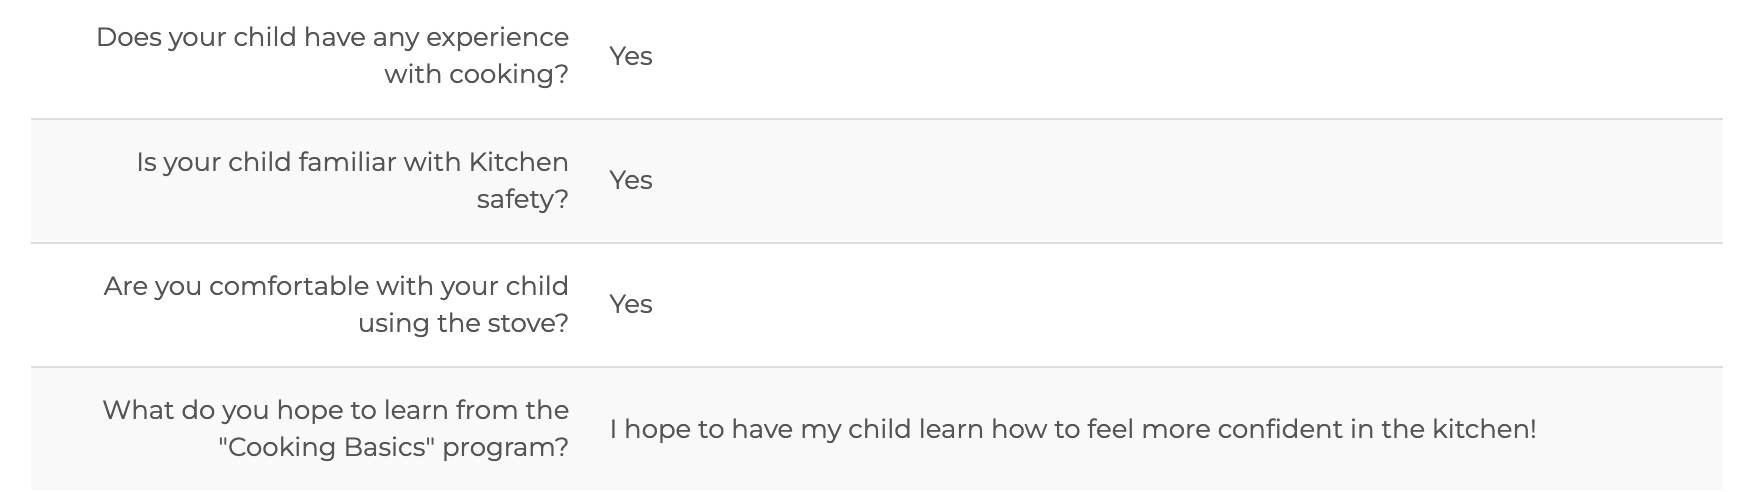
💡Are you wondering what parents will see when registering for your activity? Afterschool HQ is proud to announce our newest feature; a Preview Button for Forms!
Previewing Your Form as a Registrant
During the registration process, parents and guardians will be prompted to fill out a Form before submitting their child's registration.
We have created new ways for you to review your forms for registration.
To start, we head to the 'Forms' tab to 'Edit' our form. We will see off to the right hand side a 'Preview Registration' button. This will allow you to view your forms in one of two ways; 'As a Parent' or 'As a Student'.
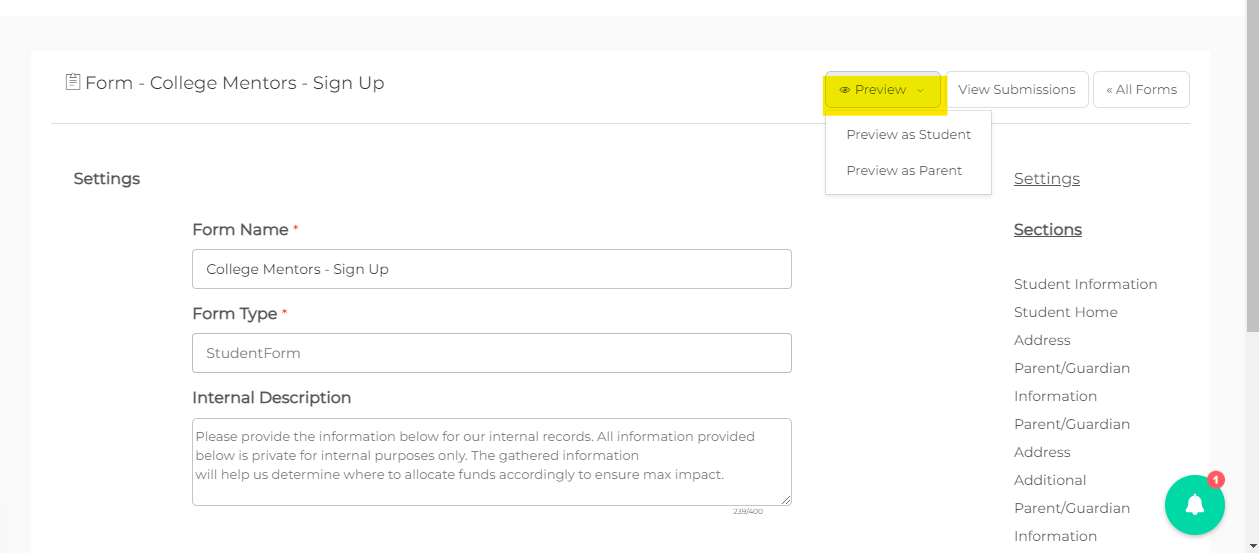 'Preview as Student'
 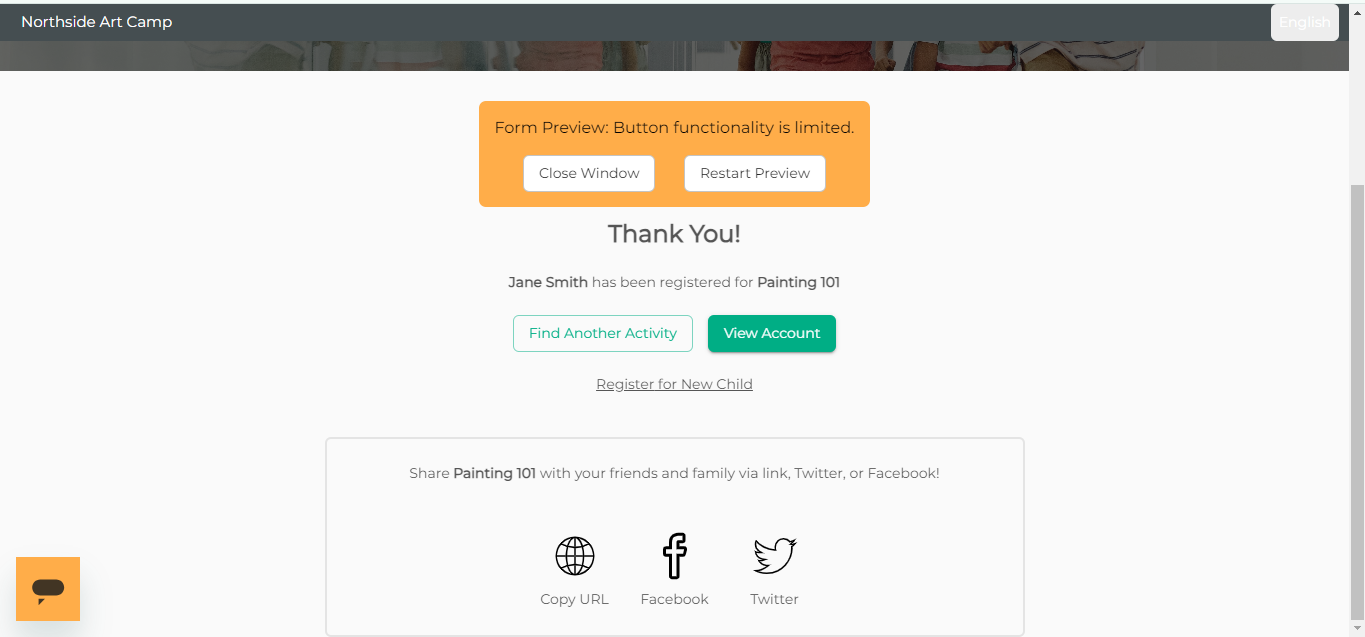 'Preview as Parent'
 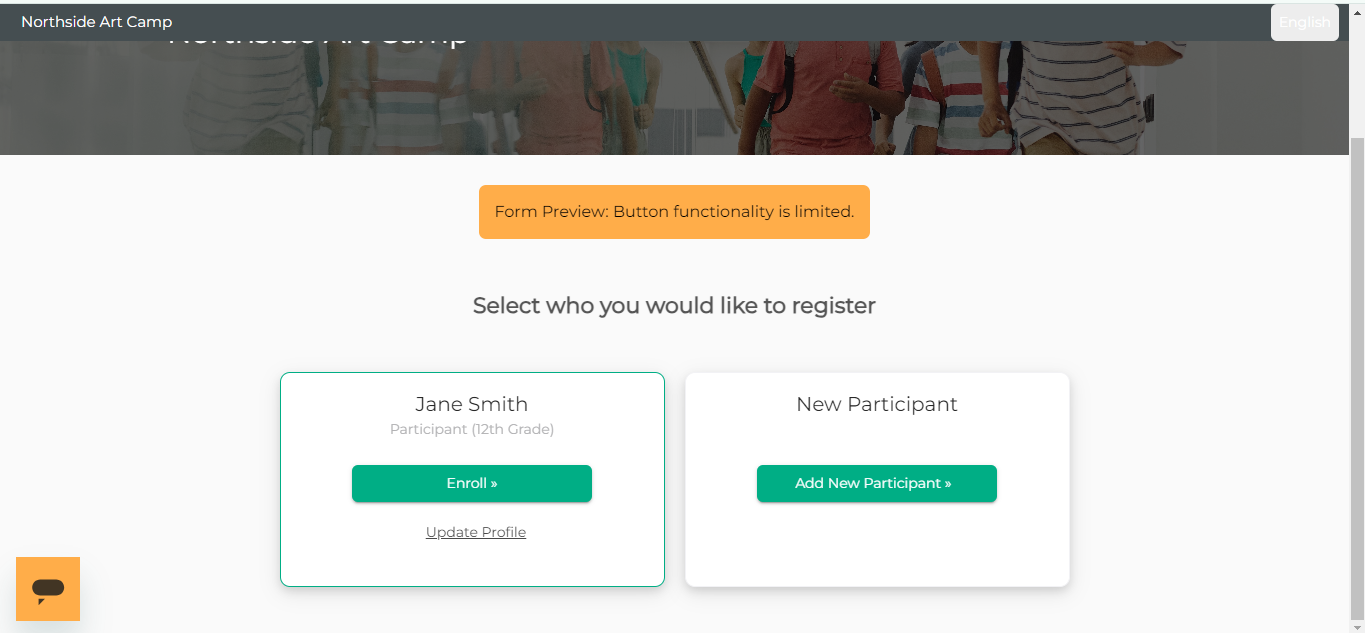 Student Registration'
 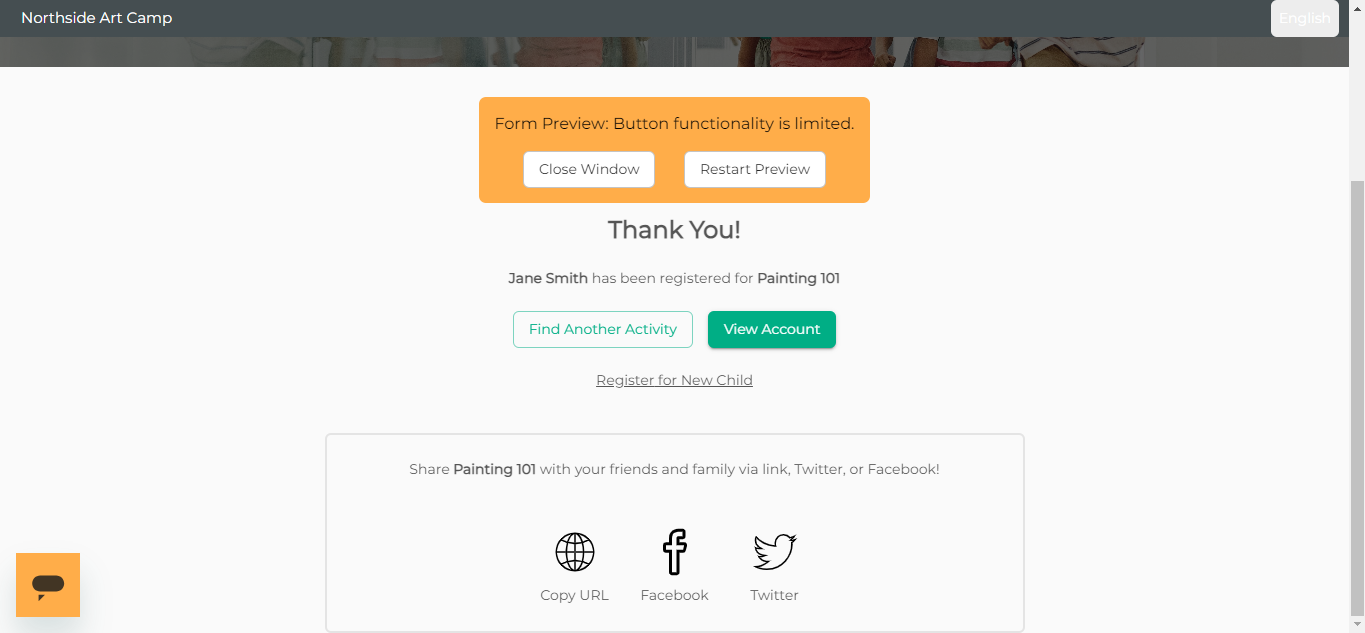 'Preview Forms' Activity Activities 'Manage' 'Summary' 'Preview Registration'
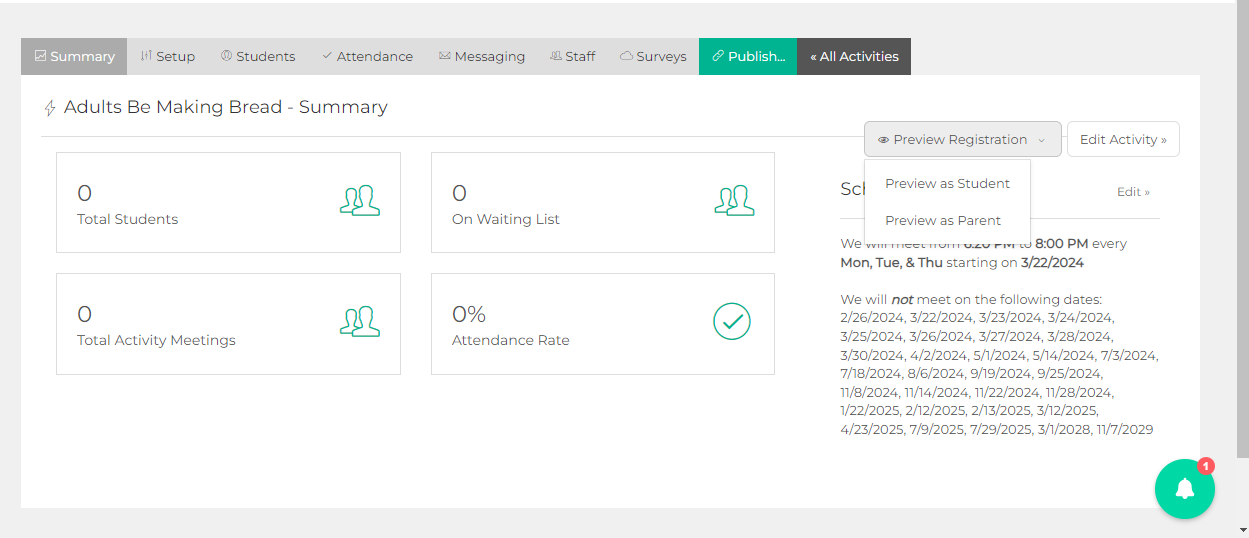
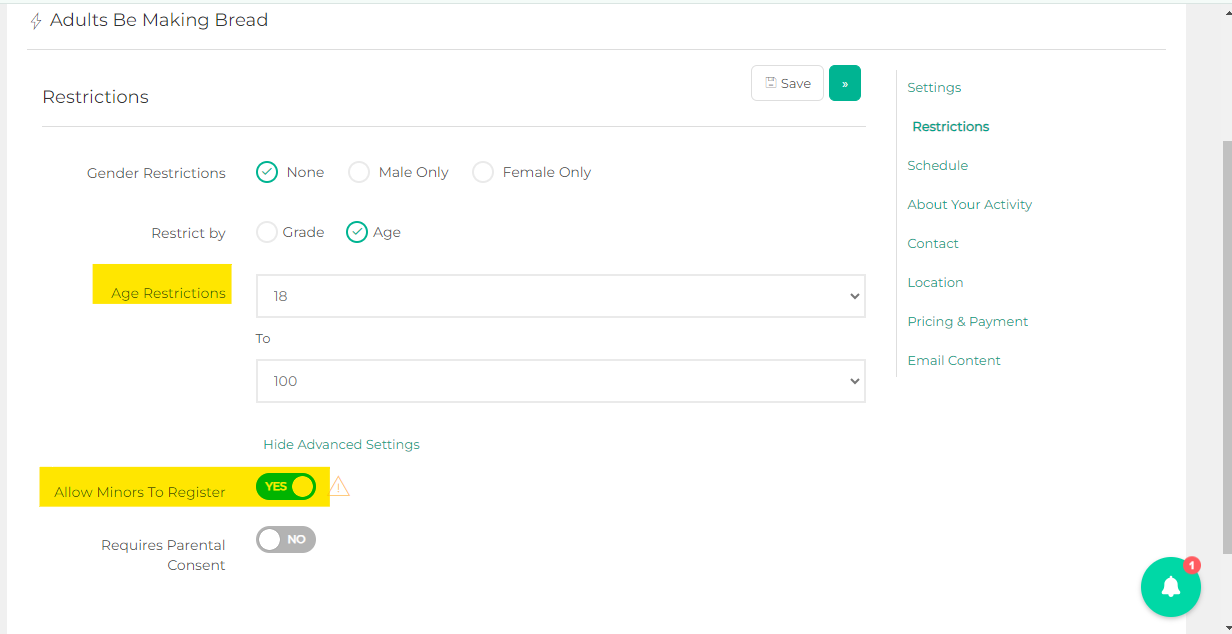
NOTE: You will only be able to view 'Preview as Student' from an activity if your 'Restrictions' in the activity are for anyone 18+ or if you have the option 'Allow Minors to Register' toggled on.
 If you have any concerns about how your form will appear to registrants, our support team is here to help. We can provide guidance on how to make your Form more user-friendly and ensure that you're collecting all the necessary information from your registrants.
 We hope this guide has been helpful in creating and using Forms in AfterSchool HQ. With this feature, you can collect all the information you need about your students in one place and streamline your registration process!
💡If you have any questions or experience any technical difficulties with Creating and Using Forms, don't hesitate to get in touch with our support team at support@afterschoolhq.com.