How to Create An Activity
Creating an activity is an essential part of Afterschool HQ. This will enable you to start using AHQ's full potential (like Check In and Check Out, track attendance, etc.). By following the steps below you will be able to create your first activity
This guide will walk you through creating an activity in Afterschoolhq
Go to afterschoolhq.com
1. Introduction
Creating and publishing your activities is easy on AfterSchool HQ! Follow these steps to make a new activity.
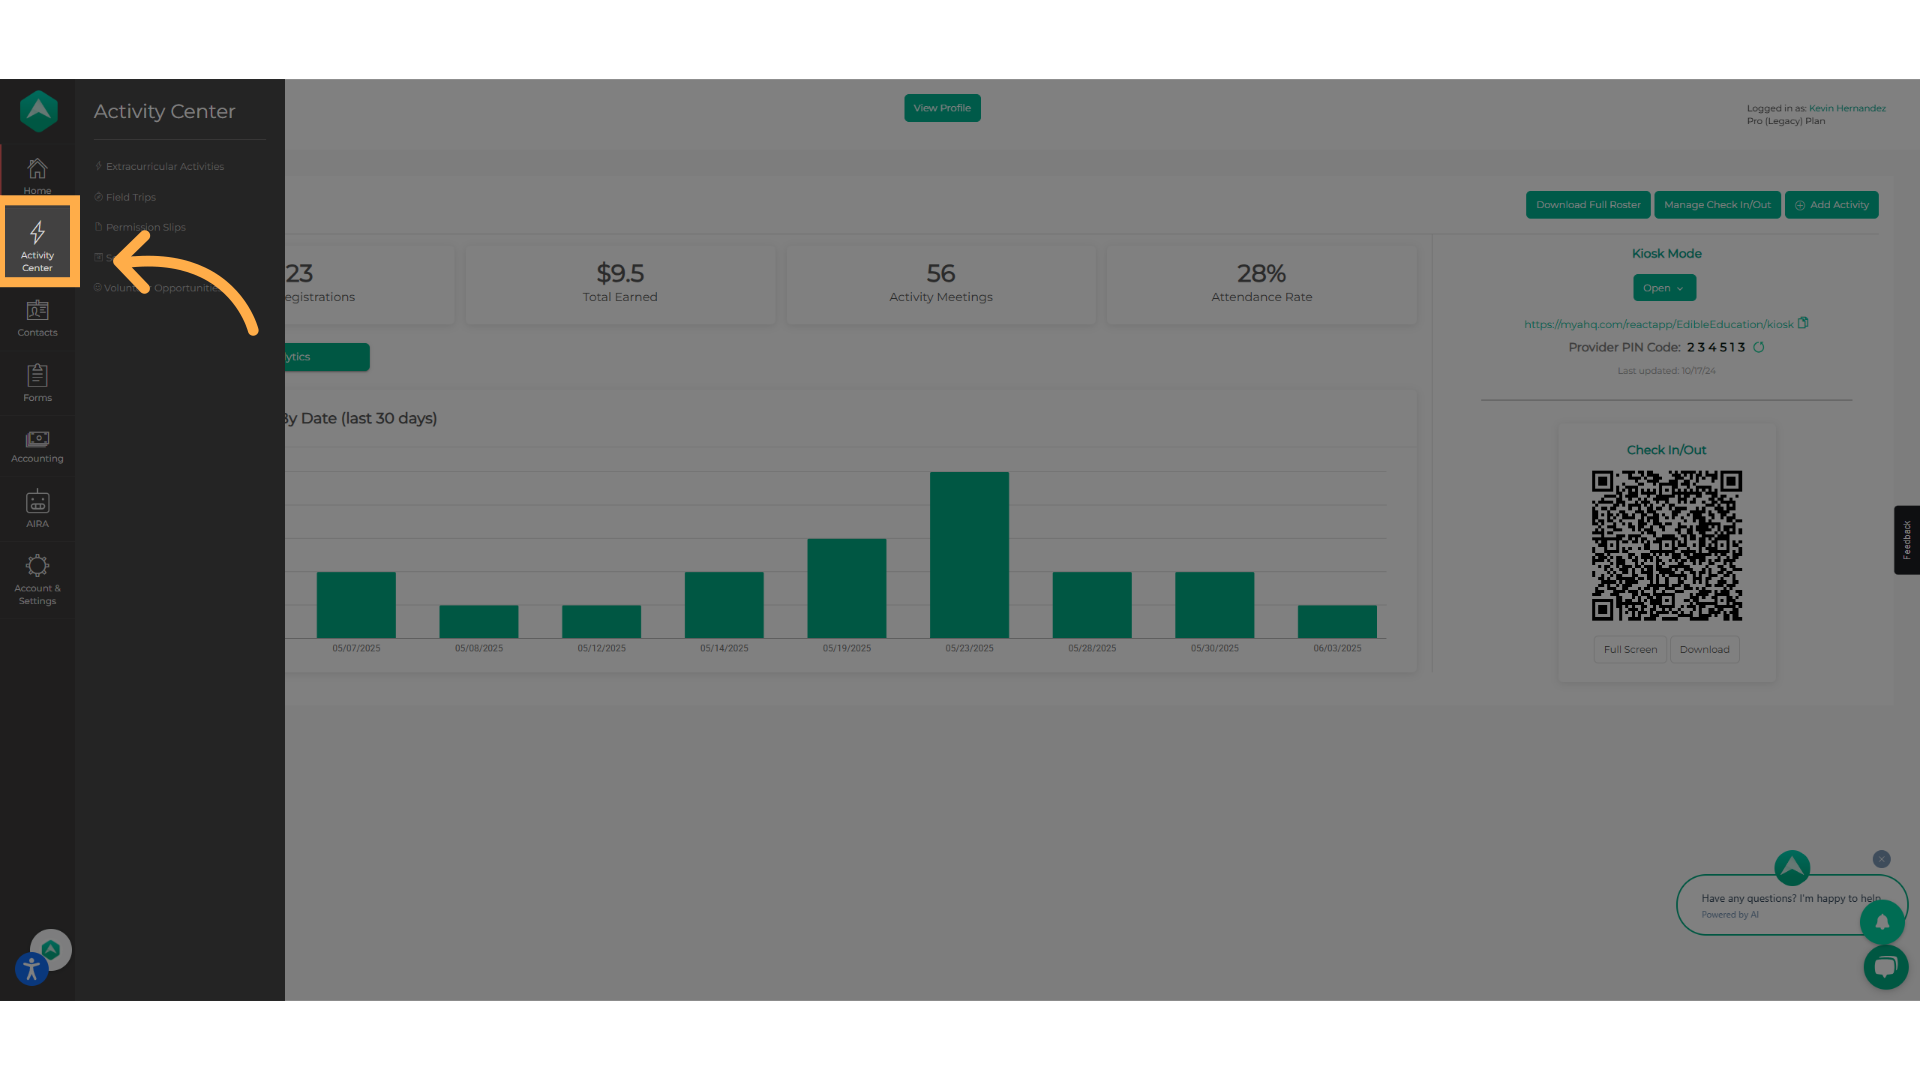
2. Click "Activity Center"
Click on "Activity Center"
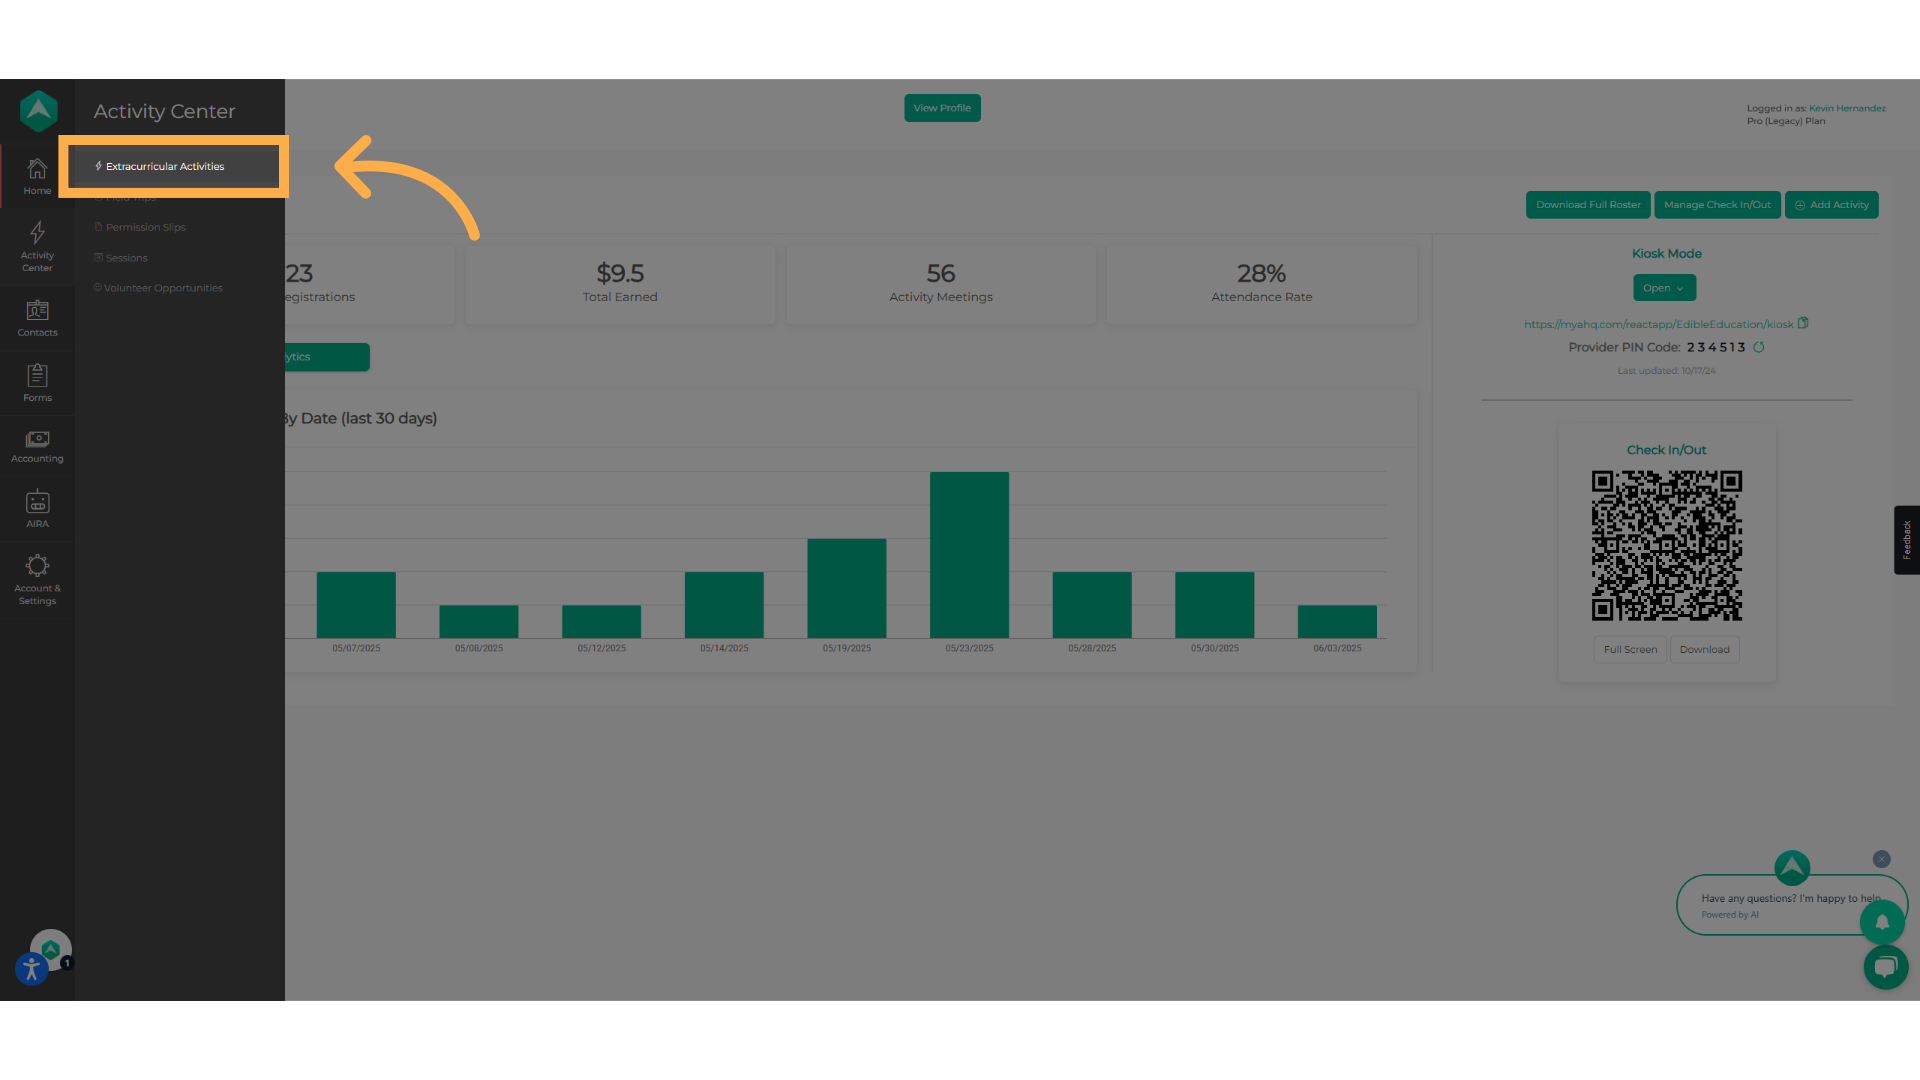
3. Click "Extracurricular Activities"
Navigate to "Extracurricular Activities"
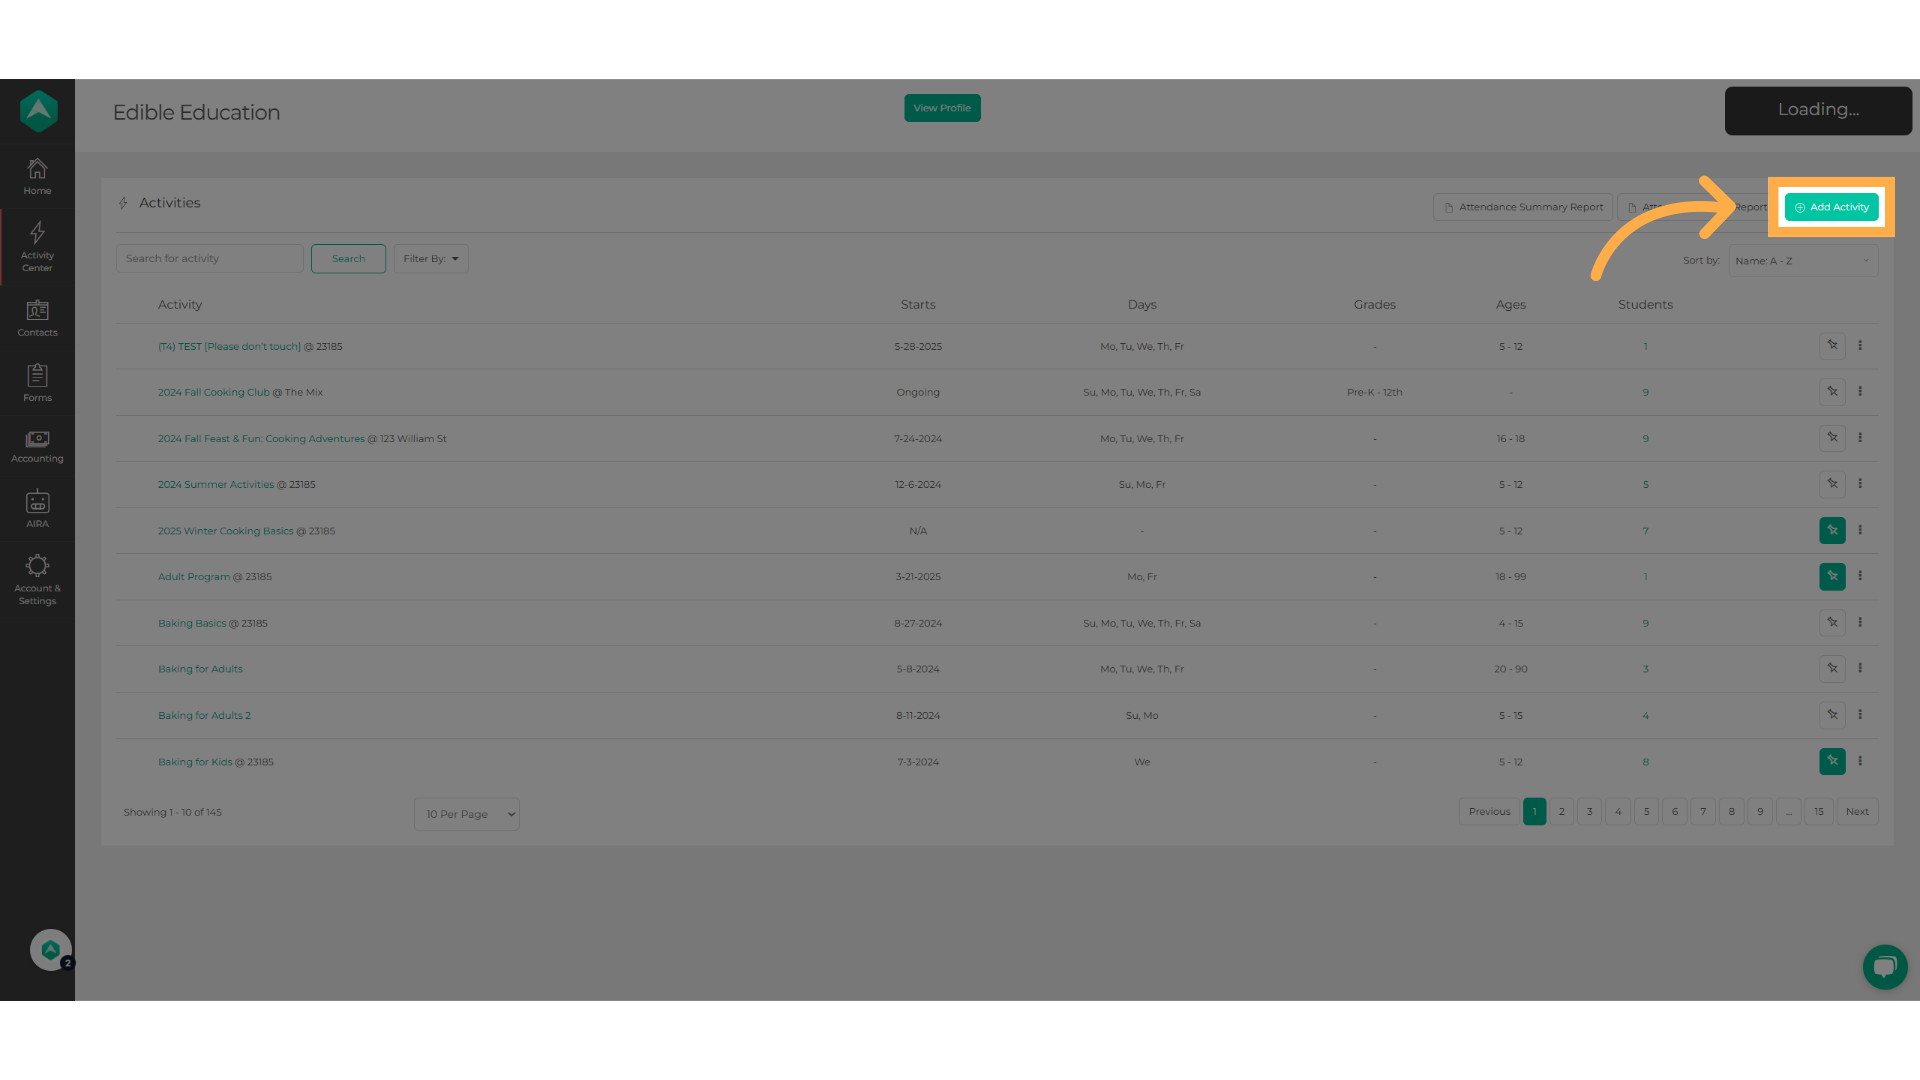
4. Click "Add Activity"
Select the "Add Activity" option
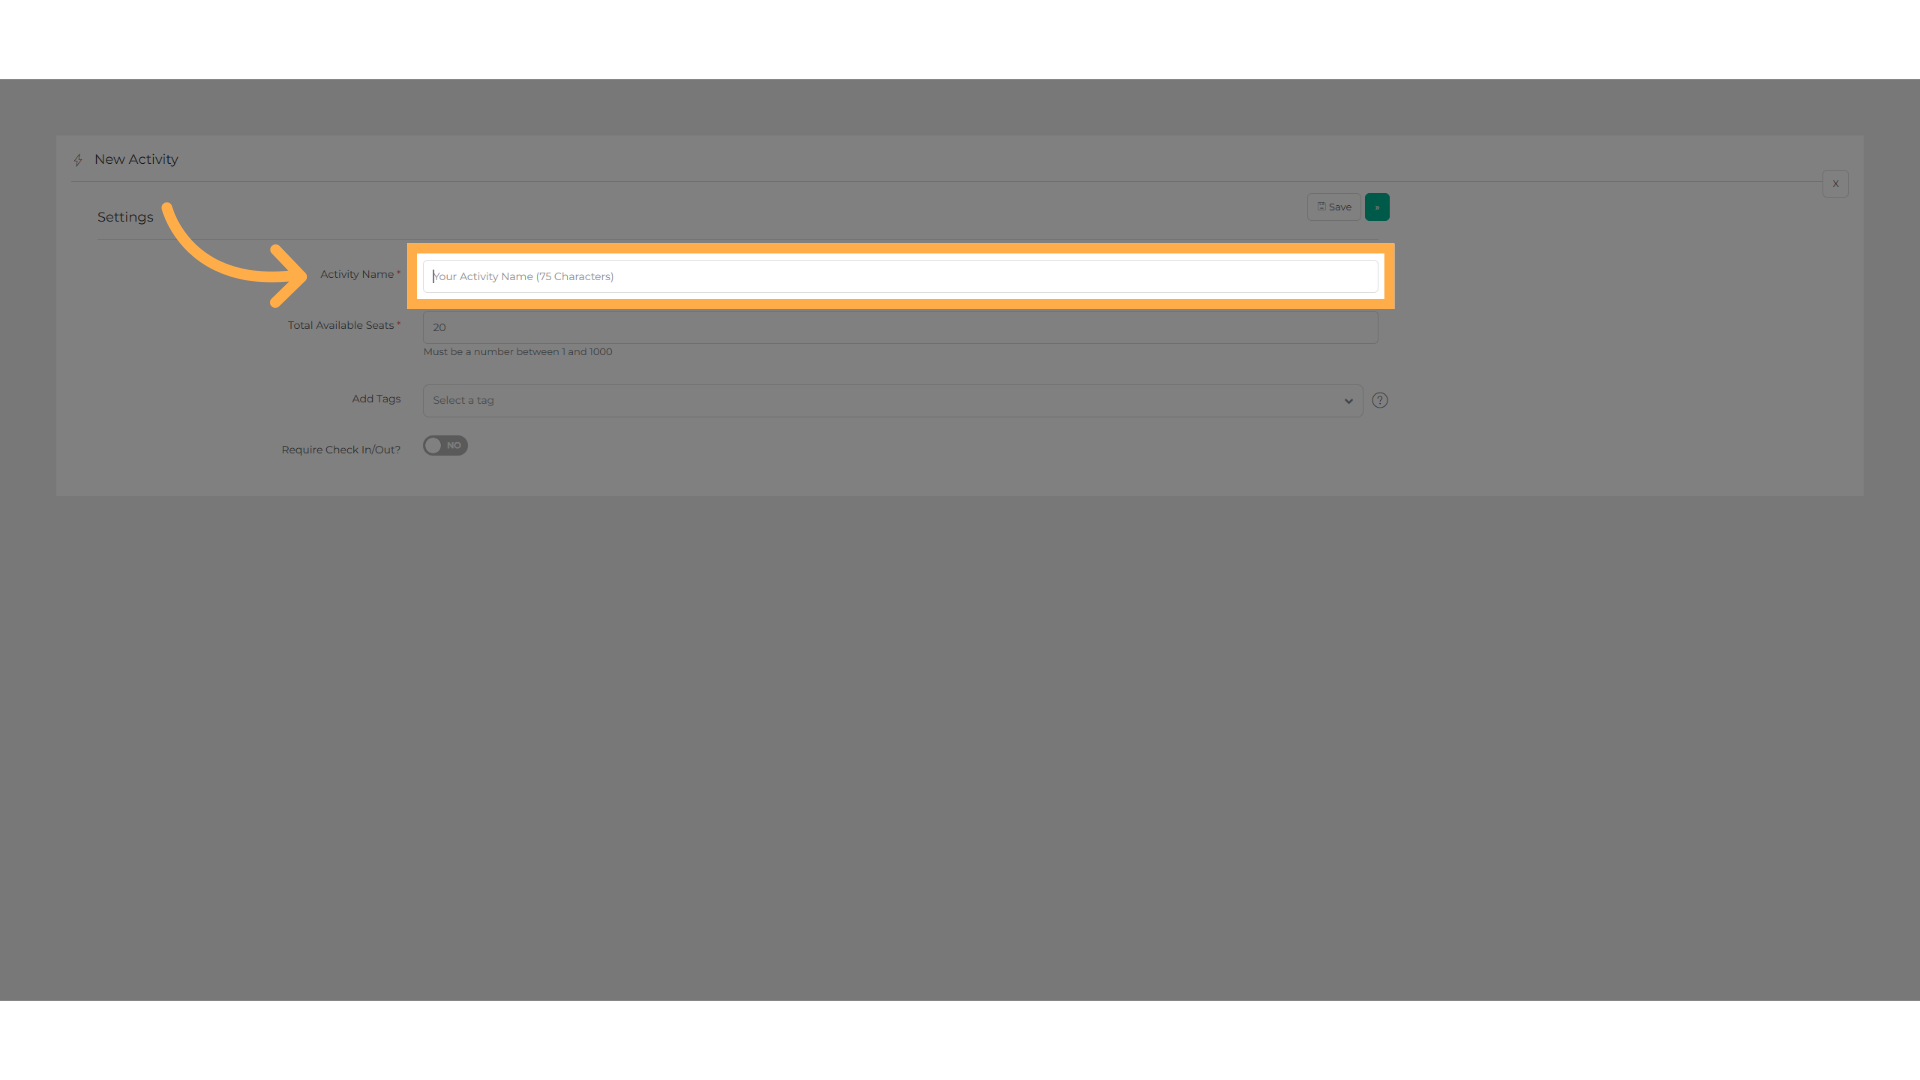
5. Write the name/title of your activity.
Here you can write the name or title of your activity
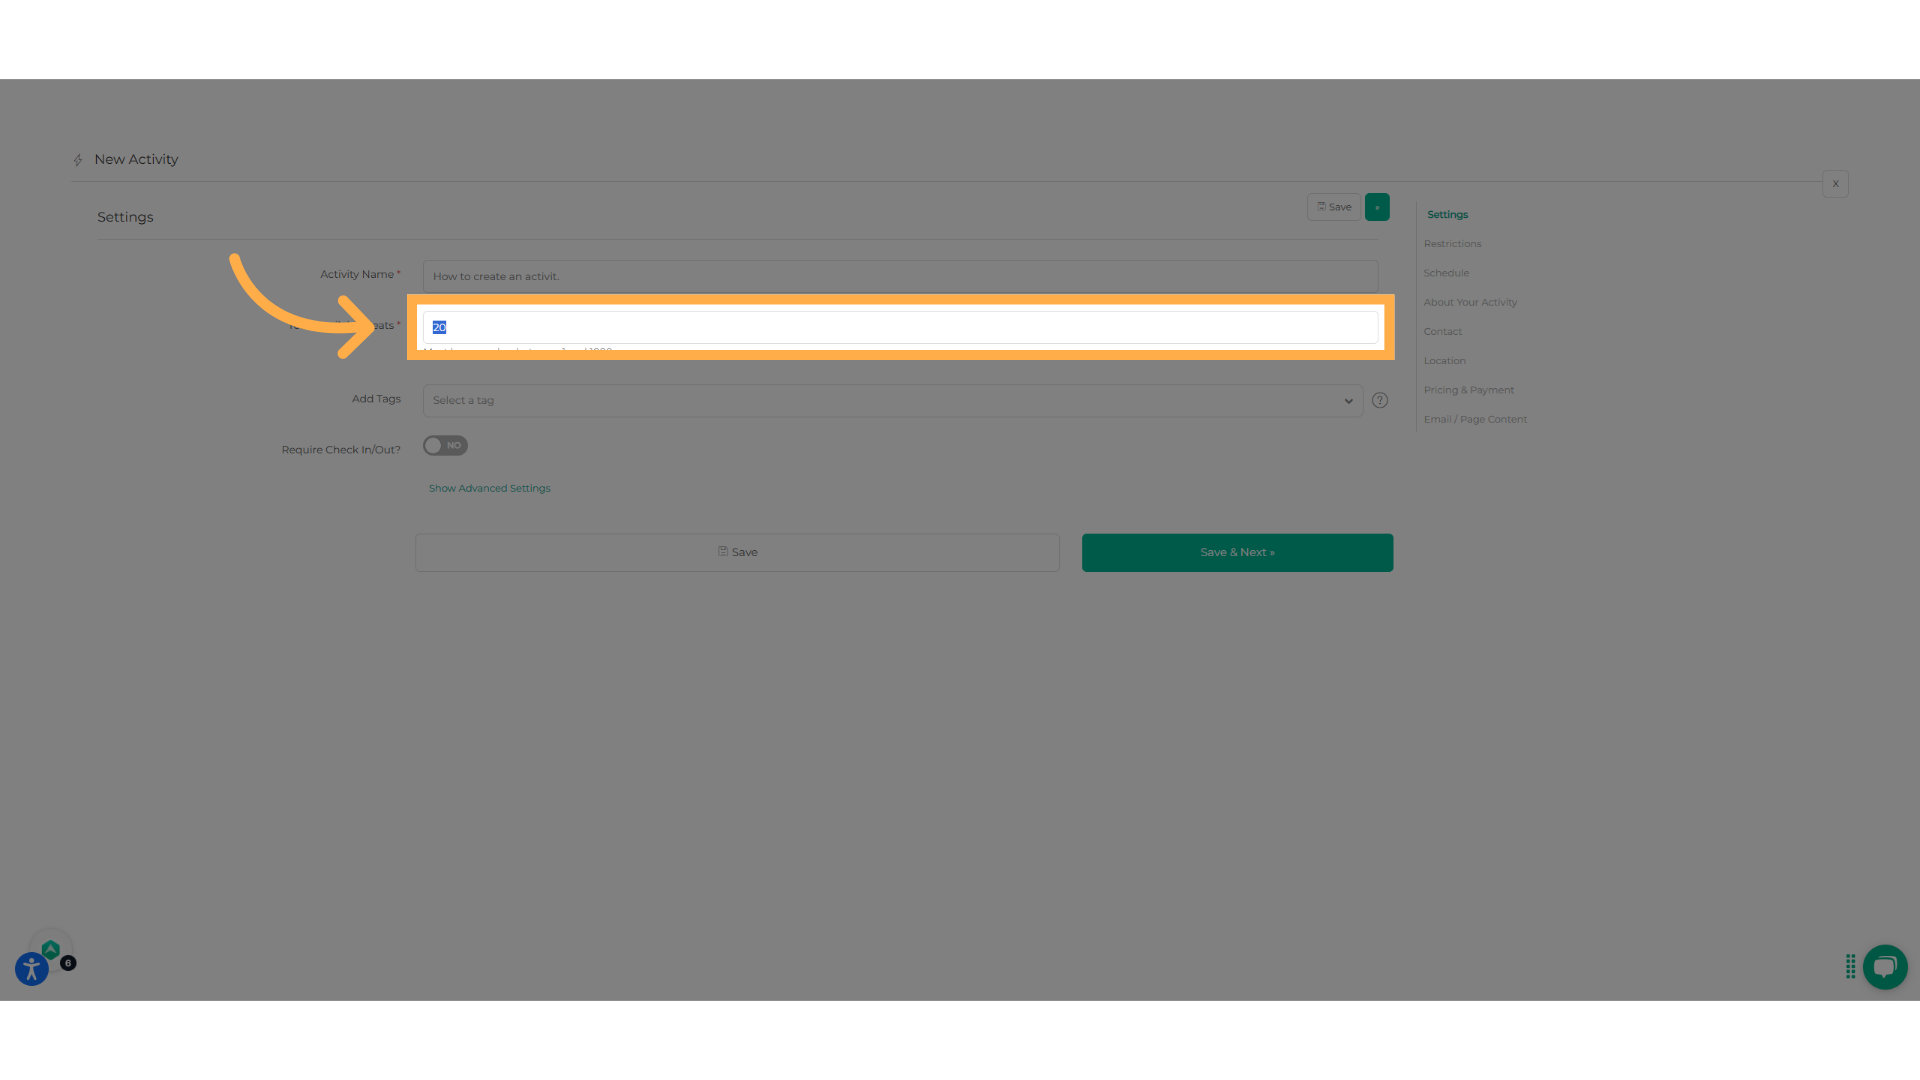
6. Select the number of seats
Write the number of seats available for this activity, you can choose from 1 to 1000
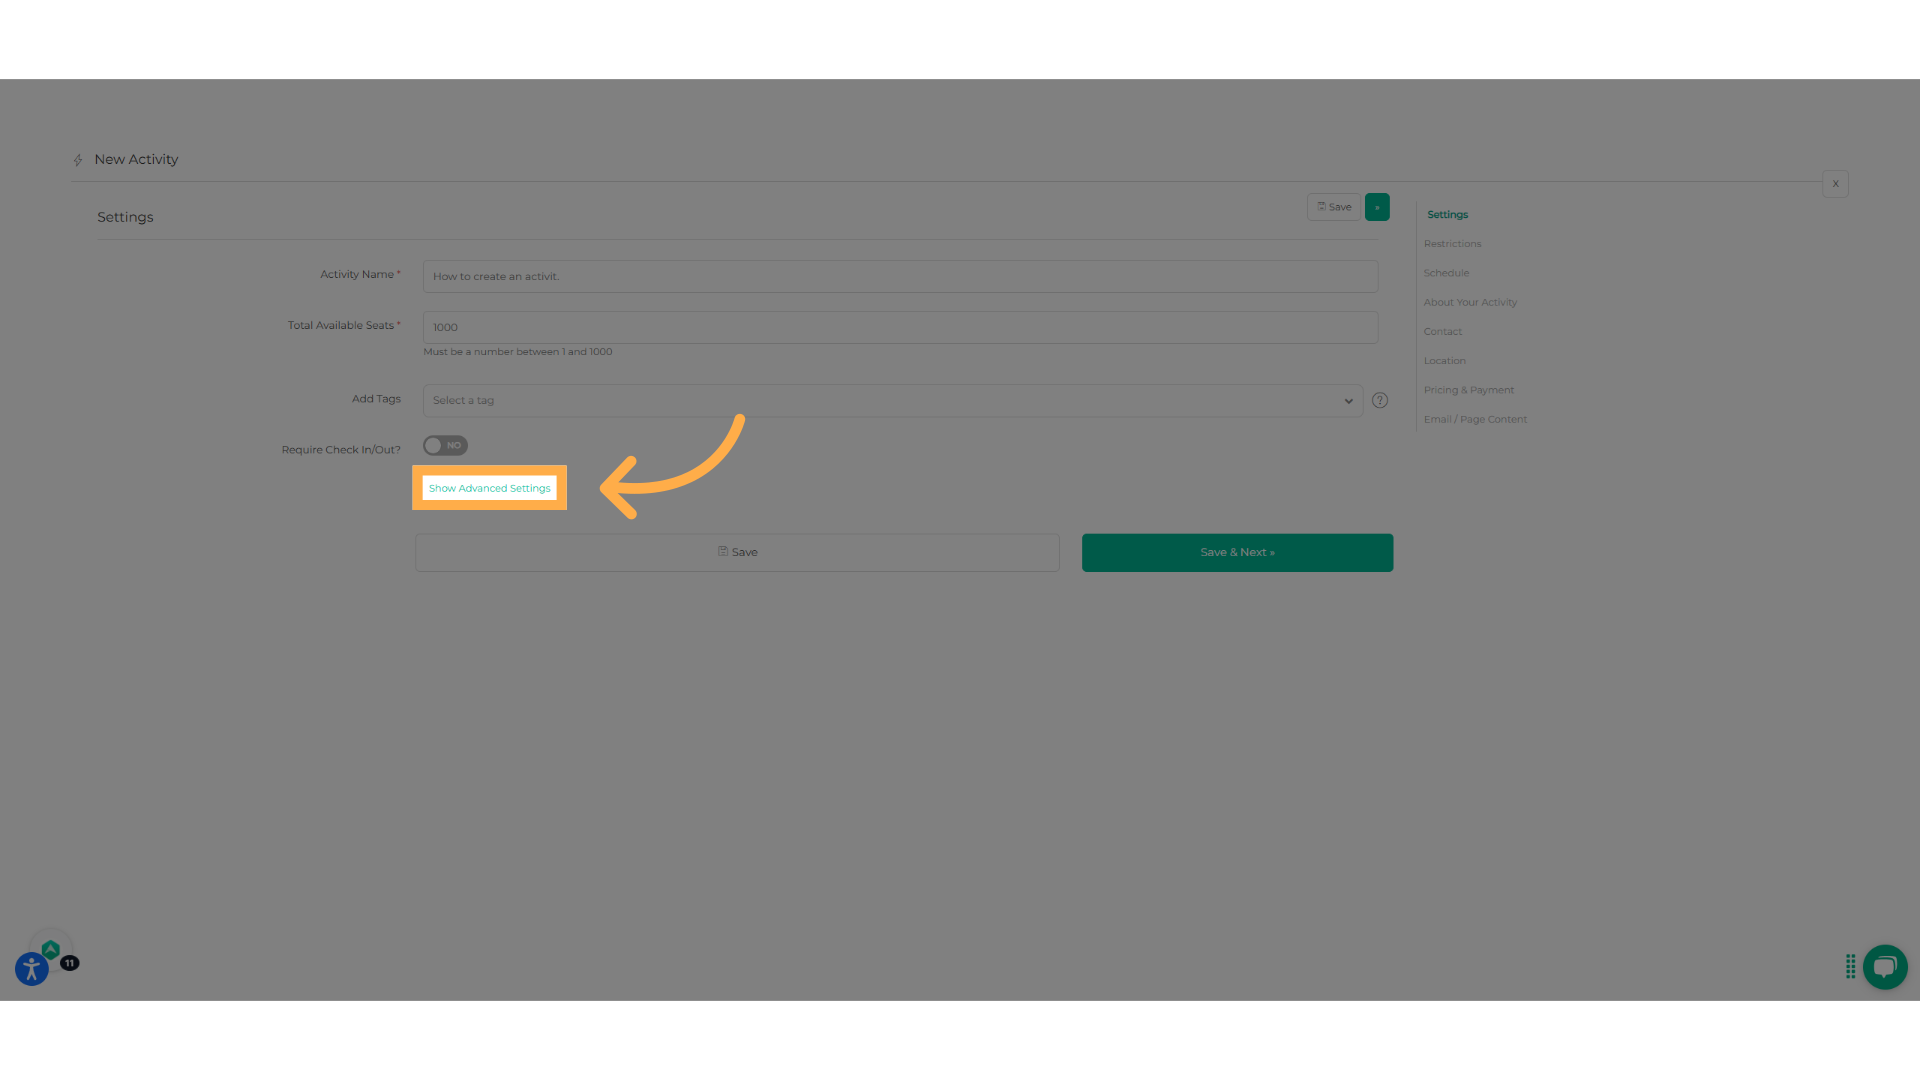
7. Click "Show Advanced Settings"
To see all of the available options you have when creating an activity, click on "Show Advanced Settings"
8. Review the advanced options
This will show the rest of the options you can choose from in order to create an activity tailored to your needs.

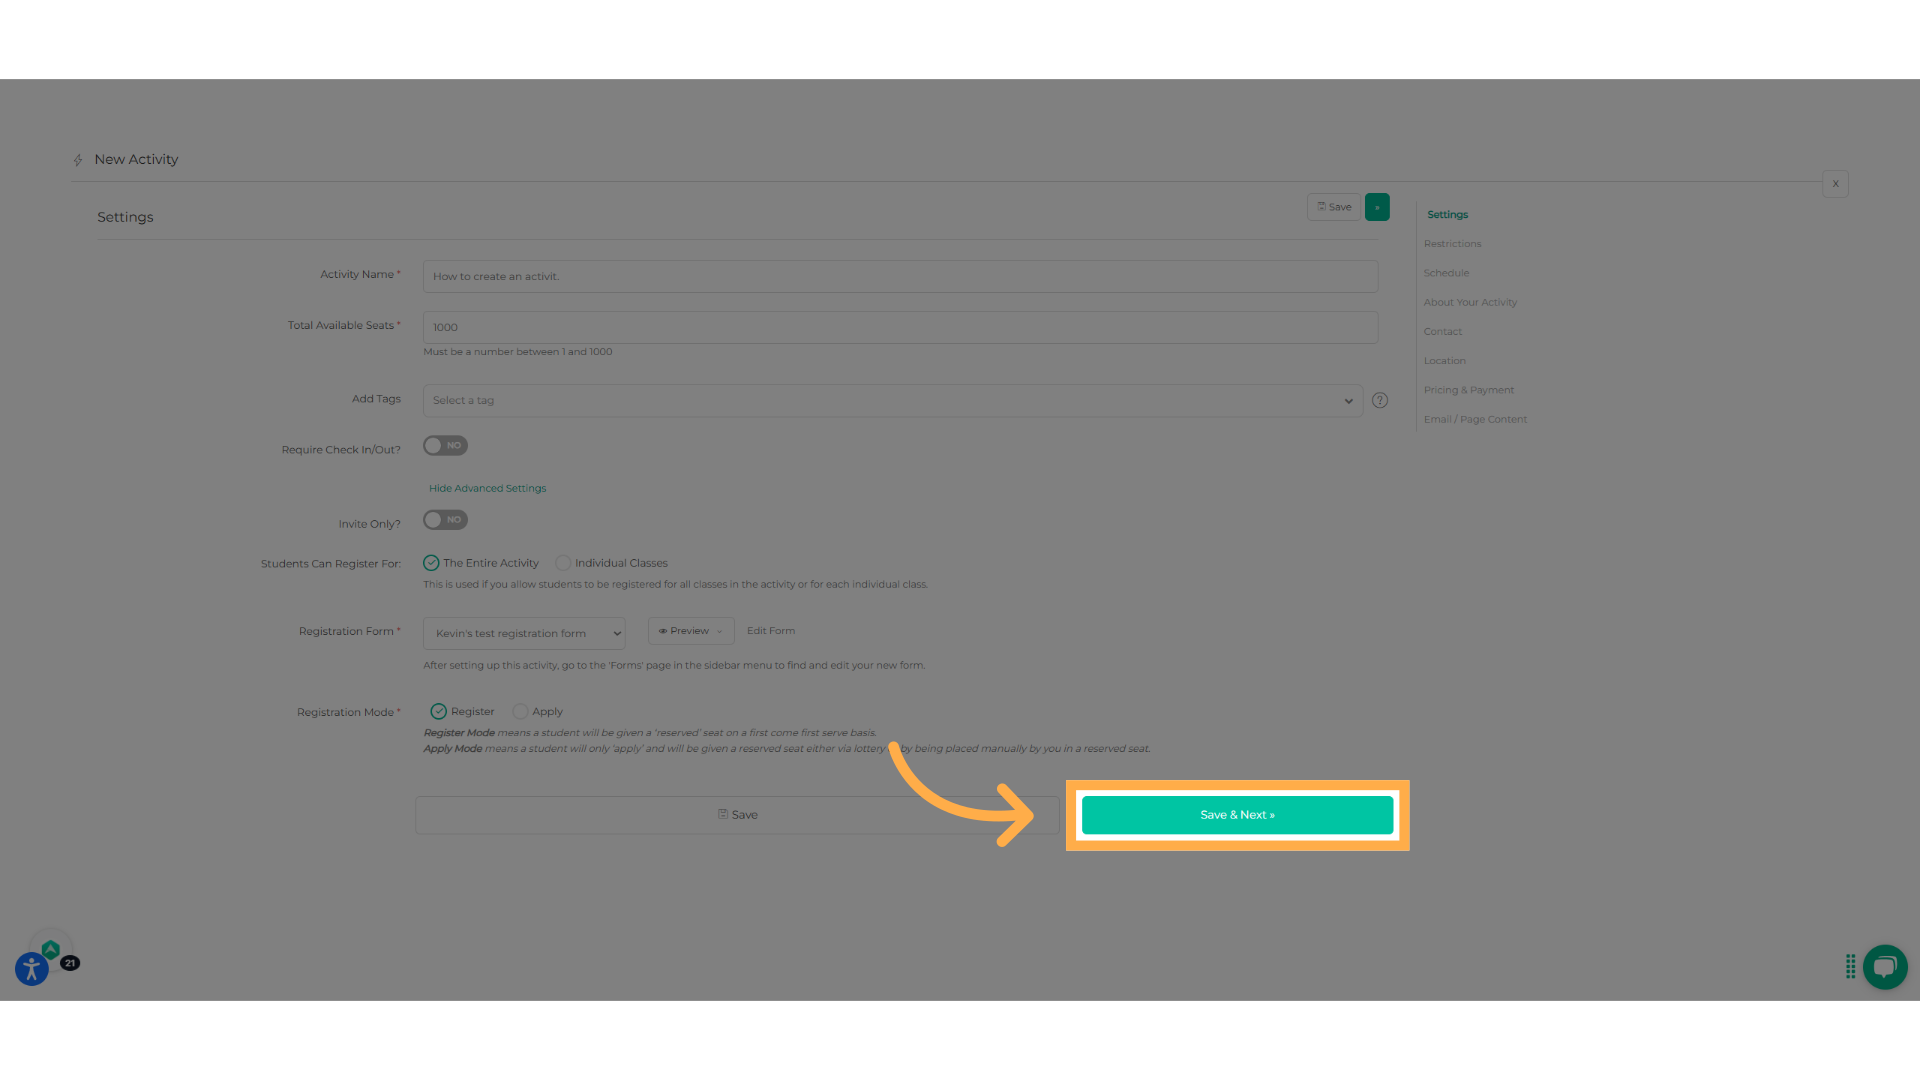
9. Click "Save & Next"
Click on the "Save & Next" option after you have finished selecting all the settings for the activity.
10. Review the restrictions
Review the different options to aim your activity at a specific group.
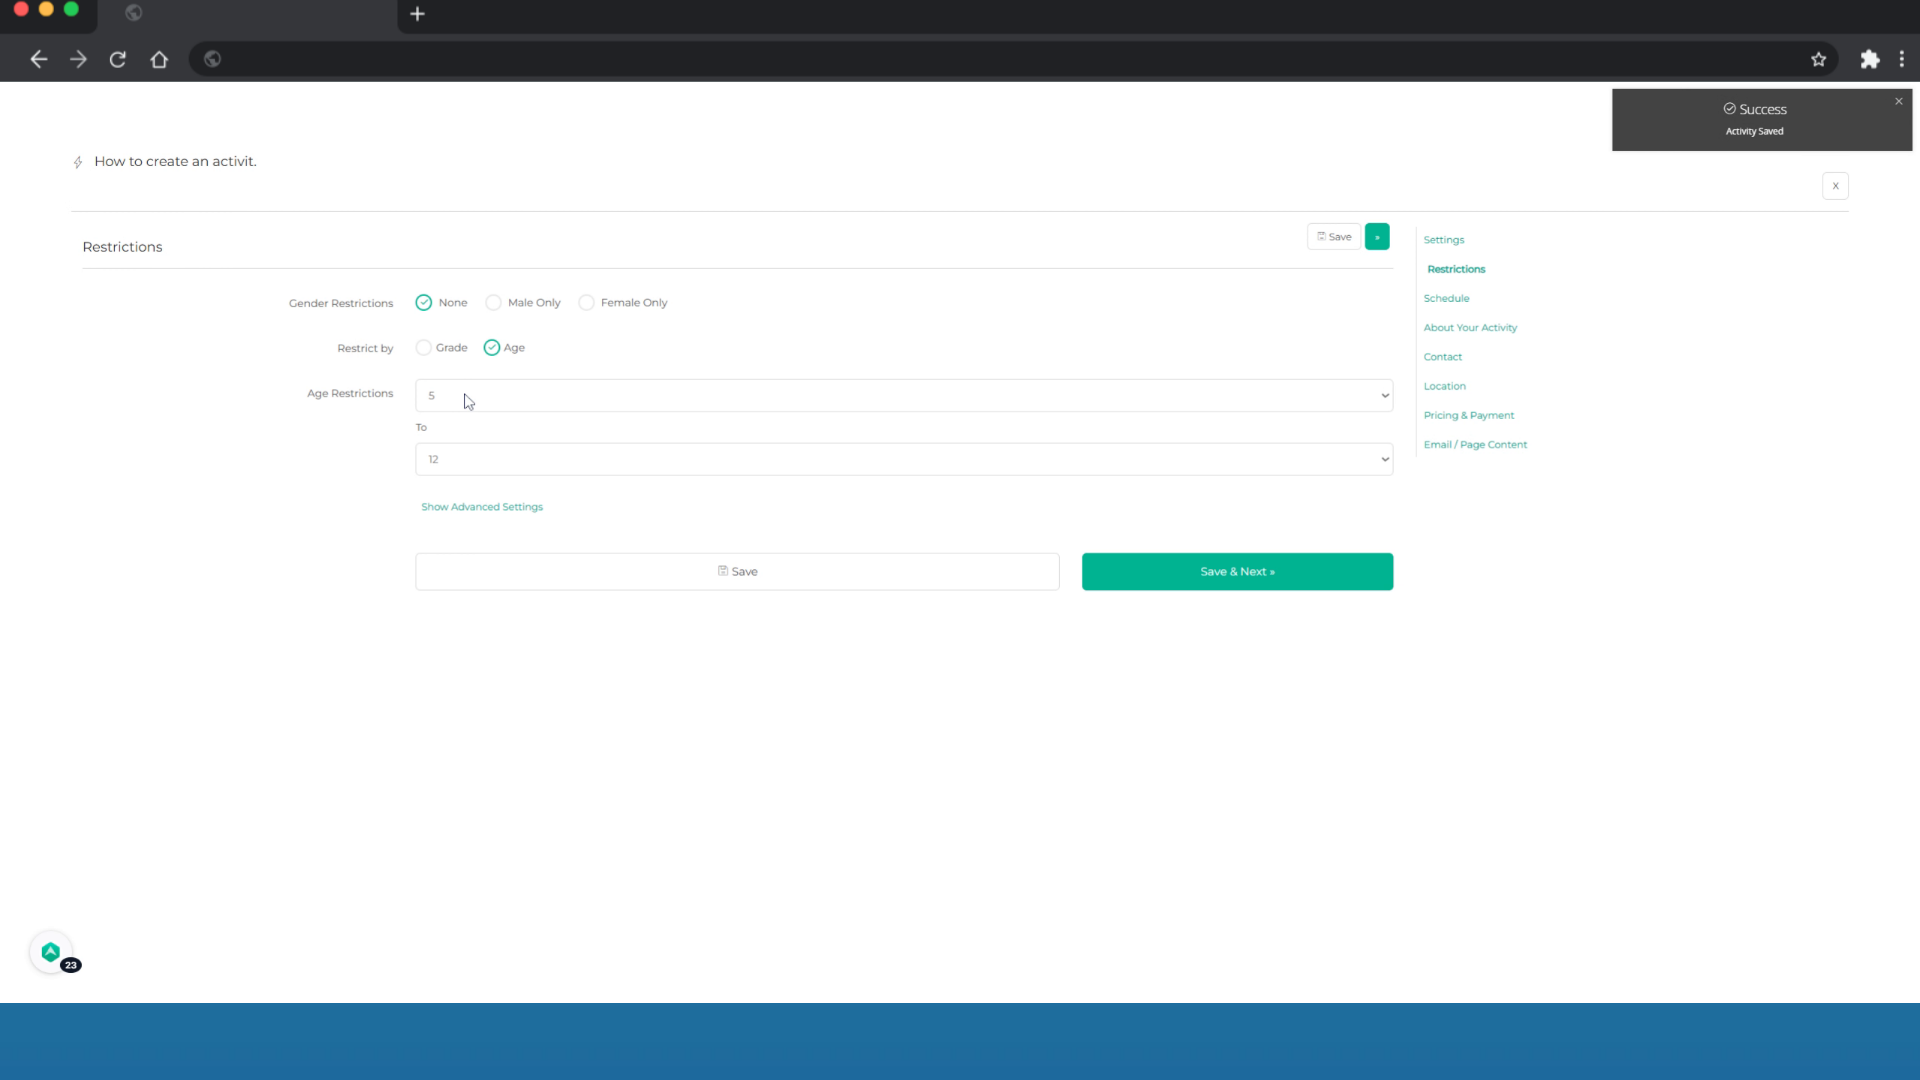
11. Click "Save & Next"
Click on "Save and Next"
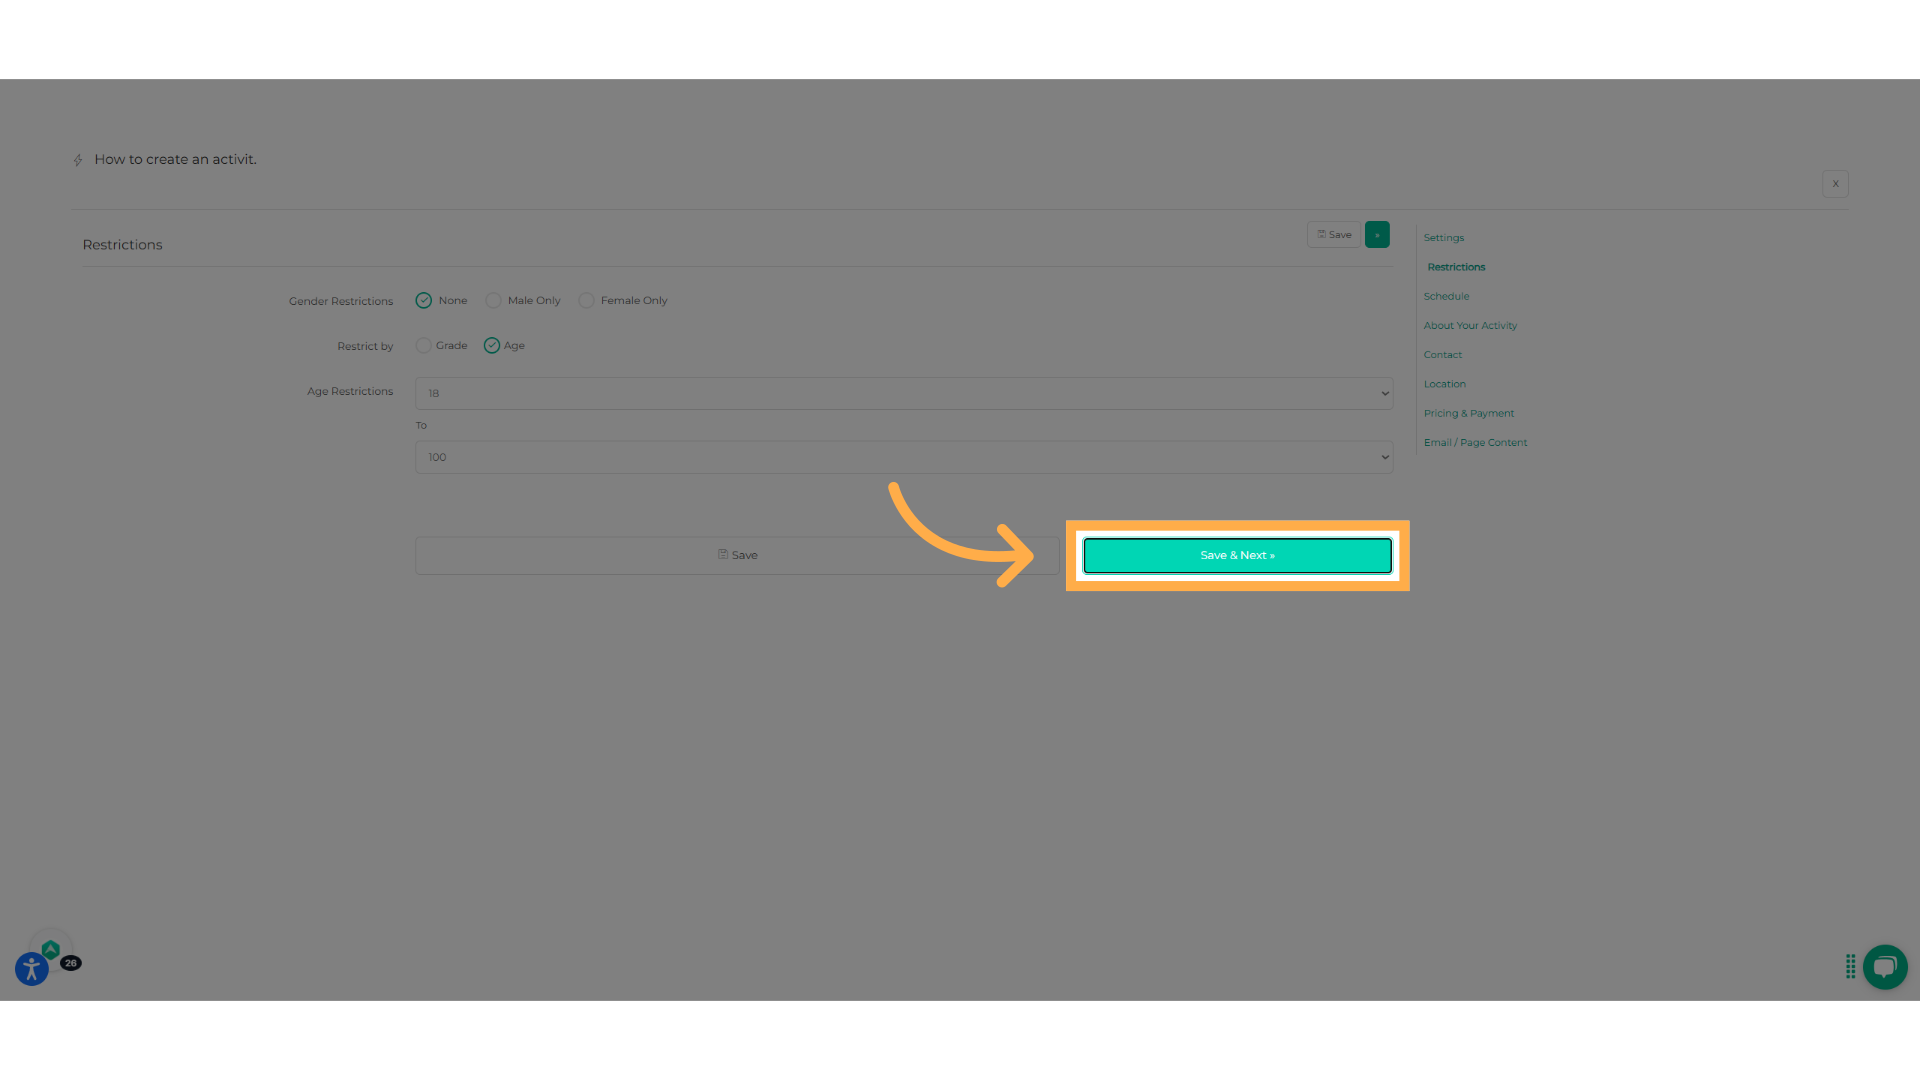
12. Indicate the beginning of the enrollment period
Select the beginning of the enrollment period.
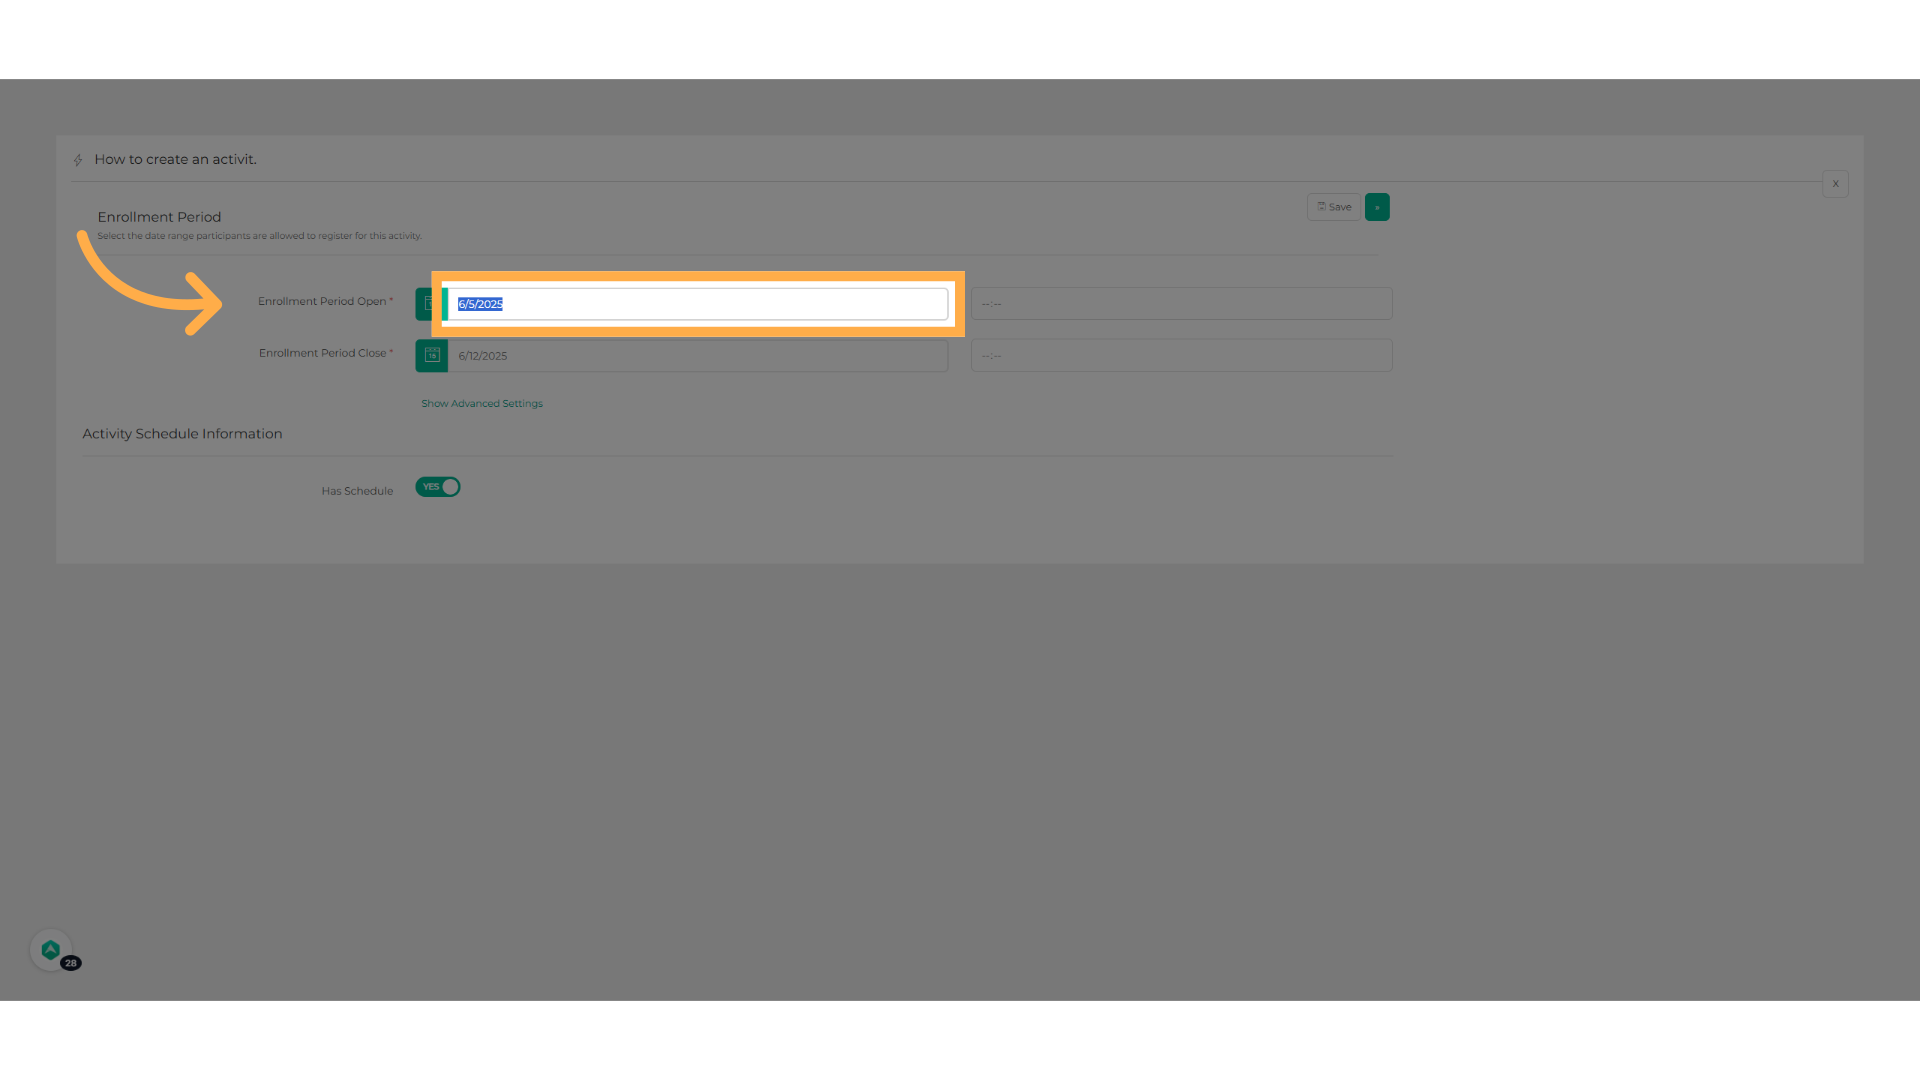
13. Select the end of the enrollment period
Select the end of the enrollment period
14. Select the Activity Schedule Information below
Find and choose the schedule information that matches your activity
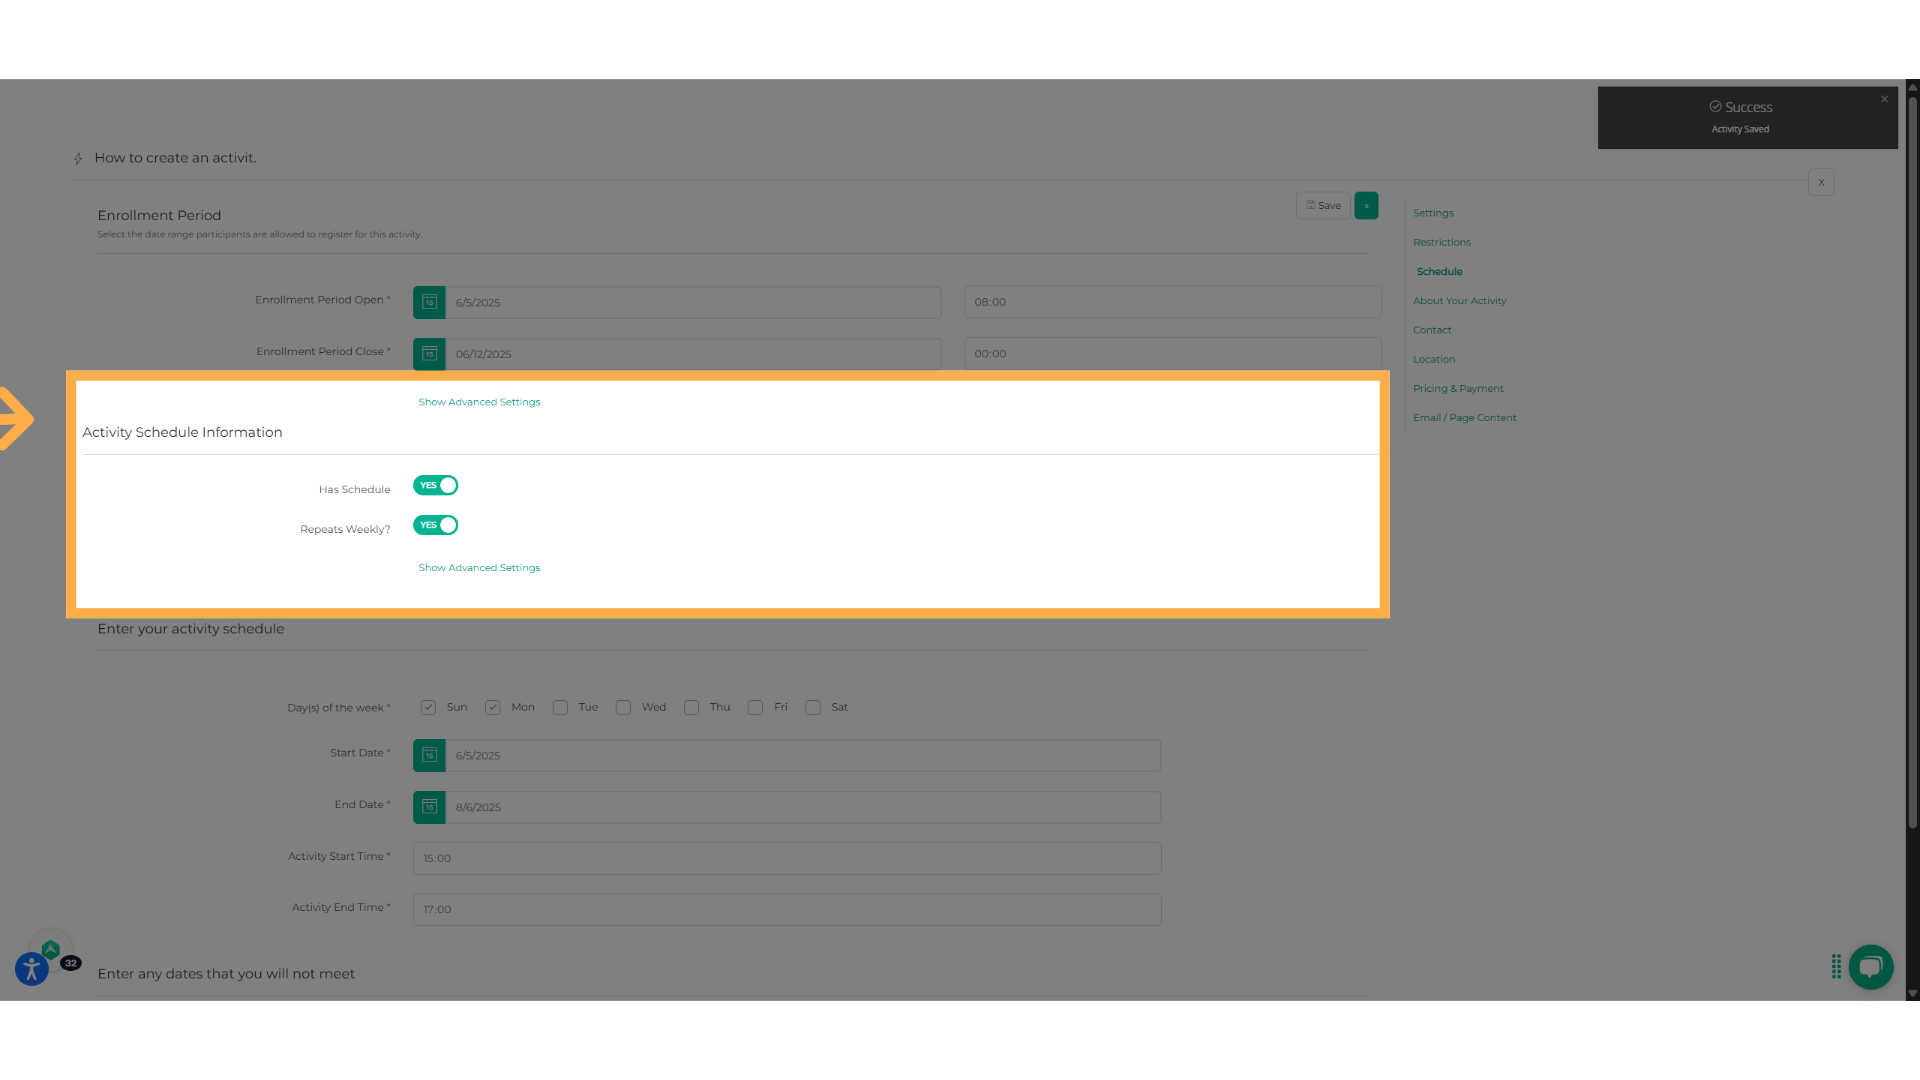
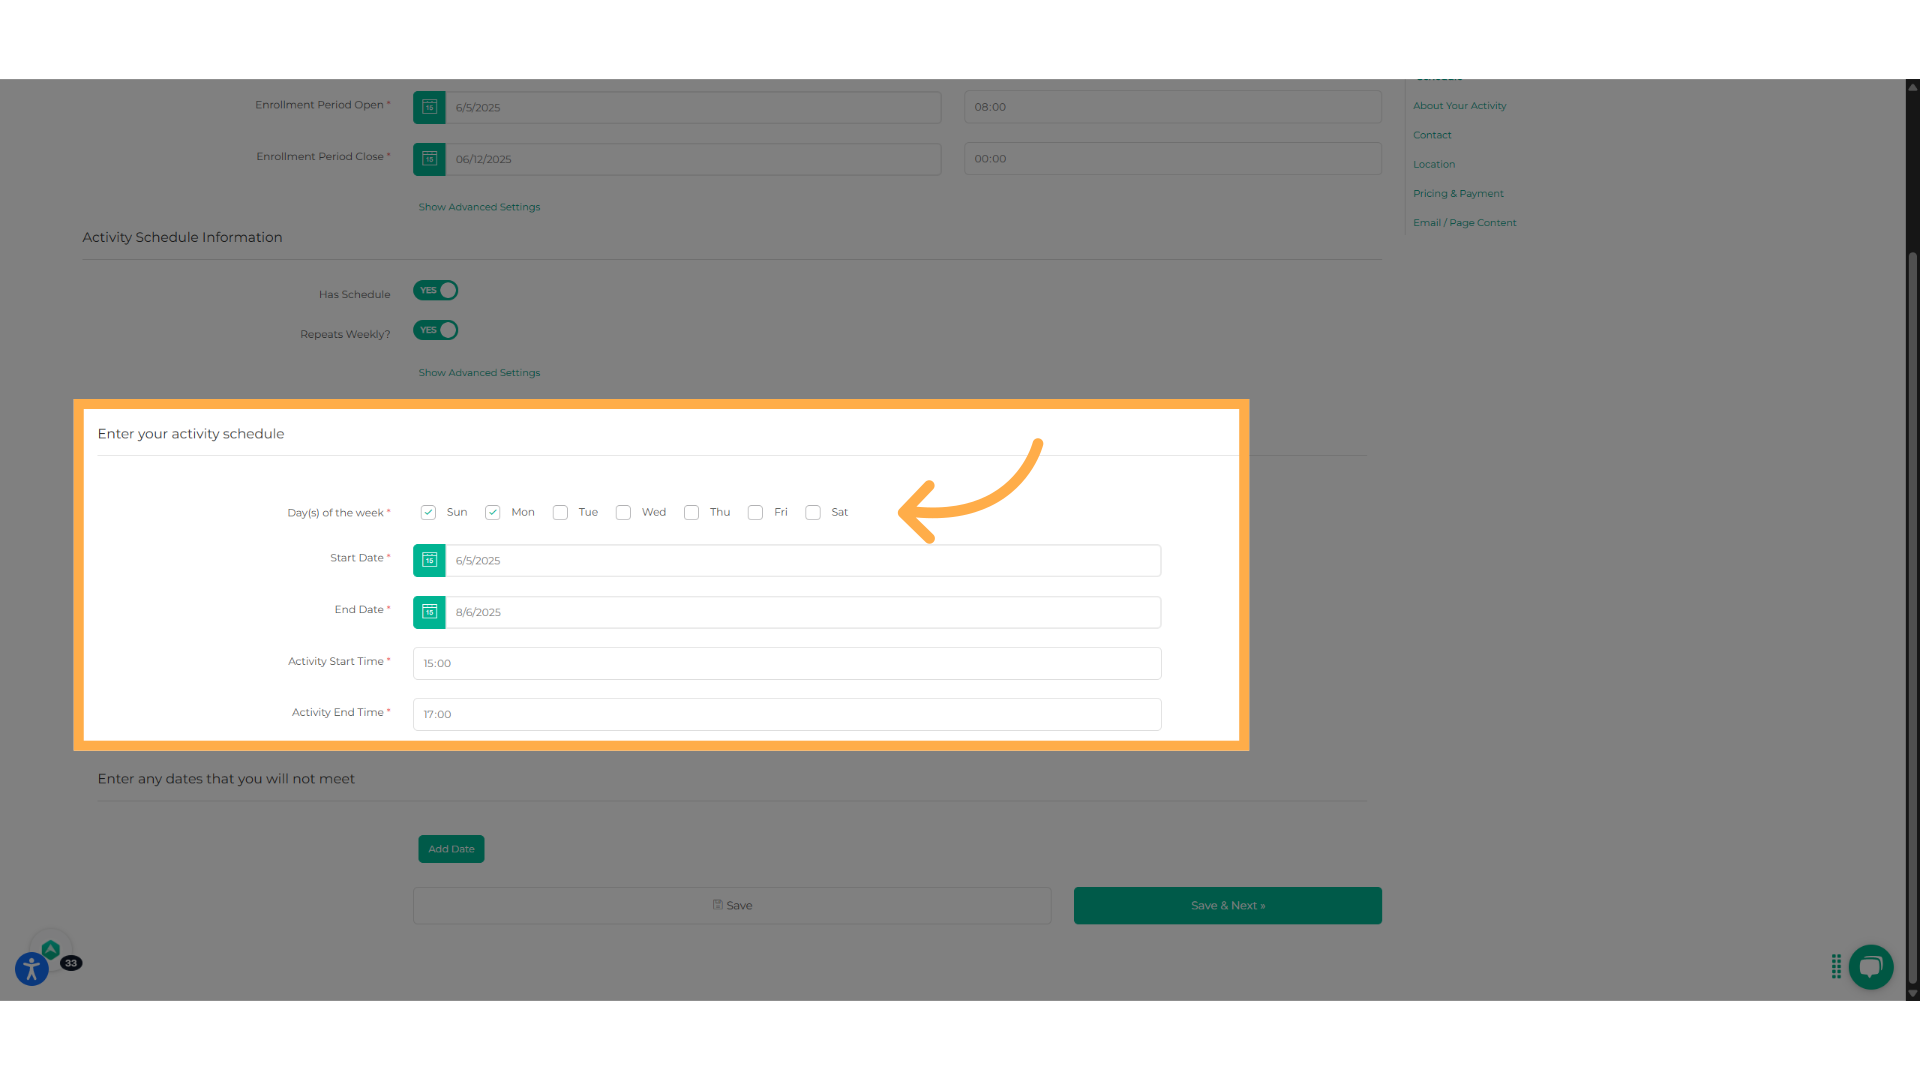
15. Input the schedule of your activity
If your activity has a schedule and/or repeats weekly, input the information in this area. You can select the day of the week, start and end date, and start and end ti
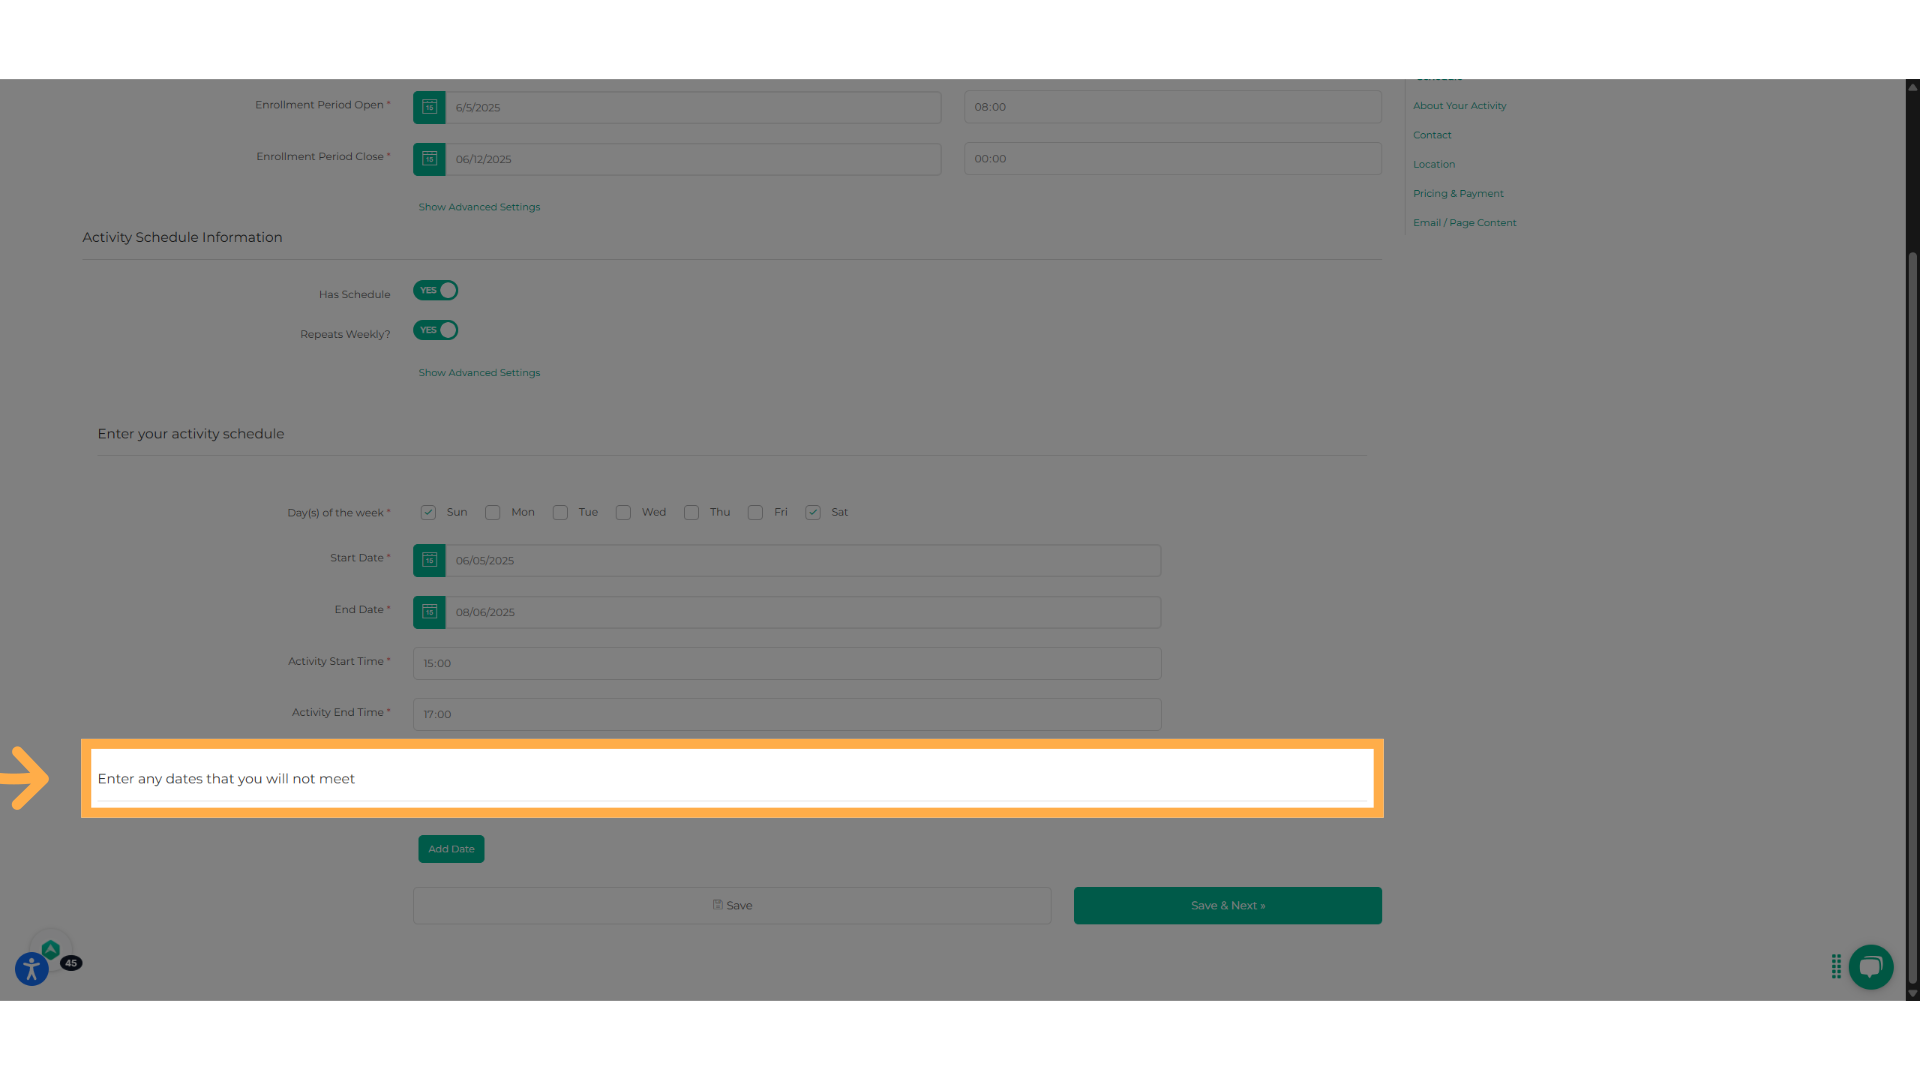
16. Click "Enter any dates that you will not meet"
Enter any dates that you will not meet
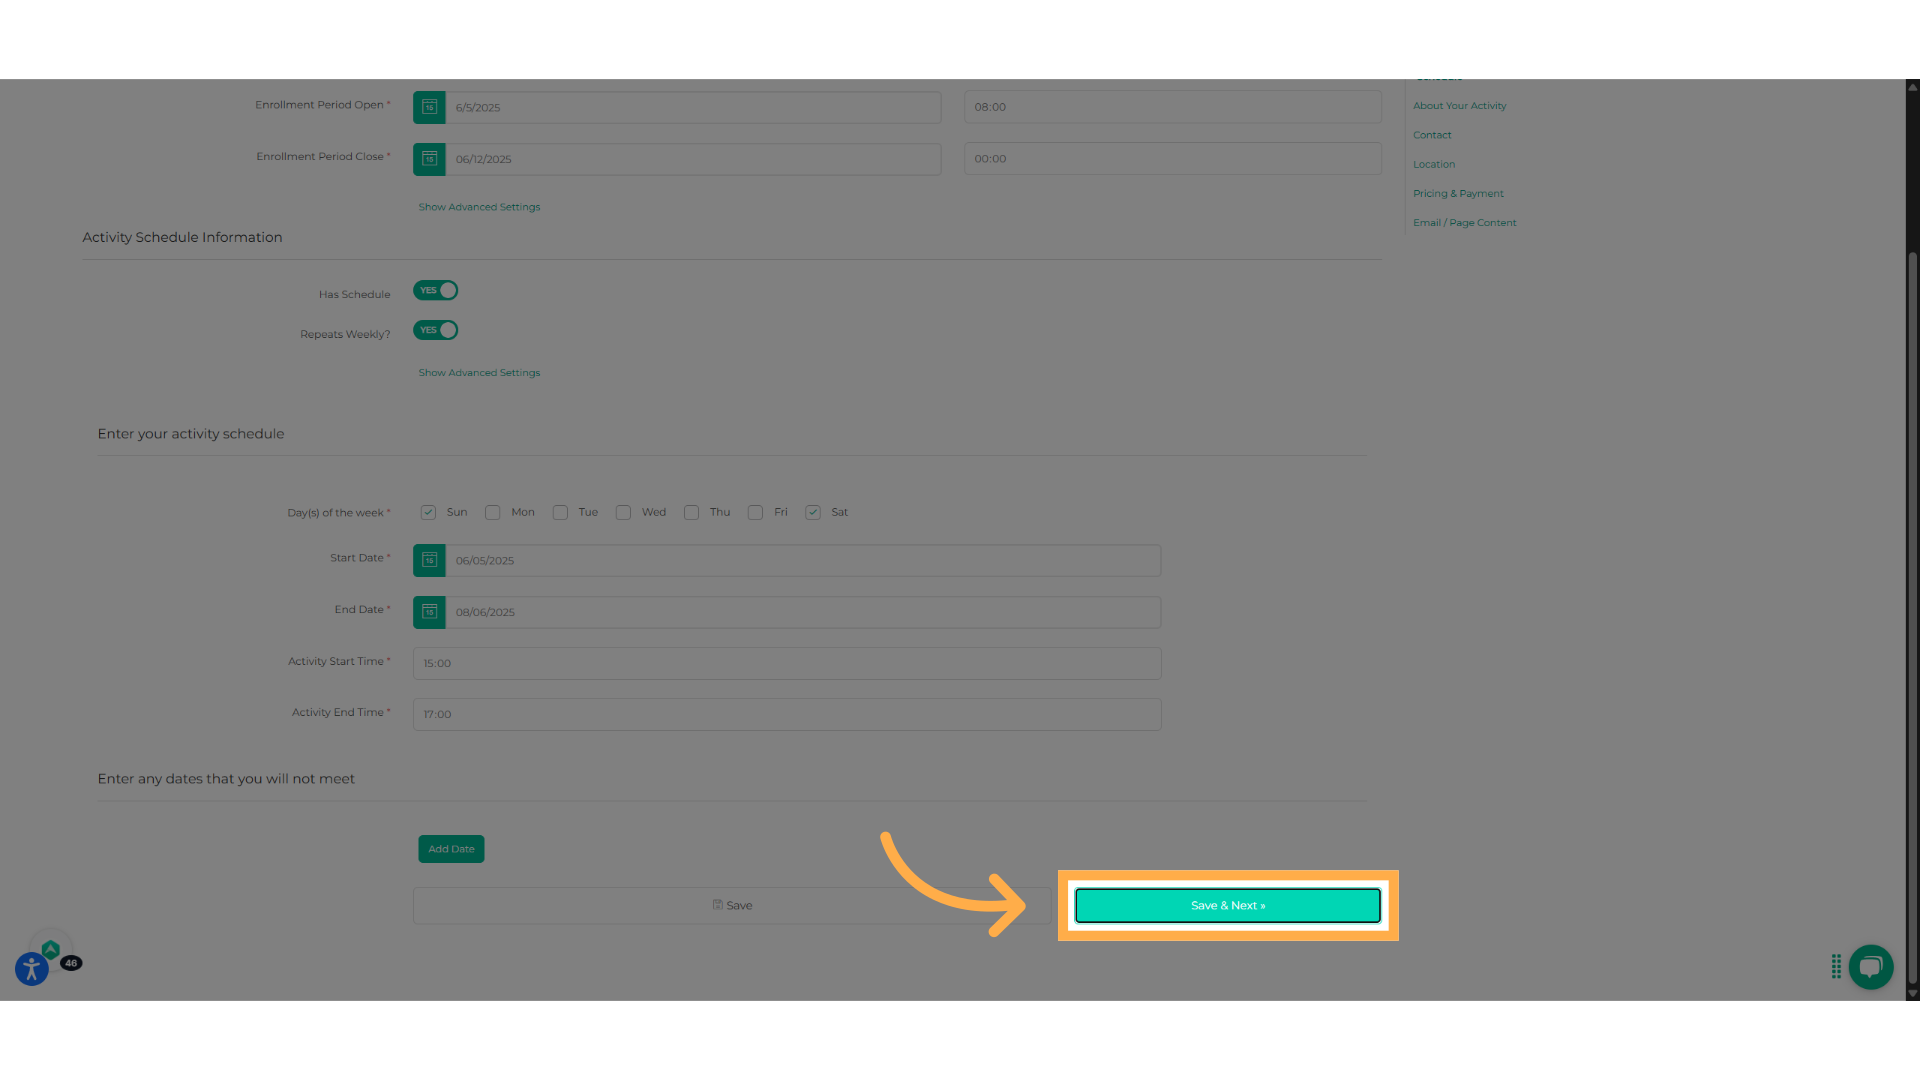
17. Click "Save & Next"
Remember to click "Save and
Next" once you are finished.
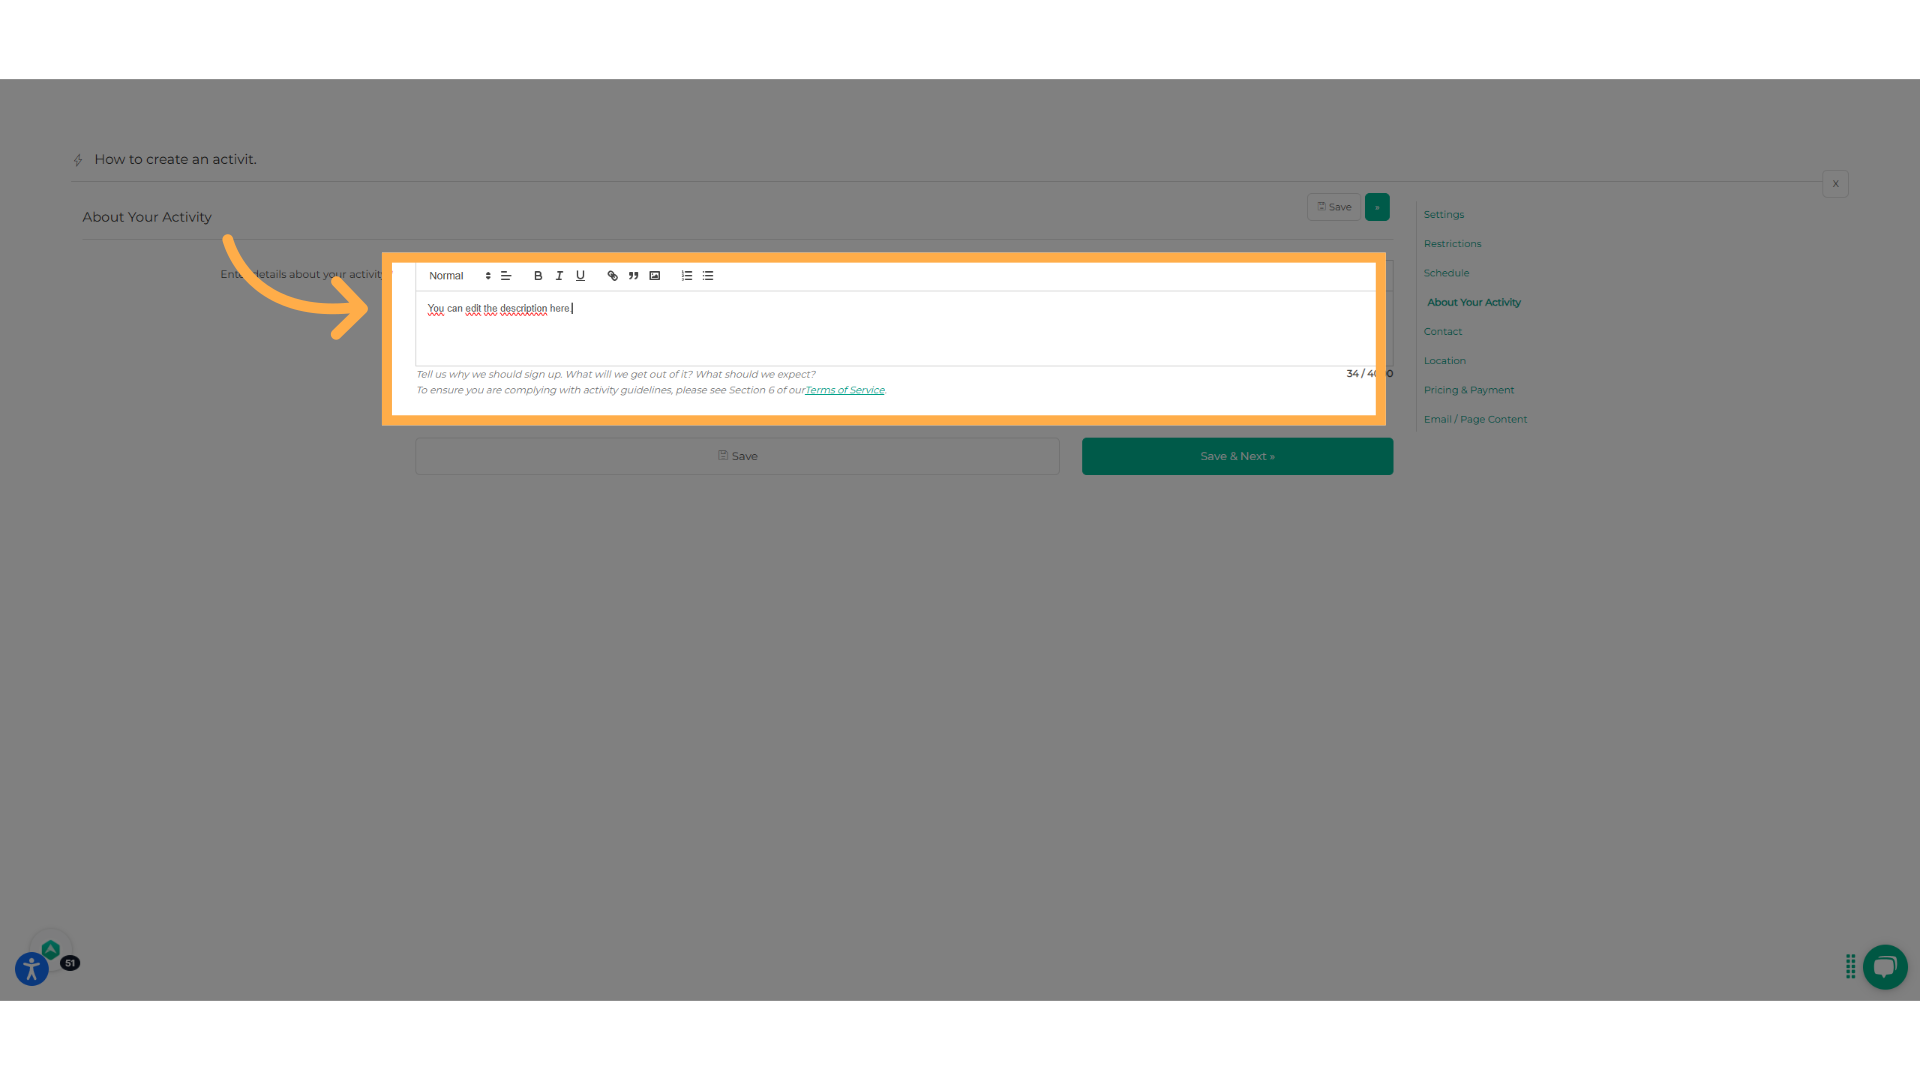
18. Write the description of your activity.
Here you can write the description of your activity, you can format the text or include an image, like a flyer.
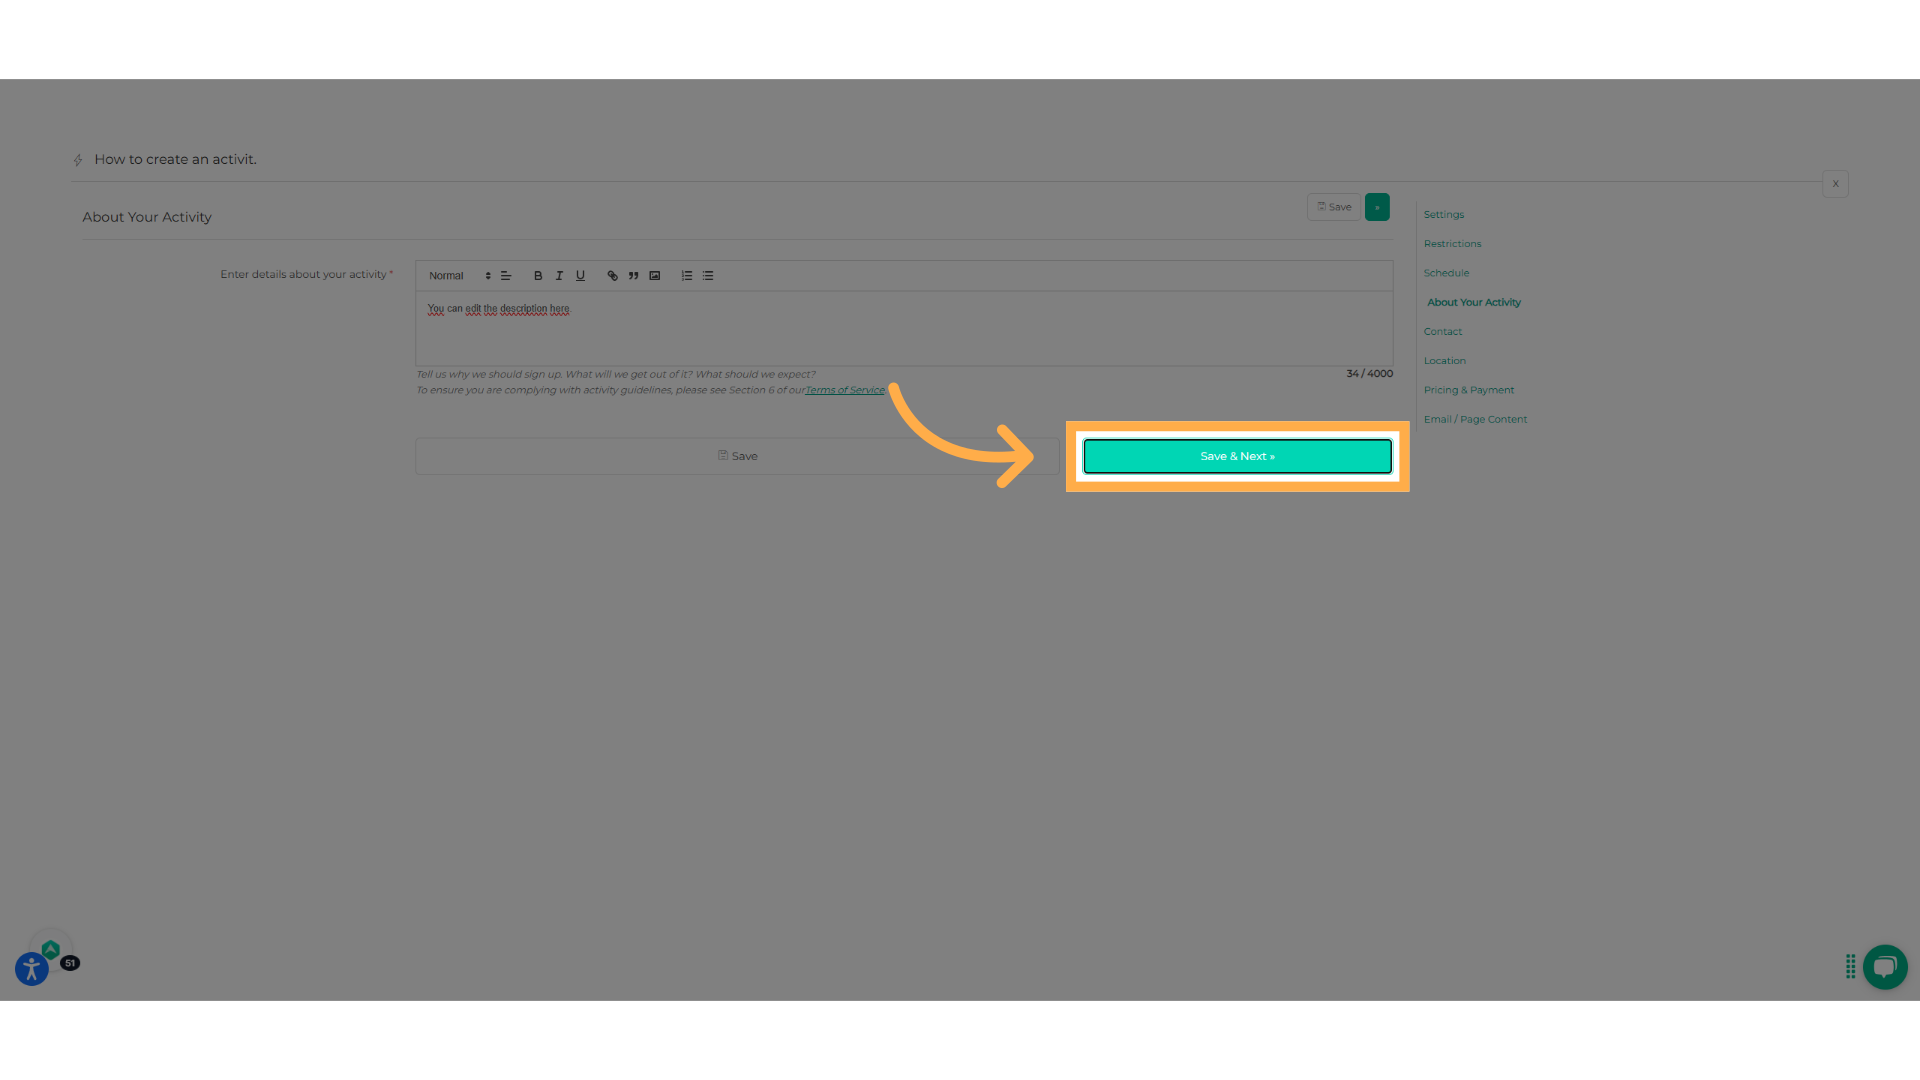
19. Click "Save & Next"
Select the "Save and Next" option once you are finished.
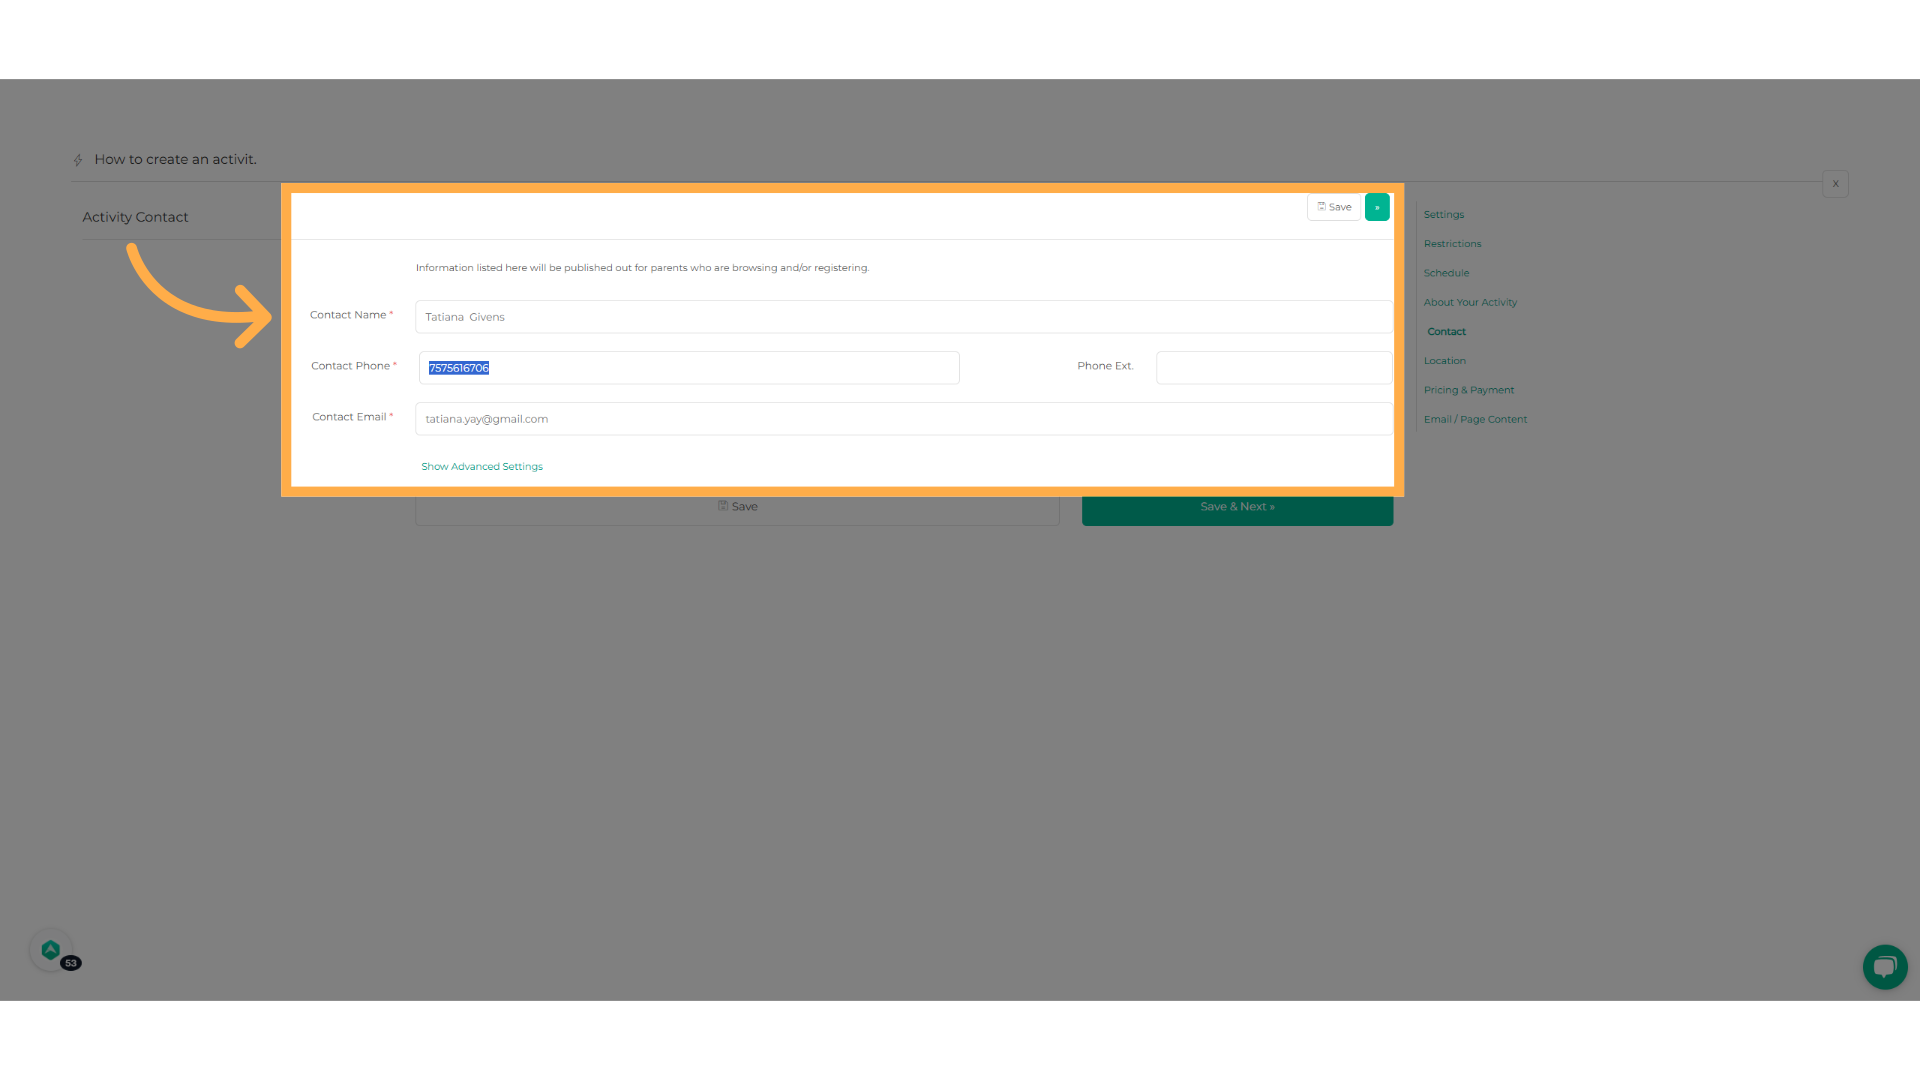
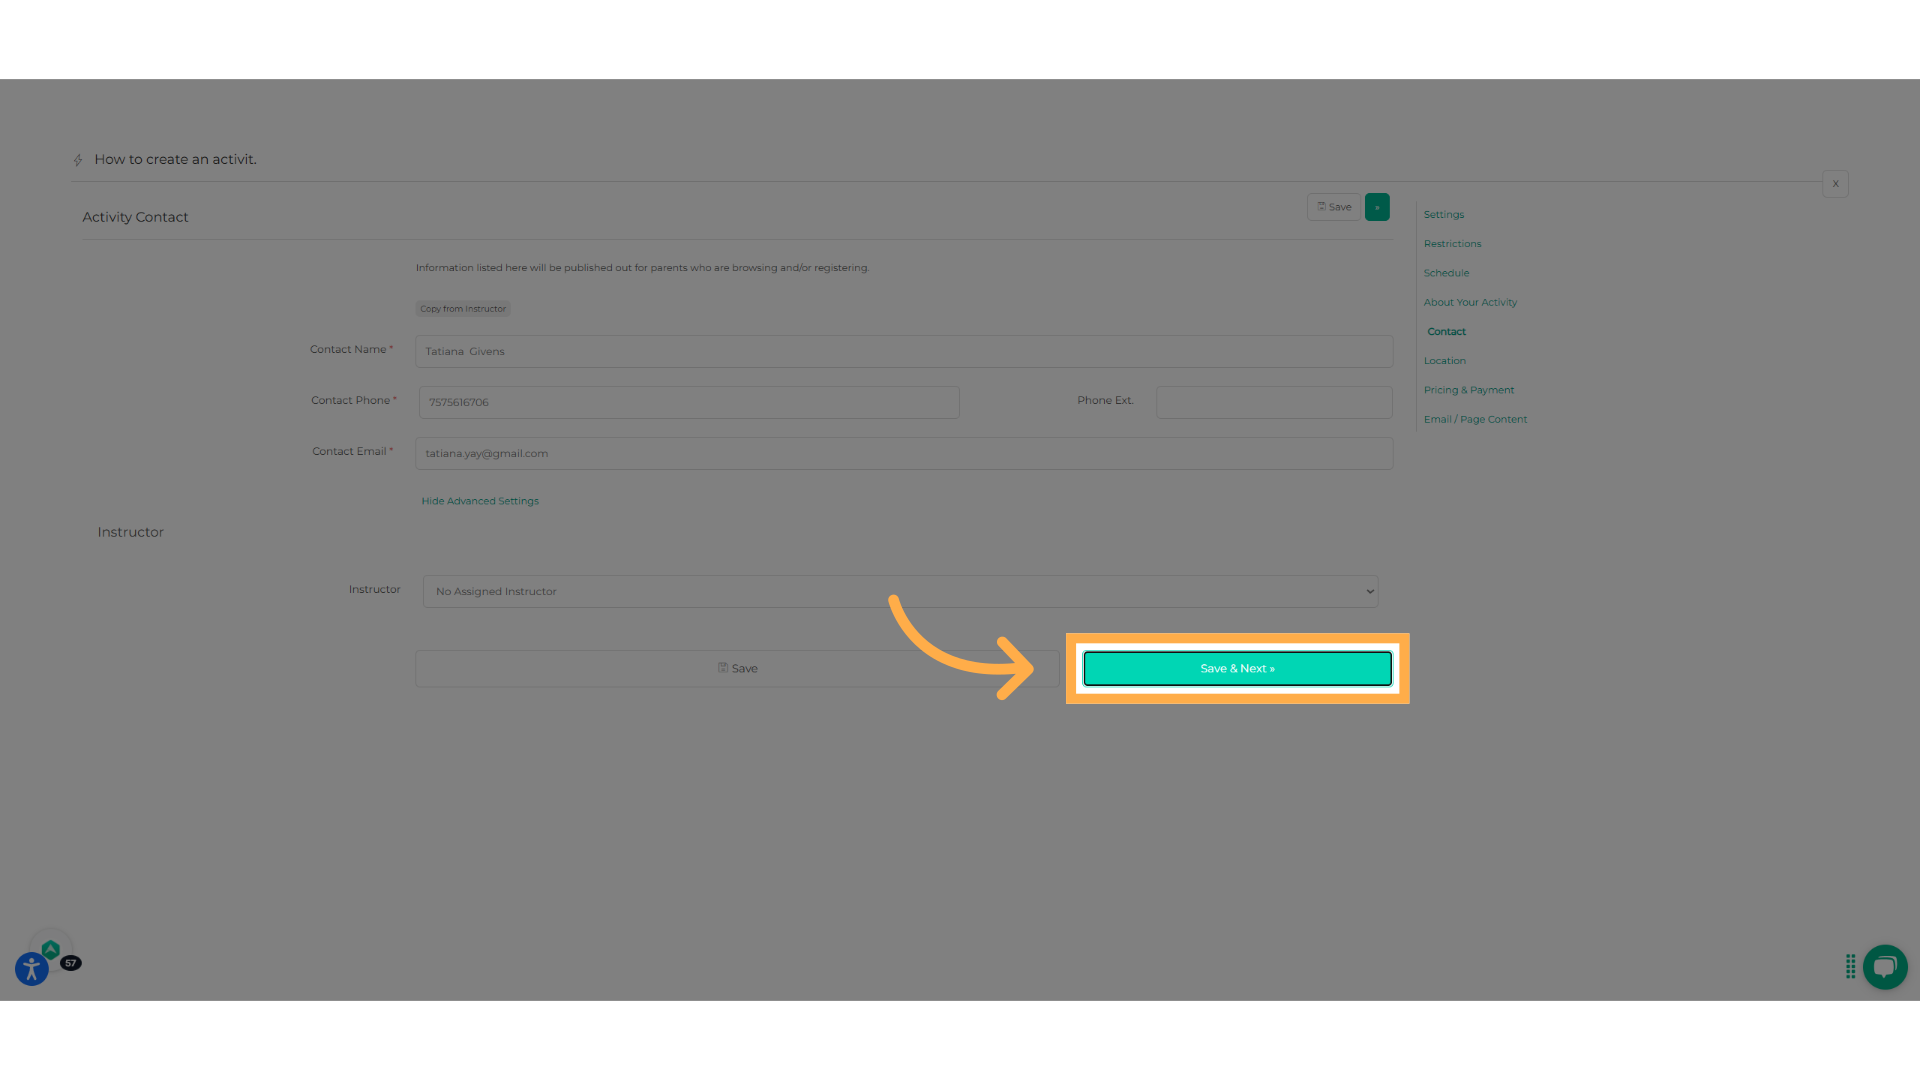
20. Add contact details
Add the contact details of the person who will be in charge of the activity.
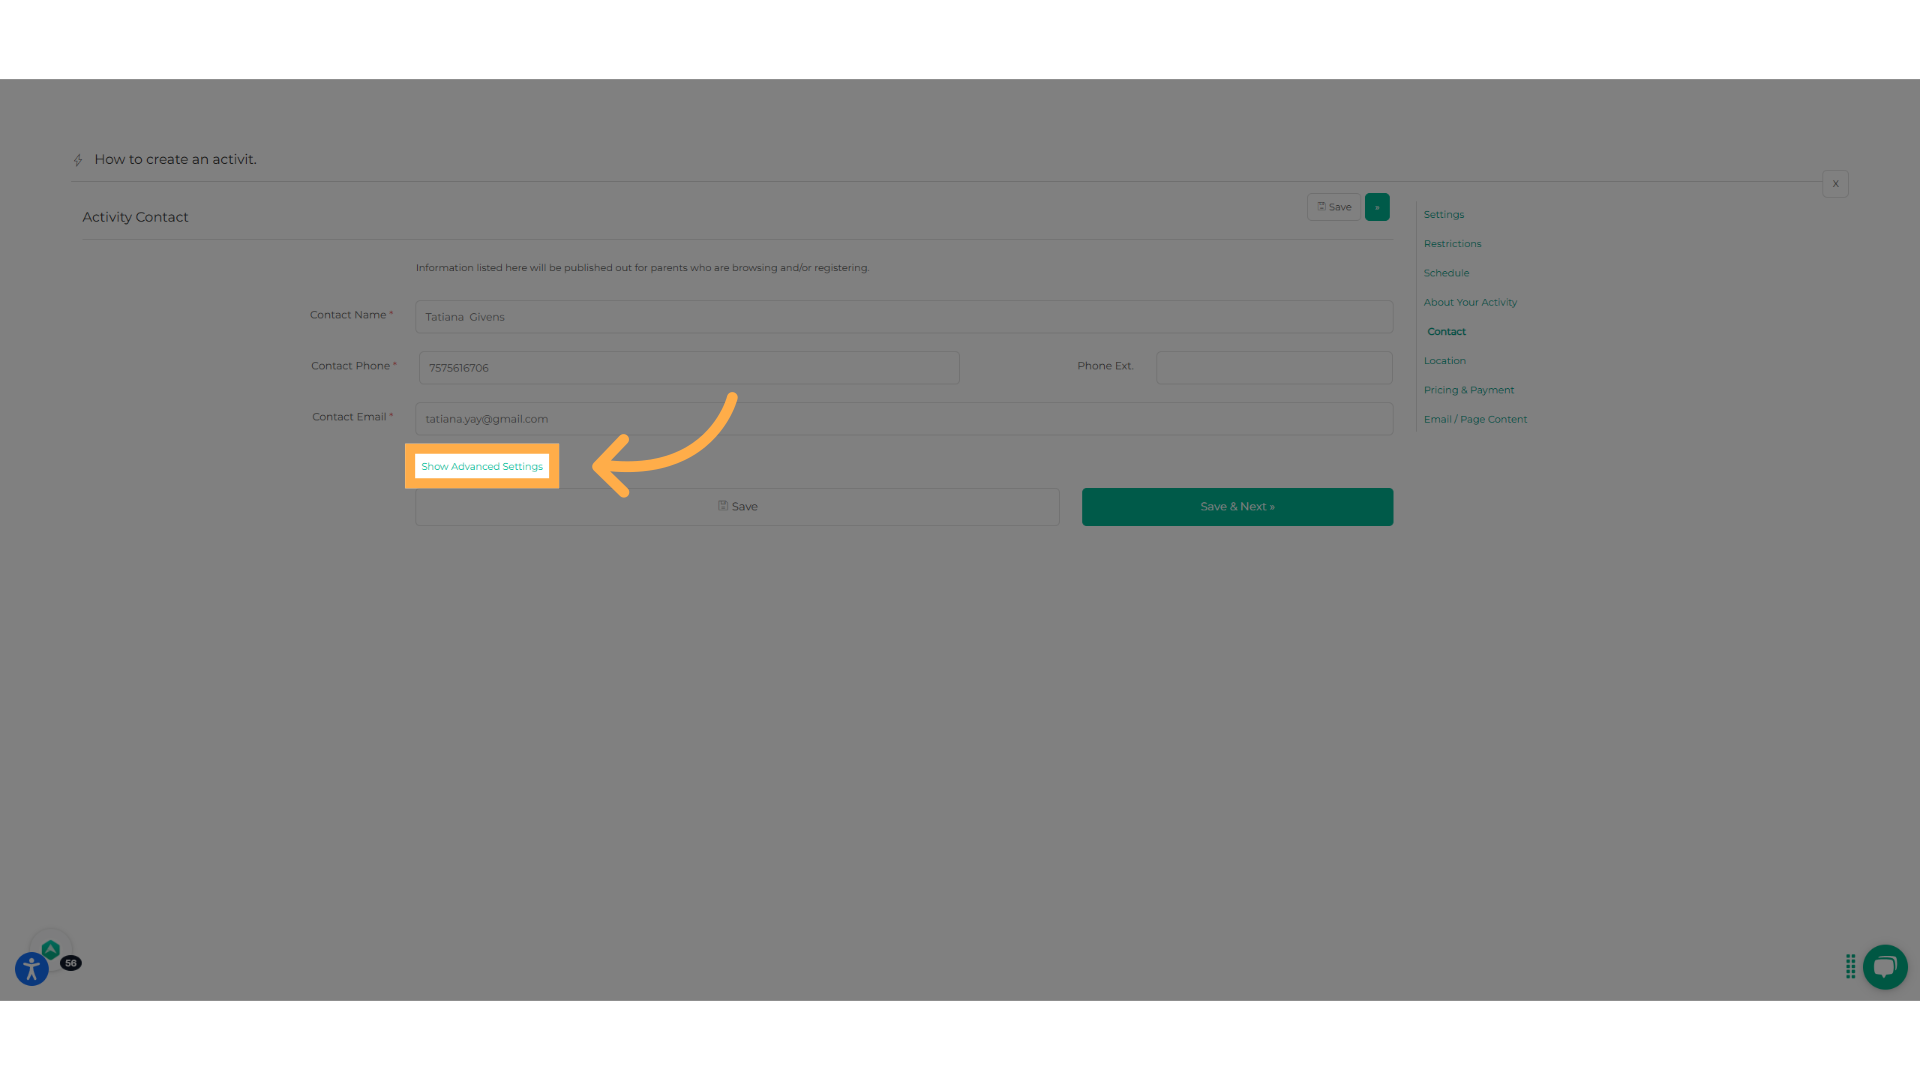
21. Click "Show Advanced Settings"
Remember to click on the "Show Advanced Settings" button to add details in case the instructor is different than the contact person.
22. Click "Save & Next"
Hit Save and next.
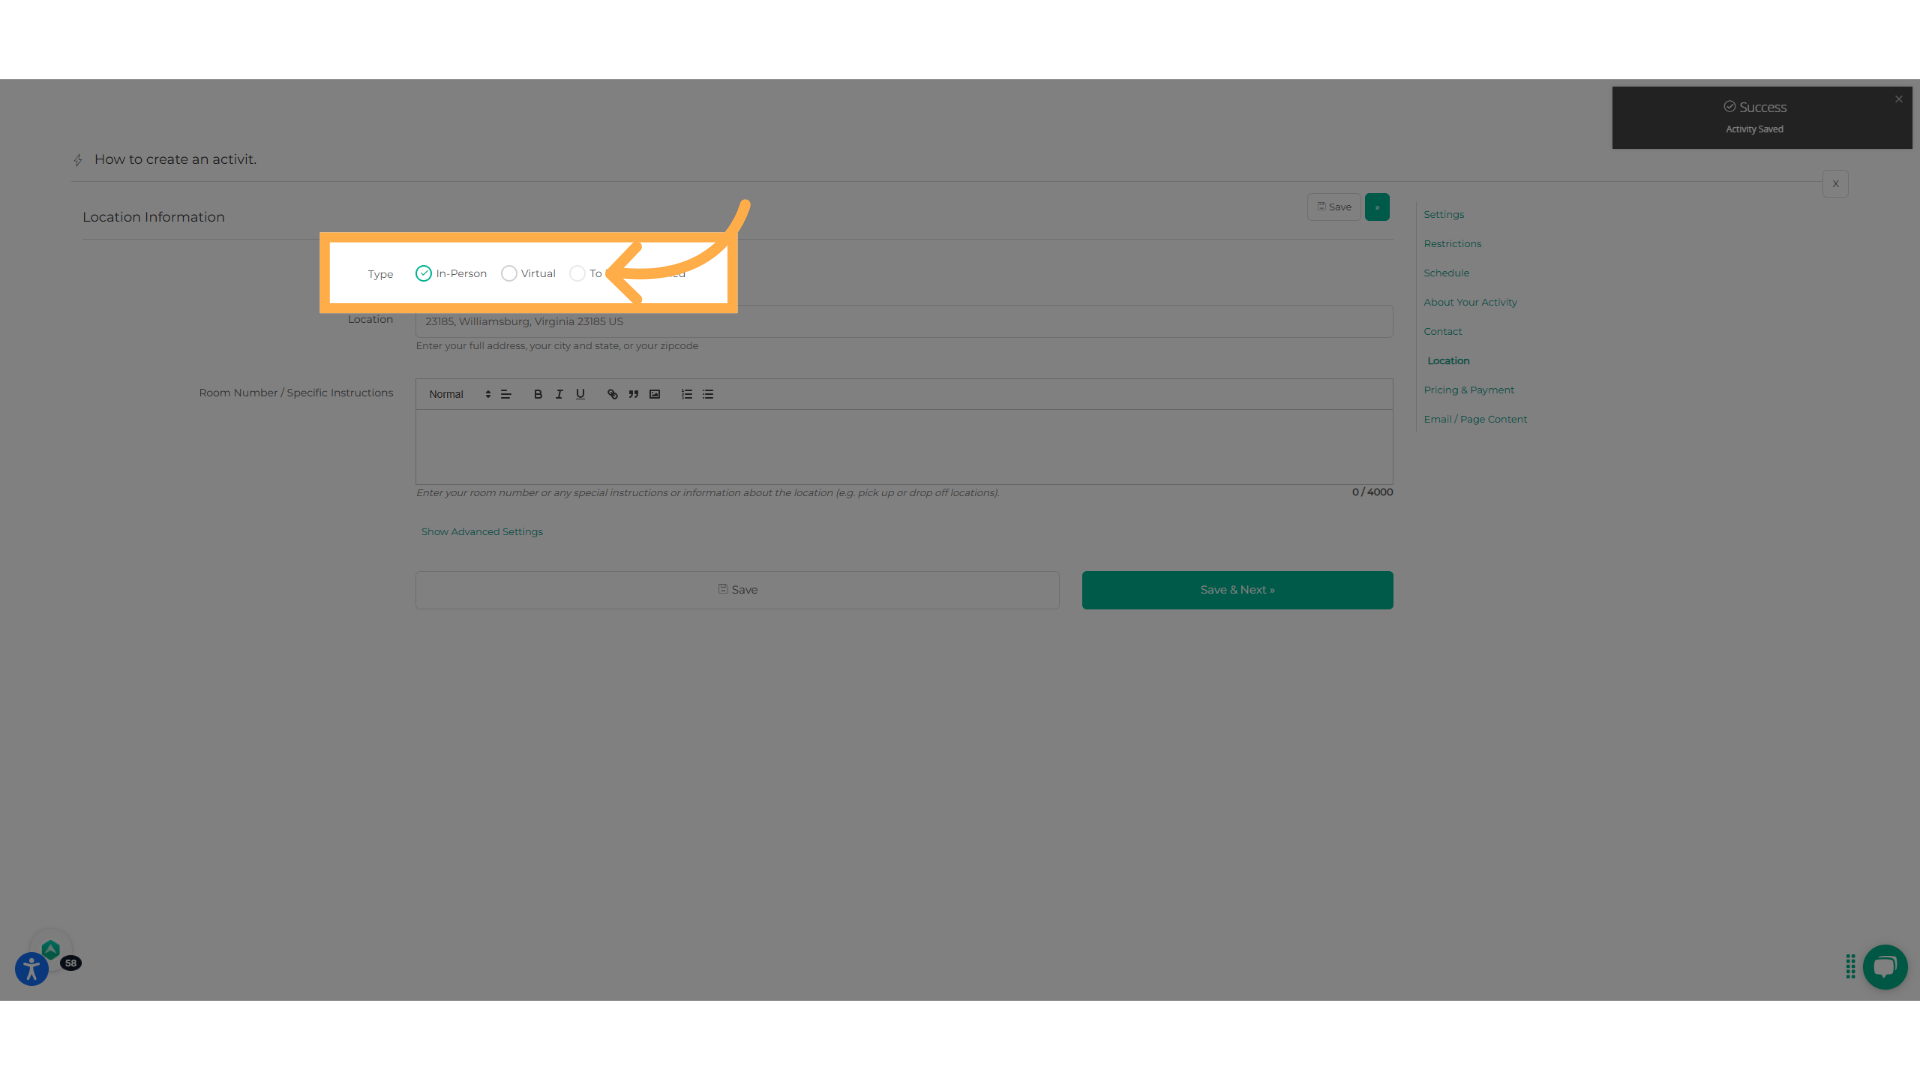
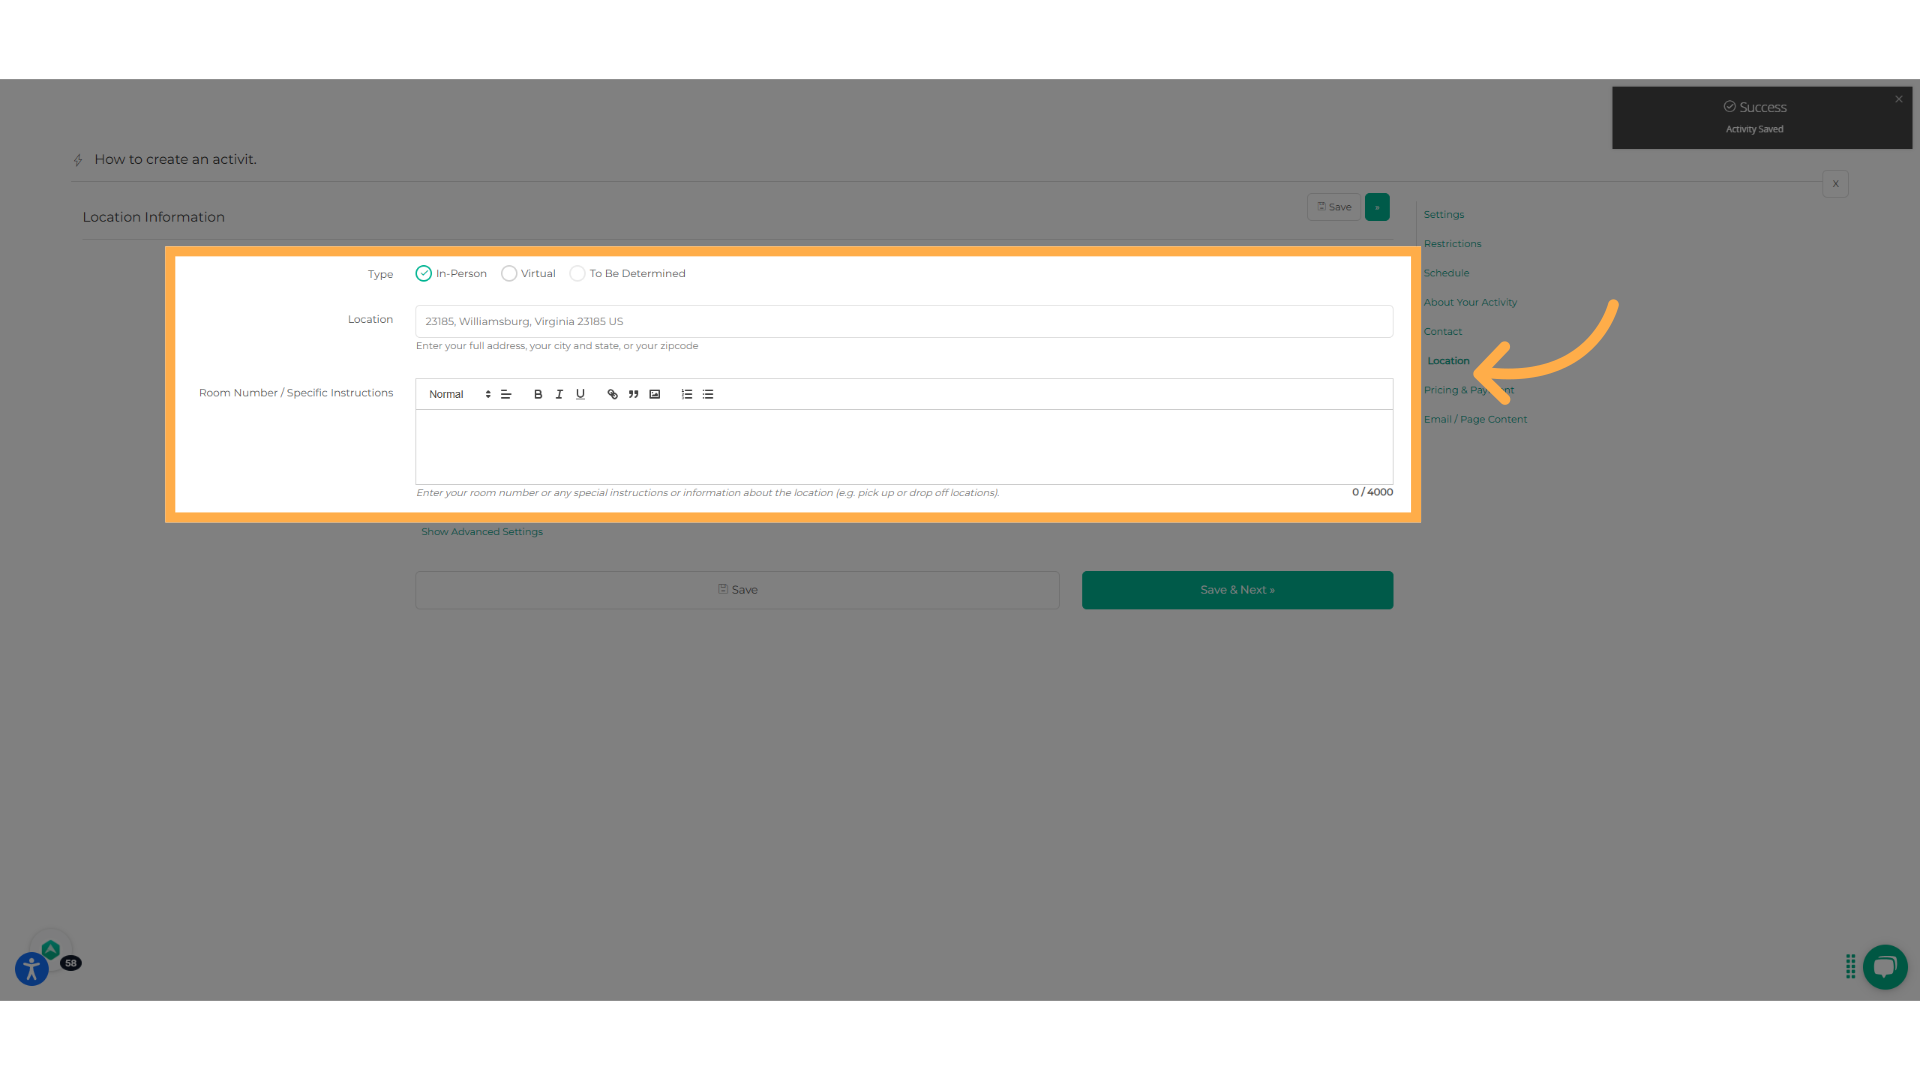
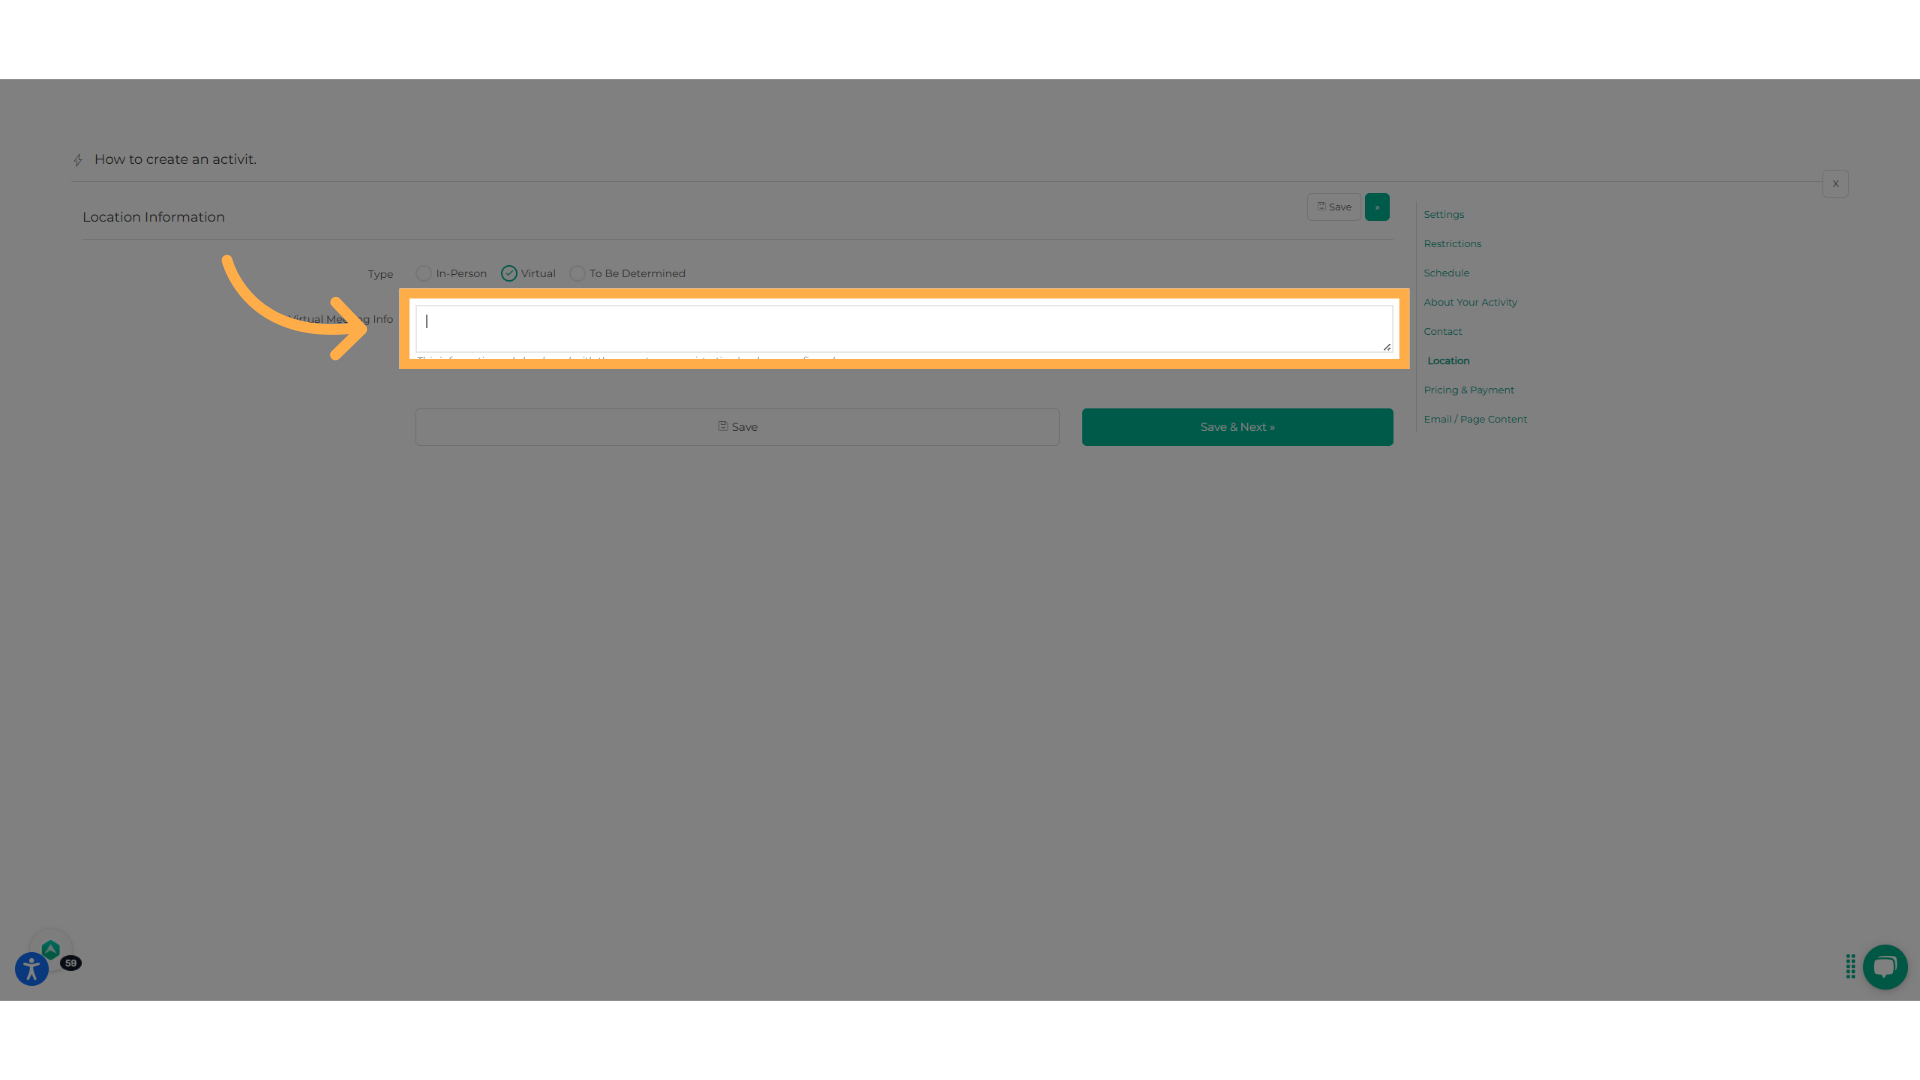
23. Select the type of location
Select the type of location
24. Write the address
If your activity is in person, you will need to write the address along with any specific instructions here
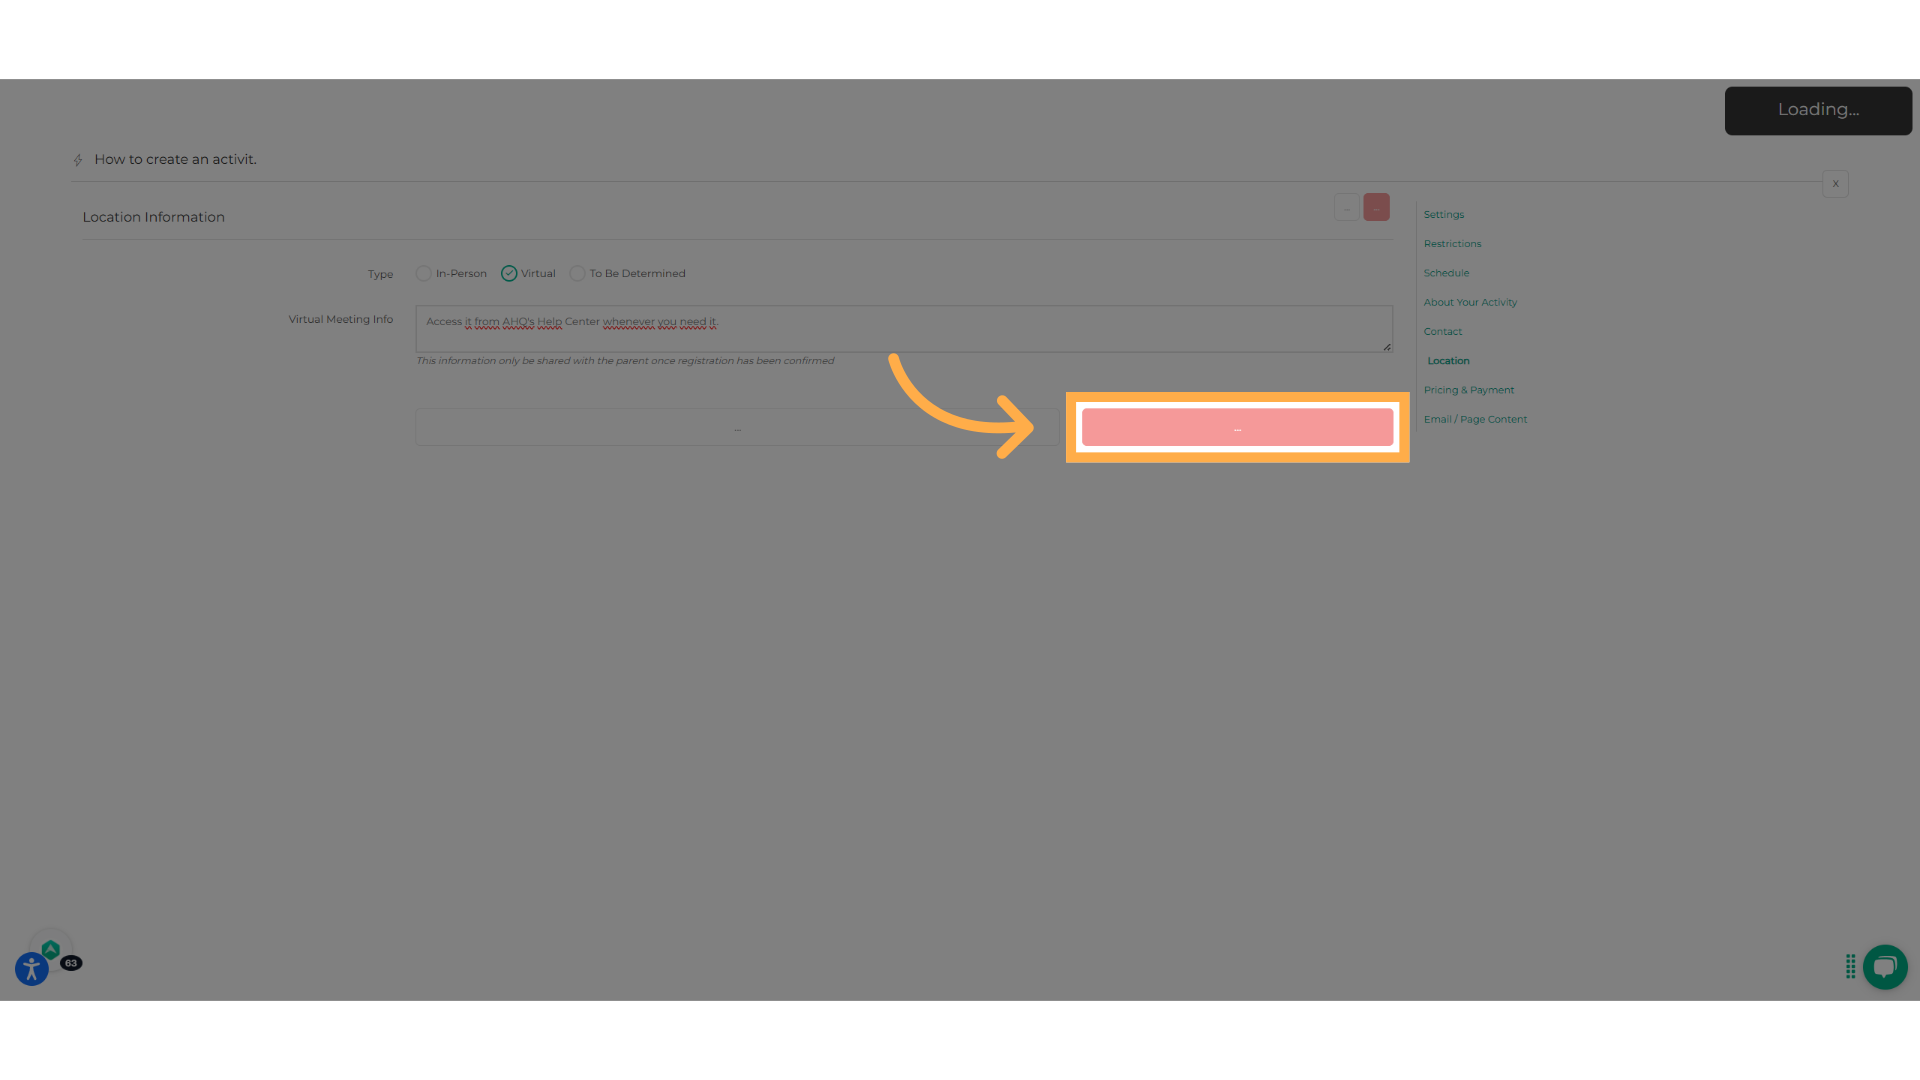
25. Write the link here
If your activity is virtual, you can write the details, like a link for a video call here.
26. Click "Save and Next"
Remember, click Save and Next.
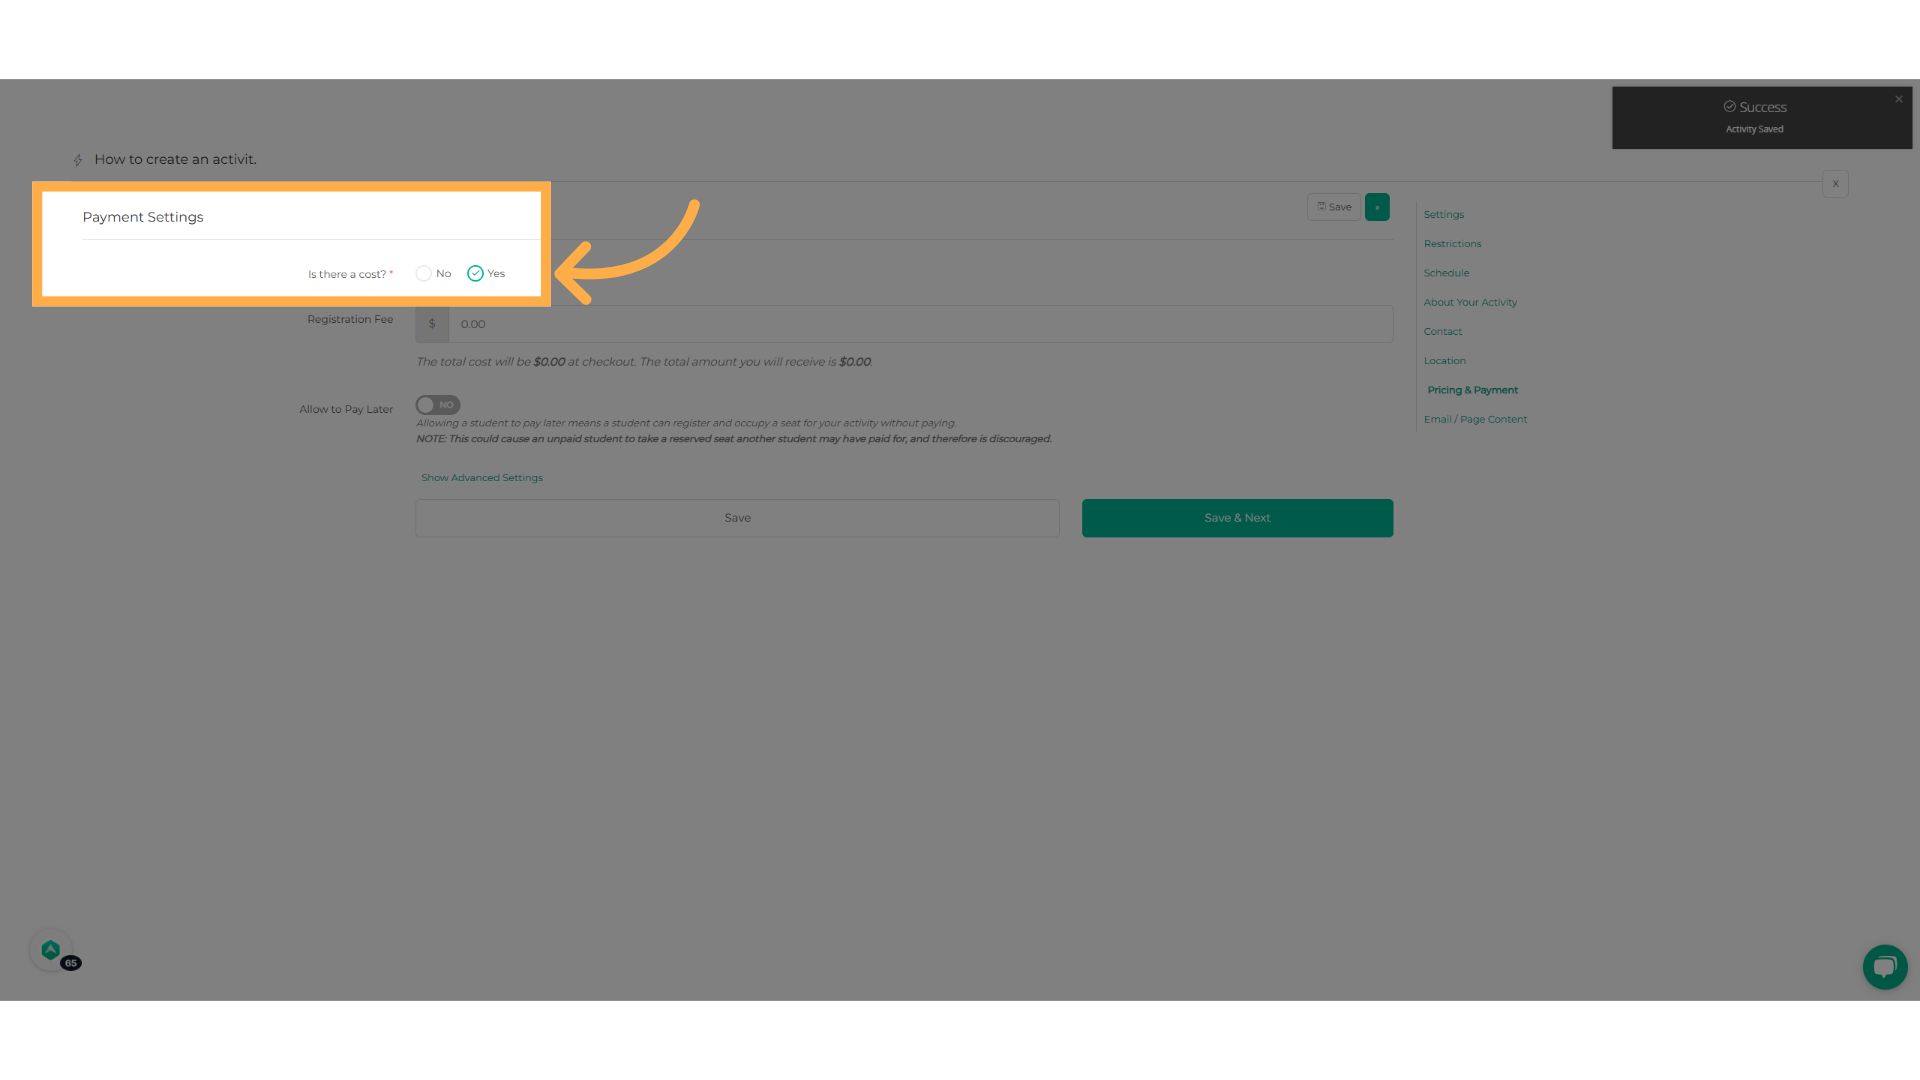
27. Indicate if there is a cost
Select if there is a cost. Depending on whether there is a cost or not, you will see options regarding pricing.
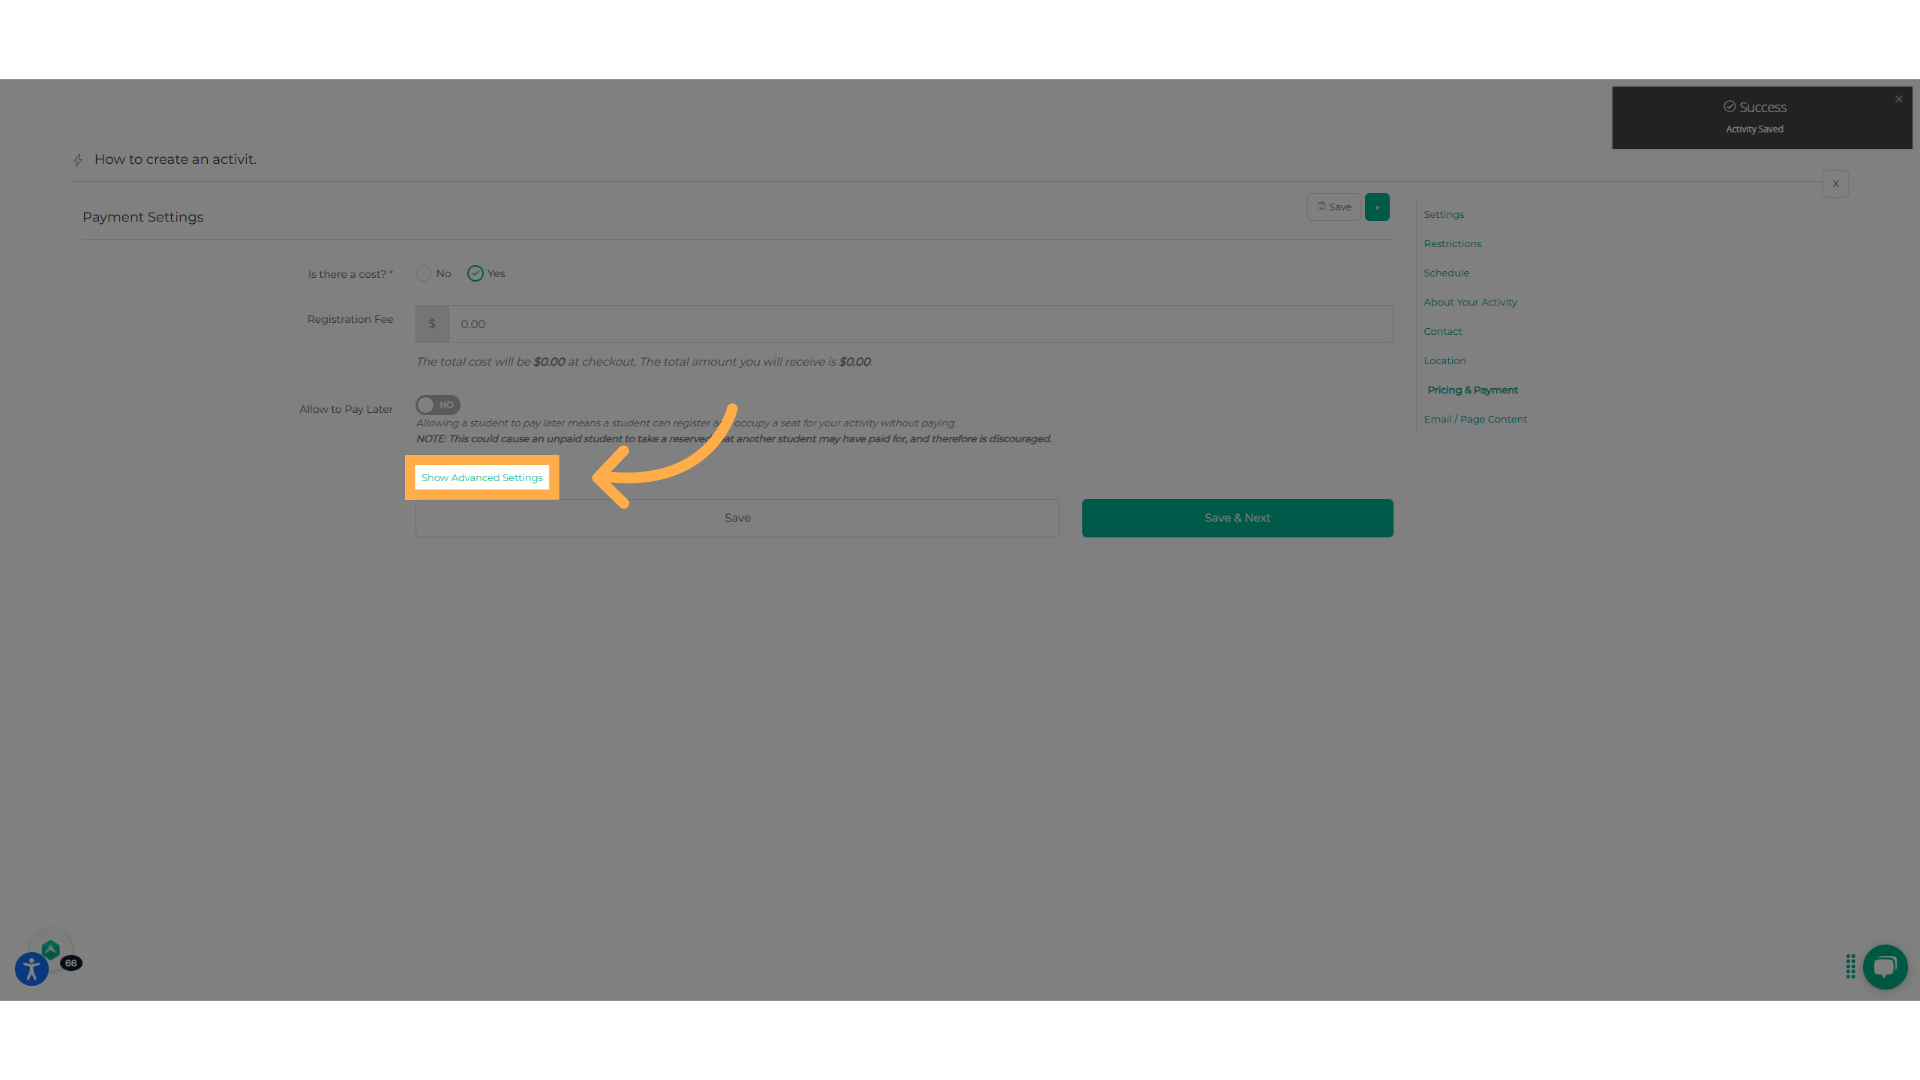
28. Click "Show Advanced Settings"
Click on the "Show Advanced Settings" field and review if any of these options apply to your activity
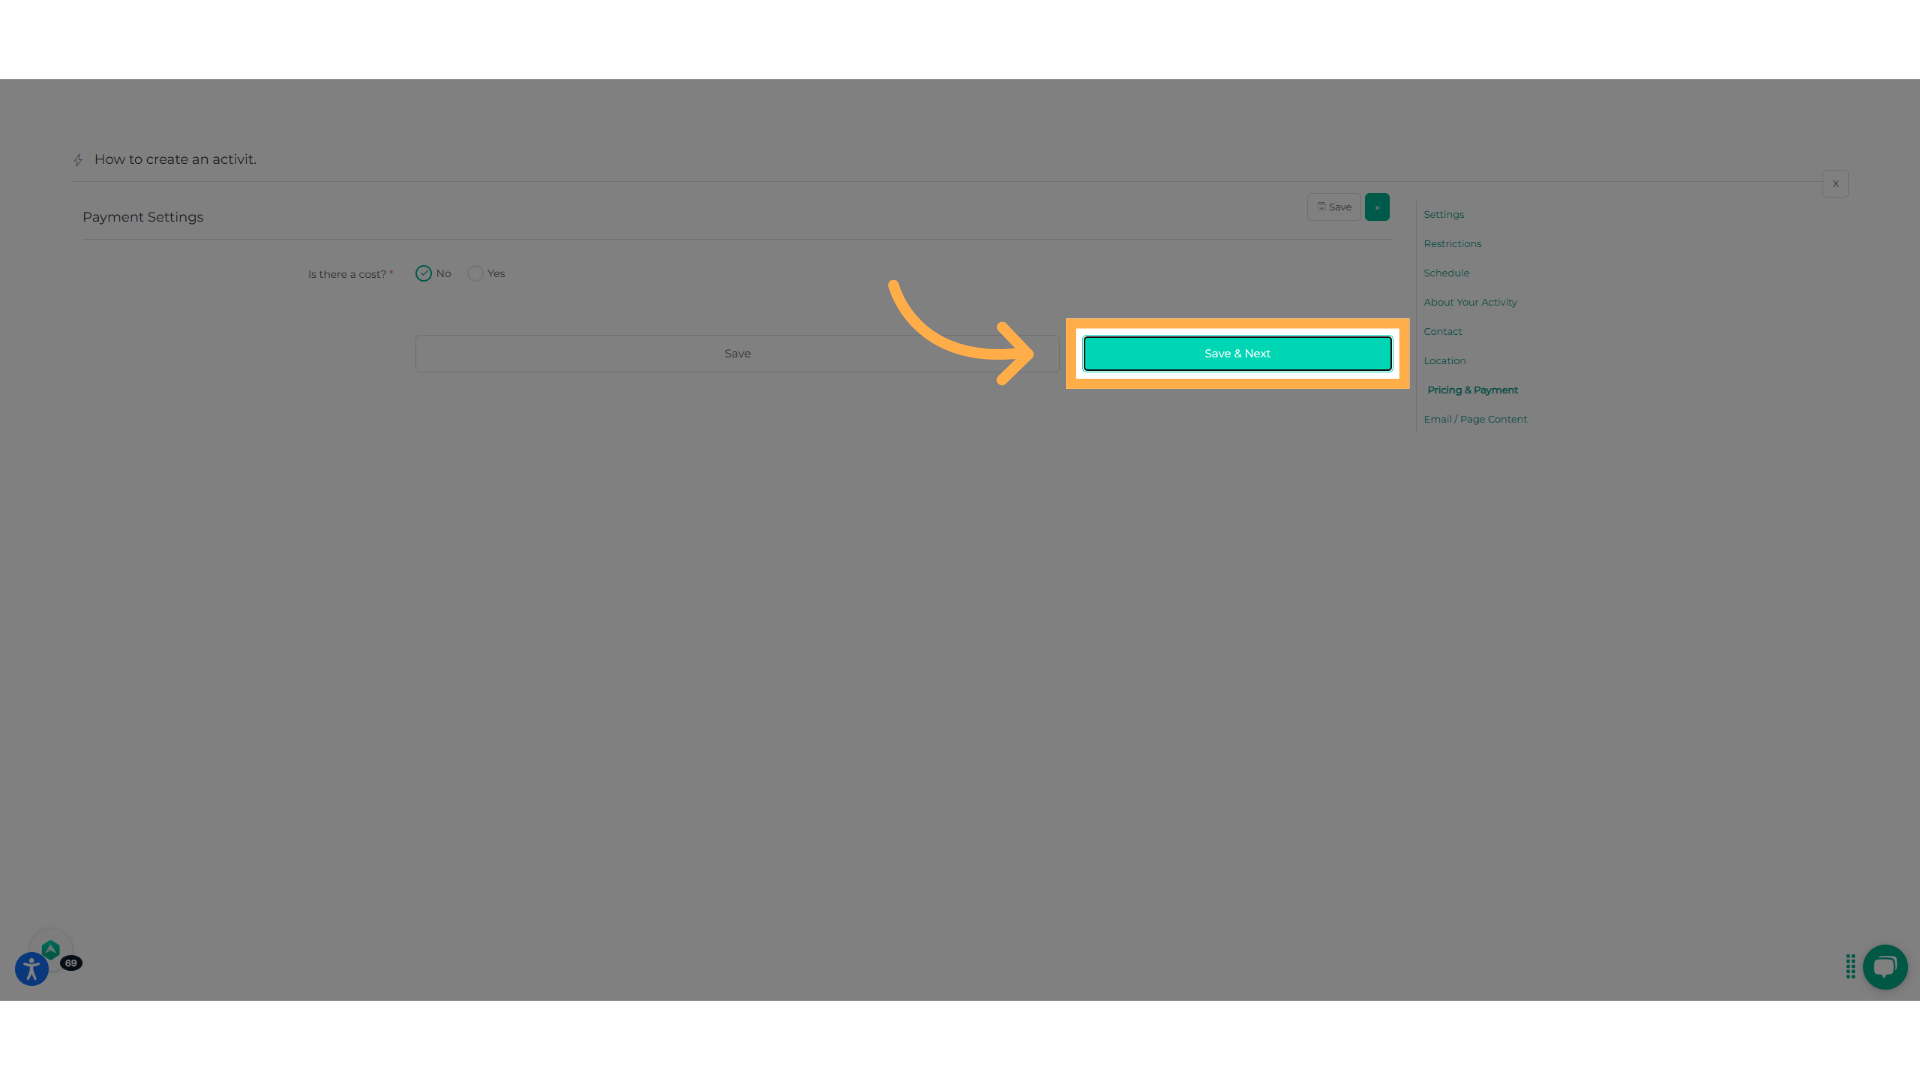
29. Click "Save & Next"
Click save and next after finishing with the payment options
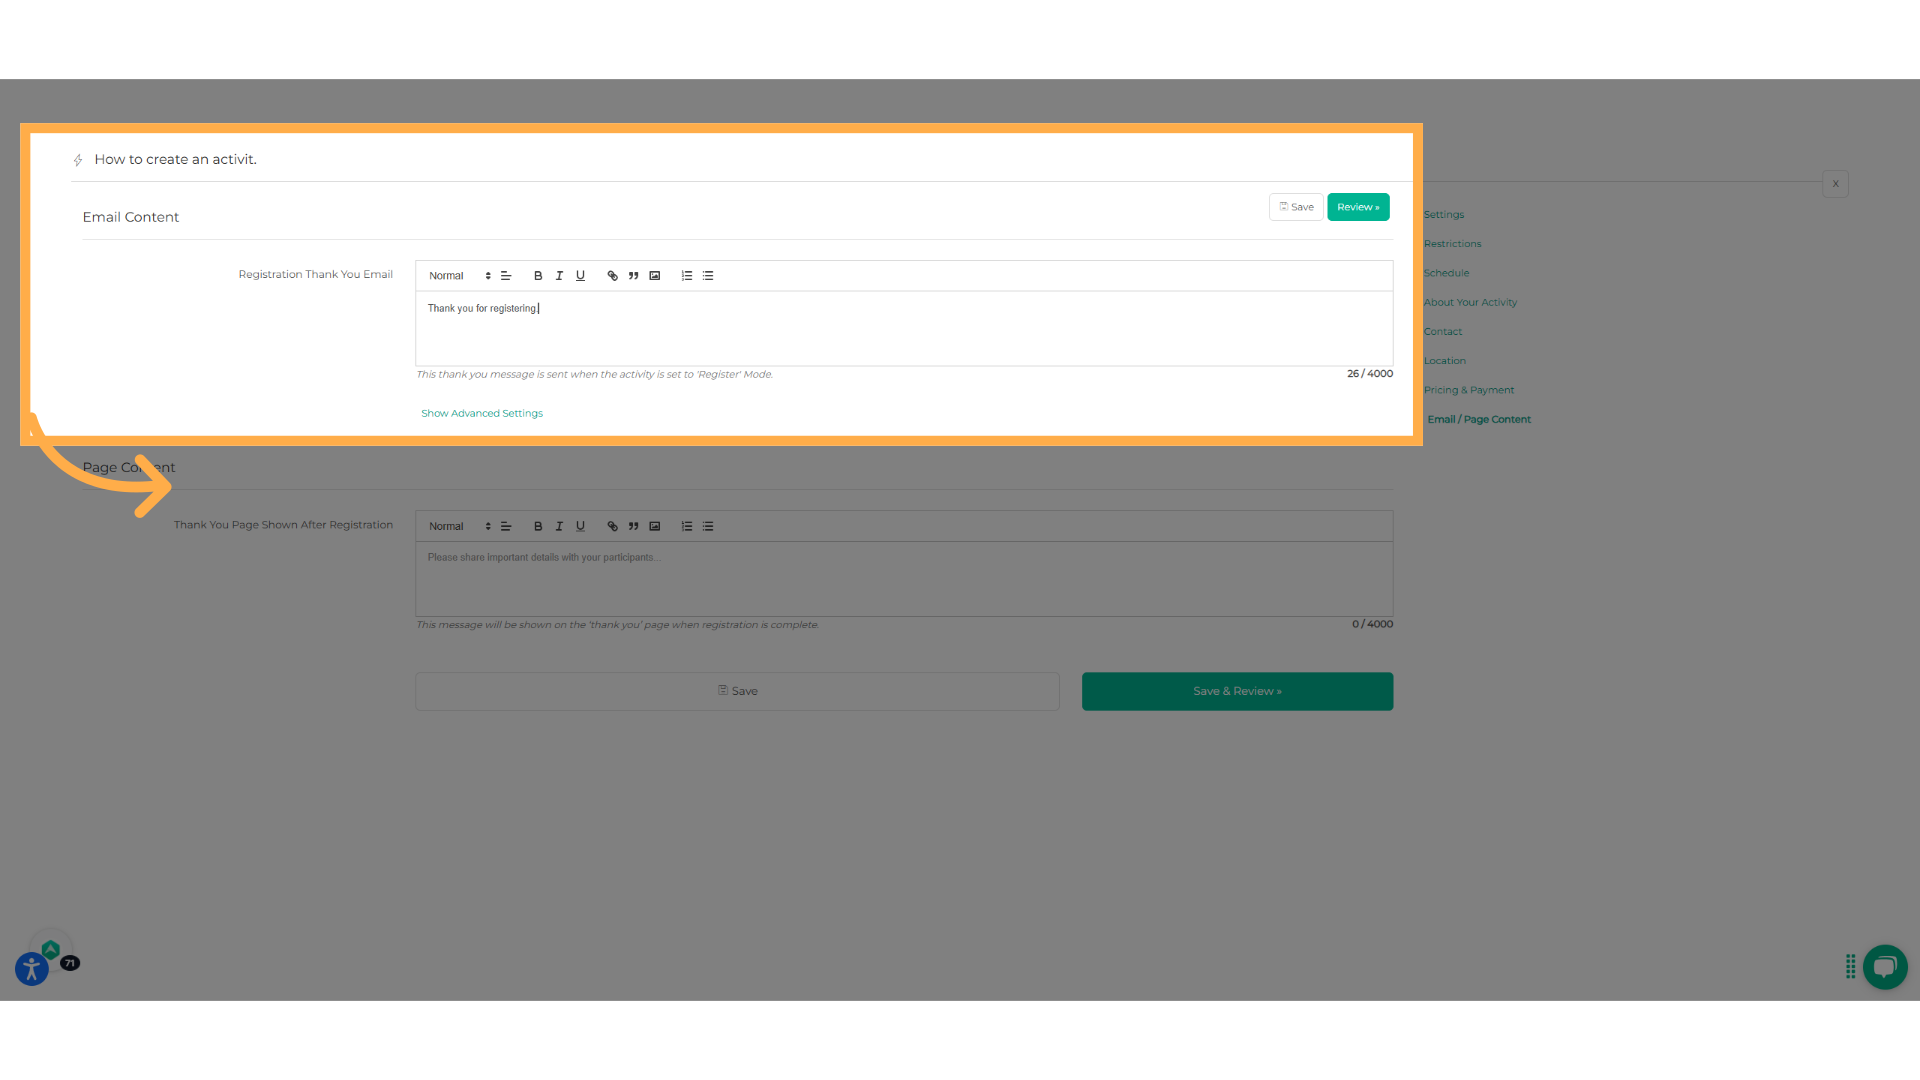
30. Write a "Thank you" email
Here you can write an email to thank them for registering or applying. It can also be used to share more information.
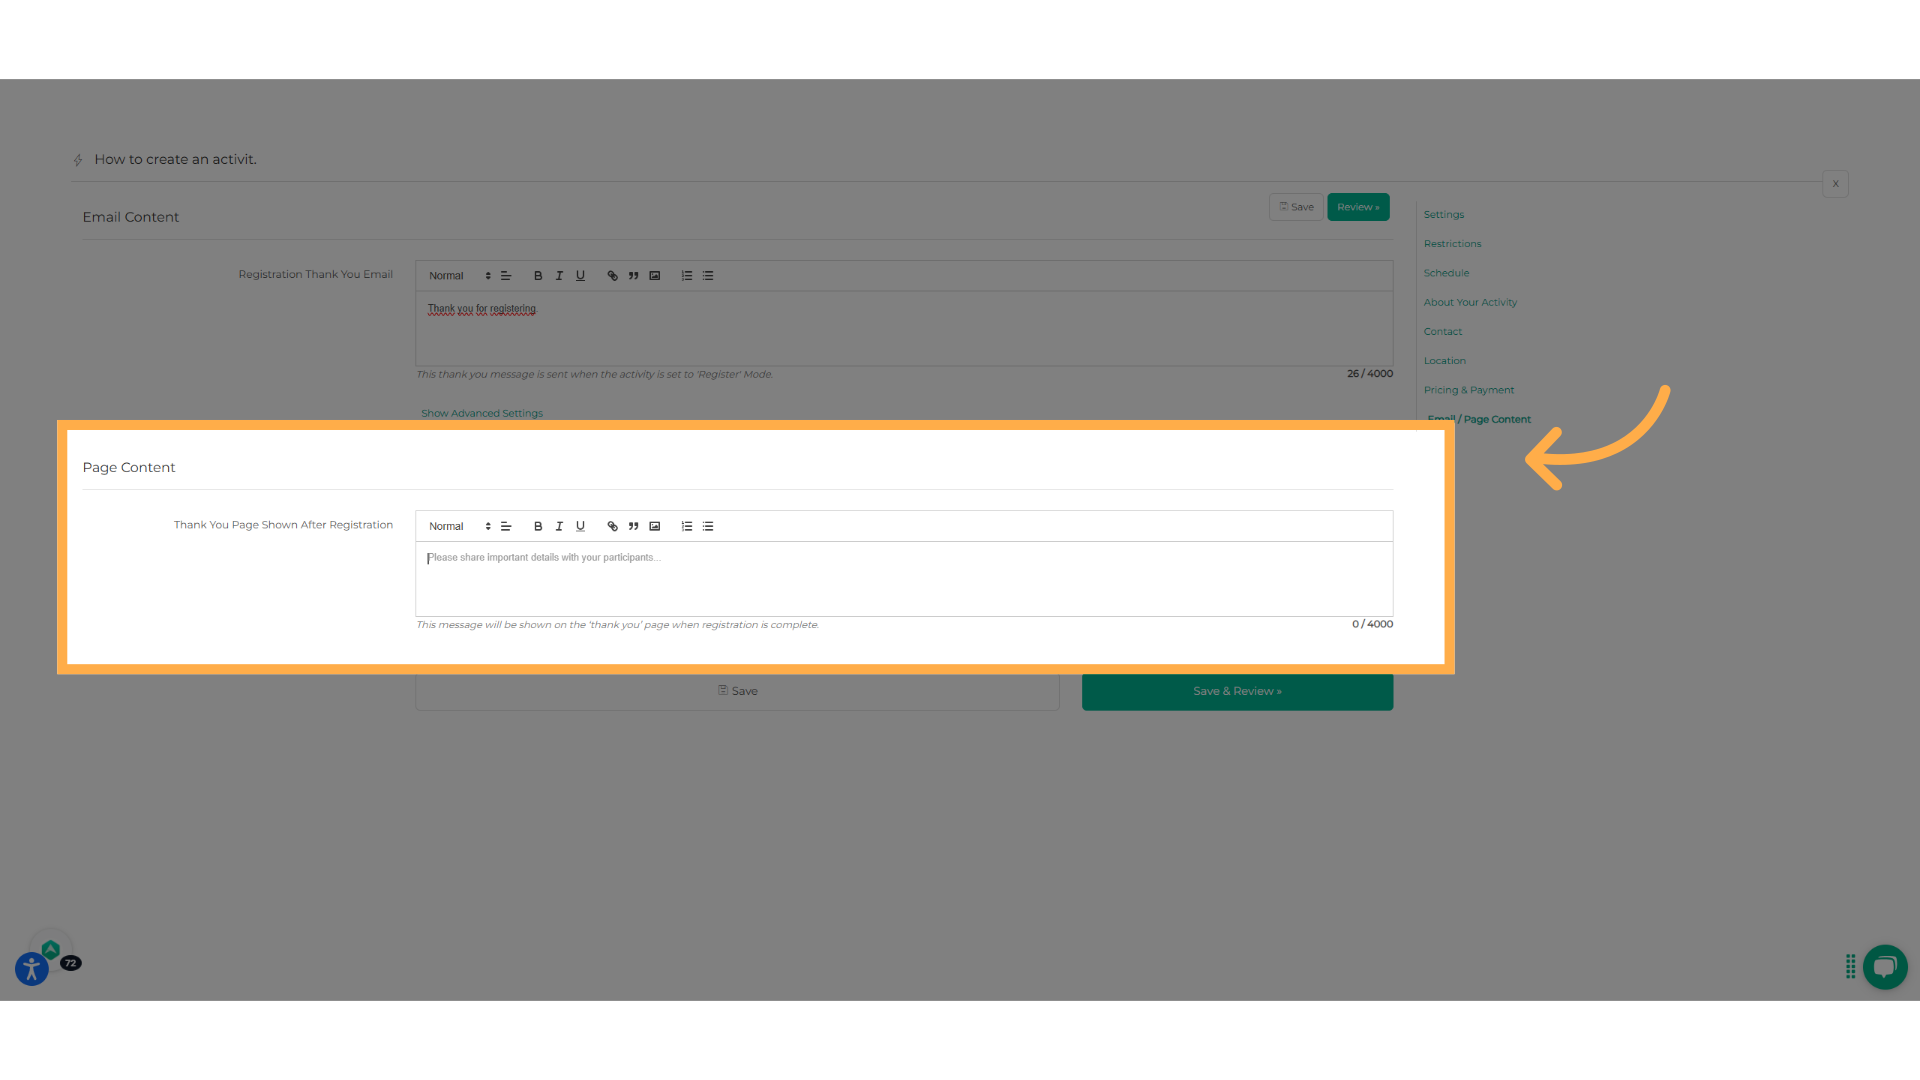
31. Click to write a message
Write the content of the page they will see after registering.
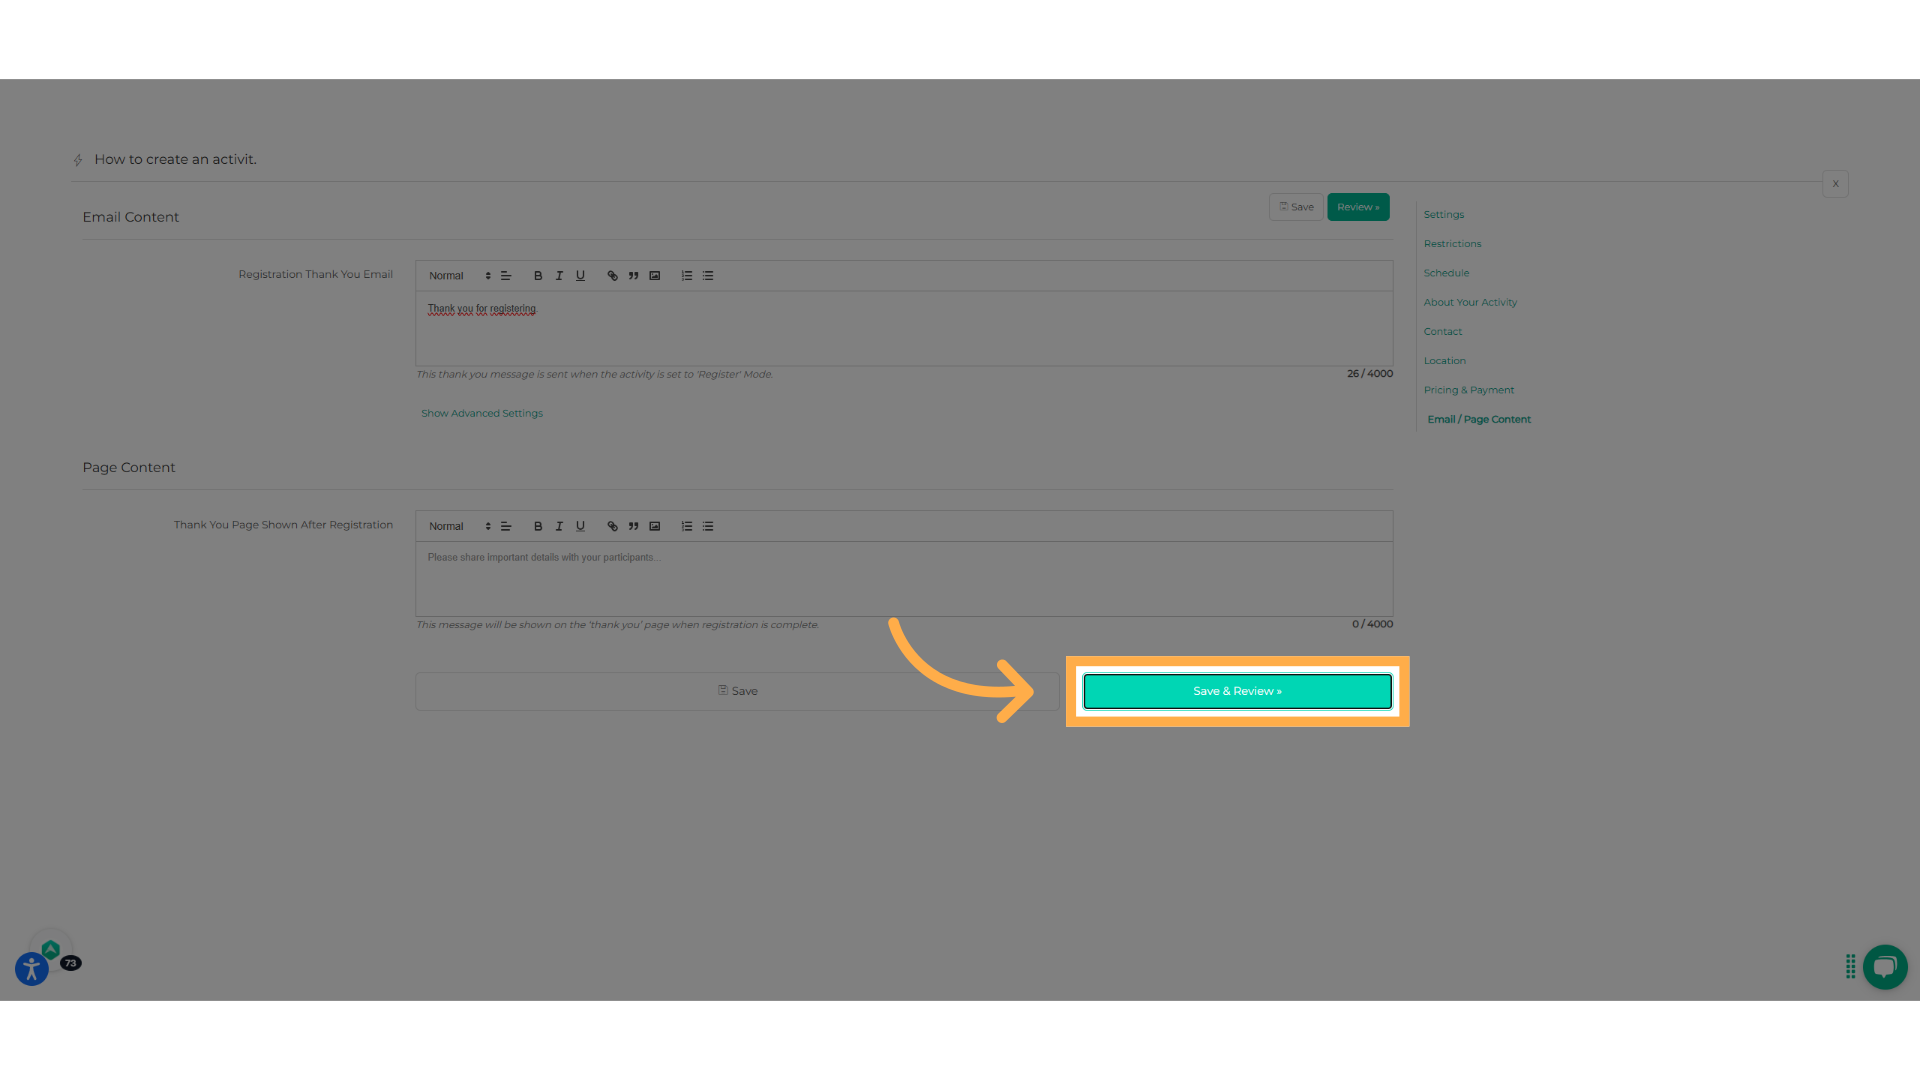
32. Click "Save & Review"
Click on "Save and Review"
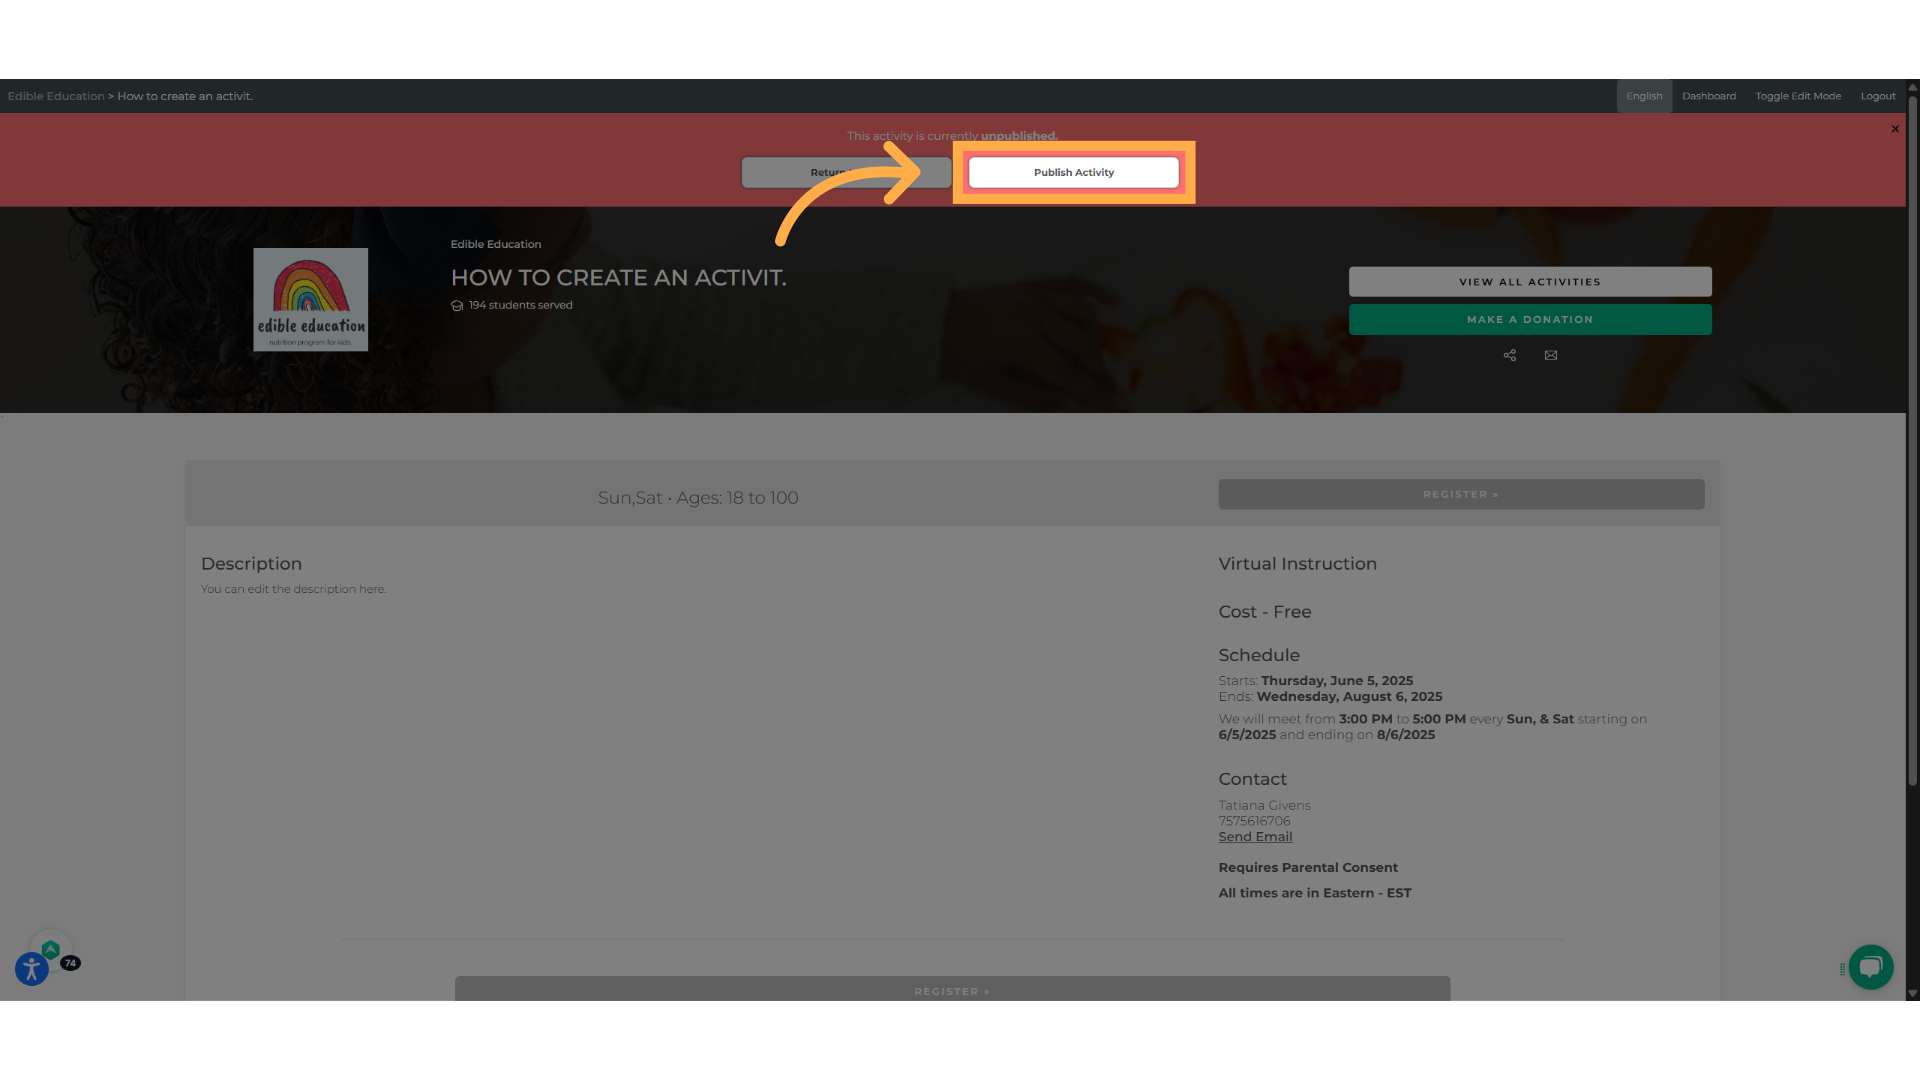
33. Click "Publish Activity"
If you are ready to publish it, click "Publish activity". This will make your activity visible to the public.
And just like that, you have finished to set up your activity.
FREQUENTLY ASKED QUESTIONS
How can people apply or register for my activity?
You can invite people by sharing the link to your activity. To invite parents, visit How to Find Your Activity URL Link or Send an Invitation for Your Activity!
💡 If you have further questions on How to Create An Activity, don't hesitate to get in touch with our support team at support@afterschoolhq.com.