Frequently Asked Questions
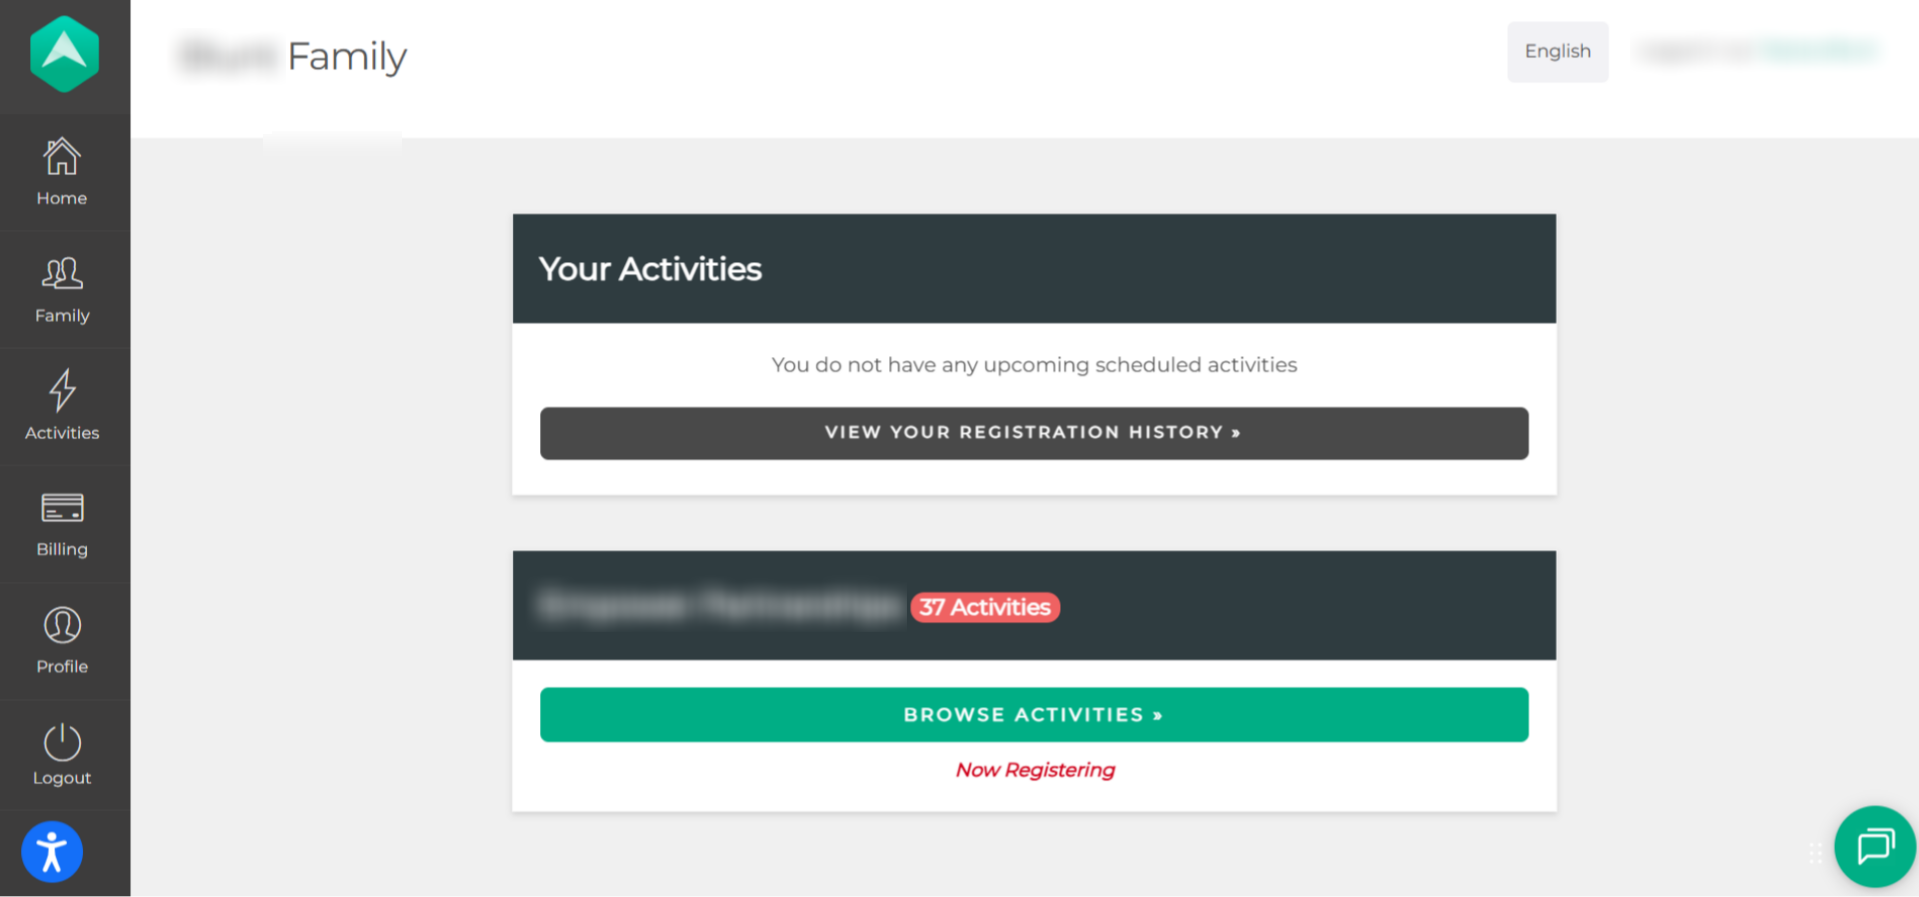
I’ve set my PIN—how do I use it to Check In or Out?
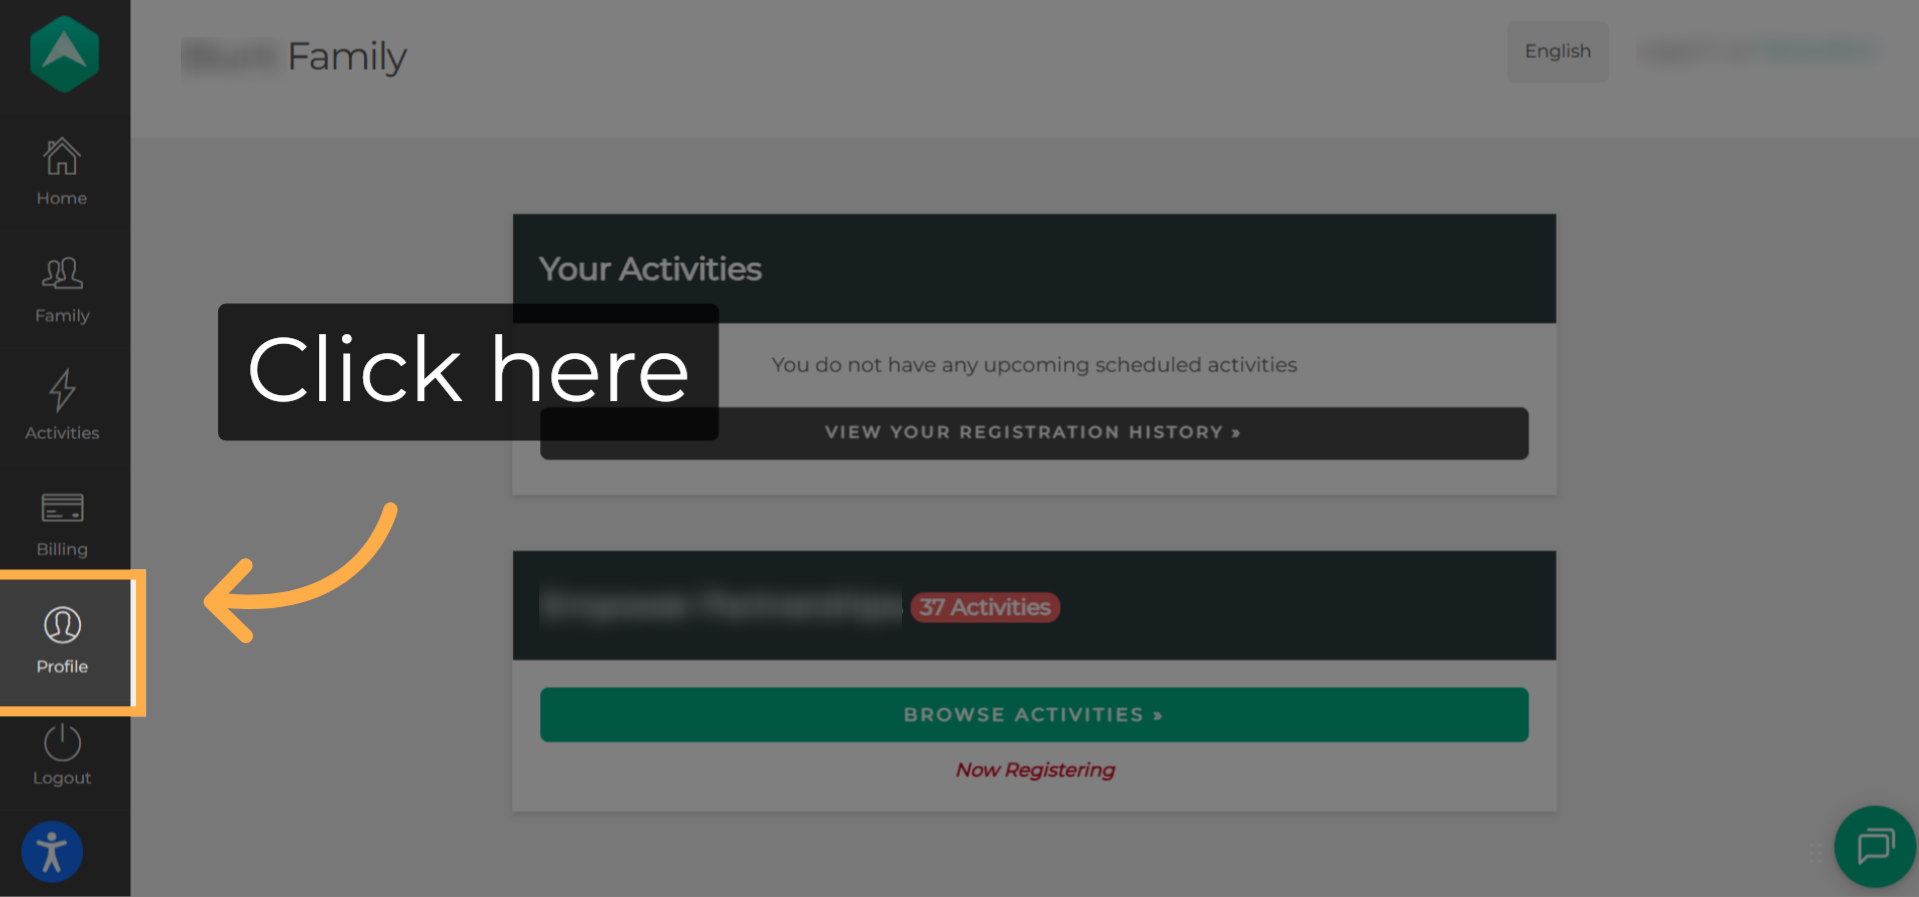
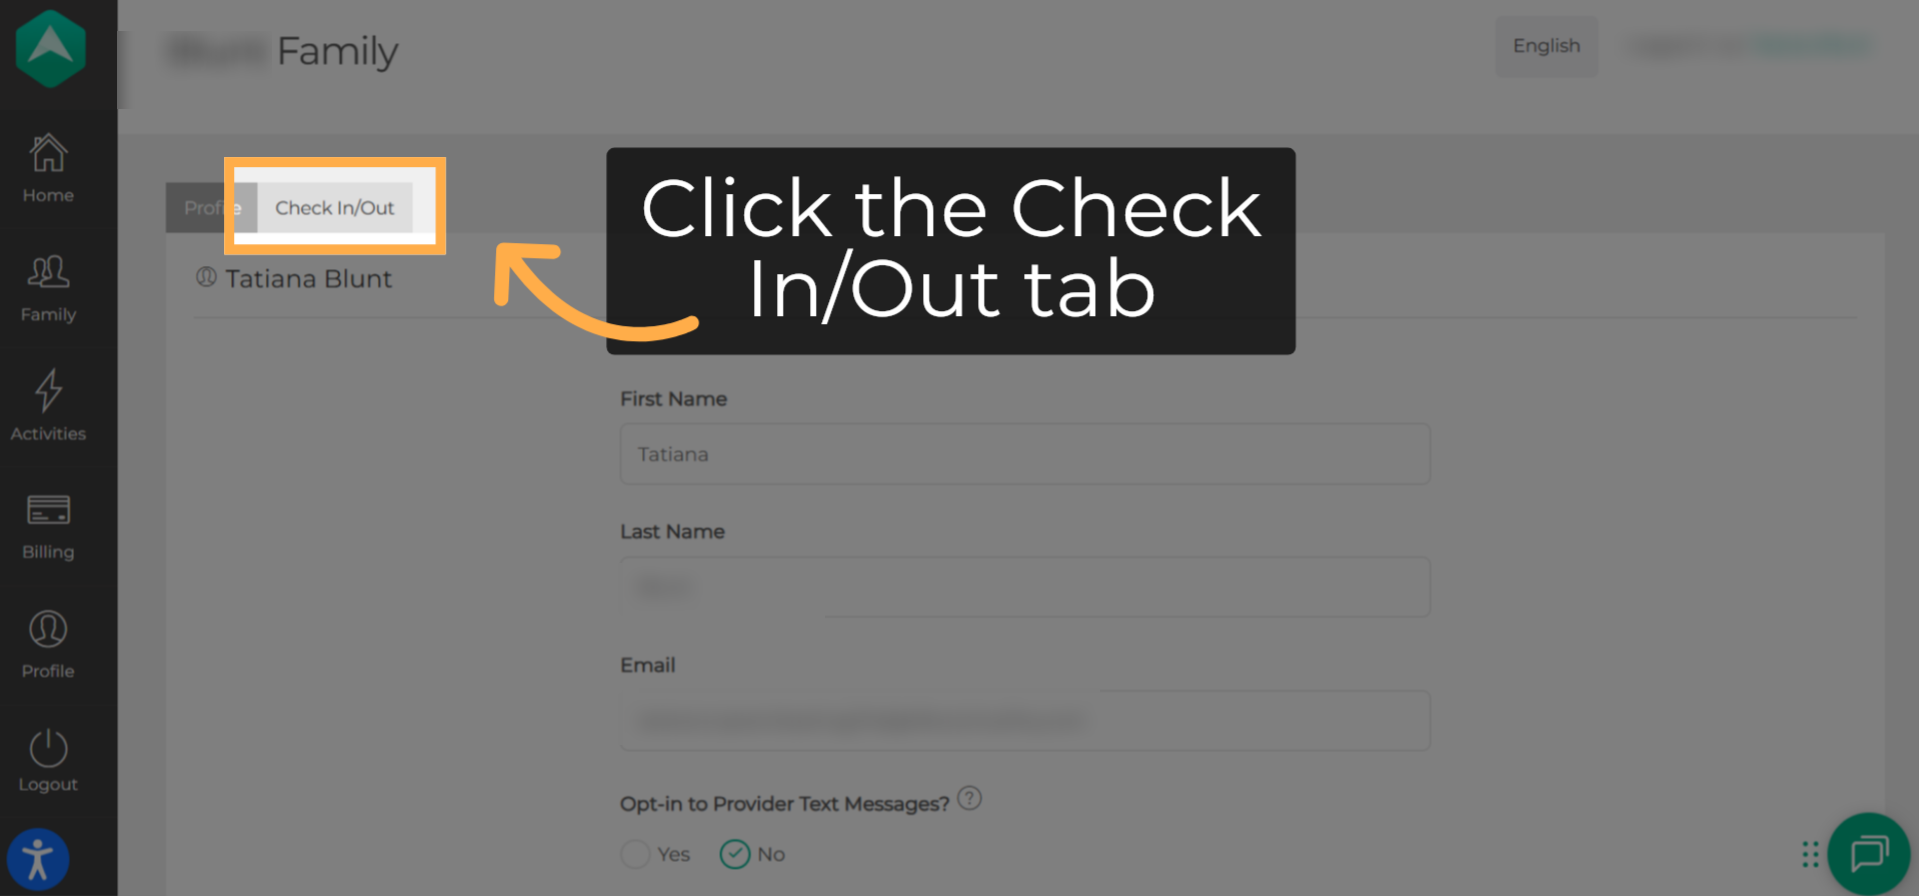
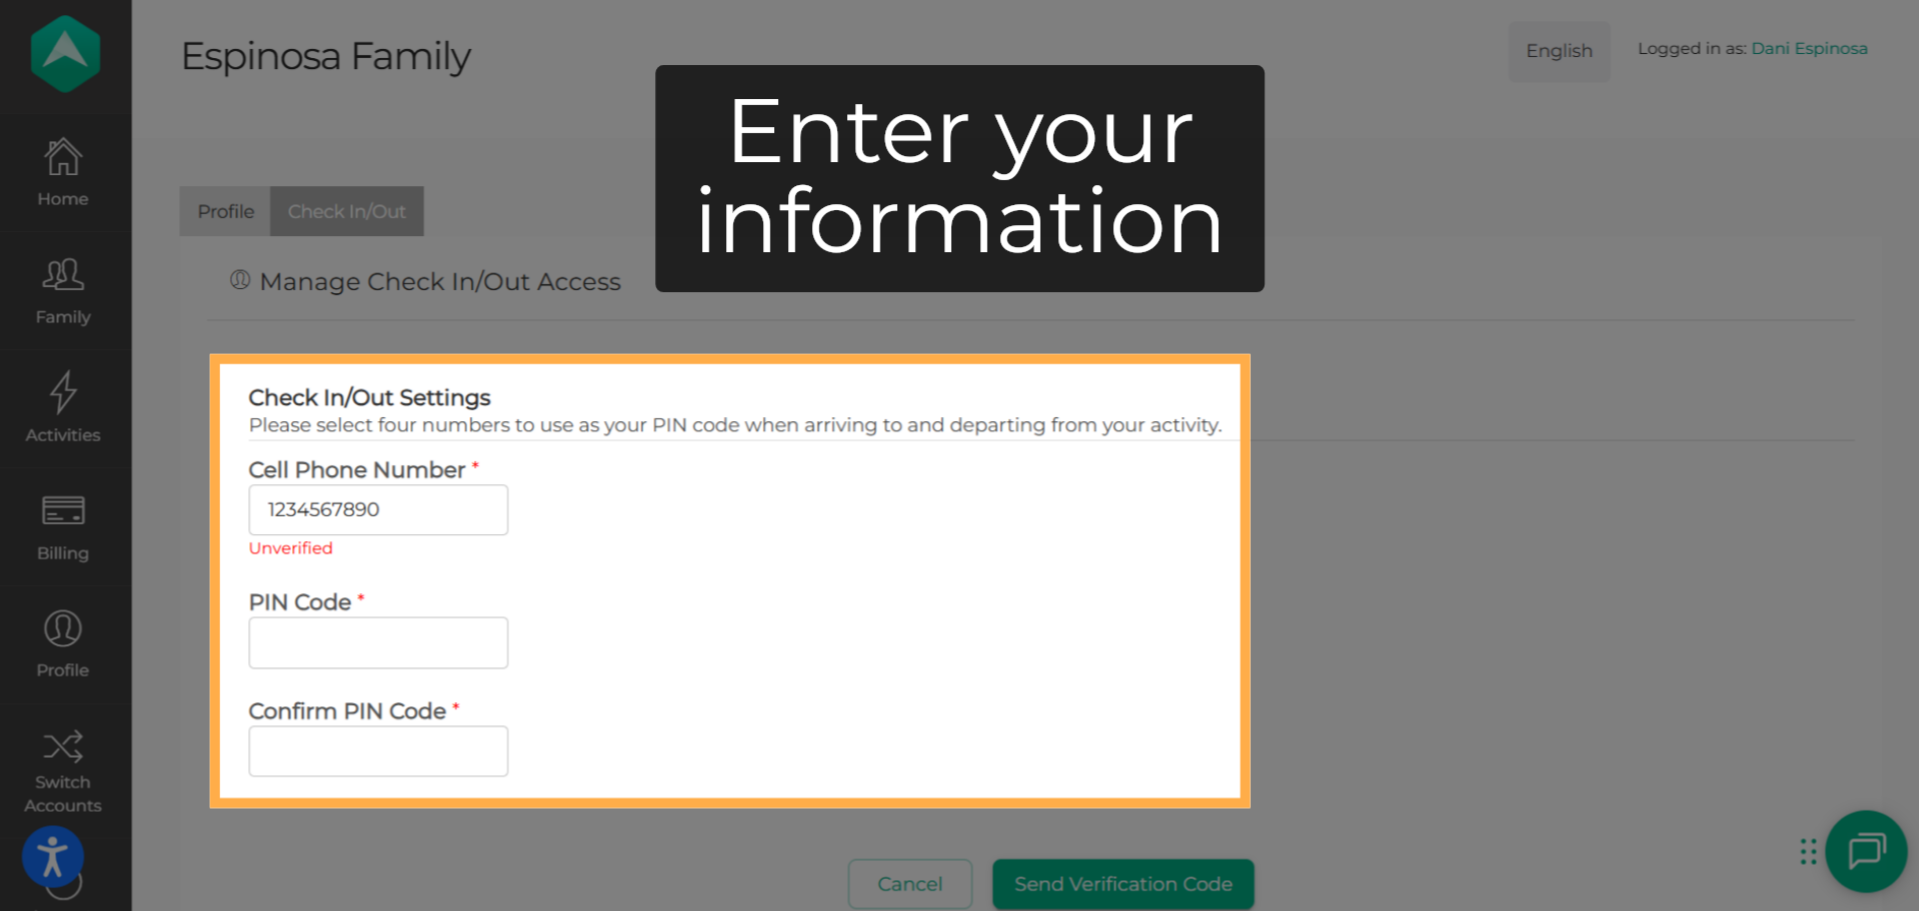
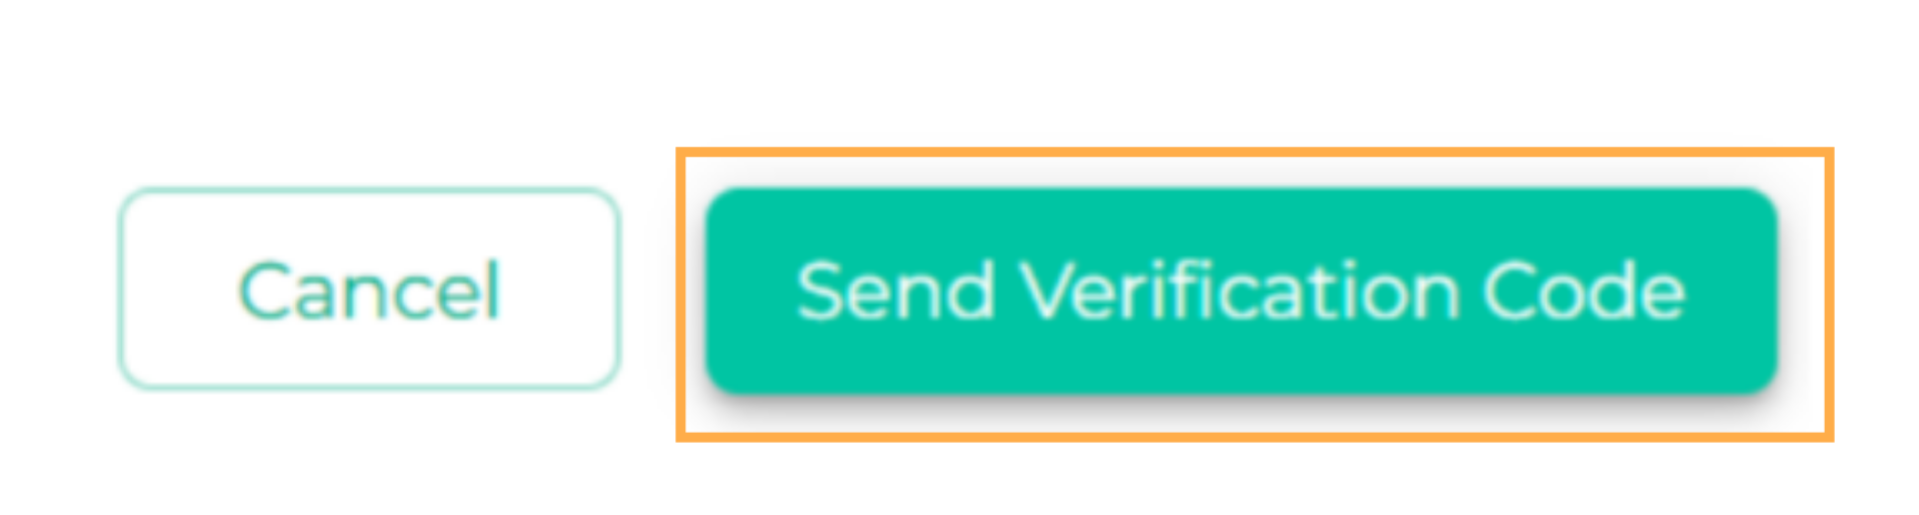
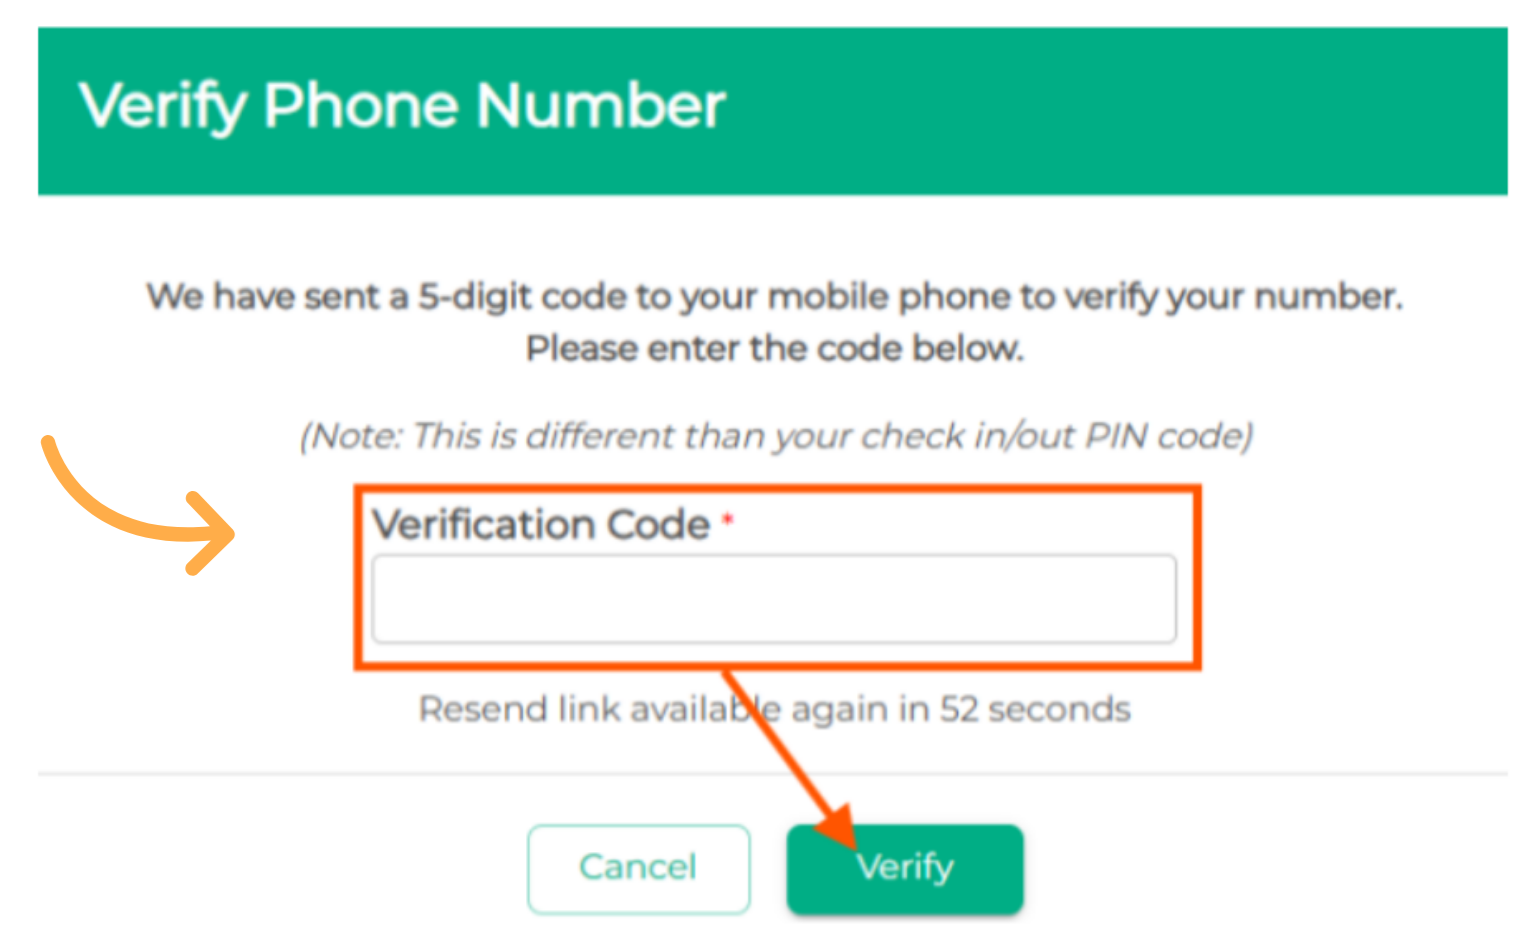
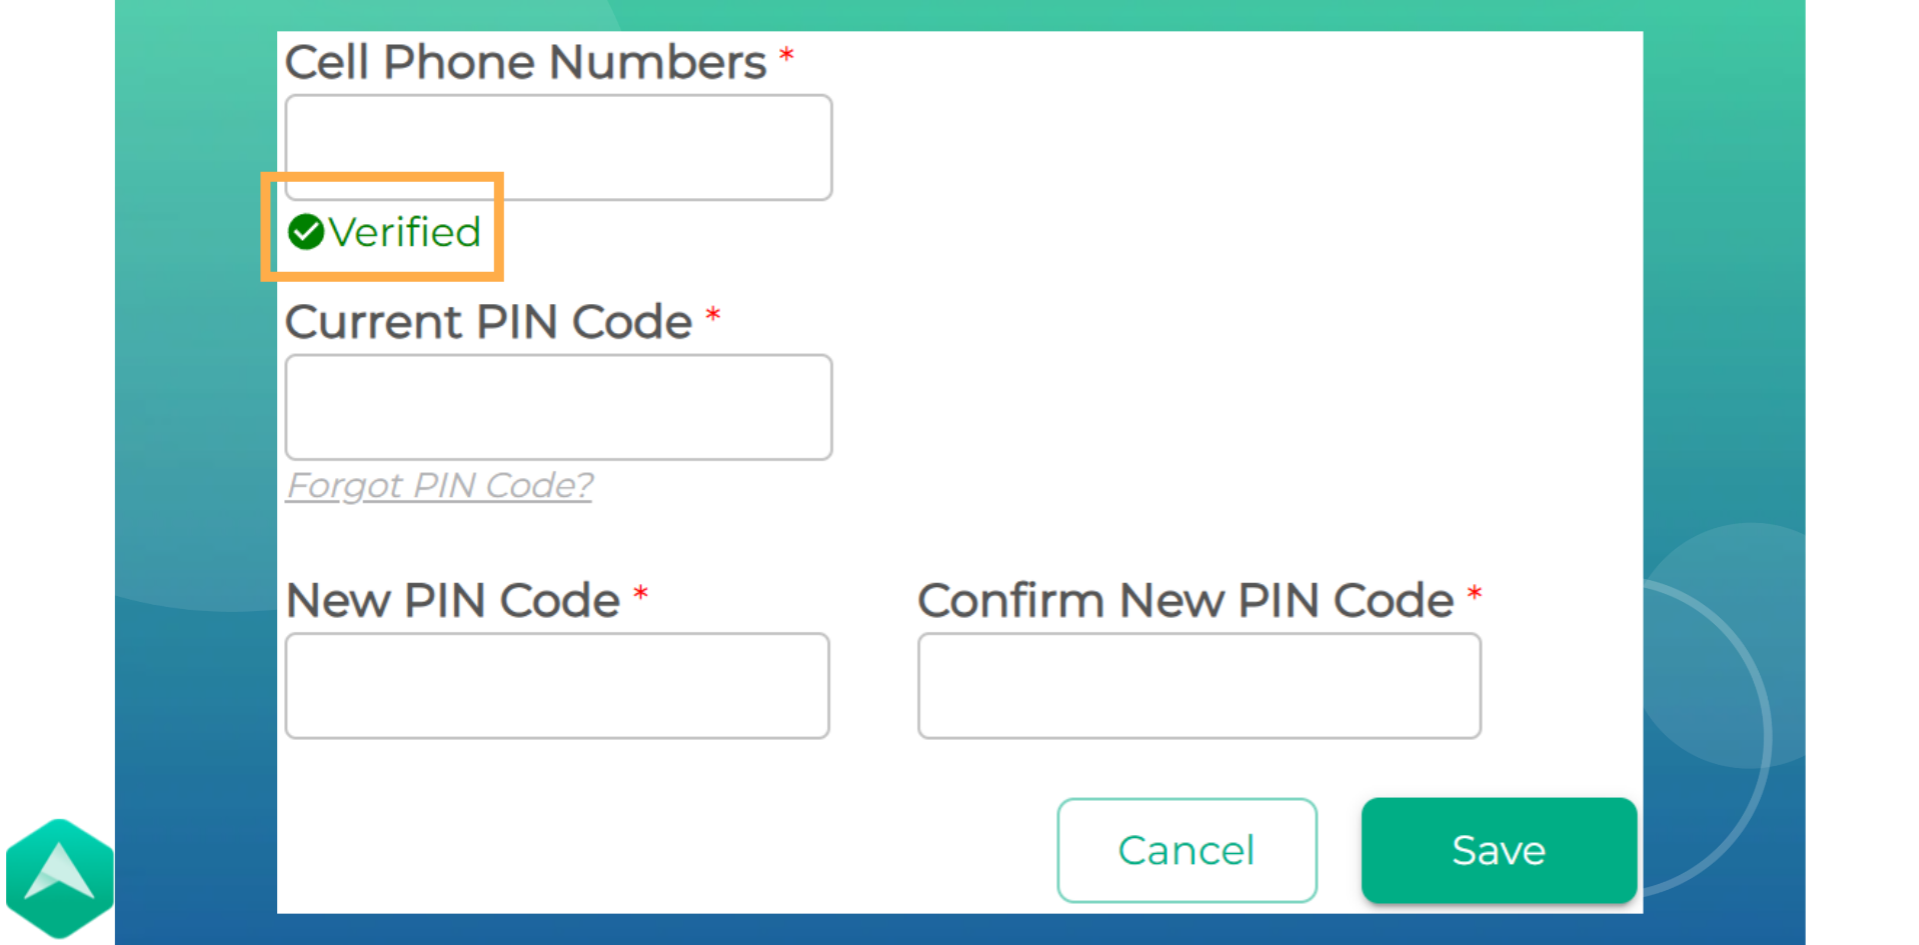
Great! Follow this guide to start using Check-In & Check-Out.
📵 Troubleshooting: Not Receiving PIN Verification Texts
Issue: Families are not receiving their PIN verification text or staff messages.
✅ Step 1: Know What to Expect
PIN and staff-related messages are sent via SMS from these numbers:
-
317-644-4332 — Most common
-
833-912-4018 — May be used when texting limits are reached
👉 If you see messages from either number, they are from AfterSchool HQ.
📲 Step 2: Check for Blocked or Filtered Messages
On iPhone:
-
Open the Messages app
-
Tap Filters (top-left corner)
-
Select Spam, Unknown Senders, or Unknown & Spam
-
Look for messages from the two numbers listed above
Enable filtering (if needed):
-
Go to Settings > Messages
-
Toggle on Filter Unknown Senders
⚠️ You won’t get notifications for filtered messages.
On Samsung / Android:
-
Open the Messages app
-
Tap the three-dot menu (top-right)
-
Select Spam & blocked
-
Search for messages from 317-644-4332 or 833-912-4018
Prevent future issues:
-
Go to Messages > Settings
-
Enable Spam Protection
-
If you find a valid message in spam, mark it as Not Spam
🔄 Step 3: Still Not Receiving Texts?
Try the following:
-
Double-check your phone number in AfterSchool HQ
-
Restart your phone
-
Check spam/blocked messages again
If the issue continues, email support@afterschoolhq.com with this information:
-
Your phone number and email used for your AHQ account
-
Your mobile carrier (e.g., T-Mobile, MetroPCS, AT&T, Verizon)
-
The PIN you are trying to set
⚠️ Carrier-Specific Notes
-
Most issues are reported by T-Mobile and MetroPCS users
-
AT&T and Verizon users may also experience this, but it’s less common
🛠️ Last Resort
If needed, our developers can manually:
-
Generate a PIN
-
Verify your account using the last 4 digits of your phone number
Need to reset or update access?
💡If you have any questions or experience any technical difficulties Setting Up Your Check-In and Check-Out Credentials, don't hesitate to get in touch with our support team at support@afterschoolhq.com.