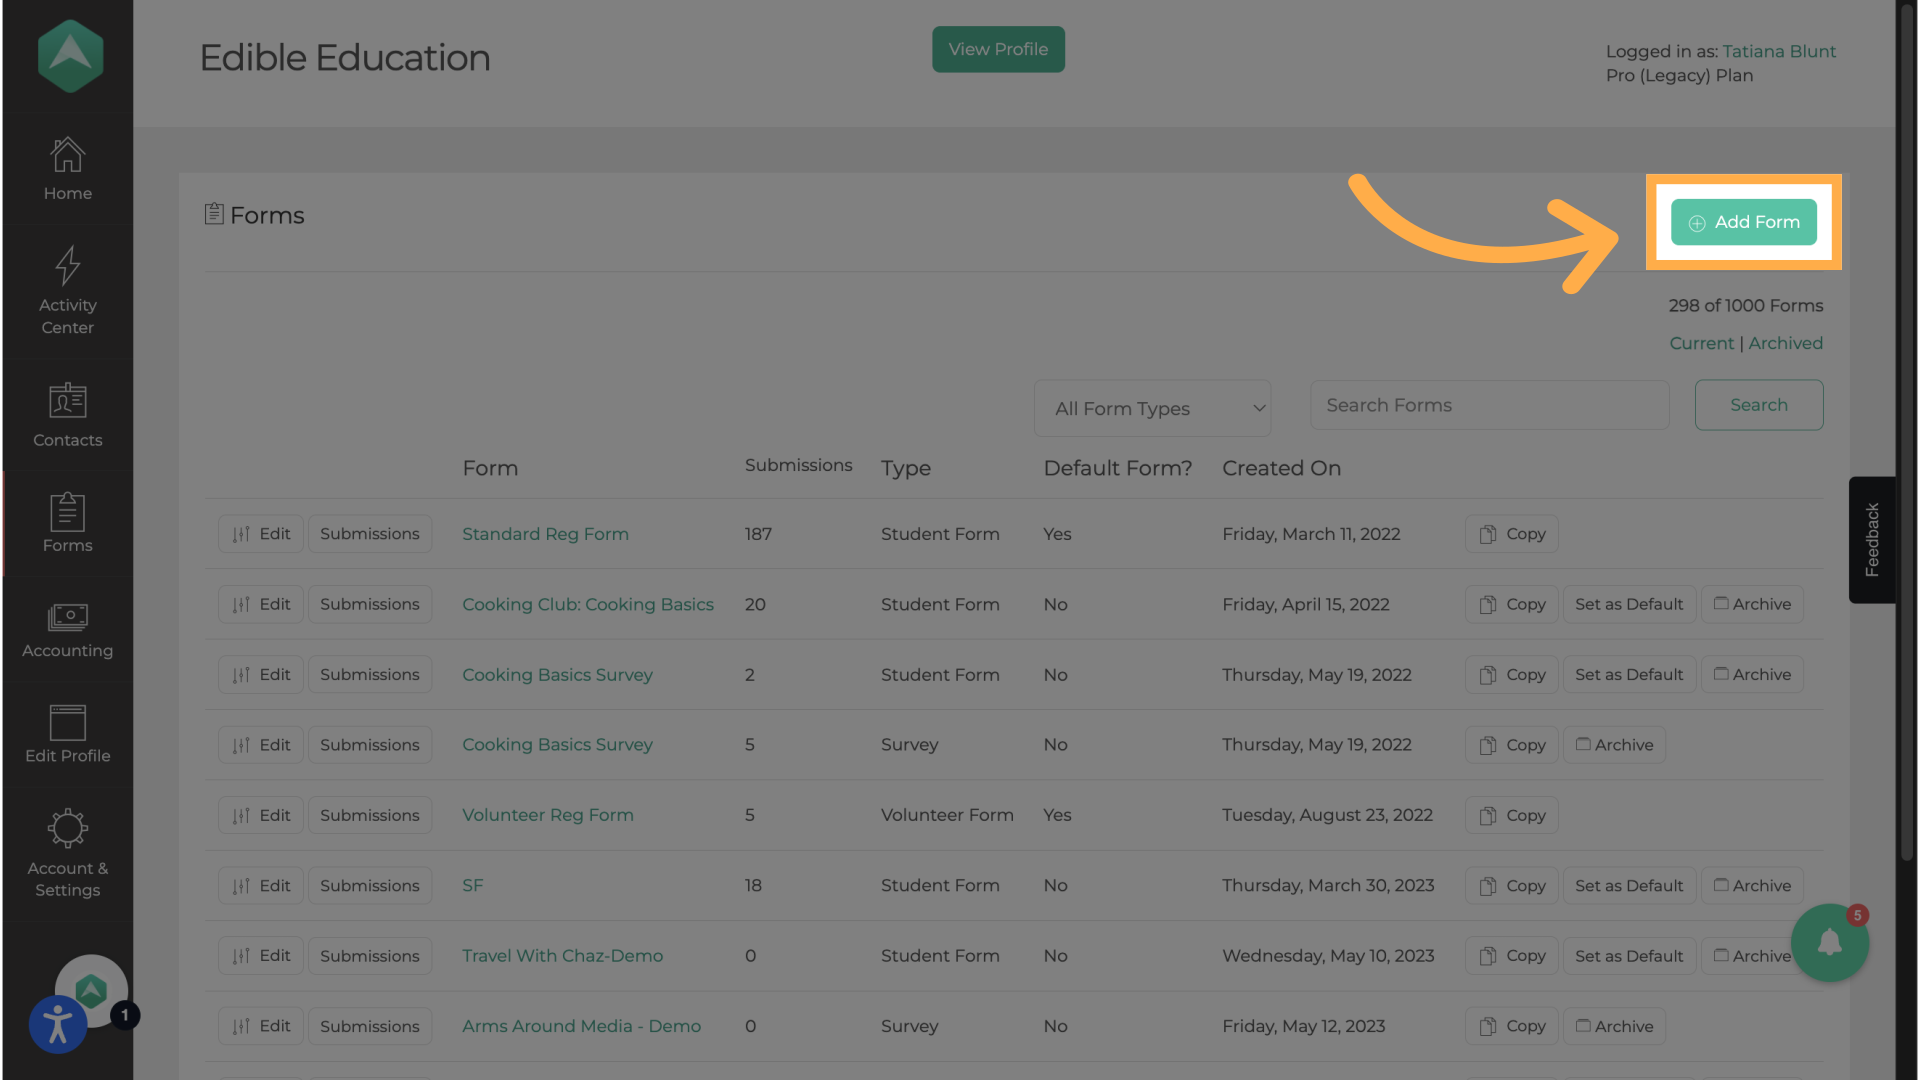
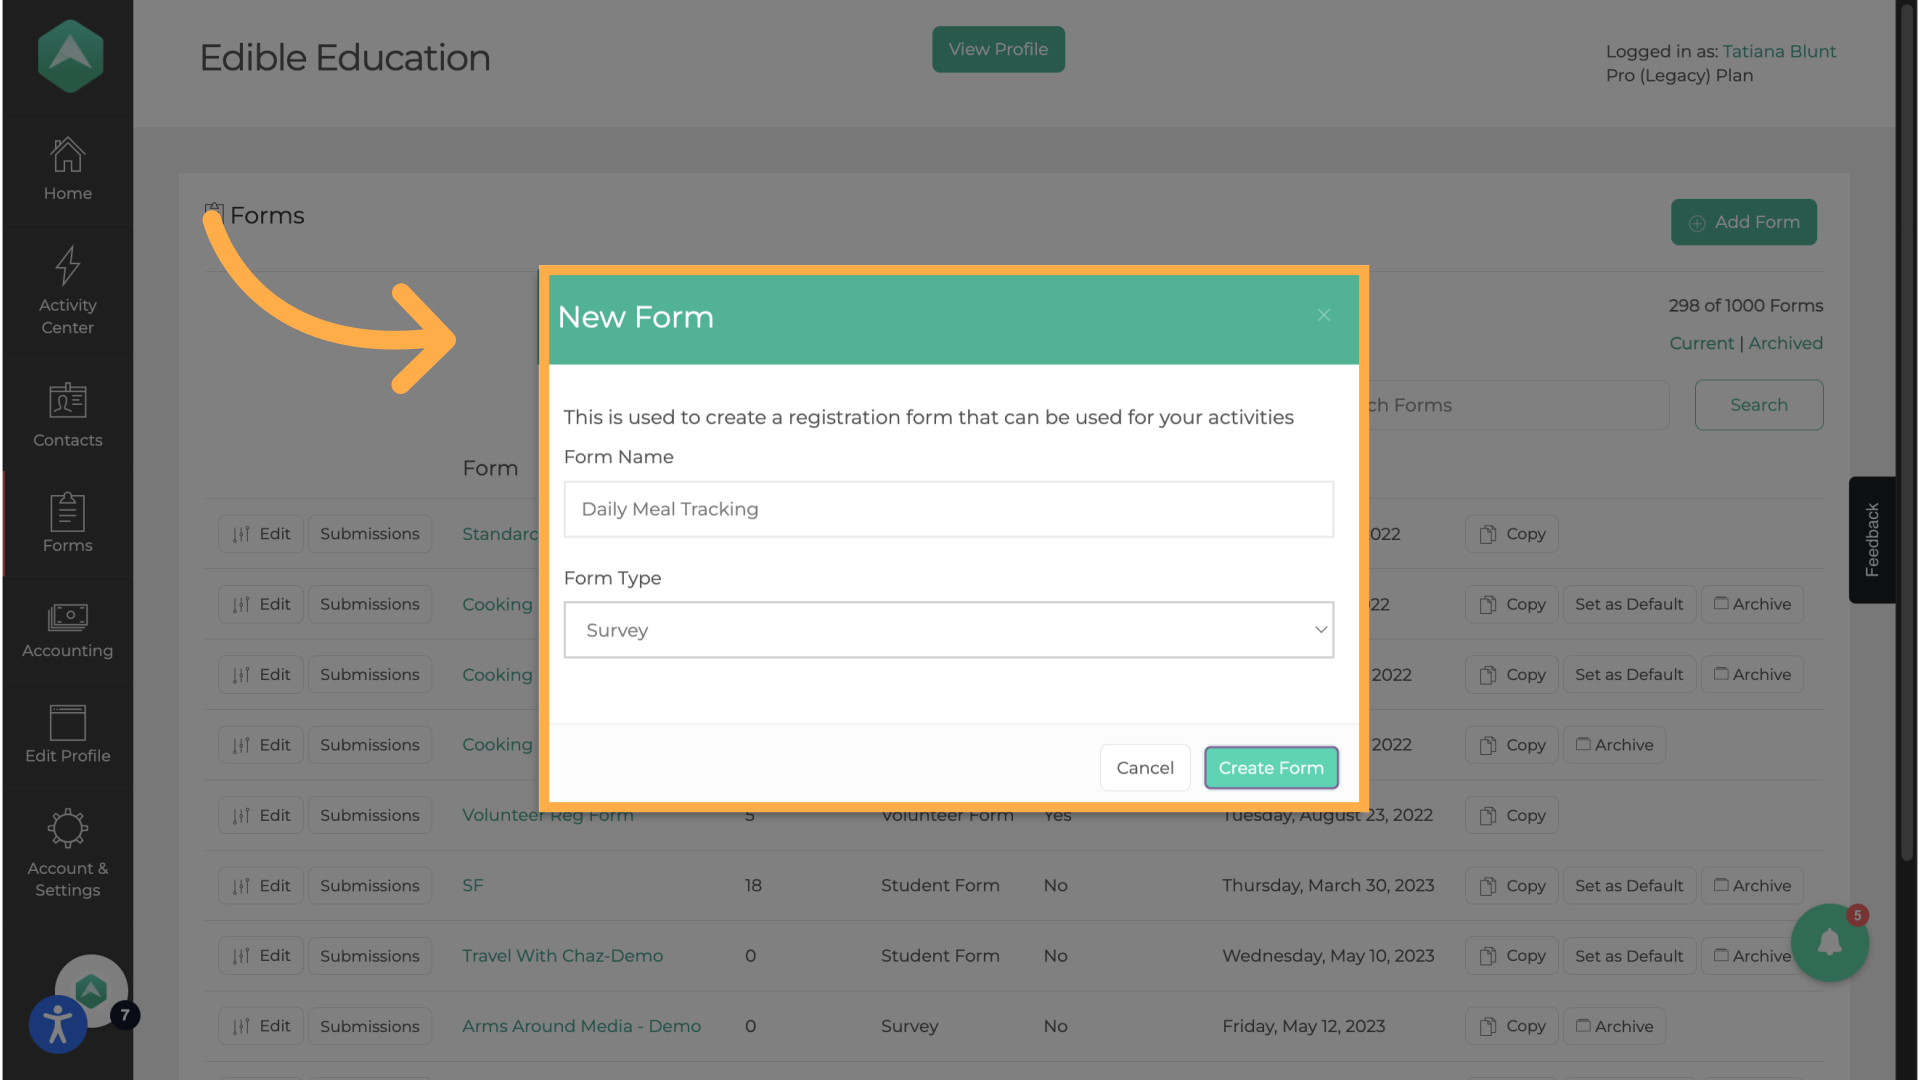
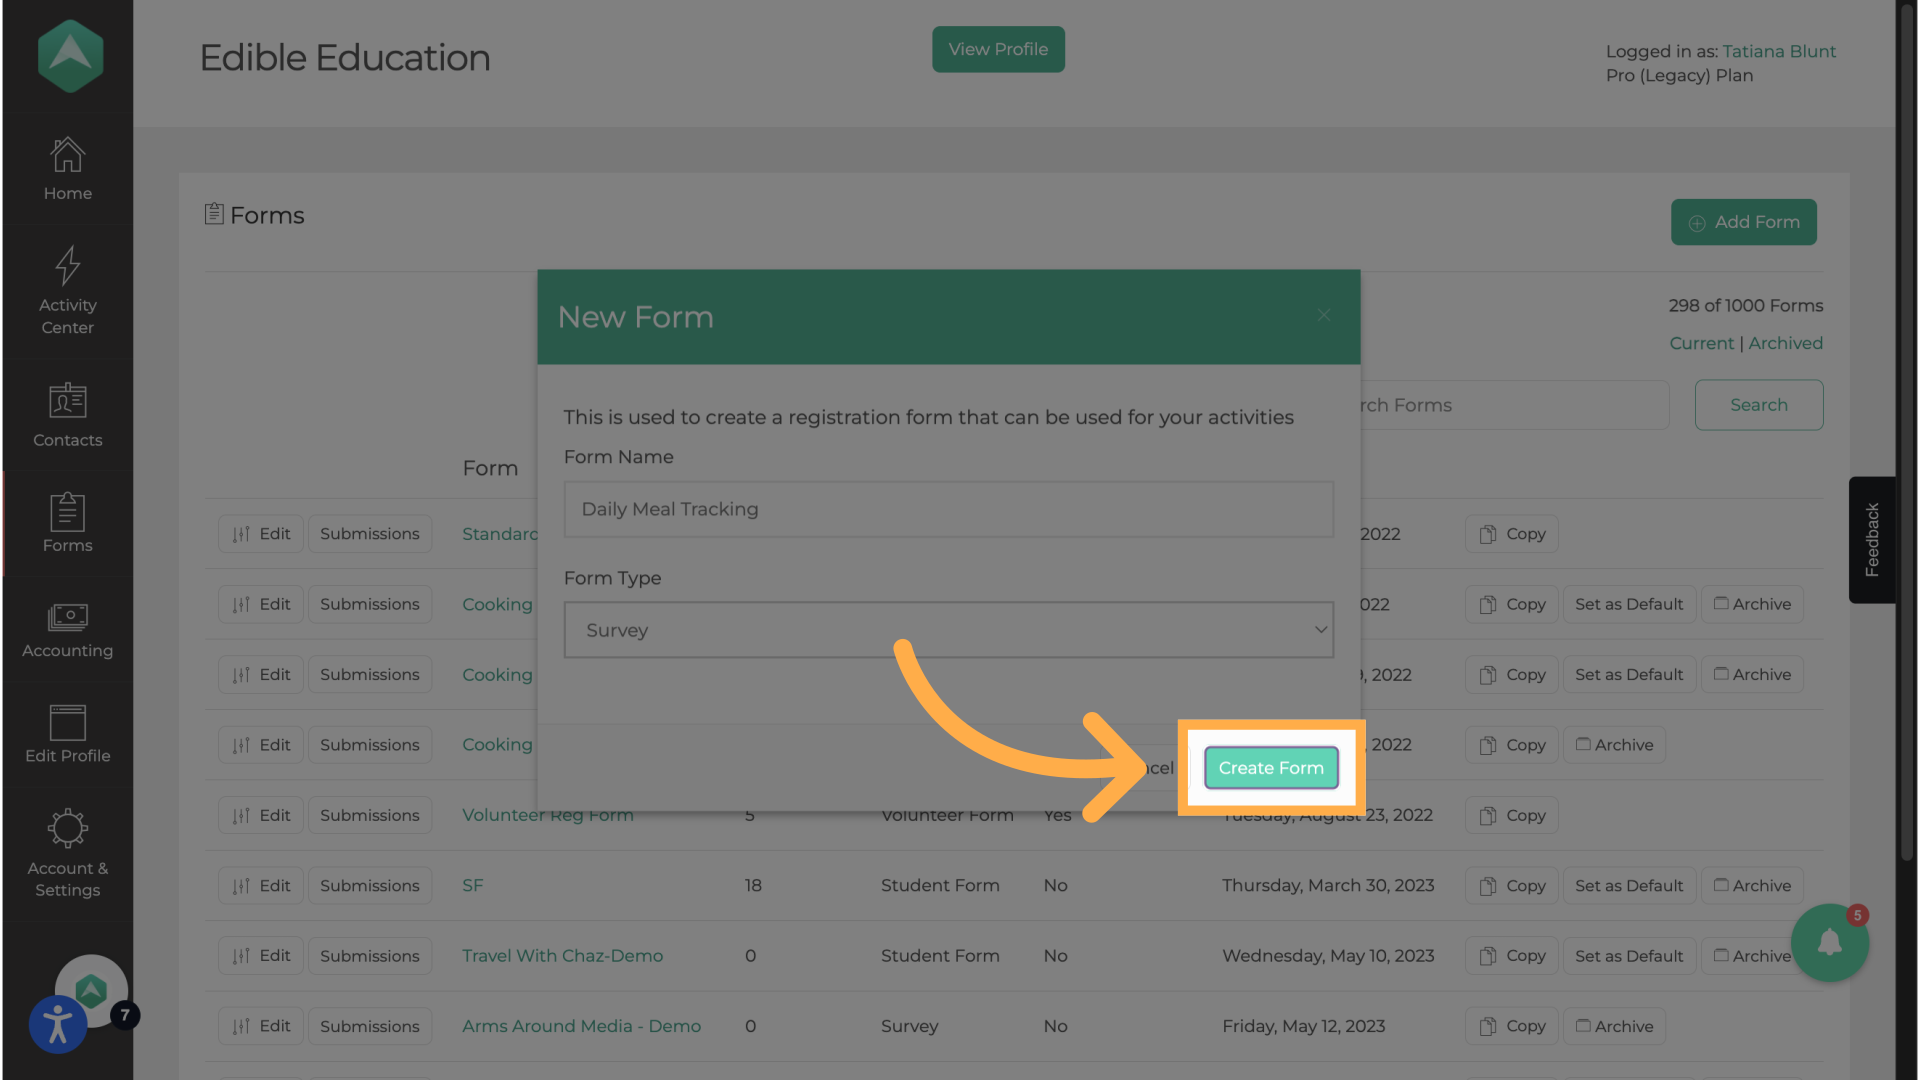
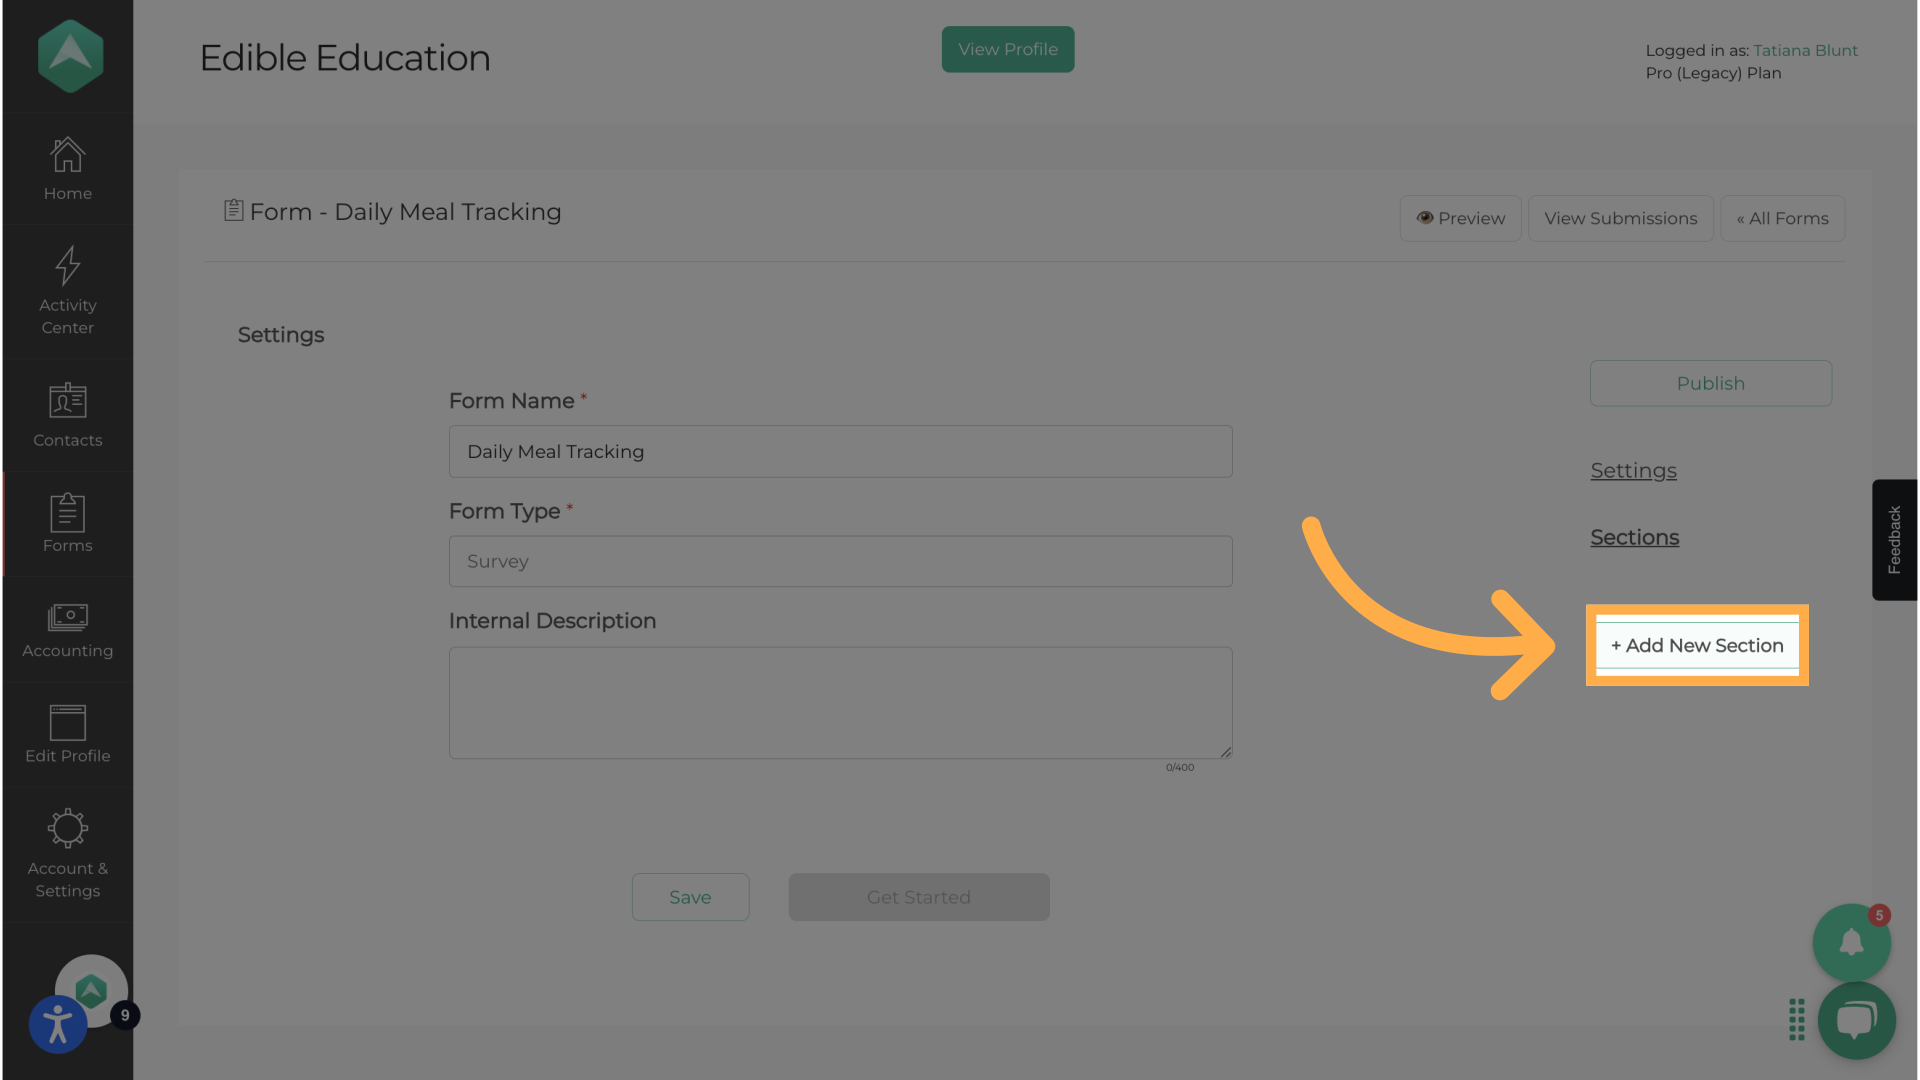
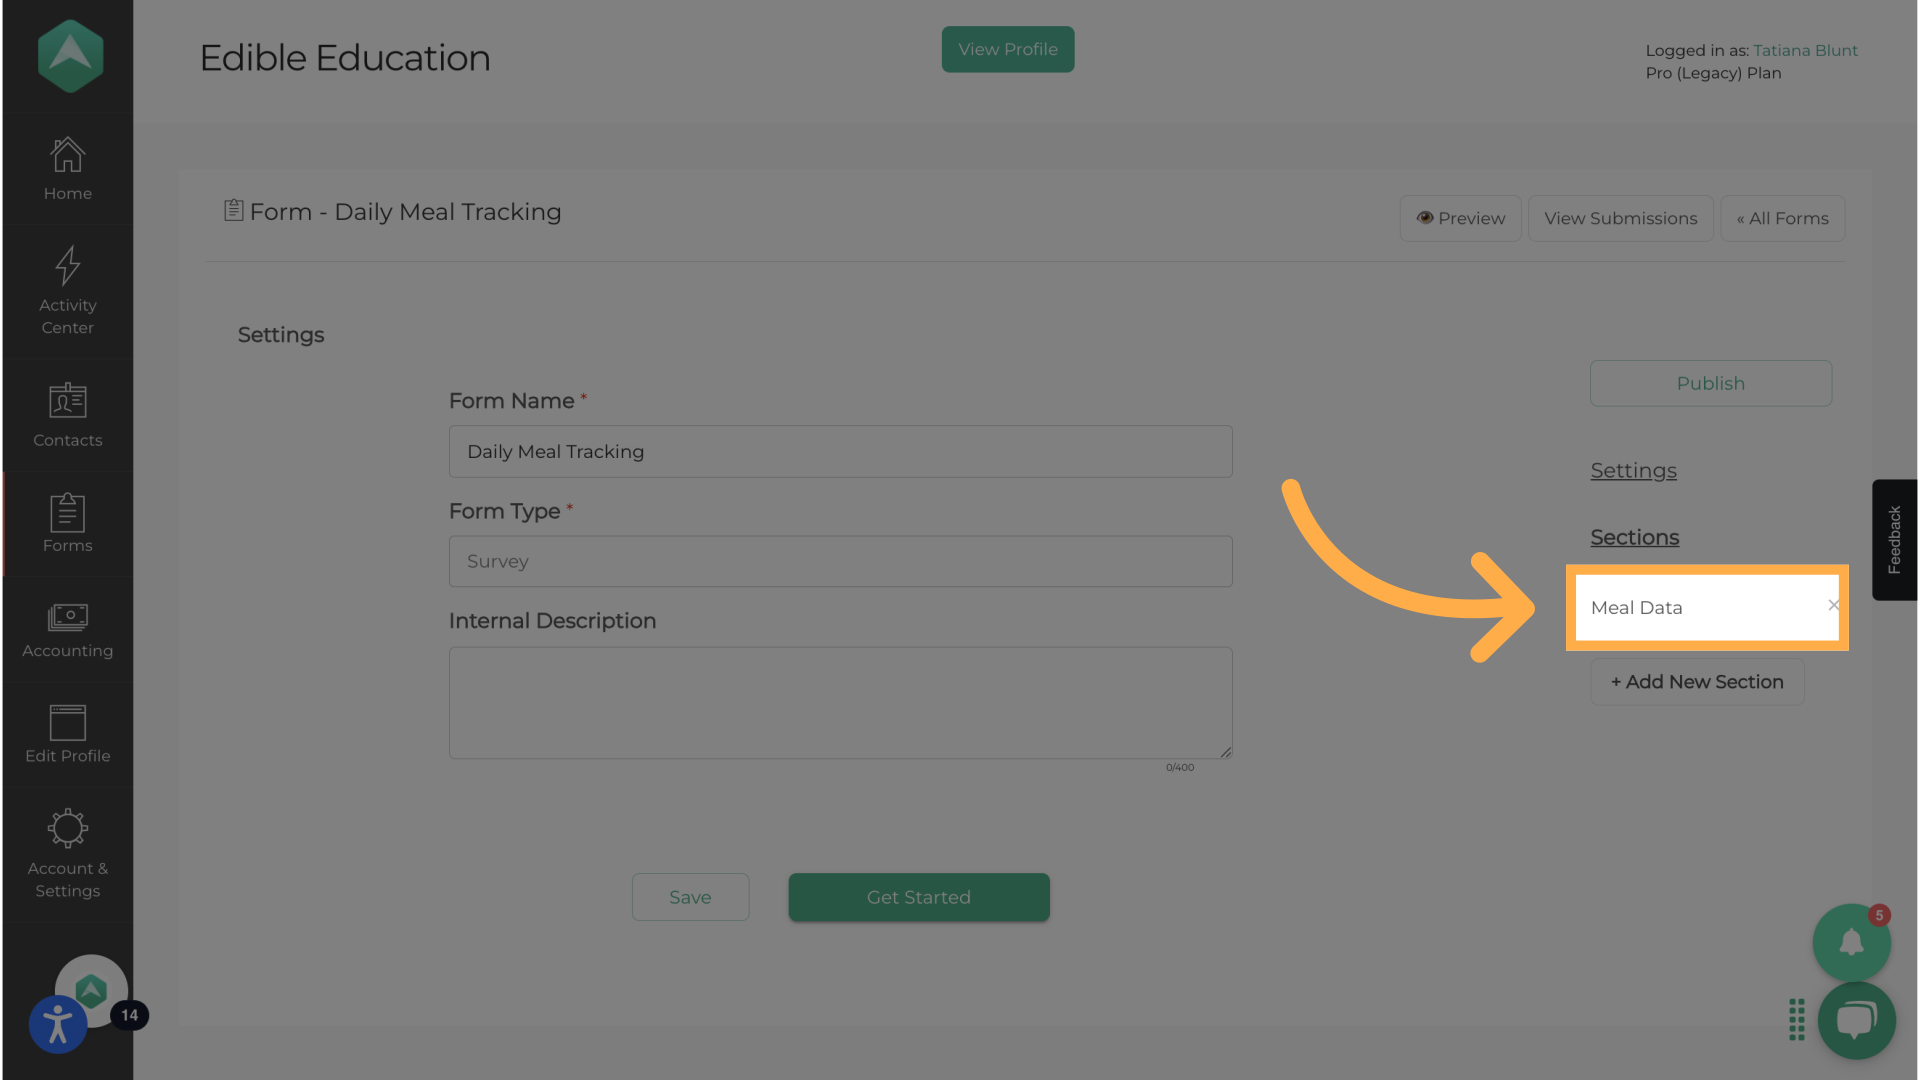
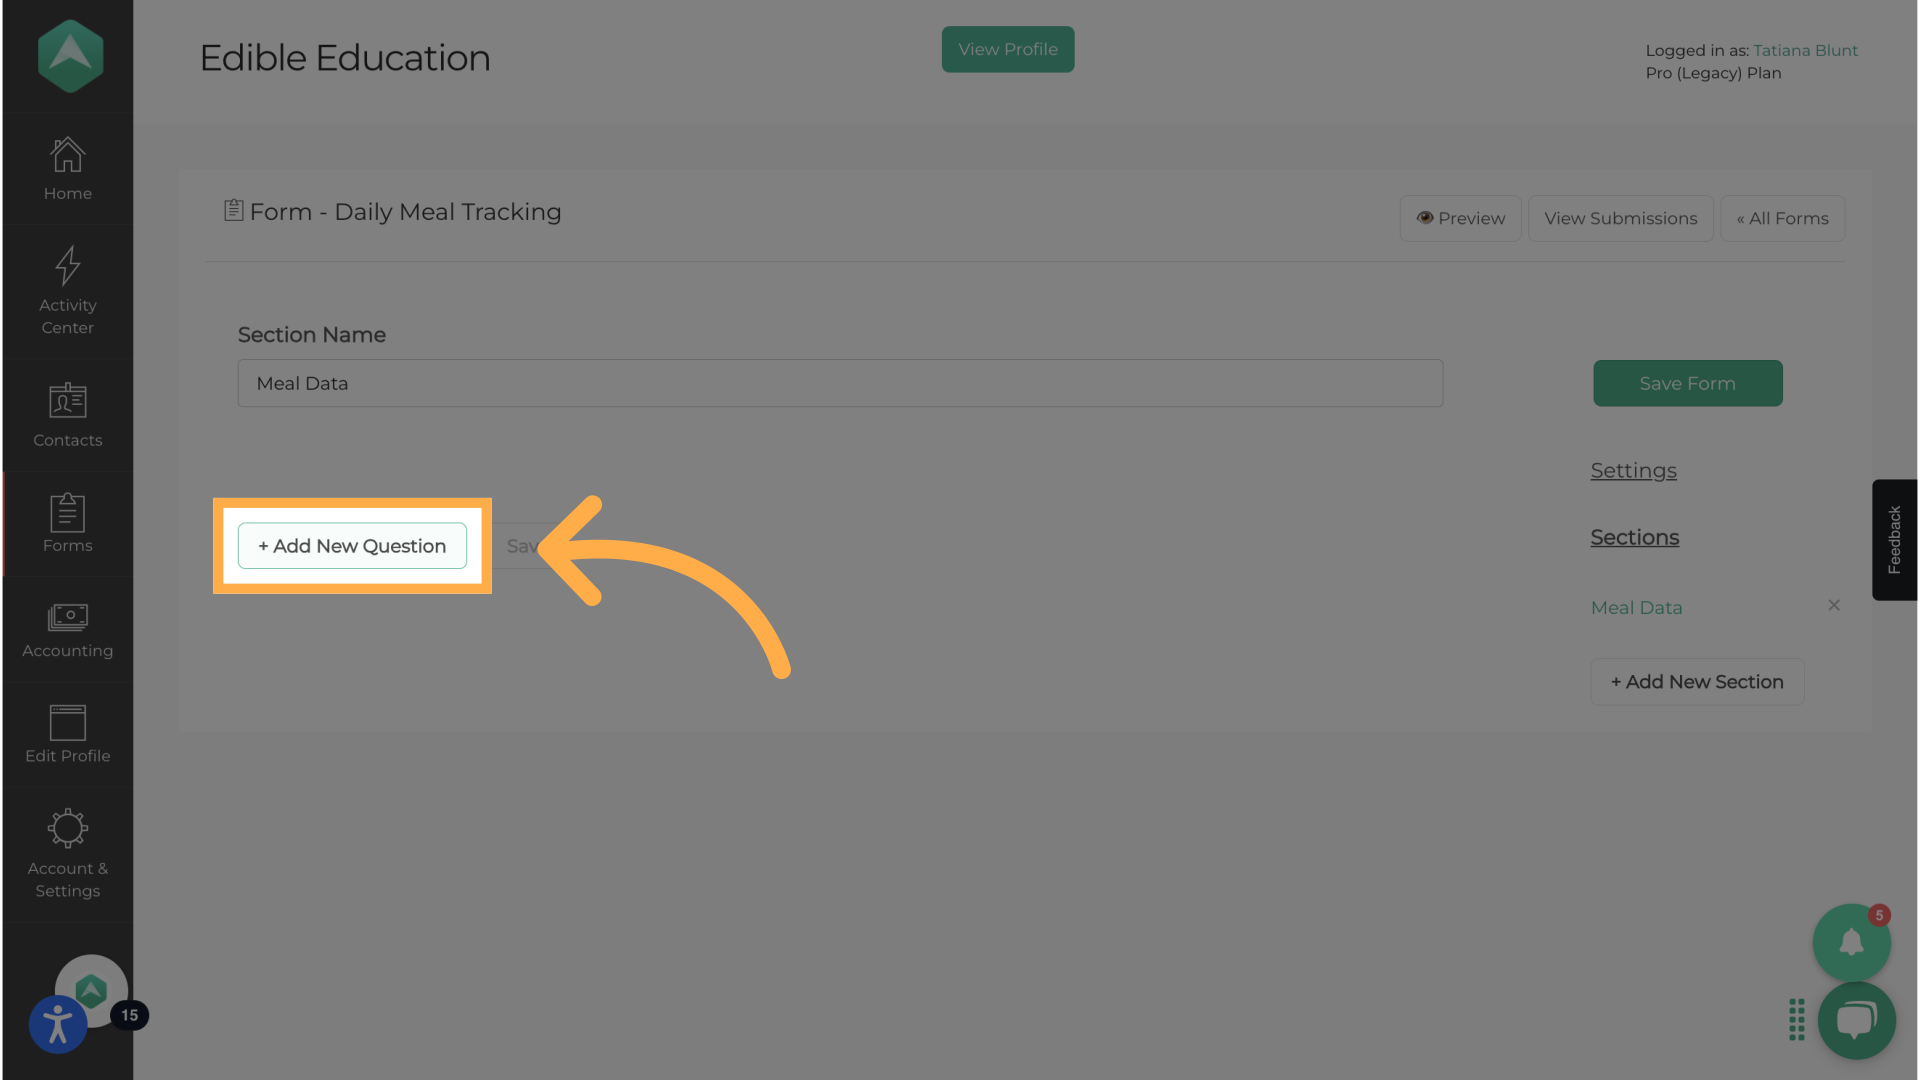
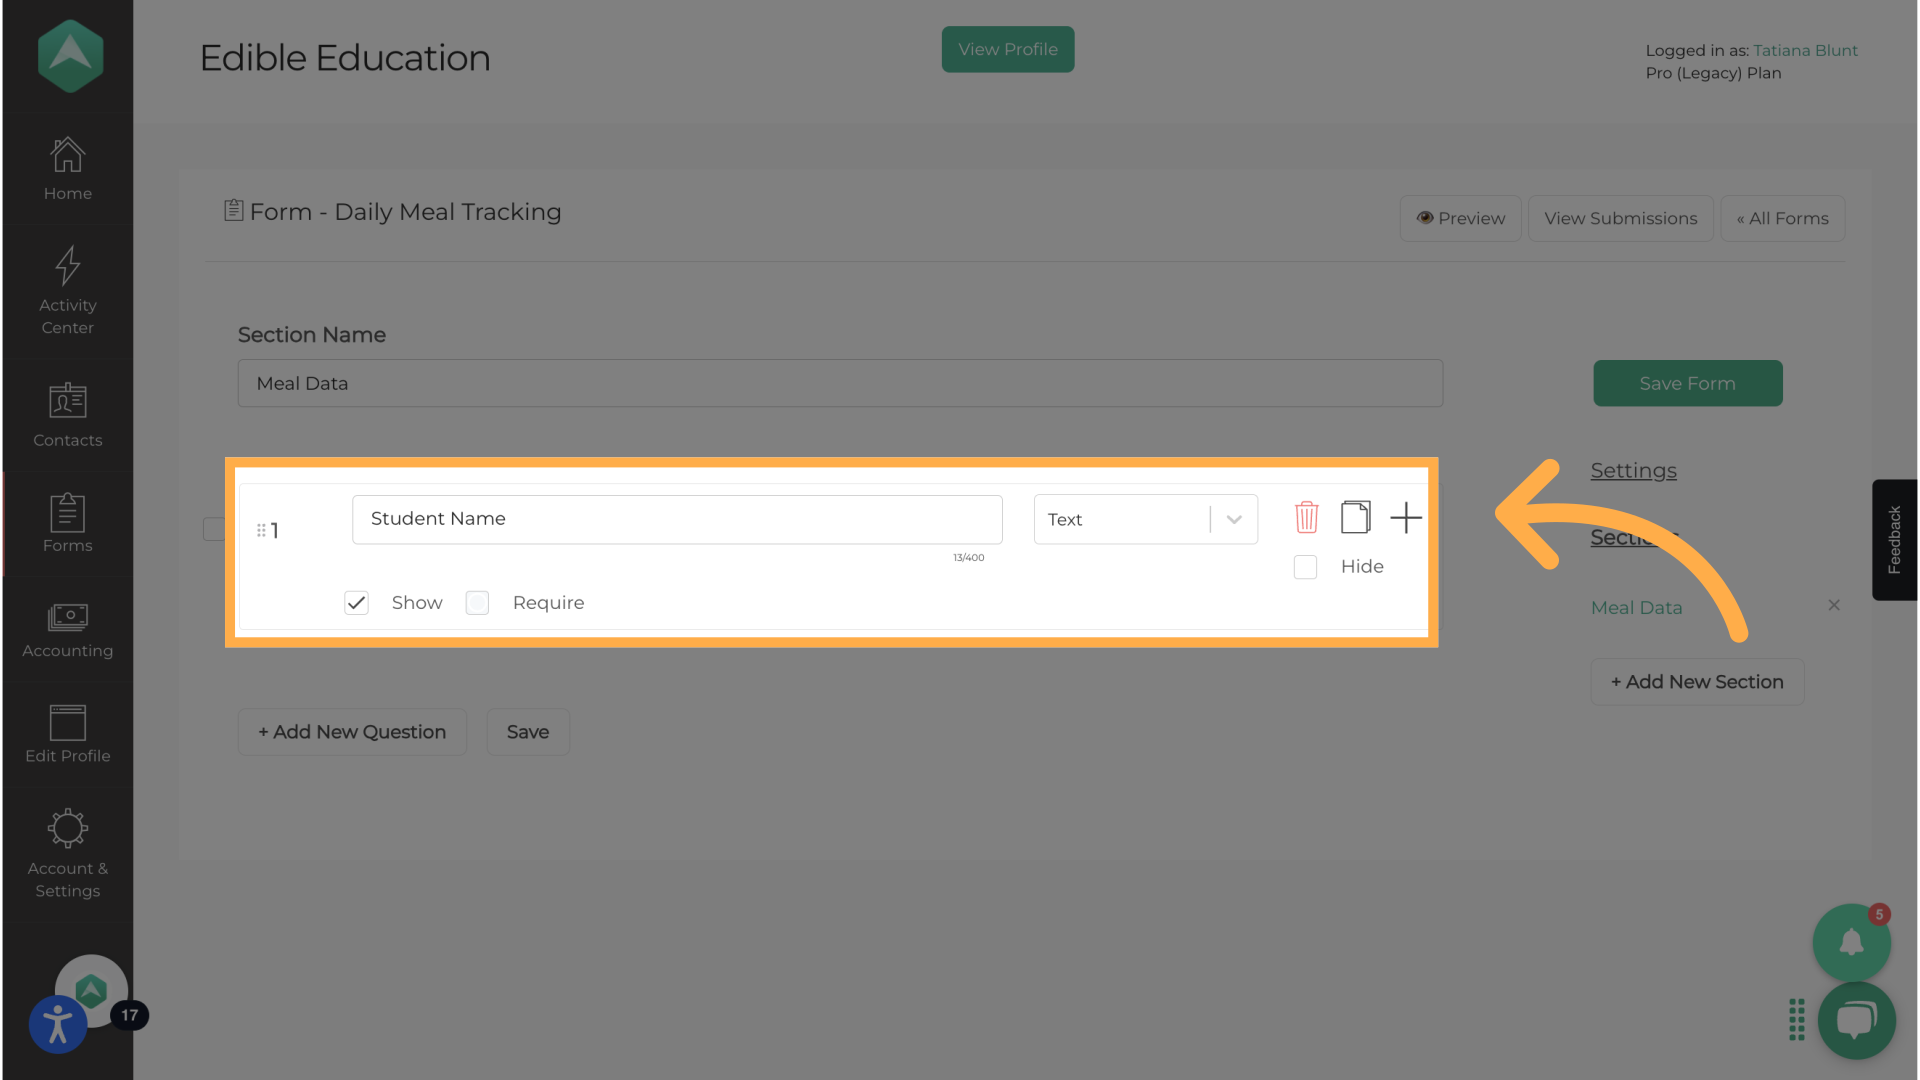
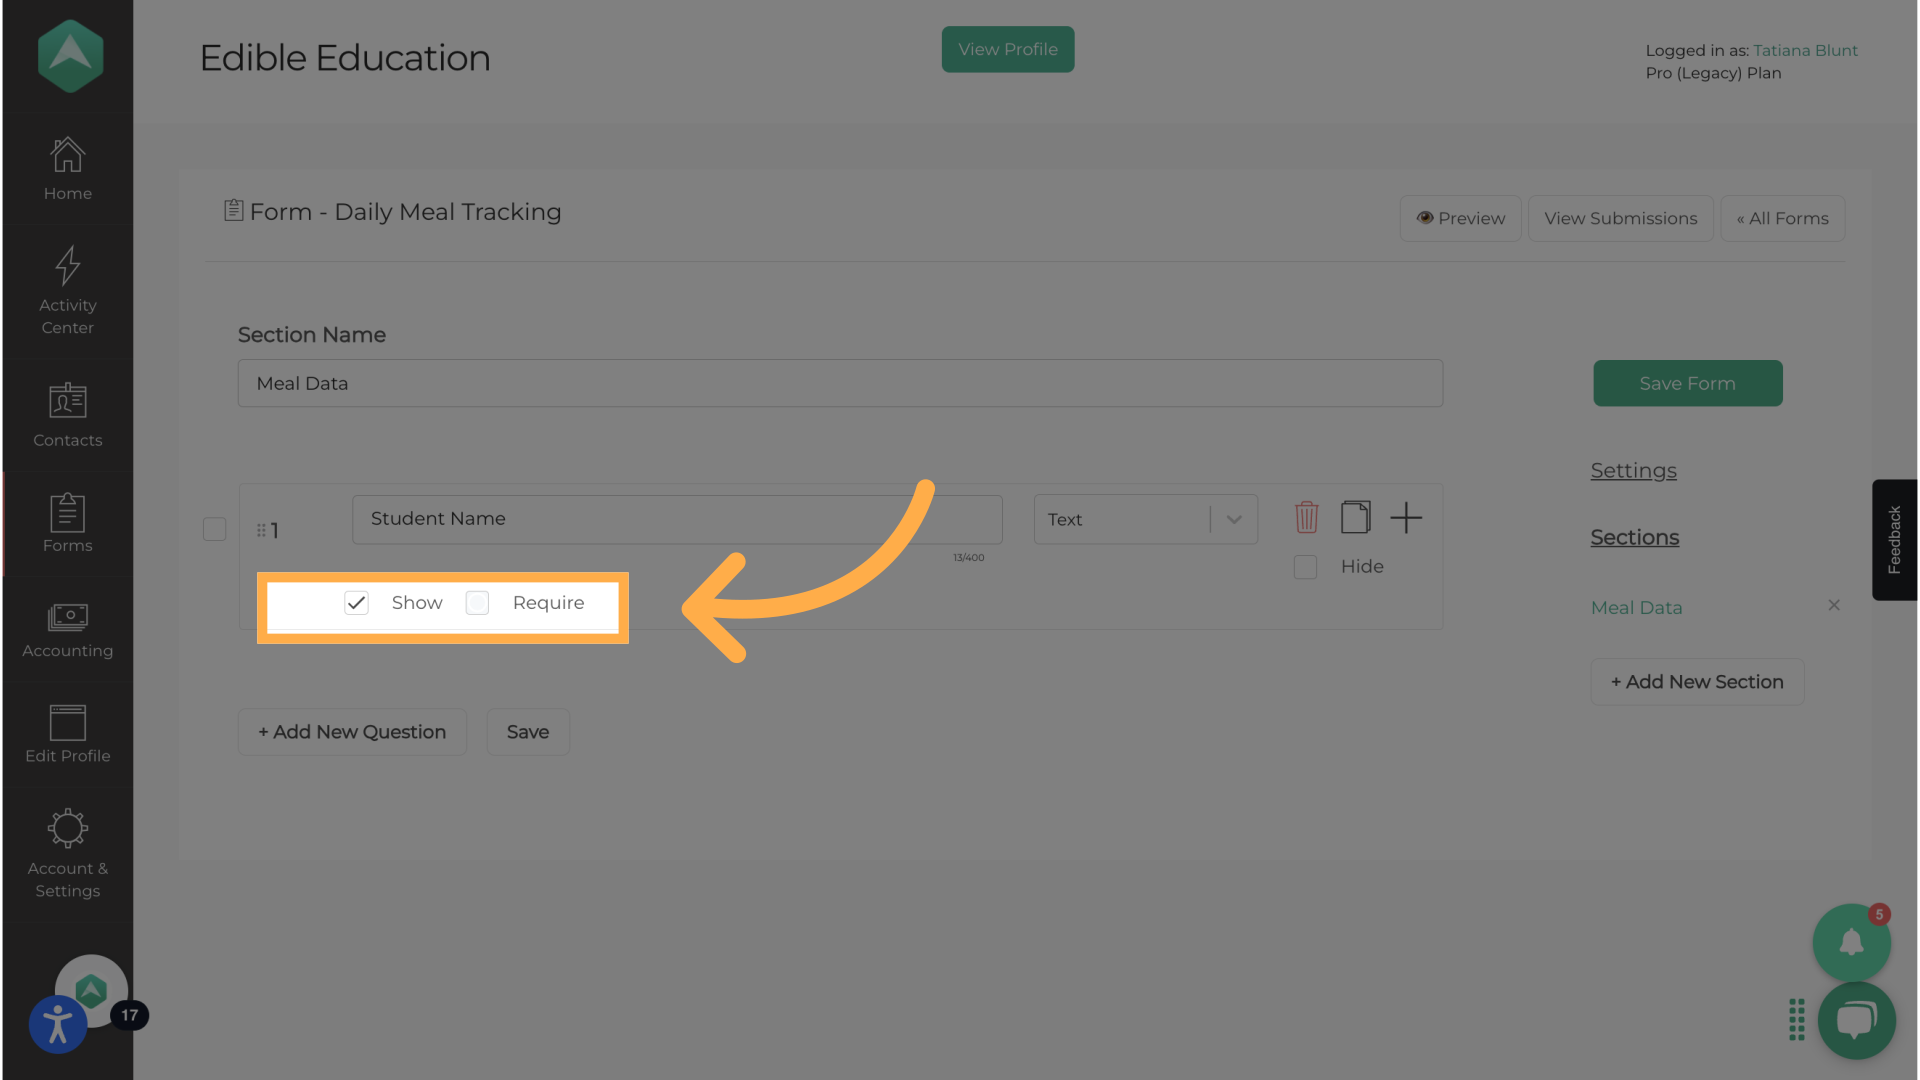
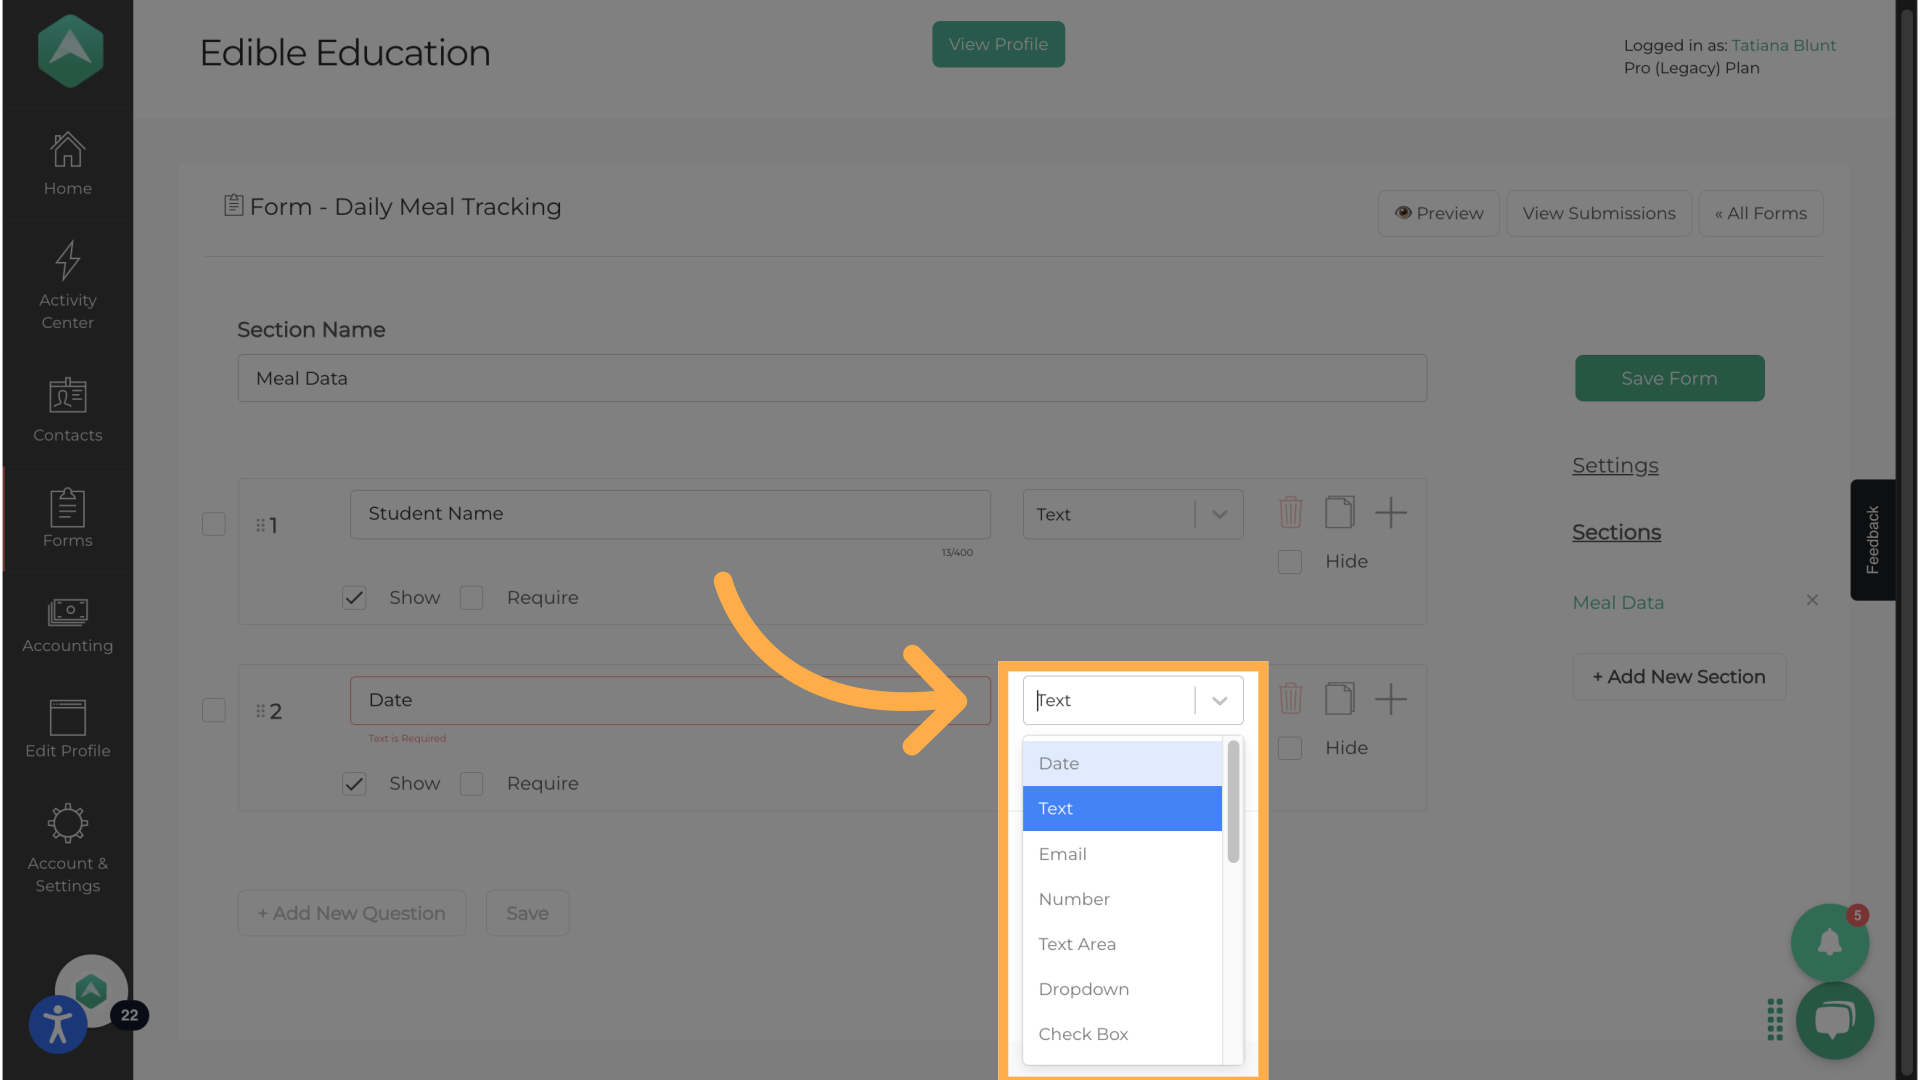
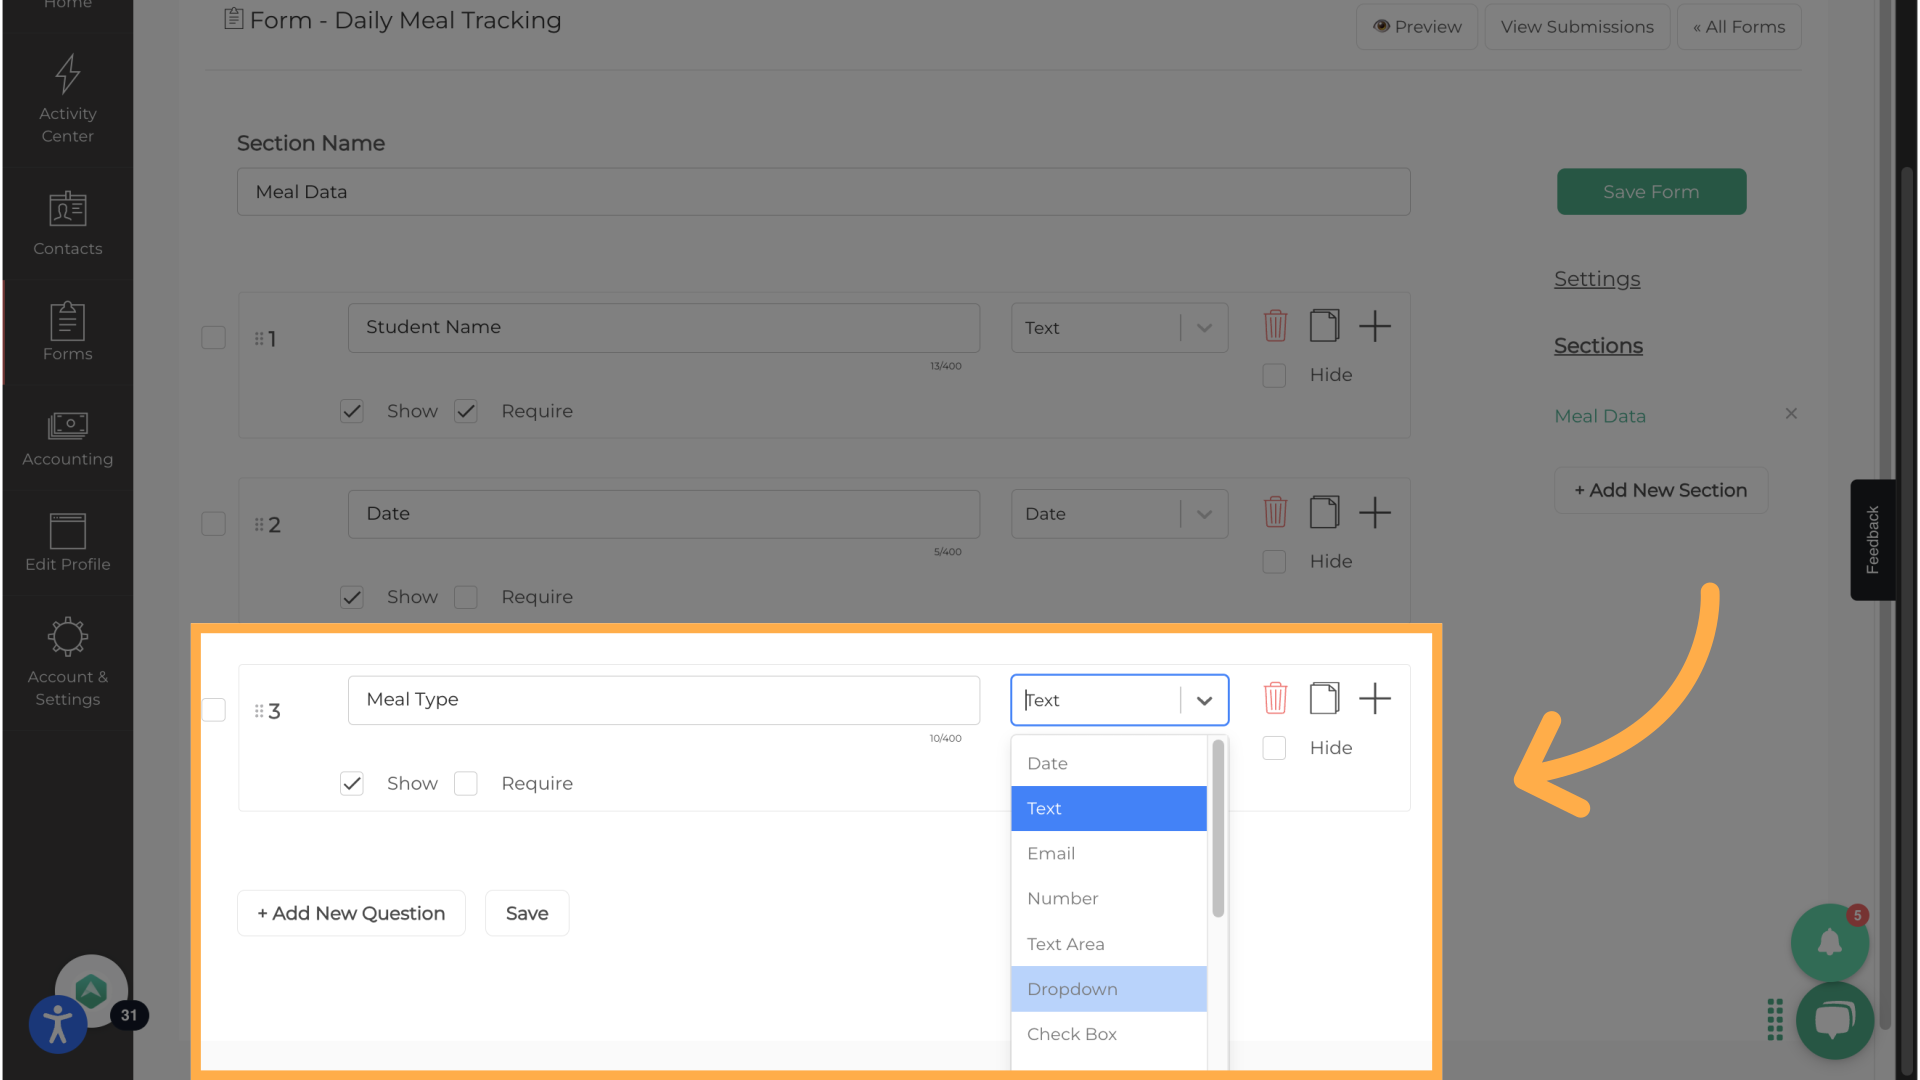
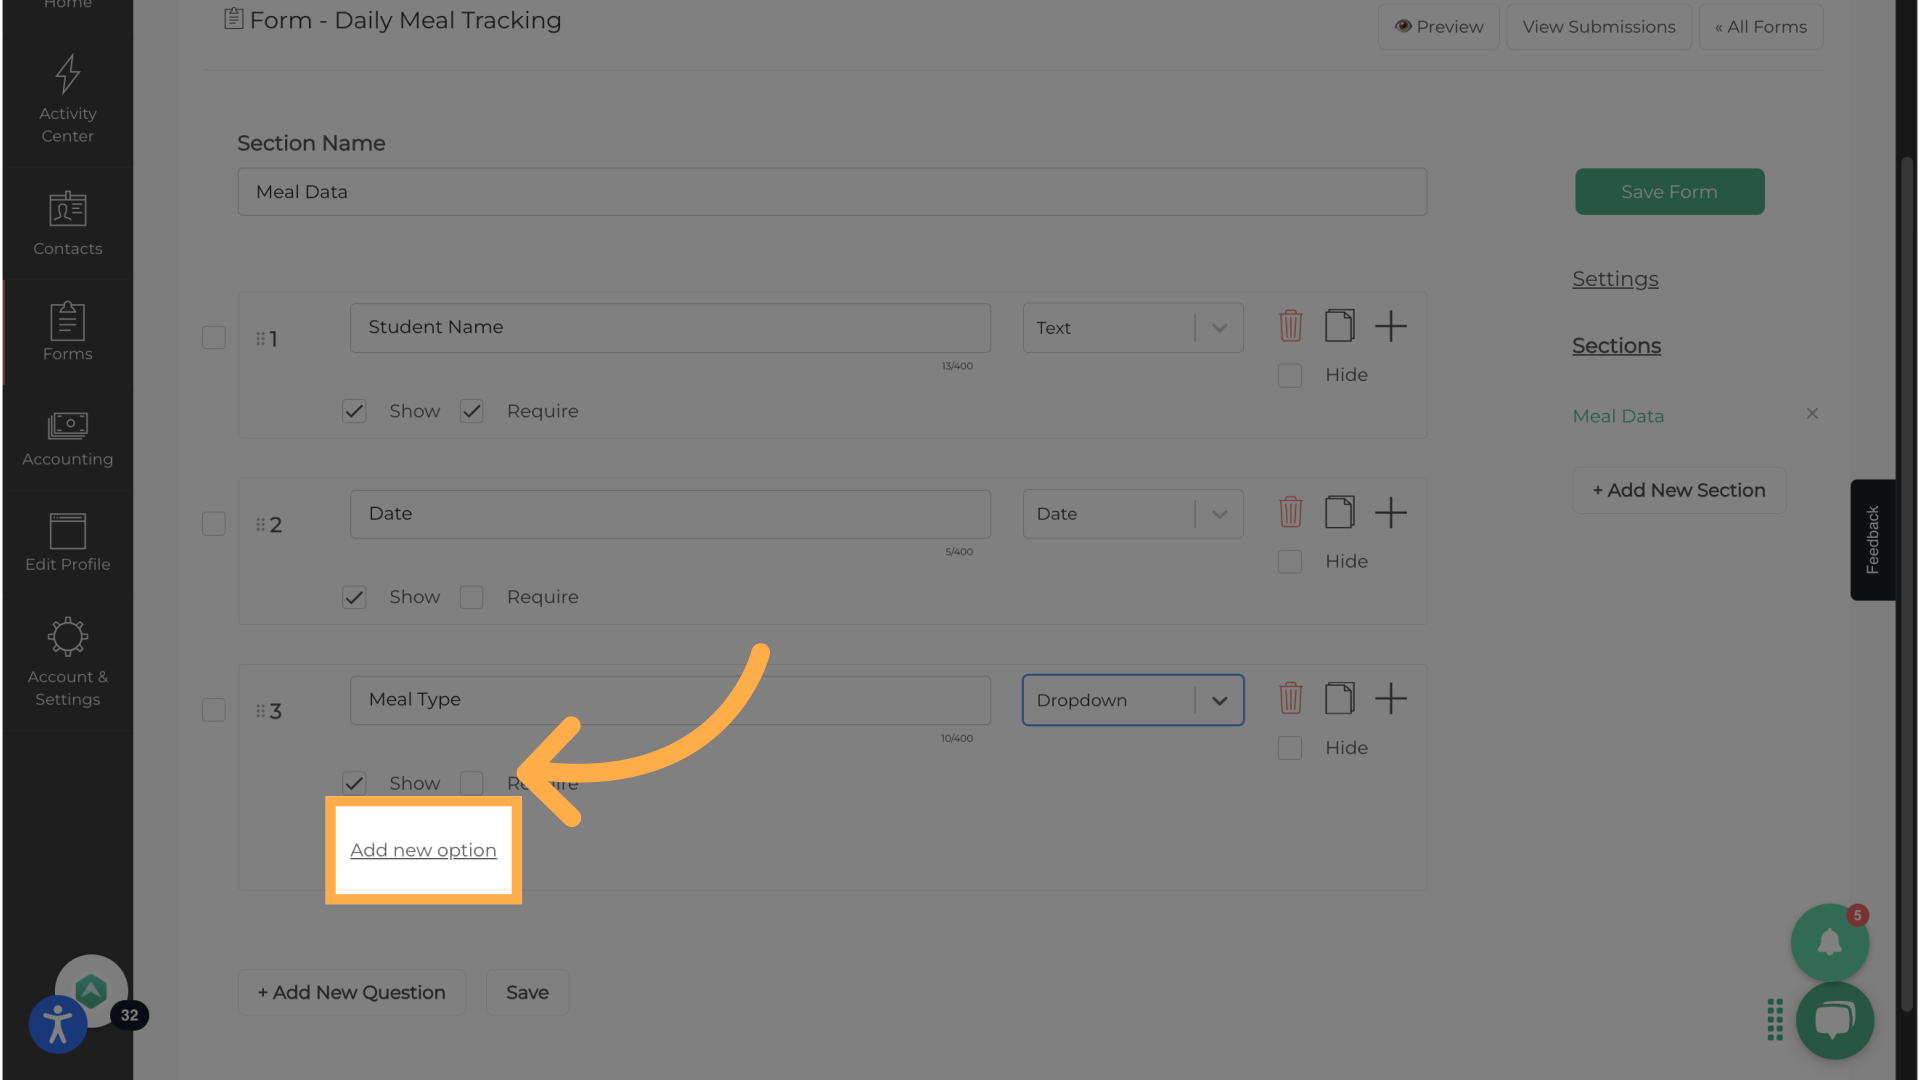
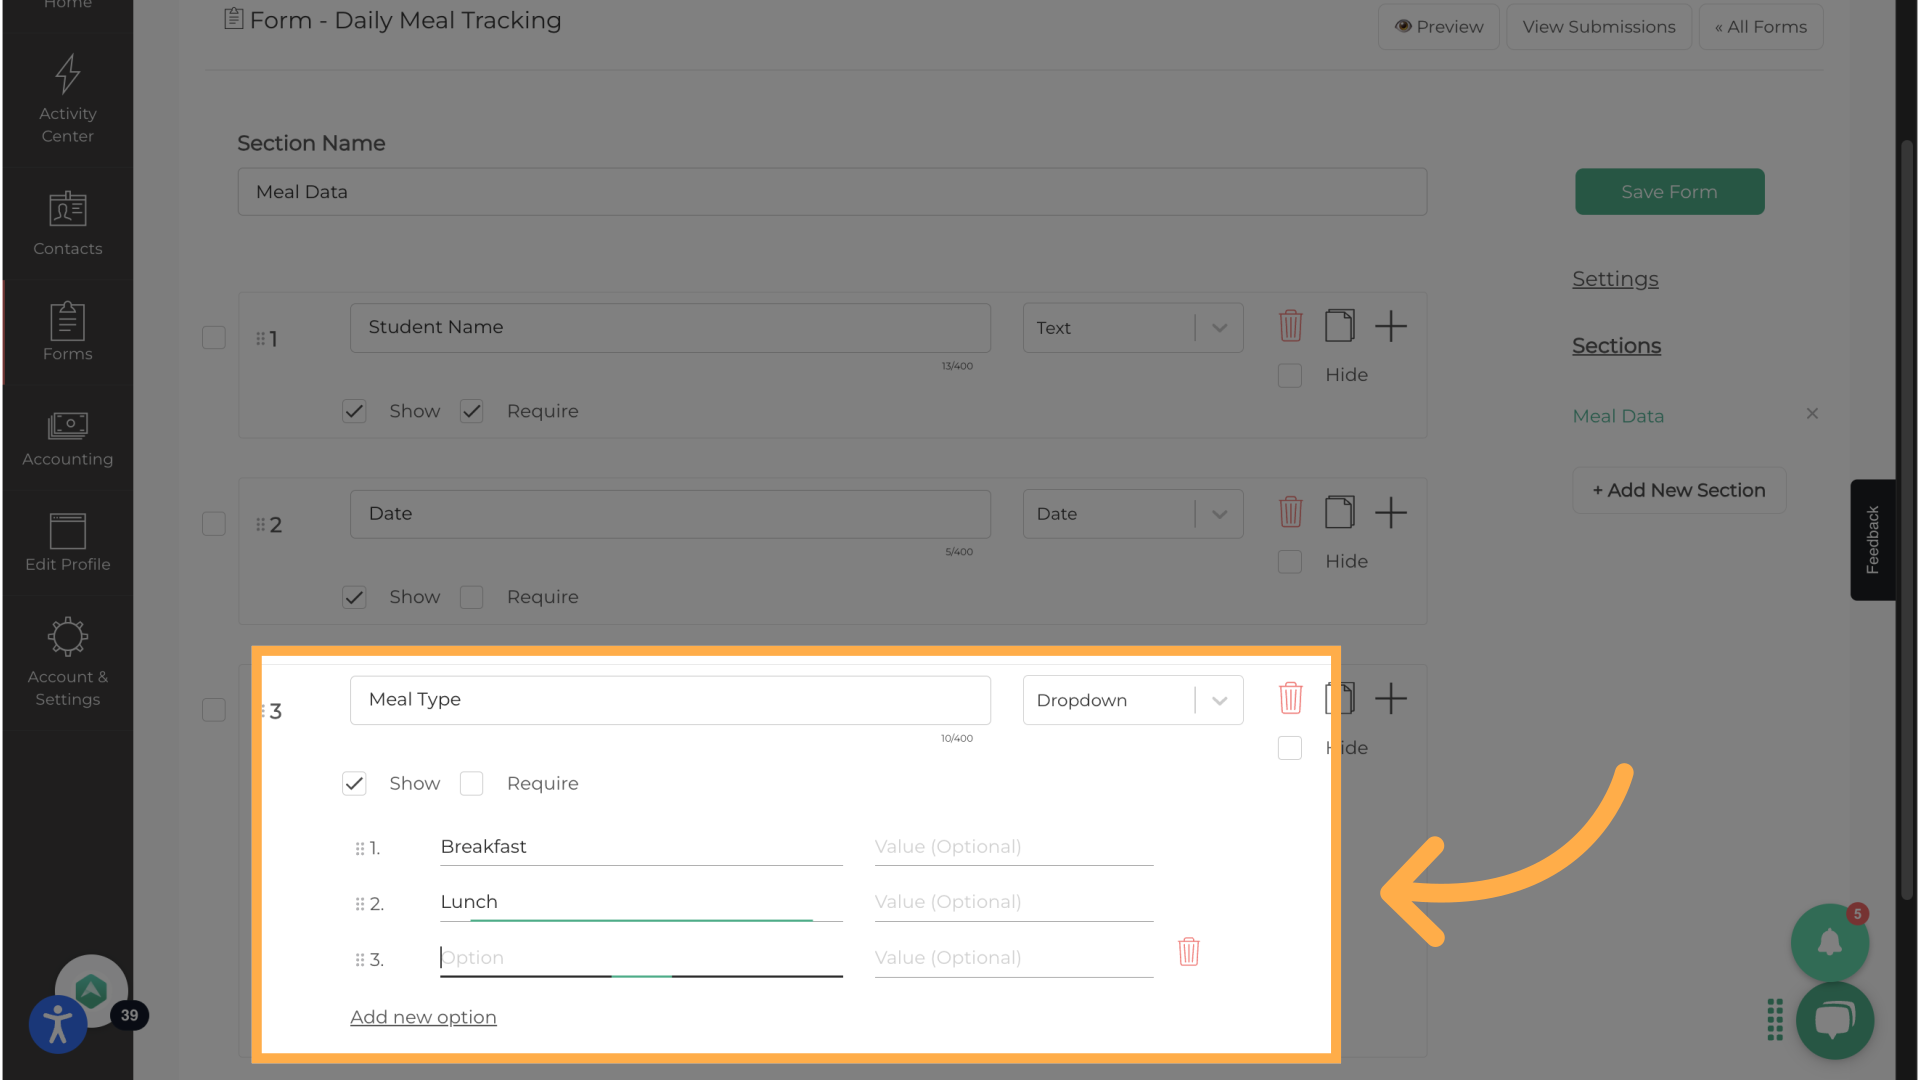
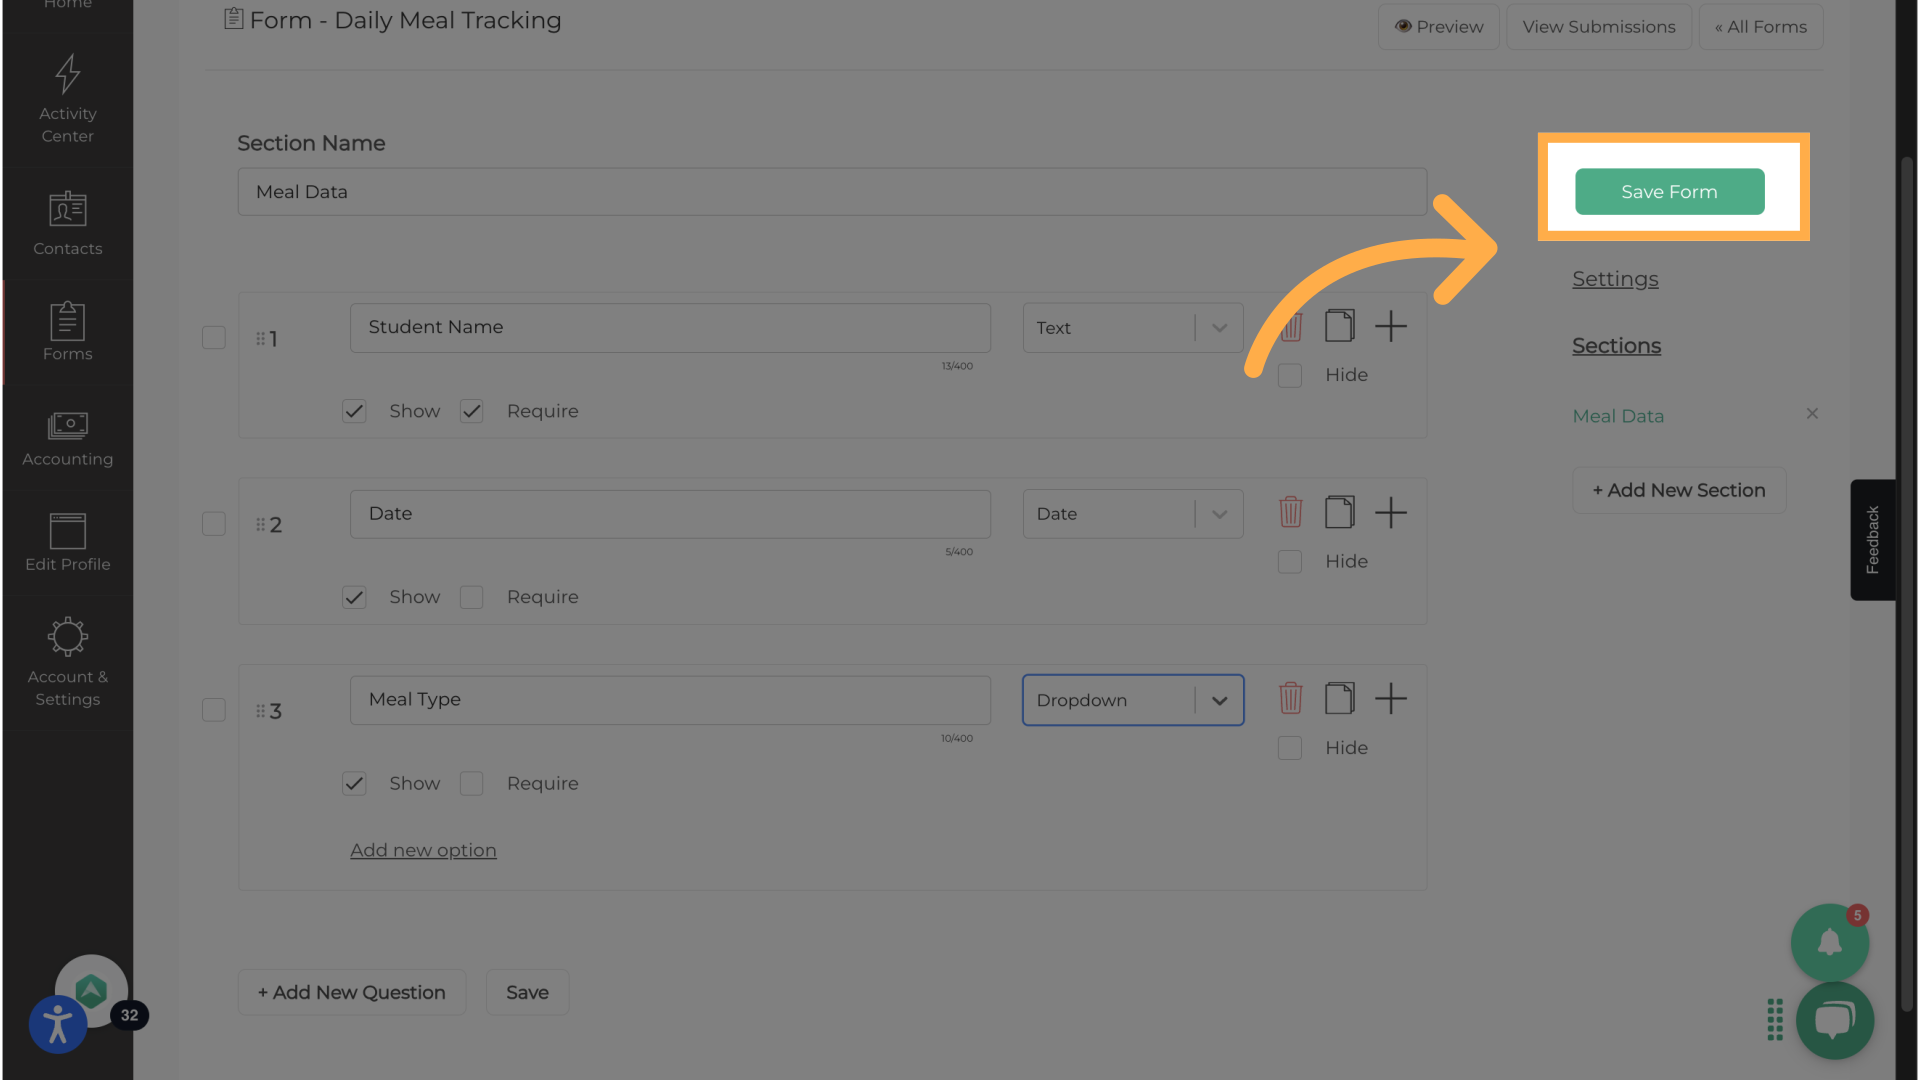
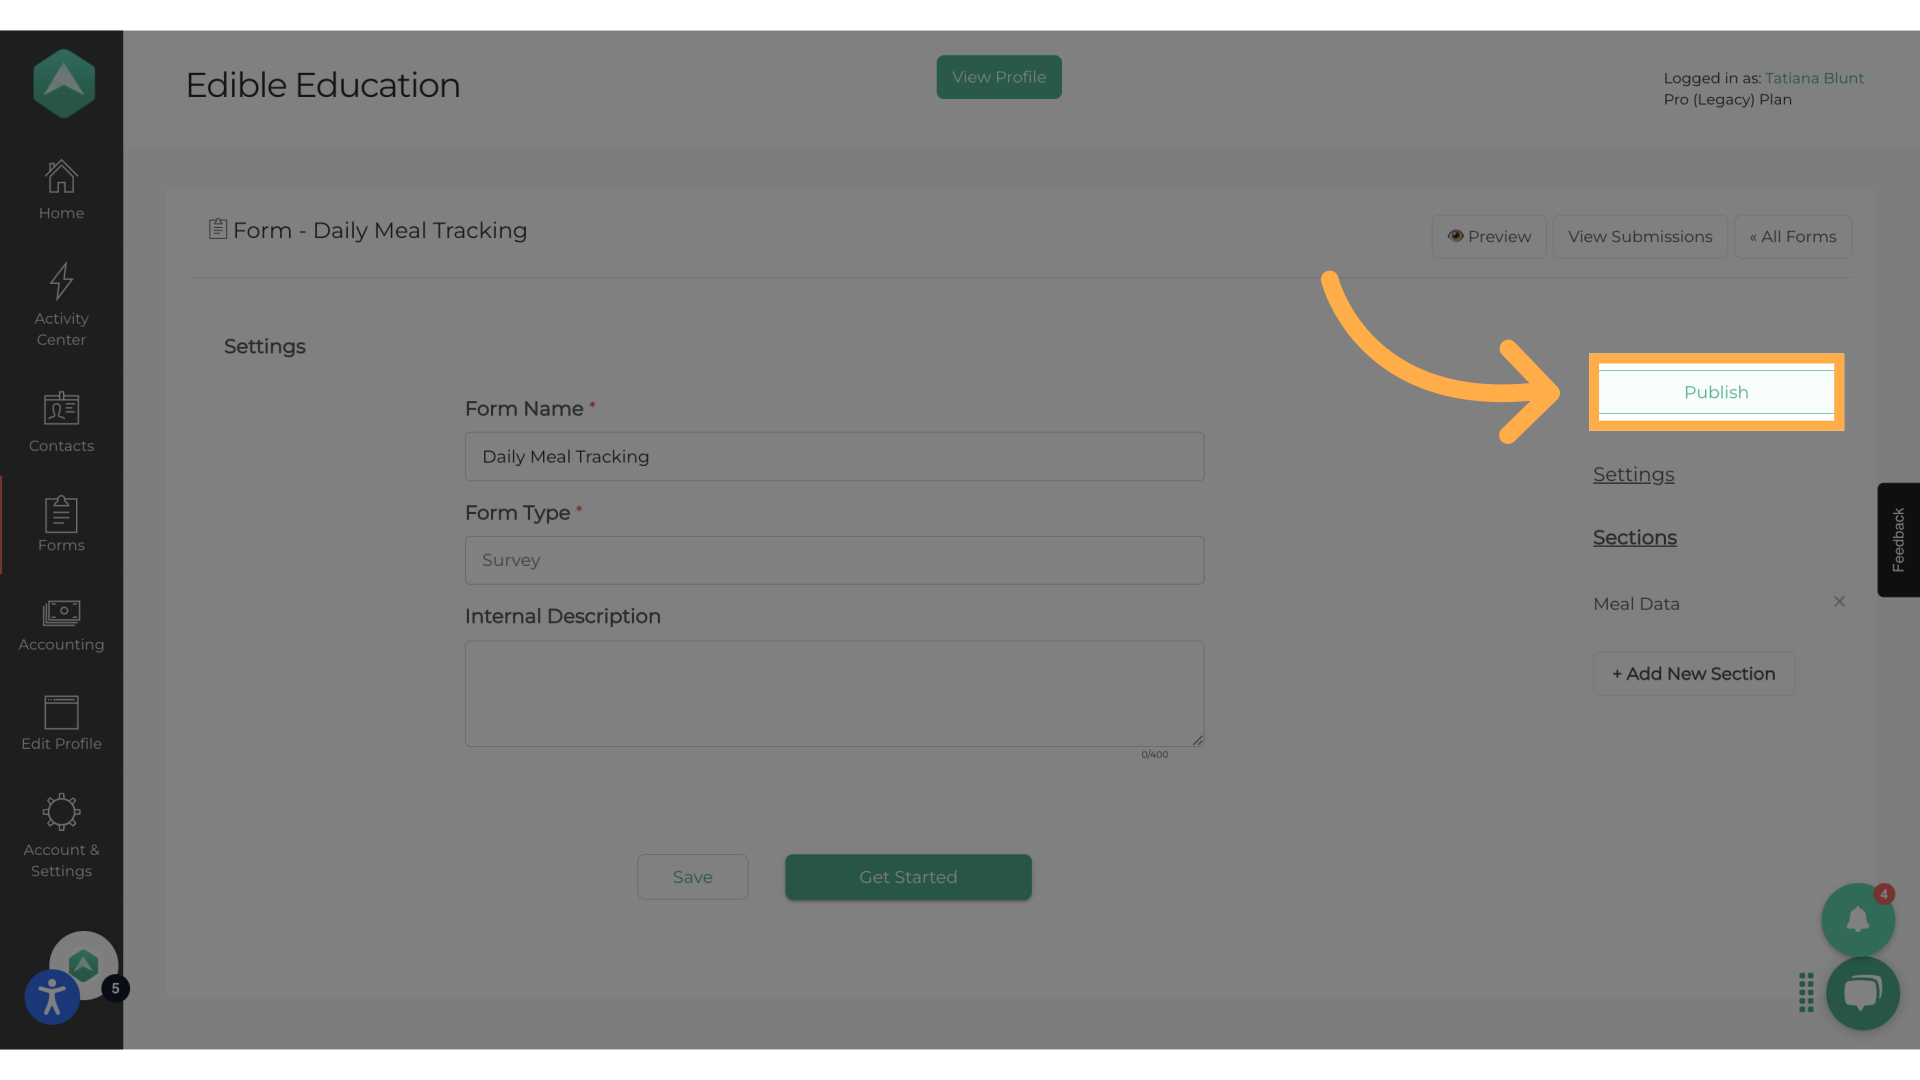
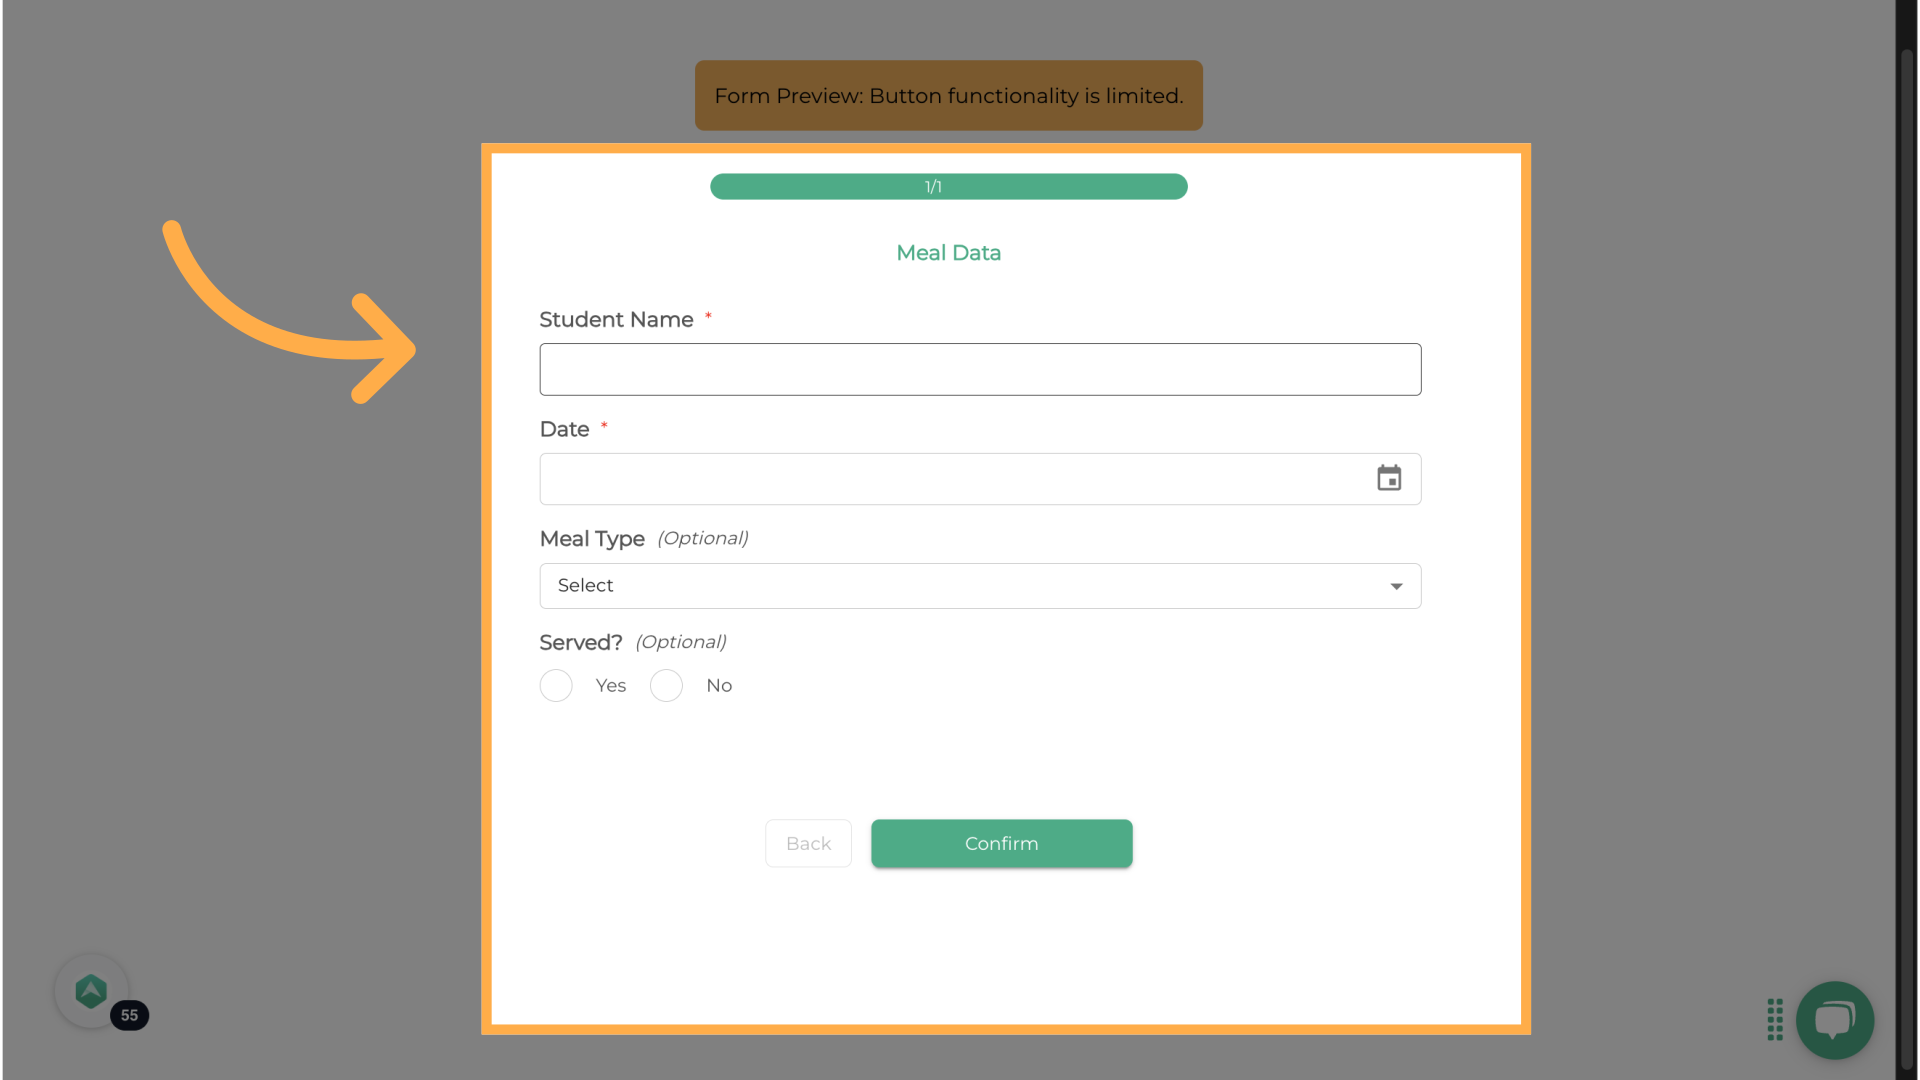
1. Introduction
Tracking meals in AfterSchool HQ is simple with the built-in form builder. While AHQ doesn't have a dedicated meal tracking feature, you can easily create a custom form to log meals served, track student participation, and generate reports. In this guide, we'll walk through how to set up and use a meal tracking form step by step

2. Click "Forms"
Start by navigating to the Forms section..

3. Click "Add Form"
Add a New Form

4. Name Your Form & Select 'Survey' as the Form Type
Choose a name for your form that clearly describes its purpose. under 'Form Type,' select 'Survey.' This allows you to collect responses easily and track meal records for your program.

5. Click "Create Form"
When you are all done, Click "Create form".

6. Click "+ Add New Section"
Now, let's add a section to organize the form. Click 'Add New Section',This helps keep forms structured and easy to complete.

7. Name Your Section & Save
Now, give your section a name that clearly represents the data you're collecting. 'Meal Data' or 'Daily Meal Records' works well. Once you've entered the name, click the green checkmark to save and move on

8. Click the section name to open it and start adding form fields.
Now that we've created a section, click on the section name to open it. This is where we'll start adding questions to track meal data.

9. Click "+ Add New Question"
Next, click 'Add New Question' to start building your meal tracking form. You can add multiple questions depending on the information you need to collect!

10. Enter a question field to collect meal data.
Now, type in a question. For example, 'Student Name' or 'Date of Meal.' You can continue adding more questions to fit your program's needs

11. Make questions visible, make questions required.
To ensure accuracy, check 'Show' to make the question visible on the form. If the question is required, check 'Require' to prevent users from skipping it

12. Select the answer type for each question.
Now, choose the answer type that best fits the question. For example, use 'Text' for open-ended responses, 'Dropdown' for meal choices, or 'Date' for logging the meal date.

13. Explore all response options, including dropdowns.
"If you're using a dropdown, click 'Add new option'

14. For dropdown questions, click 'Add New Option' to enter selectable choices.
When using a dropdown, click 'Add New Option' to create a list of choices users can select from. This ensures a standardized data entry process

15. add answer choices they can select from
Now, create a list of choices for users to select from.

16. Save your Form
When you're all done, be sure to save your form

17. Publish your form
Now Publish your form so your link will be live to share!

18. Click "👁 Preview"
Finally, You have the option to preview your form

19. Review Survey
Review your survey and be sure its ready to share with students or staff!

This guide walked you through utilizing AHQ Forms for meal tracking on Afterschoolhq. Thanks for watching!