How to Create and Share a Permission Slip
Does your activity require special authorization from parents? No need to type and print a document to give each student. AfterSchool HQ has an easy alternative to have your permission slip sent out in record time.
In this article:
- Creating a Permission Slip
- How to set up a Permission Slip
- Payment Plan Options
Step 1. Sign in to your AfterSchool HQ account.
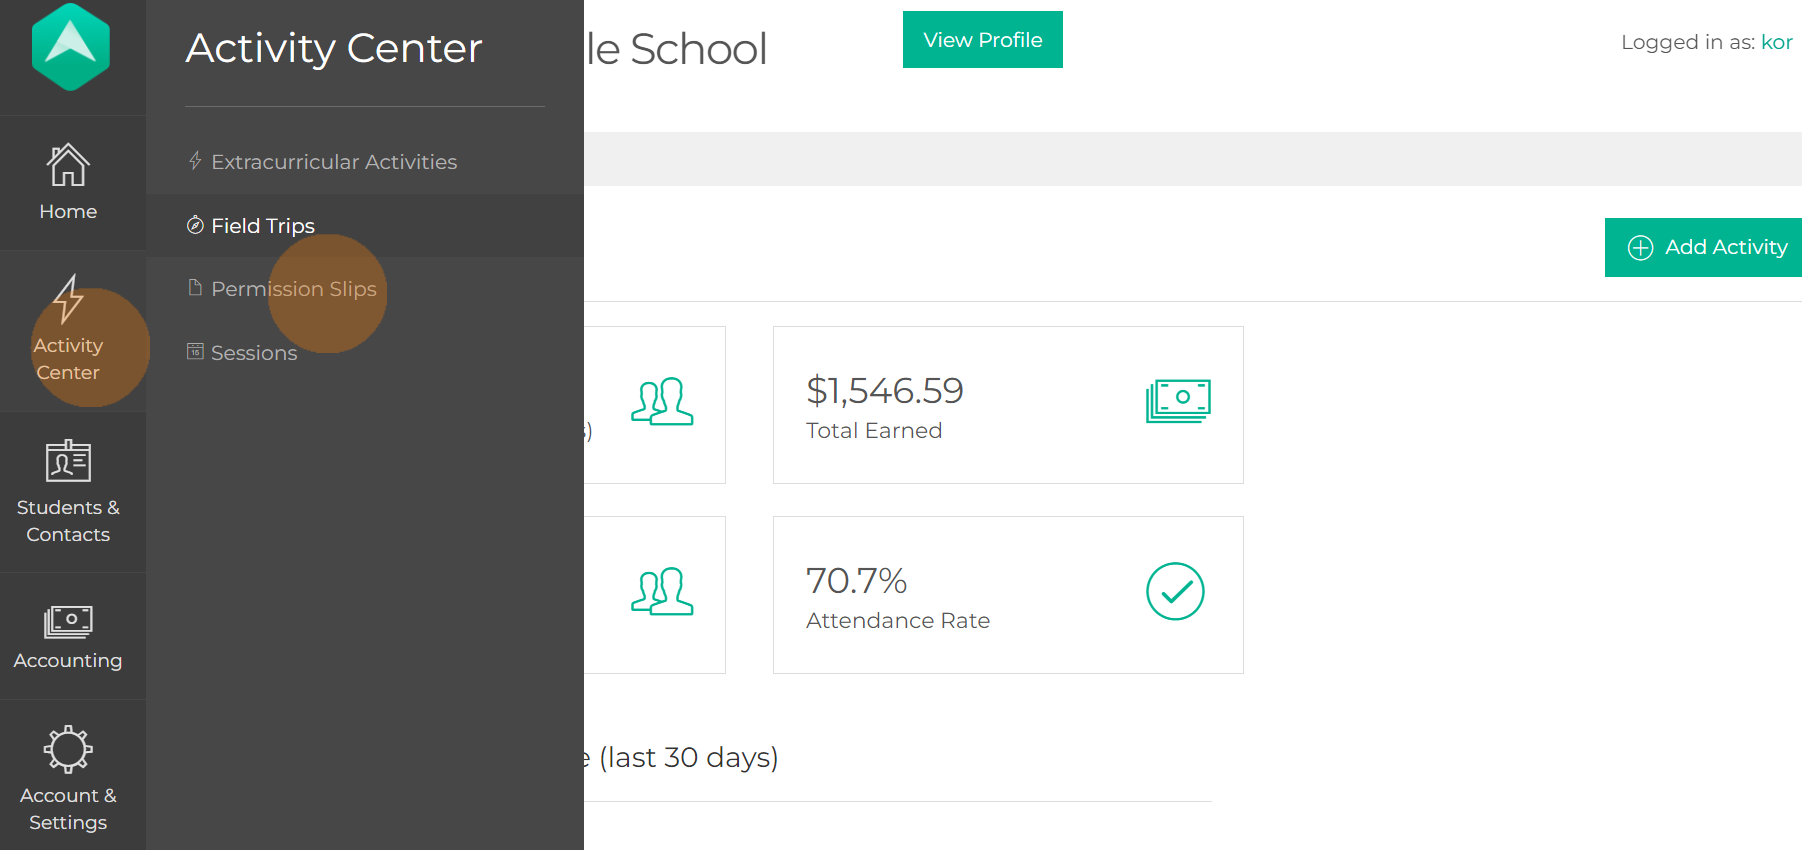
Step 2. From the home page, hover over Activity Center on the left-hand sidebar, then click on Permission Slips.
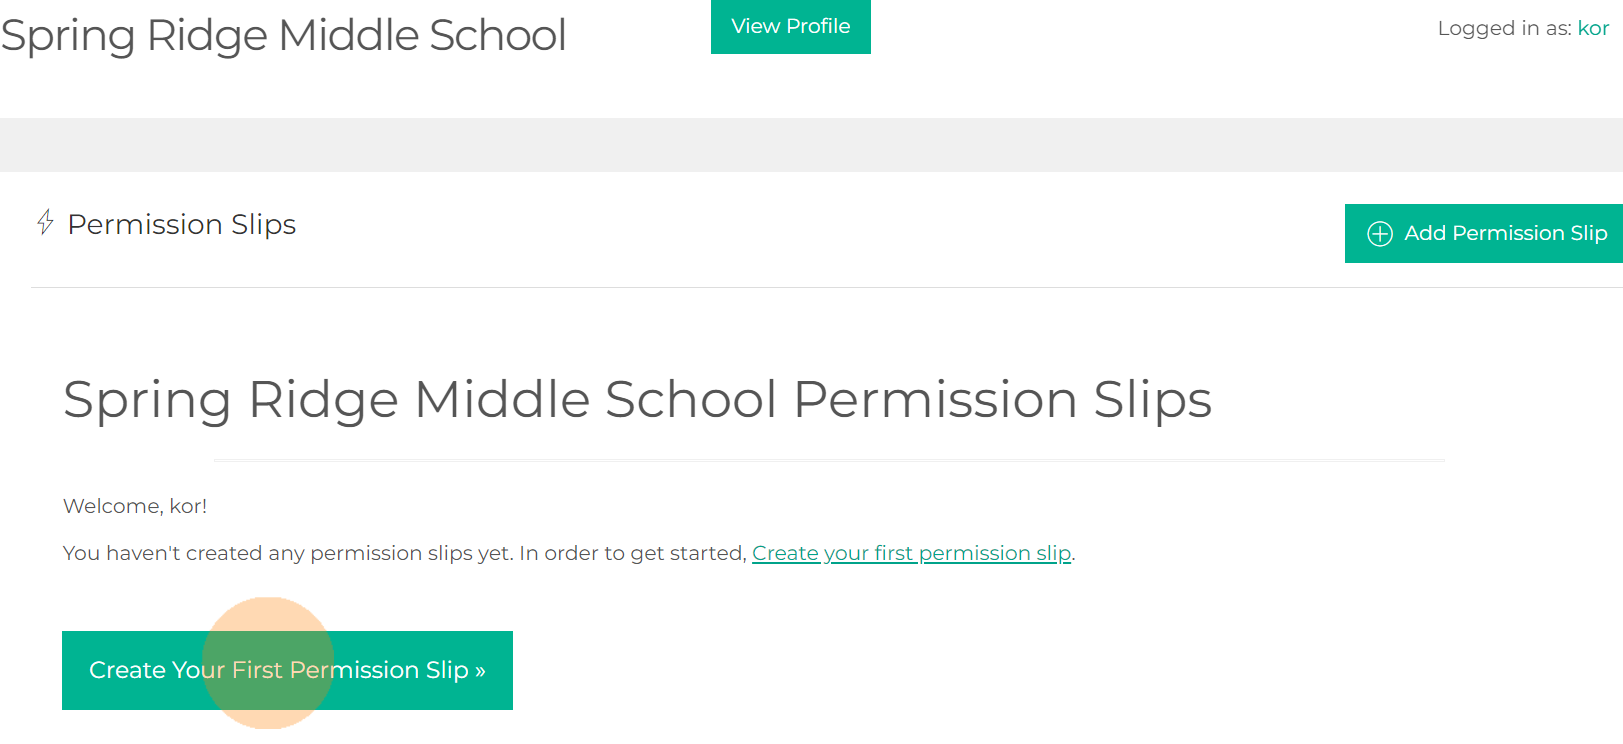
Step 3. Click on Create Your First Permission Slip.
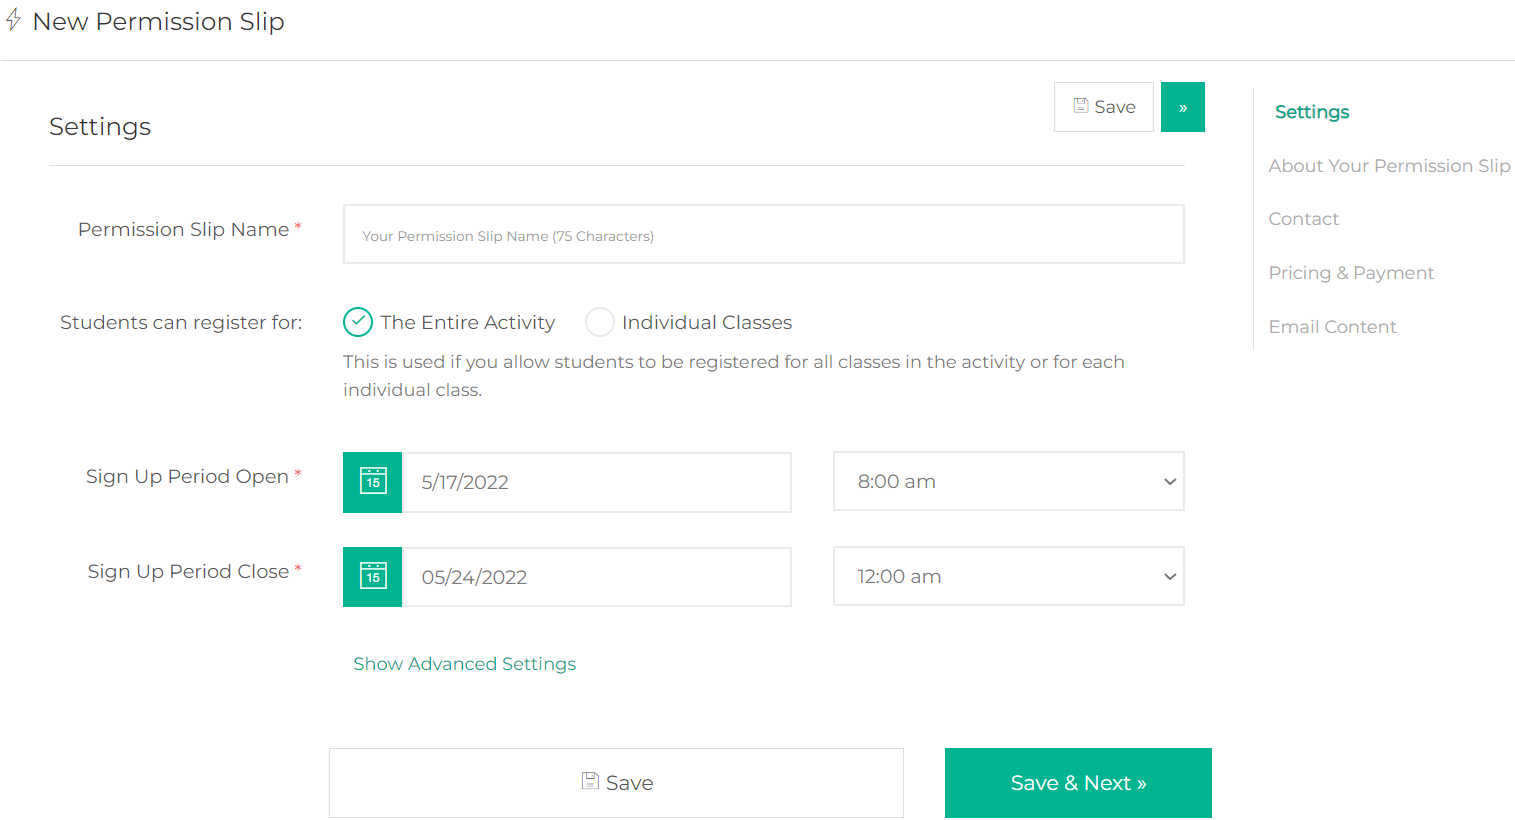
Step 4. Settings
Enter the:
- Permission Slip Name
- If students can register for the Entire Activity or Individual Classes (If you choose Individual Classes, make sure to add the Registration Cut-Off Time)
- The sign-up period.
- By clicking on Show Advanced Settings, you can select what form you want registrants to fill out.
Step 5. About Your Permission Slip
Now it's time to enter details about your permission slip. Let your parents know why they should allow their children to be a part of your activity.
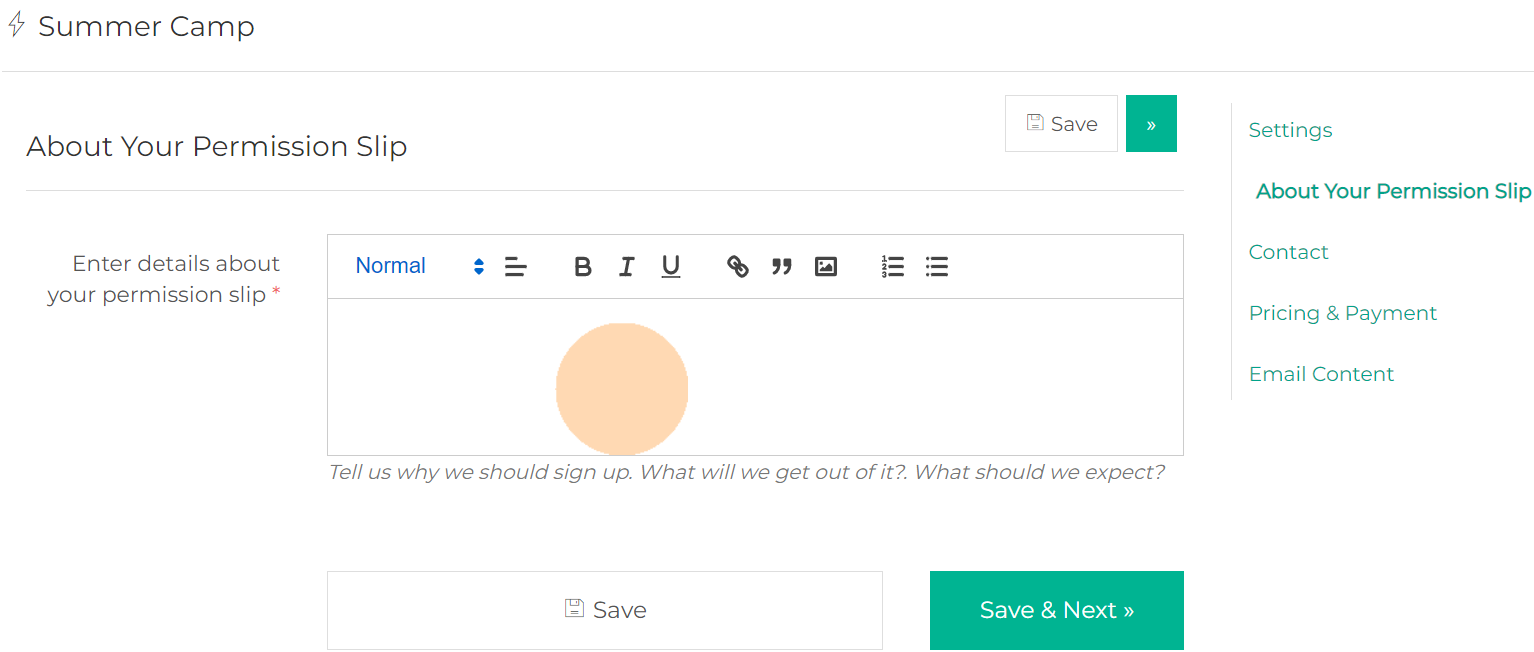
After providing details about your Permission Slip. Click Save & Next.
Step 6. Permission Slip Contact
- You can manually type in the Contact Name, Contact Phone, and Contact Email.
- Or you can click on Show Advanced Settings and select an instructor already in your staff by clicking on the drop-down. Once you've selected the instructor, click on
 to update the contact information.
 - You can also select No Assigned Instructor or +Add Instructor.
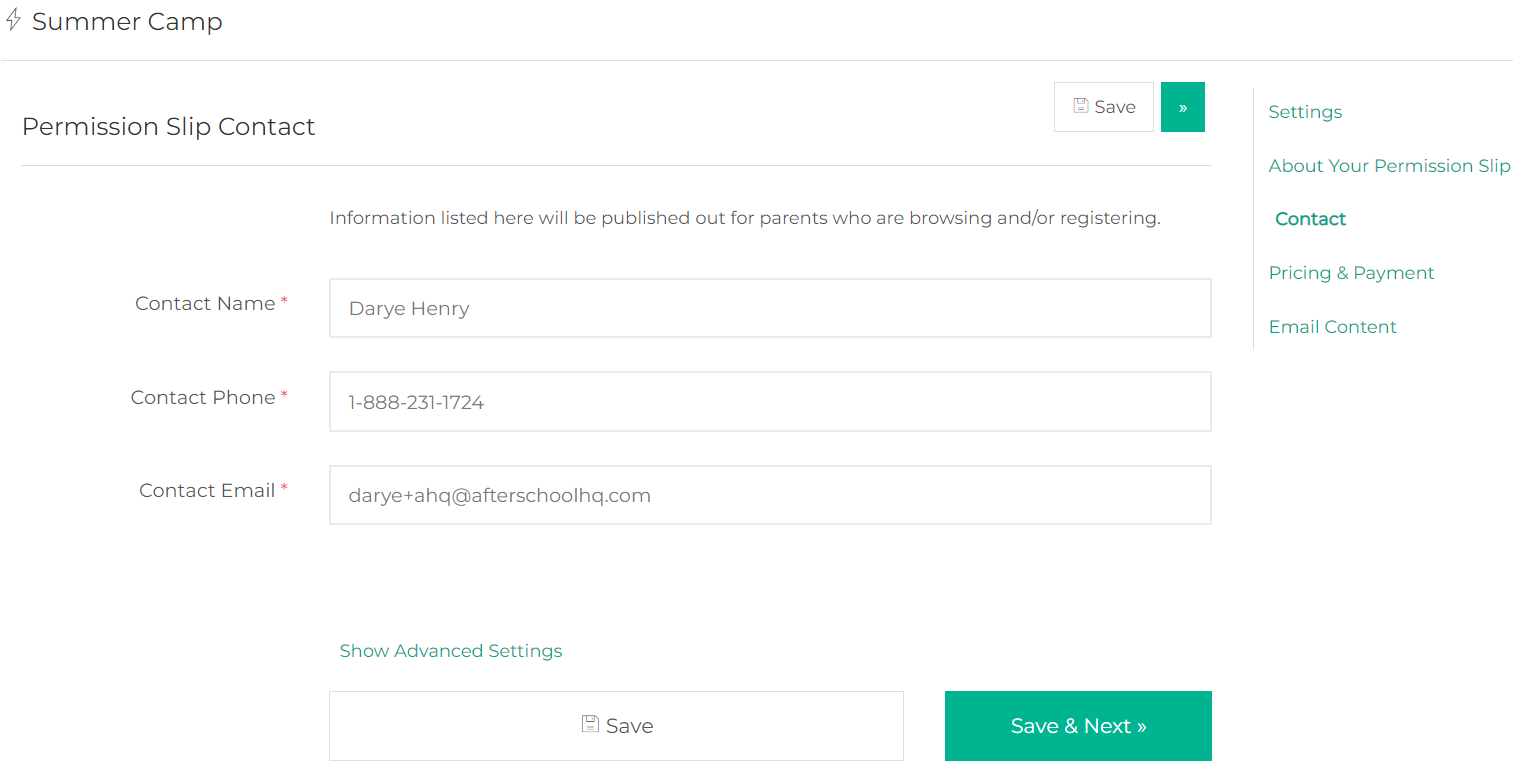
Step 7. Pricing & Payment
If parents do not pay choose No, then click Save & Next.
Step 8. If parents will pay, select Yes, then enter Registration Fee.
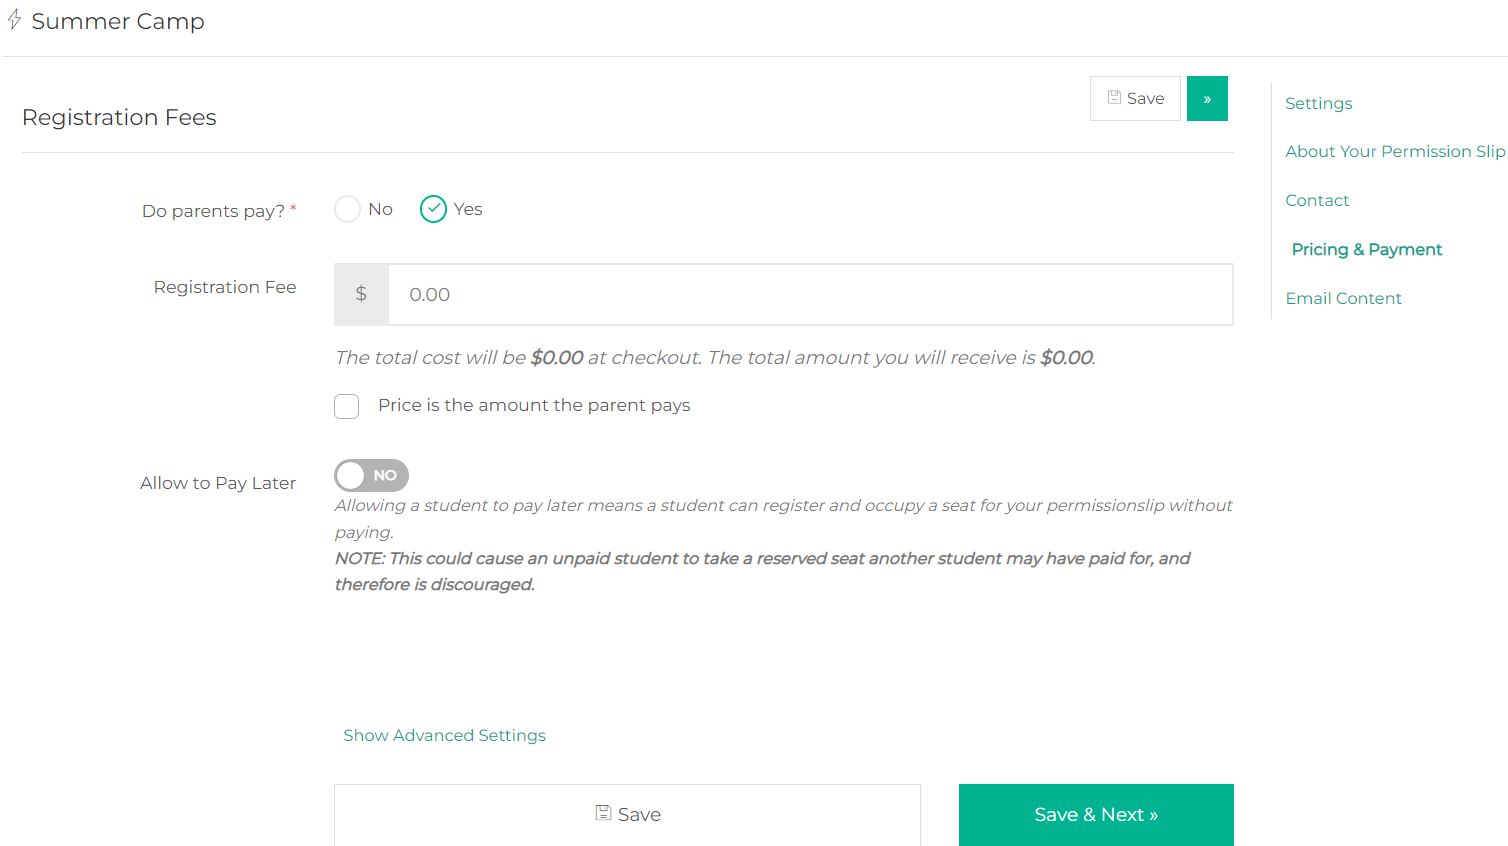
Below the Registration fee field, you will find the total amount that will be charged to the parent at checkout. Your provider amount will also be shown.
Step 9. Additional payment options can be located by selecting Show Advanced Setting.
The options are:
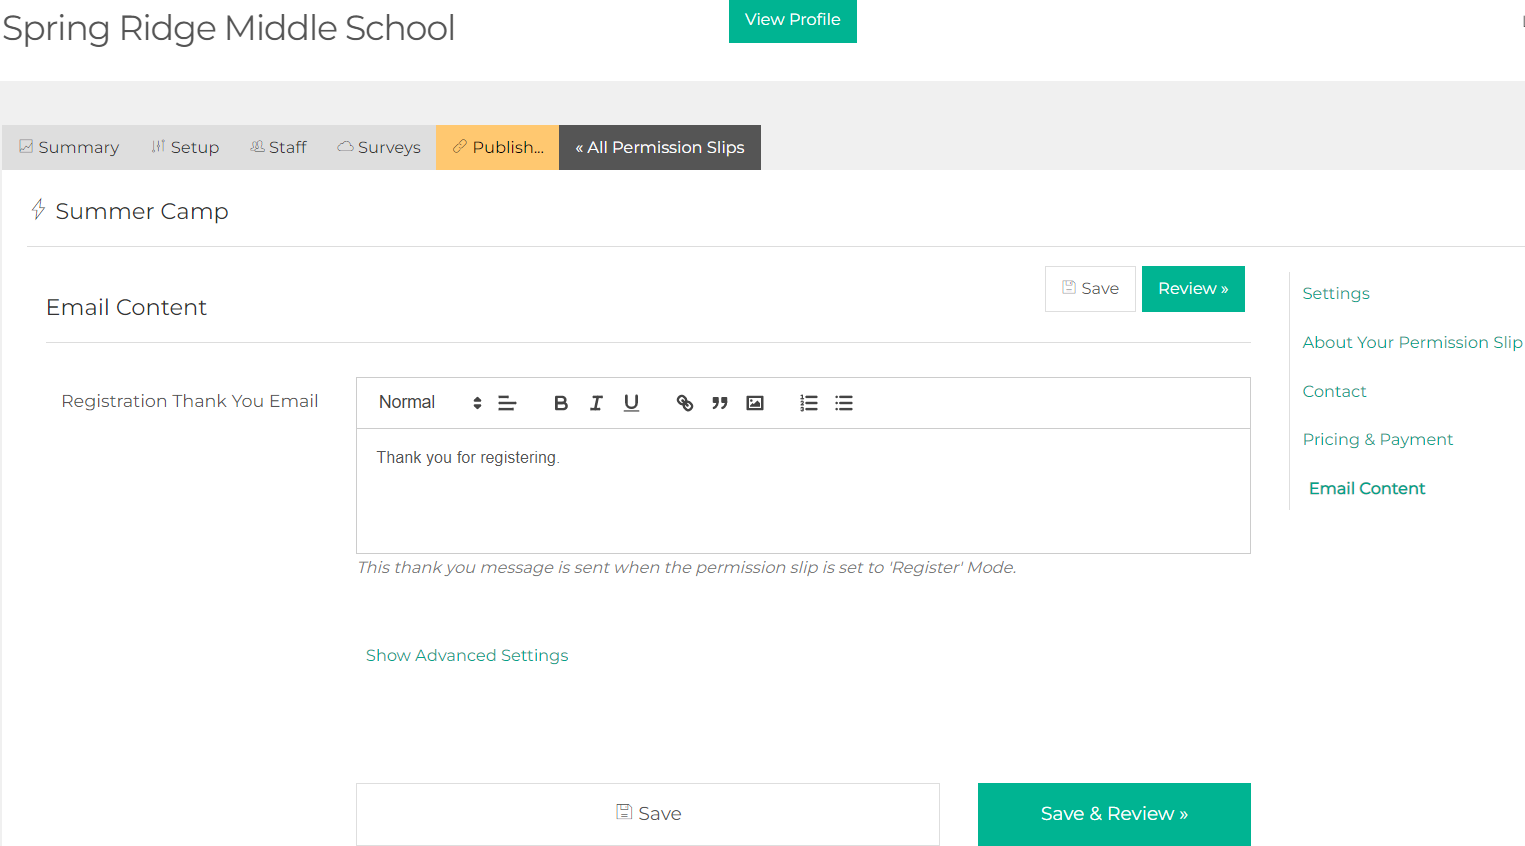
Step 10. Email Content: Now show your appreciation by entering a thank you message for your clients, then Save & Review.
Share your Permission Slip with Parents:
There are two possible ways for you to share a permission slip with parents. For the first option, feel free to follow the next steps:
Step 1. Go to "Activity Center" > "Permission Slips" > "Manage" > "Publish"

Step 2. Copy the link to the registration page and share it! You can send it via email (Messages), or, create a QR Code and paste it in a flyer. Whatever works best for you!

For the second option, you will need to previously create a Contact List. Follow the next steps:
Step 1. Go to the "Students" tab:

Step 2. Click "Invite Contacts"

Step 3. Select a Contact List and type down a message:

Step 4. Click on "Send Invites" and parents will be recieving and email with an invitation to complete the form.
💡 If you experience any issues or have further questions with How to Create and Share a Permission Slip, don't hesitate to get in touch with our support team at support@afterschoolhq.com.